How to Save Time and Money With Food Prepping
If you’ve ever wanted to join in on the homesteading movement, vegan food and meal prepping might be the easiest place to start. You certainly don’t need to live on a farm to start this practice, and it will scale with you as your involvement in homesteading grows. This guide will cover the basics to get you started on saving time and money by prepping your vegan food essentials.
My goal when writing this guide was not to just give you a round-up of recipes that you can make and freeze. That’s pretty easy, and Pinterest is full of recipes you can try. Instead, I want to show you how you can streamline, organize, and schedule your meal prepping process to save time and money while still eating delicious, healthy meals.
This guide is quite comprehensive. I’m breaking down every single thing we do each week, month, quarter, and year as part of our vegan homesteading process. There’s a lot of detail, so be sure to pin this post so you can refer back to it as you try adding new steps to your own homesteading journey!


Disclosure: This is not a sponsored post, and I have received no compensation for sharing anything that follows. Some links within this blog may be affiliate links, and I might earn a commission if you make a purchase through that link. This usually amounts to cents, not dollars, and helps to support the projects featured on this blog. I only recommend products from companies that I have found to be trustworthy. Read my full disclosure here.
Because I’m including a lot of information here, if there’s a certain area you want to learn about, you can skip to that section using these links:
Table of Contents
How Is Vegan Food Prepping Different?
The Difference Between Food Prep and Meal Prep
Storage & Labeling: Save Your Sanity
Changes We’re Planning to Make This Year
Before we get into all of that though, let me start by saying that there’s a whole range of involvement in food prepping. Making extra servings of vegan enchiladas for dinner and freezing them for next week’s lunch is, in fact, one way of doing food prep. You might have already been doing this without even thinking about it that way!
Growing your own food and preserving it for the year ahead is an especially committed way to prep, too. And, then on the extreme end of the spectrum, prepping a long-term supply of food to survive a life-altering event in a bunker is yet another way to engage in the practice.
Regardless of where you fall on the spectrum, the goal with homesteading and food prepping is to become more efficient and self-sufficient at the same time.
We’re pretty middle-of-the-road when it comes to our food prepping, I think. On the plus side, we didn’t suffer nearly as much as some folks did during the pandemic and the subsequent grocery shortages because of how we prep our food and meals. But there’s also a lot more I want to be doing in the future, and we have plans to increase our food prep activities this year. More on that later…
VEGAN FOOD PREP
So, what is food prepping like for vegans?
Really, it’s not different from anyone else’s food prep work, except that all of the items we prep are vegan. We still focus on the same categories of foods, like produce, grains, and proteins–but ours are all 100% plant-based.
We’ve both been vegetarian (Rob) or vegan (me) for over 20 years, so we’ve had a long time to get into the routine and know what we need and use regularly. Lately, Rob has been moving more toward a vegan diet, and that means there are some adjustments that we’re making to how much non-dairy we need to have on hand compared to before. So far, he’s cut out milk and eggs, but he’s still eating cheese and ice cream, as well as products that might contain milk and eggs (like commercially made breads, etc).
Although we focus on vegan food and meal prep, these principles apply to all types of food prepping, so you can certainly use this guide regardless of your dietary preferences.
WHY WE PREP OUR FOOD
Most chefs, whether professional or amateur, are going to opt for fresh ingredients to cook with when given a choice. I’m definitely in favor of that! So, why would I ever recommend getting involved in vegan food prep over simply using fresh ingredients from the store, you ask? Three big reasons:
- It saves us time.
- It saves us money.
- It helps us prepare for emergencies or inconveniences.
Running a business, working on a fixer-upper home, taking care of our little farm, and managing the day to day needs of our family are all very time-consuming. While a lot of folks would turn toward take-out foods and prepared meal options, that’s not the type of eating we like to do on a regular basis.
Sure, going to a nice dinner at a restaurant is a fun treat once in a while, but I would always prefer a home-cooked meal, if possible. Just the act of making the meal is important to me. It’s a way for me to be creative and show love to my family, and those activities are core parts of who I am.
But, yea. I’d be lying if I said there weren’t days when I am just so darn tired that standing in the kitchen for an hour is the very last thing I feel like doing. It totally happens. Meal prepping makes it happen less often because we plan for those occurrences in advance, and I’m going to show you how we do it.
And then, because we don’t eat out nearly as much as most families, we also save money in the process. On average, we go out to a restaurant about once or twice a month (pre-pandemic) and spend about $600 per year. By comparison, the average American household spends $3,000 per year eating out at restaurants, so we save a considerable amount of money by not eating out very often.
Meal prepping is not only healthier for our bodies, but also for our bank account. Beyond the restaurant savings, the foods we prep end up costing us less than if we bought them each week straight from the grocery store, too. I’ll walk through that in more detail when I go through the specific items that we prep.
And even though it’s not something we have to think about very often, food prepping helps us to prepare for the things that no one ever wants to imagine. Like, you know, global pandemics that make it impossible to leave the house for months at a time? But also, earthquakes and other natural disasters that we hope don’t happen anytime soon.
If these reasons aren’t enough to convince you, how about the benefit of eating more tasty and healthy vegan foods? Yum.
FOOD PREP vs MEAL PREP
I think I should probably clarify what I mean by each of these terms because I’ve been using them pretty interchangeably up until now, but they’re actually different efforts.
Meal prep is what happens when those leftover enchiladas go into the freezer. Or, when you intentionally prepare a whole dish to put into the freezer for eating at a later date, like a casserole or lasagna.
Food prep, on the other hand, is about preparing and preserving raw foods to eat later, or as ingredients for future recipes.
We do both of these activities, and I’ll talk about both in the next section.
WHAT WE PREP AND HOW WE DO IT
Now that we’ve covered the basics, it’s time to dig into the details of how to start your vegan meal prepping. I’m sharing our exact process, but you should (of course) feel free to tweak this routine for what fits best in your home.
This section is divided into the six parts of our vegan meal prep process:
If you’re just starting out with food prepping as part of your homesteading activities, you might not use all of these methods straight out of the gate. That’s okay! Homesteading is about the process of increasing your self-sufficiency, so every step you take is all part of that journey. Add new methods as you’re able and it suits your family’s needs.
MENU PLANNING: KNOWING WHAT AND HOW MUCH YOU NEED
An important part of food prepping is figuring out how much you should prep for your family’s needs so that you aren’t throwing out food that goes unused and negating any potential savings. Some of this is just going to take time to figure out, but you can also do some planning to help.
One of the most dreaded conversations in our marriage goes like this:
One of us: “Hey, what do you want for dinner tonight?”
The other one of us: “I don’t know, what do you want?”
The first person: “Hm, I don’t know. Are you craving anything?”
The other one: “Well, what do we have?”
If that isn’t enough to make a person crazy night after night, I don’t know what is! We used to have this same dialogue all the time, so I finally decided to do something about it.
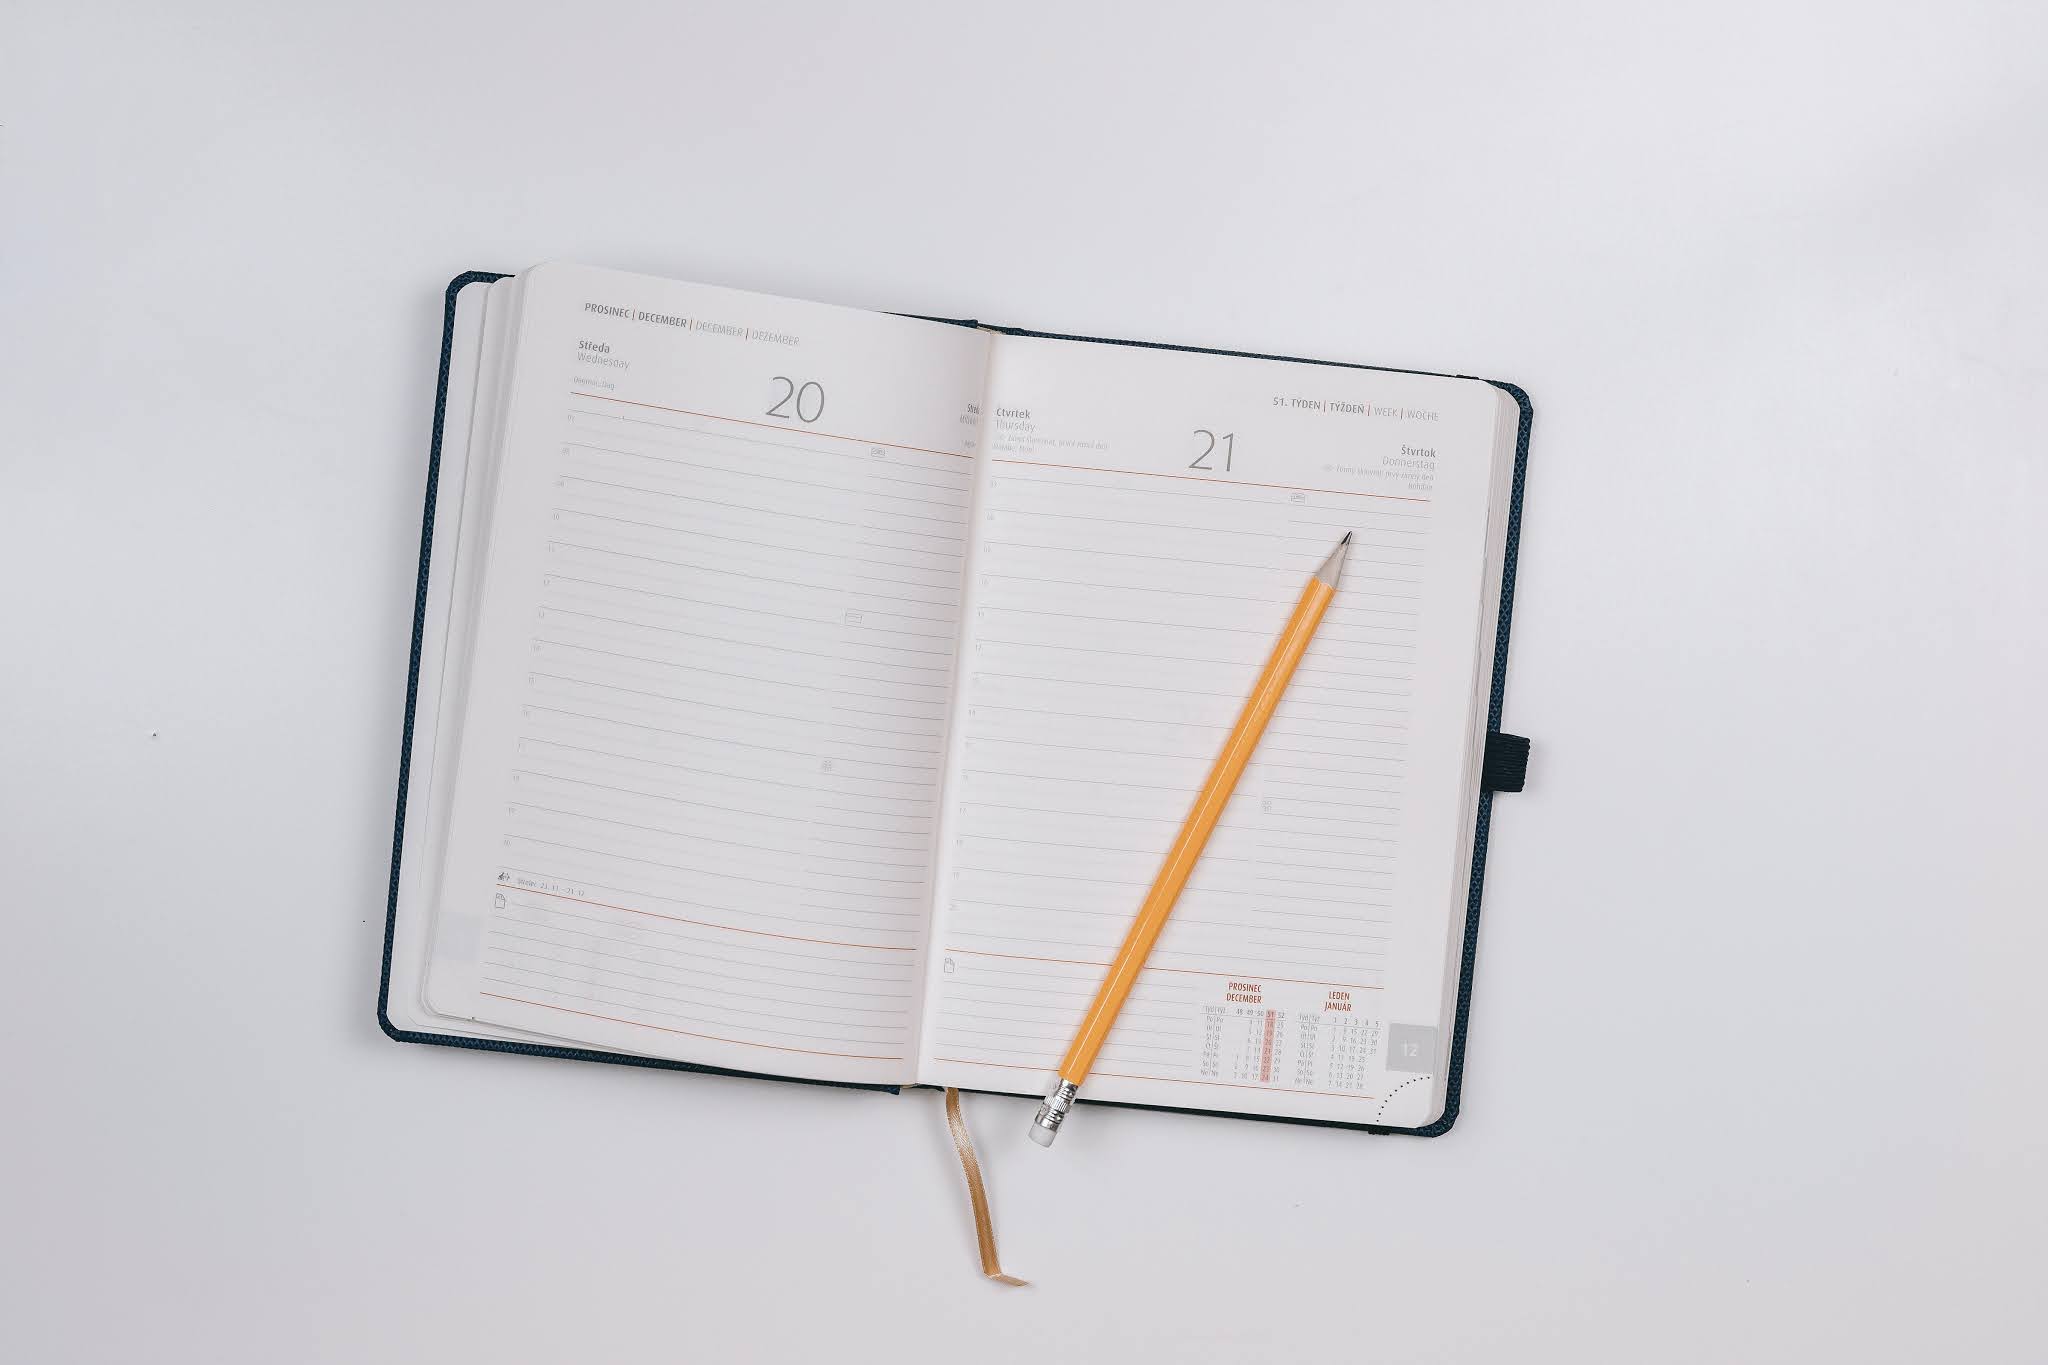
Today, I plan our menu twice a month: the 1st through the 15th, and the 16th through the end of the month. Several days before each two-week window, I text Rob the menu right after I add everything we need to the grocery order. That way, we both know what’s going to be available to eat.

The menu isn’t set in stone, meaning–I don’t say that on Tuesday the 6th, we’re going to have grain bowls for dinner. Instead, I pick the various dishes that I’m going to make during that two week period, and then when the “What do you want for dinner tonight?” question comes up, all we have to do is choose something from the list.
Knowing what’s on the menu helps us plan out what we need to have prepped for the next two week window.
But, of course, not all of our foods are prepped two weeks at a time. Remember–food prepping is about efficiency! We break down our food needs into four prepping cycles:
- Weekly
- Monthly
- Quarterly
- Annually
As we go through the next five parts of our vegan food prepping process, I’ll be noting which foods are prepped during which cycle.
Now let’s get into the prepping details!
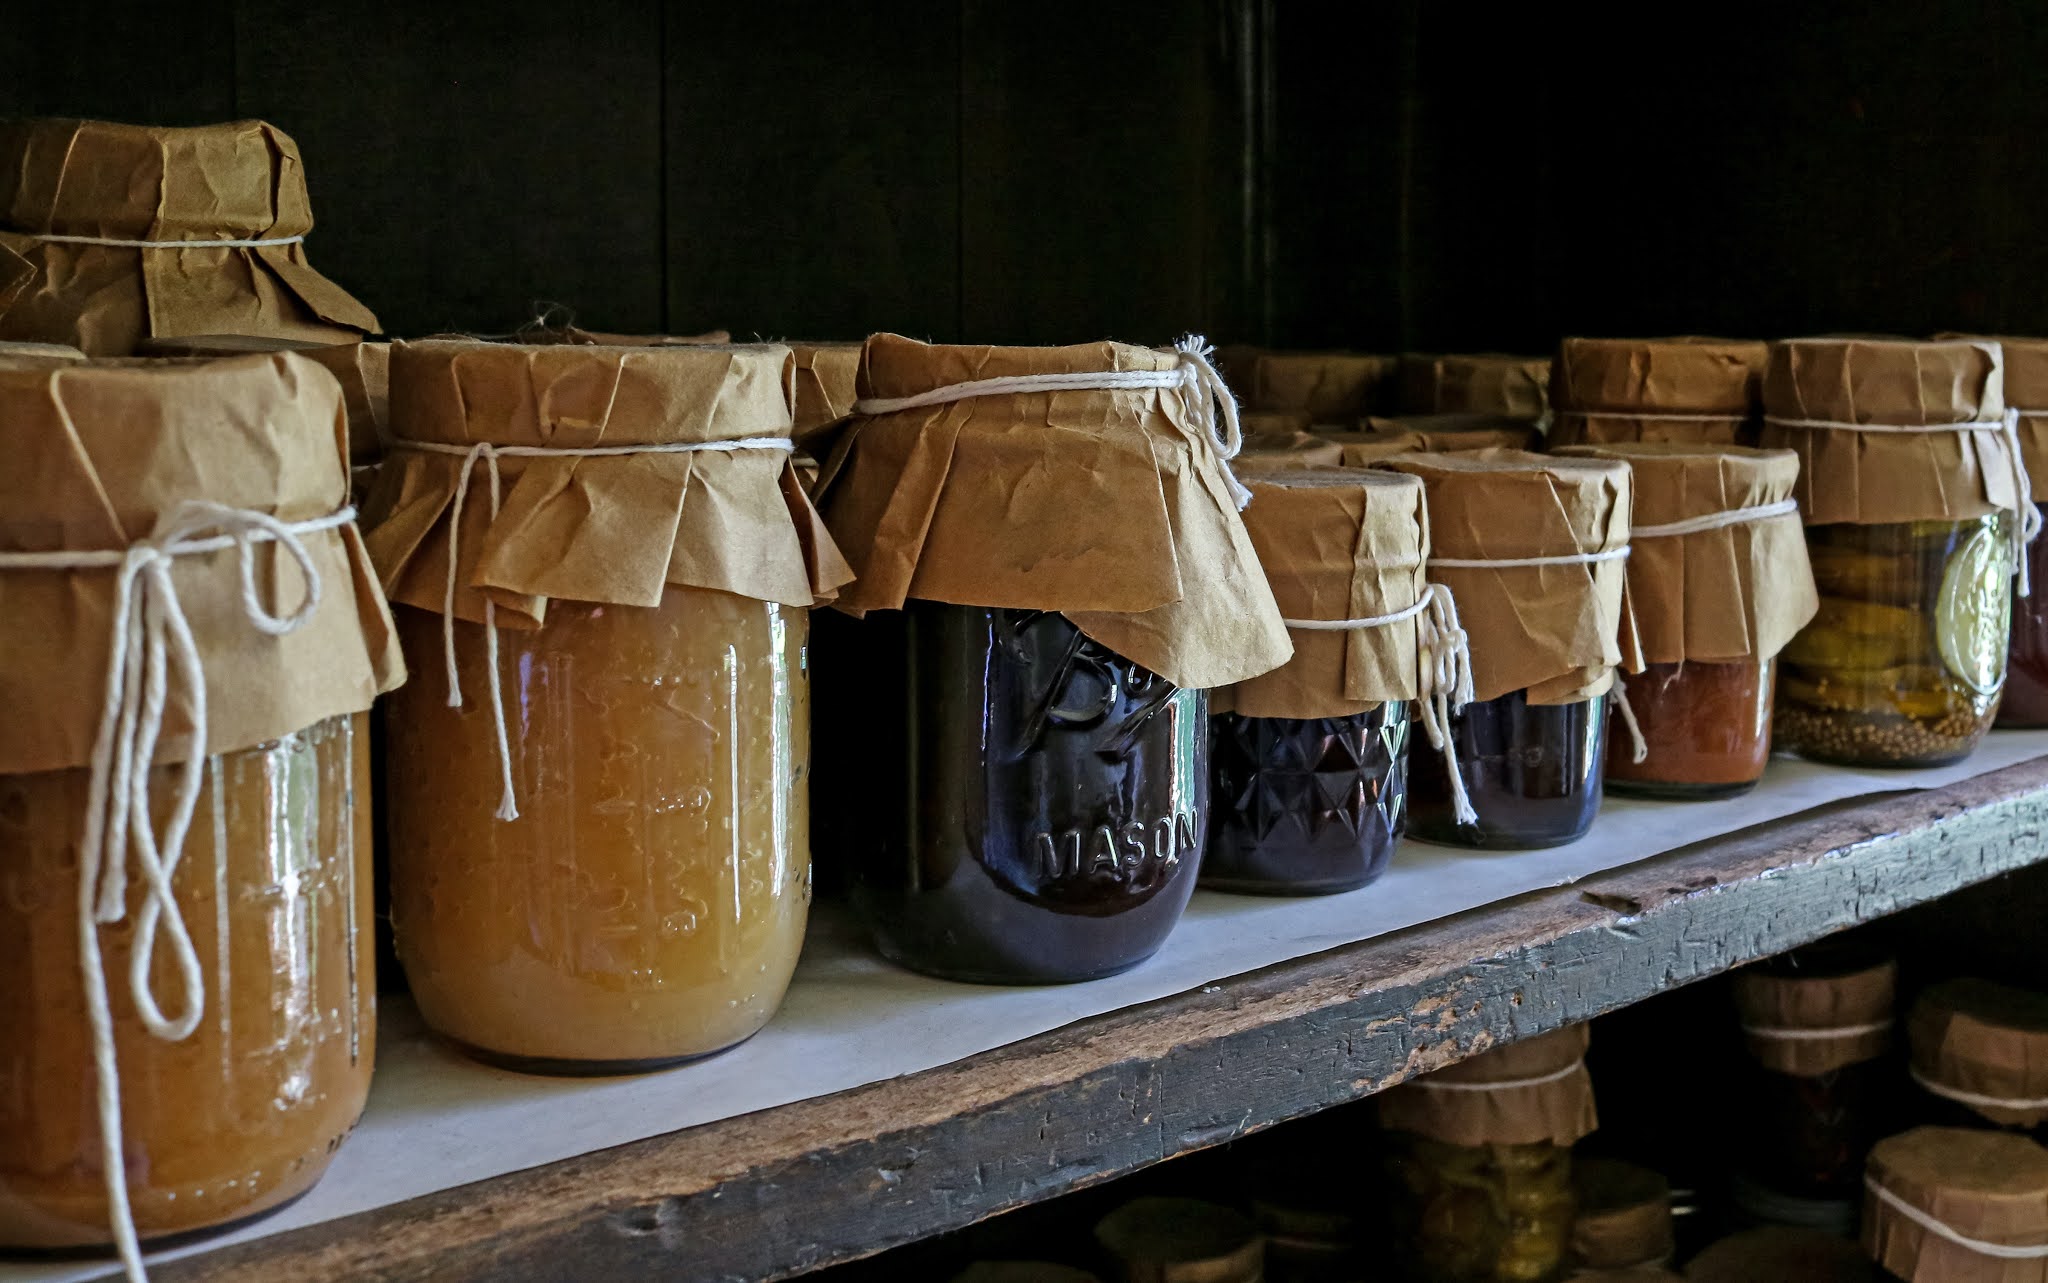
PREPPING CANNED GOODS & PRESERVES
Currently, we only can fruits, so this is an annual activity that happens in the mid-to-late summer. During this time, we’re preserving things like apple sauce, pie fillings, sliced peaches, jams, etc.
At the same time, I also make fruit purees that we freeze for use in future baked goods and sauces. Purees won’t last a full year in the freezer, but since we make them from the same fruits that we use while canning, it’s best done at the same time, and we can enjoy them through the end of the calendar year.
We plan to expand our canned goods in the coming year, and I’ll talk about the changes we’re planning to make in this year’s annual cycle a bit later.
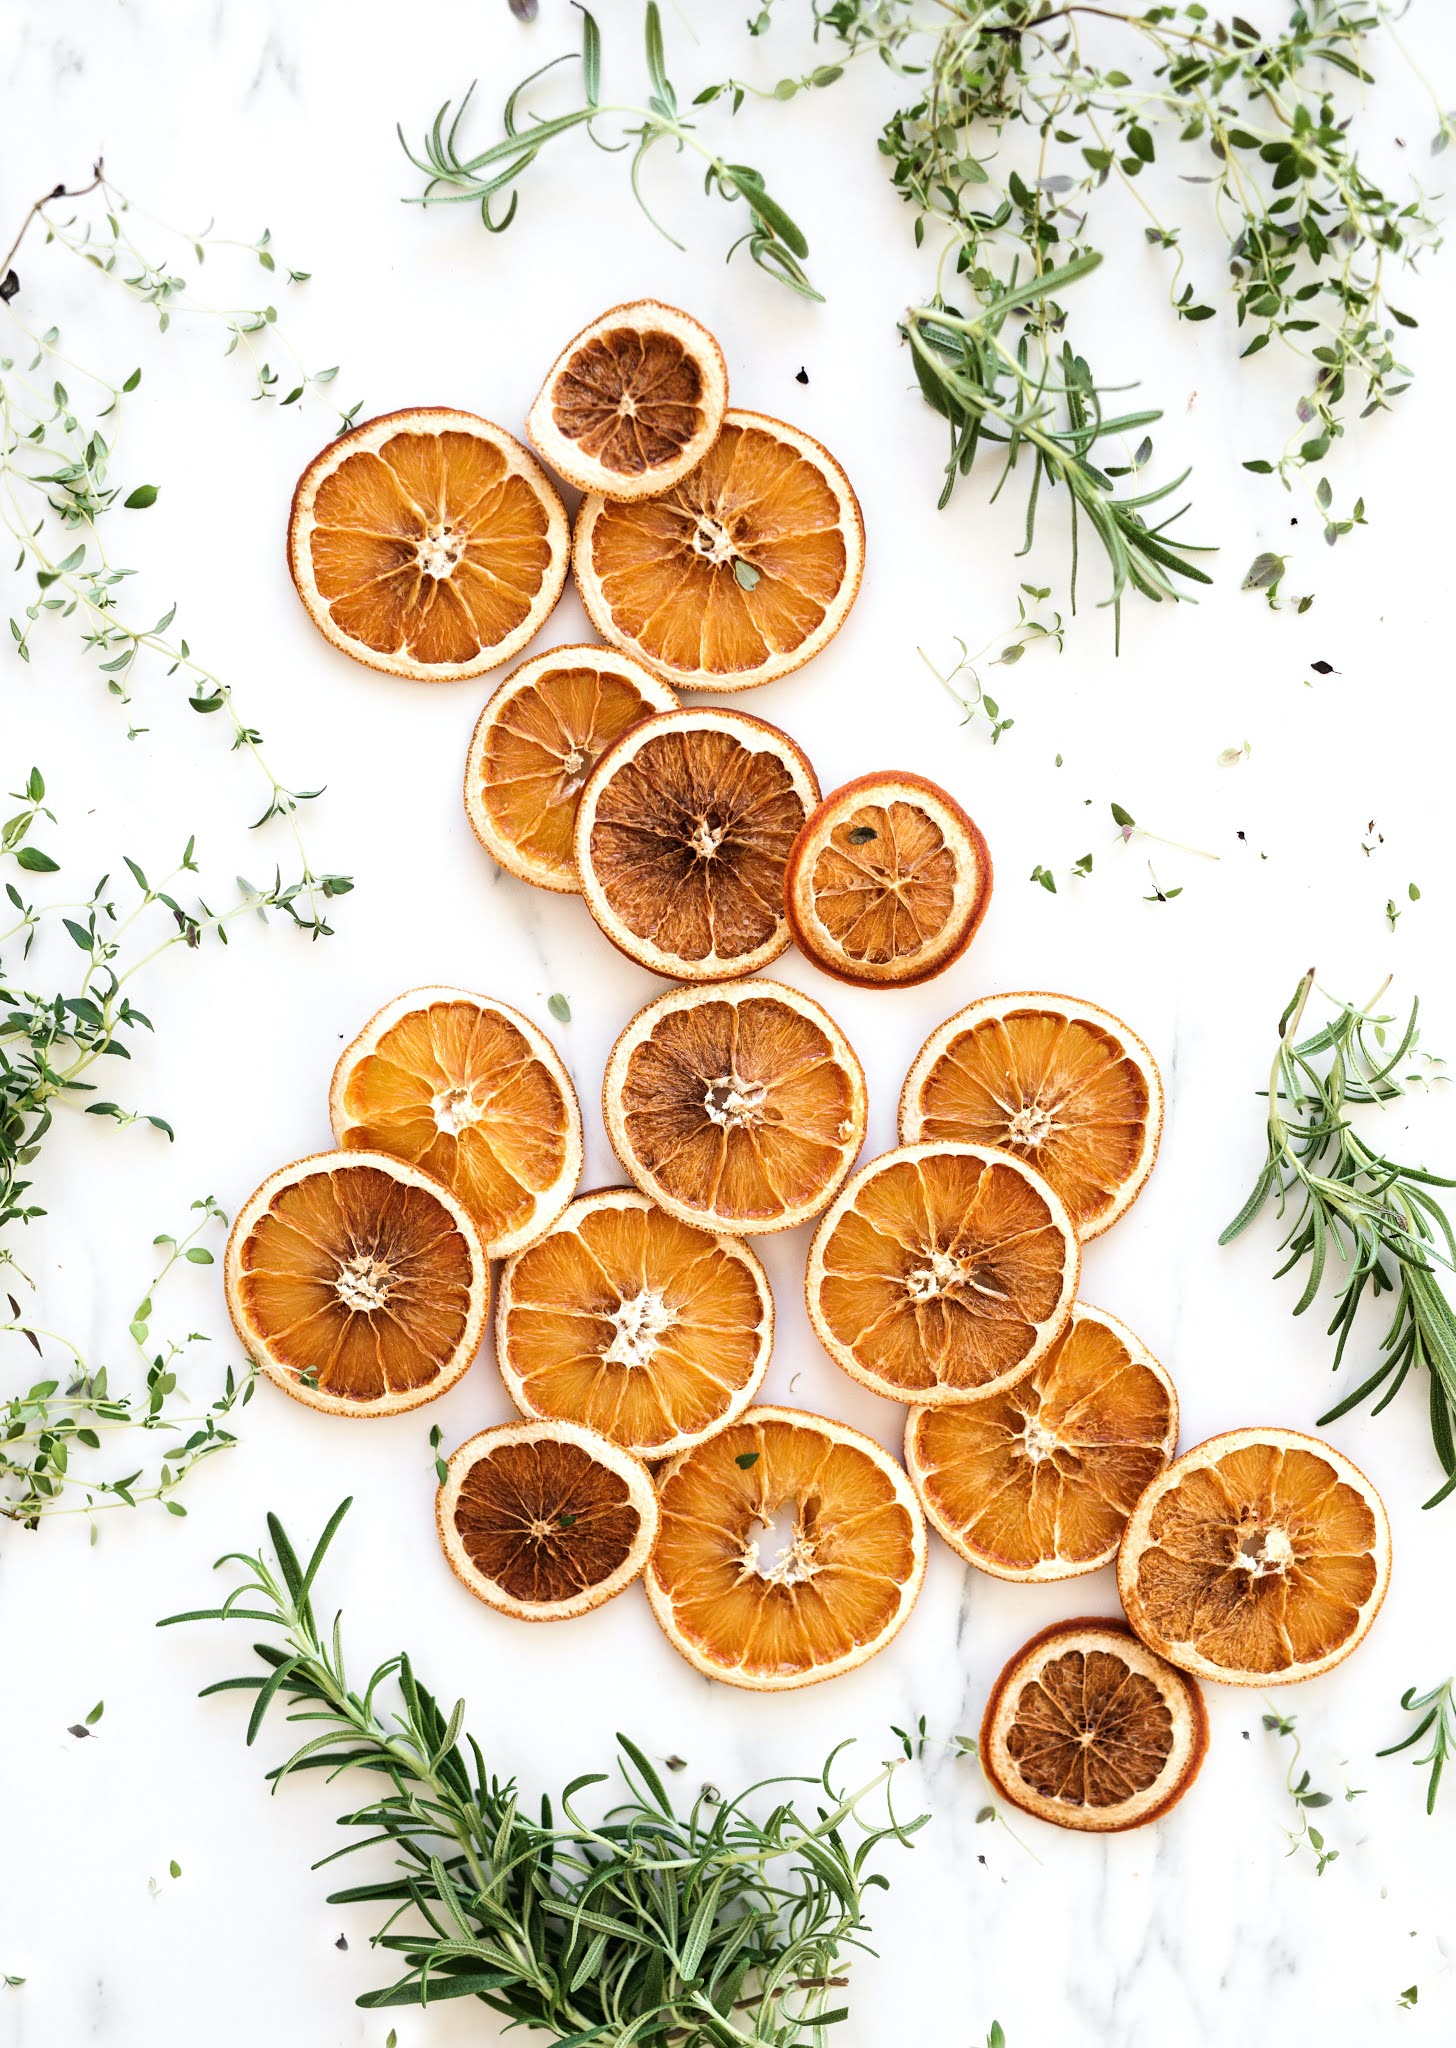
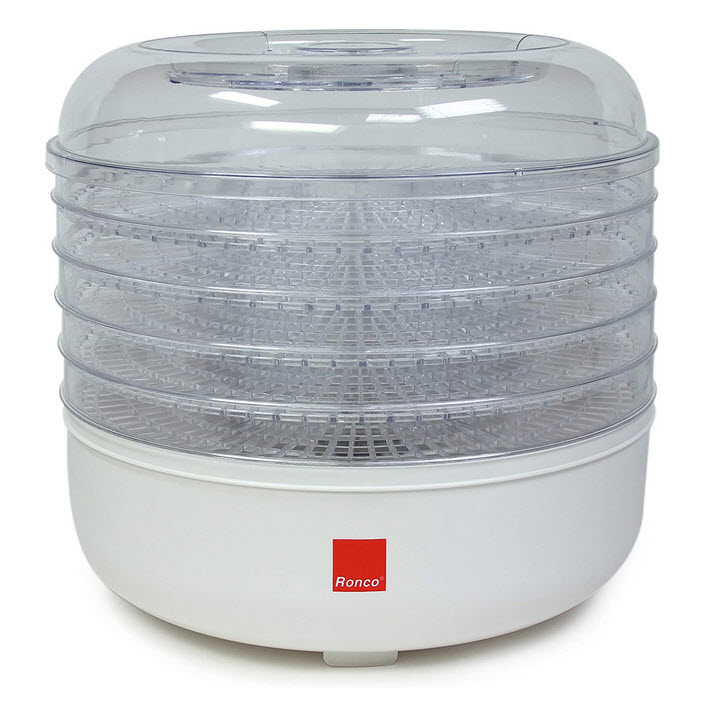
PREPPING DEHYDRATED STAPLES
 |
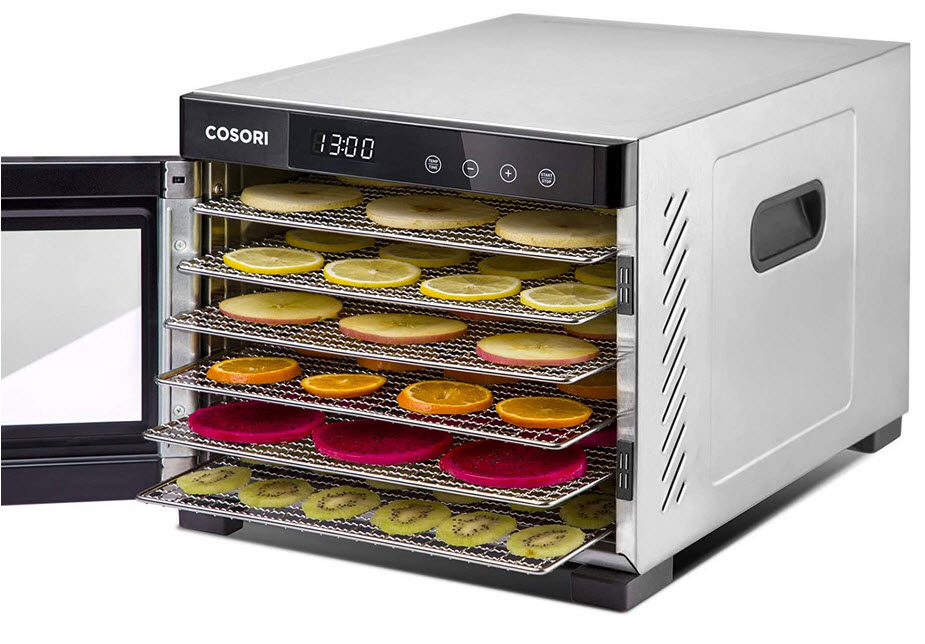 |
When you’re dehydrating, you also need to think about how you store your dehydrated foods to keep them fresh for the long-term.
We own the FoodSaver vacuum sealer machine, and I definitely think this is the best option on the market from my experience. While it is a bit of an investment to begin, what you’ll save from not throwing away food that’s gone bad will make it worthwhile.
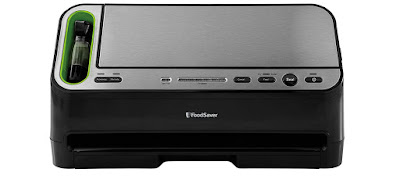
You can use this machine to vacuum seal all kinds of foods–not just your dehydrated items. And it’s super easy to make single-serve portions for popping into lunches, as well. The possibilities are endless!
I will note that while the FoodSaver brand of vacuum sealer is the most recognized name, it’s not the cheapest option on the market. This model of the Nesco line of vacuum sealer machines is highly rated for nearly half the price.
The tradeoff is that FoodSaver stands behind its products with a 5-year warranty, while the more affordable options usually only have a 1-year guarantee. So, it’s really all about how much risk you’re willing to take.
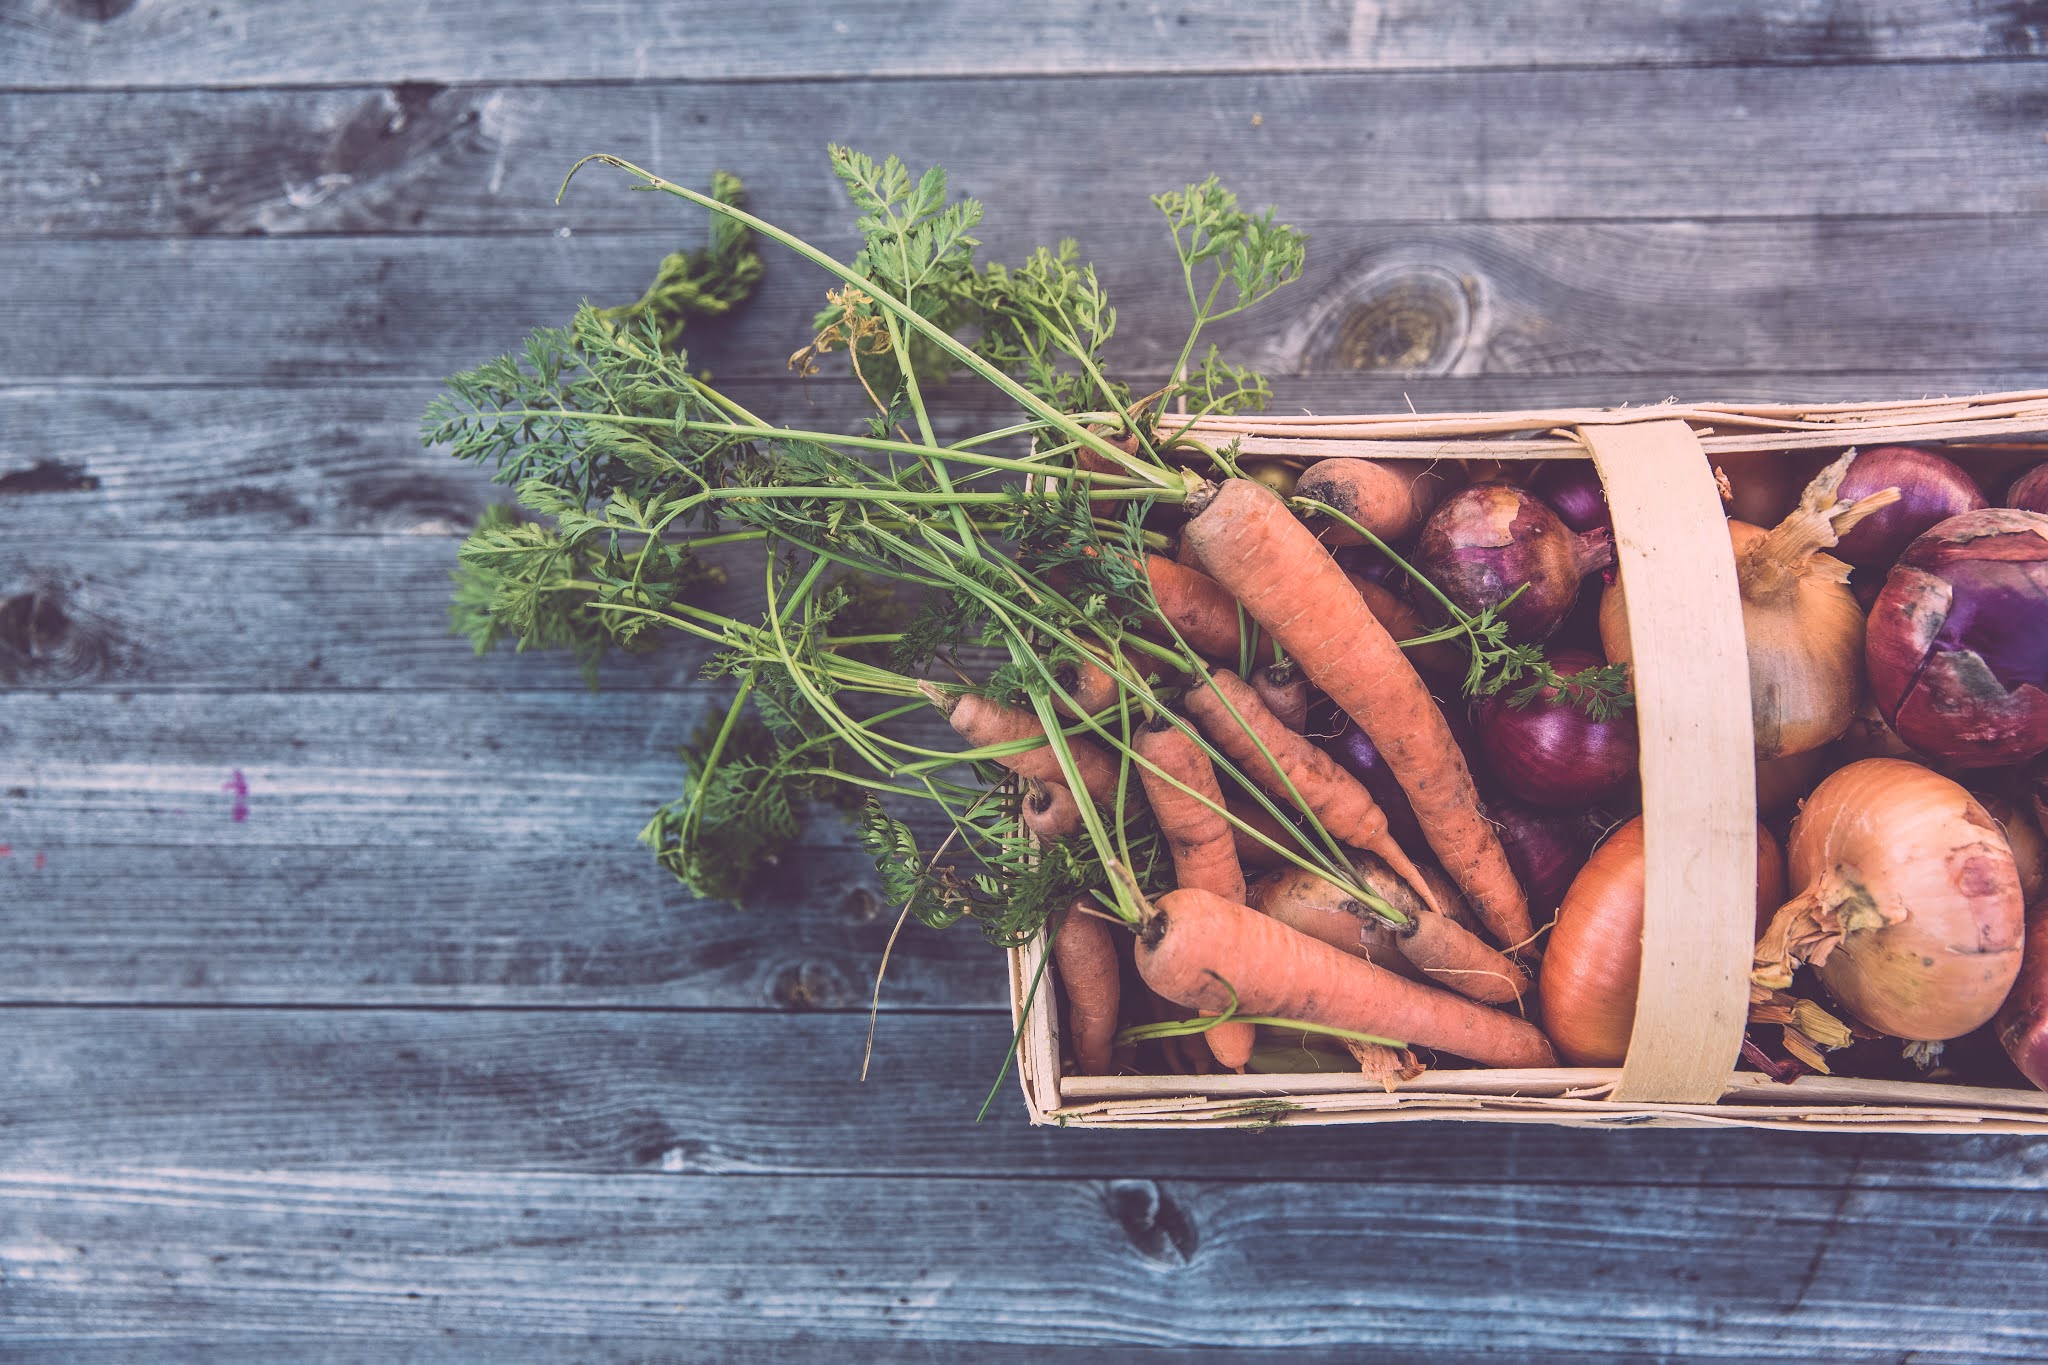
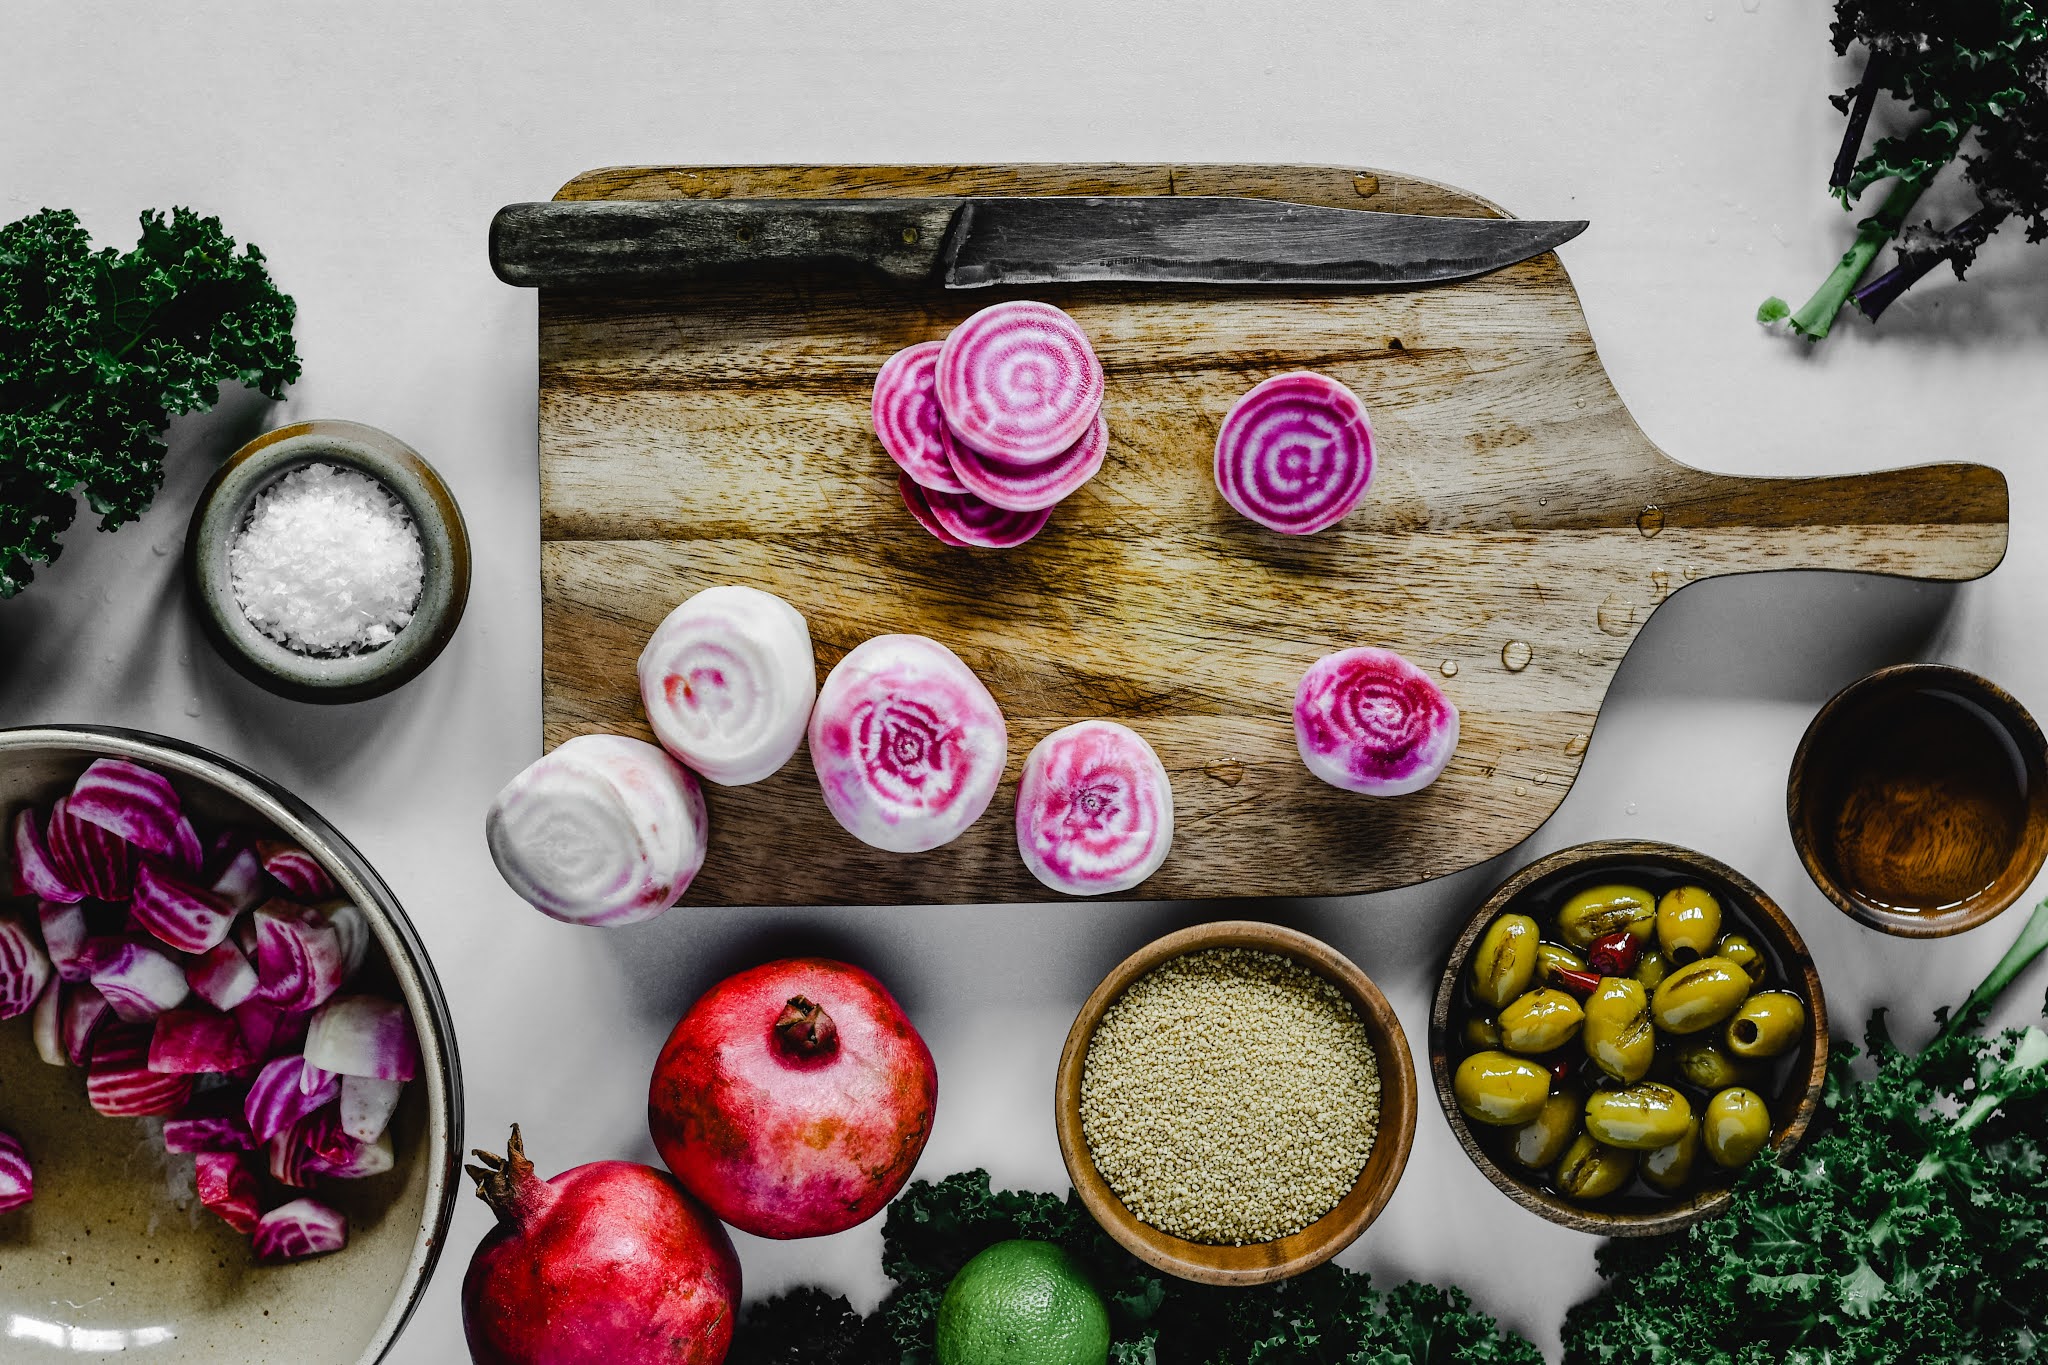
PREPPING RAW INGREDIENTS & PRODUCE
When it comes to prepping our produce, we have fresh items that we keep in the fridge, and also ingredient items that we prep for freezer storage.
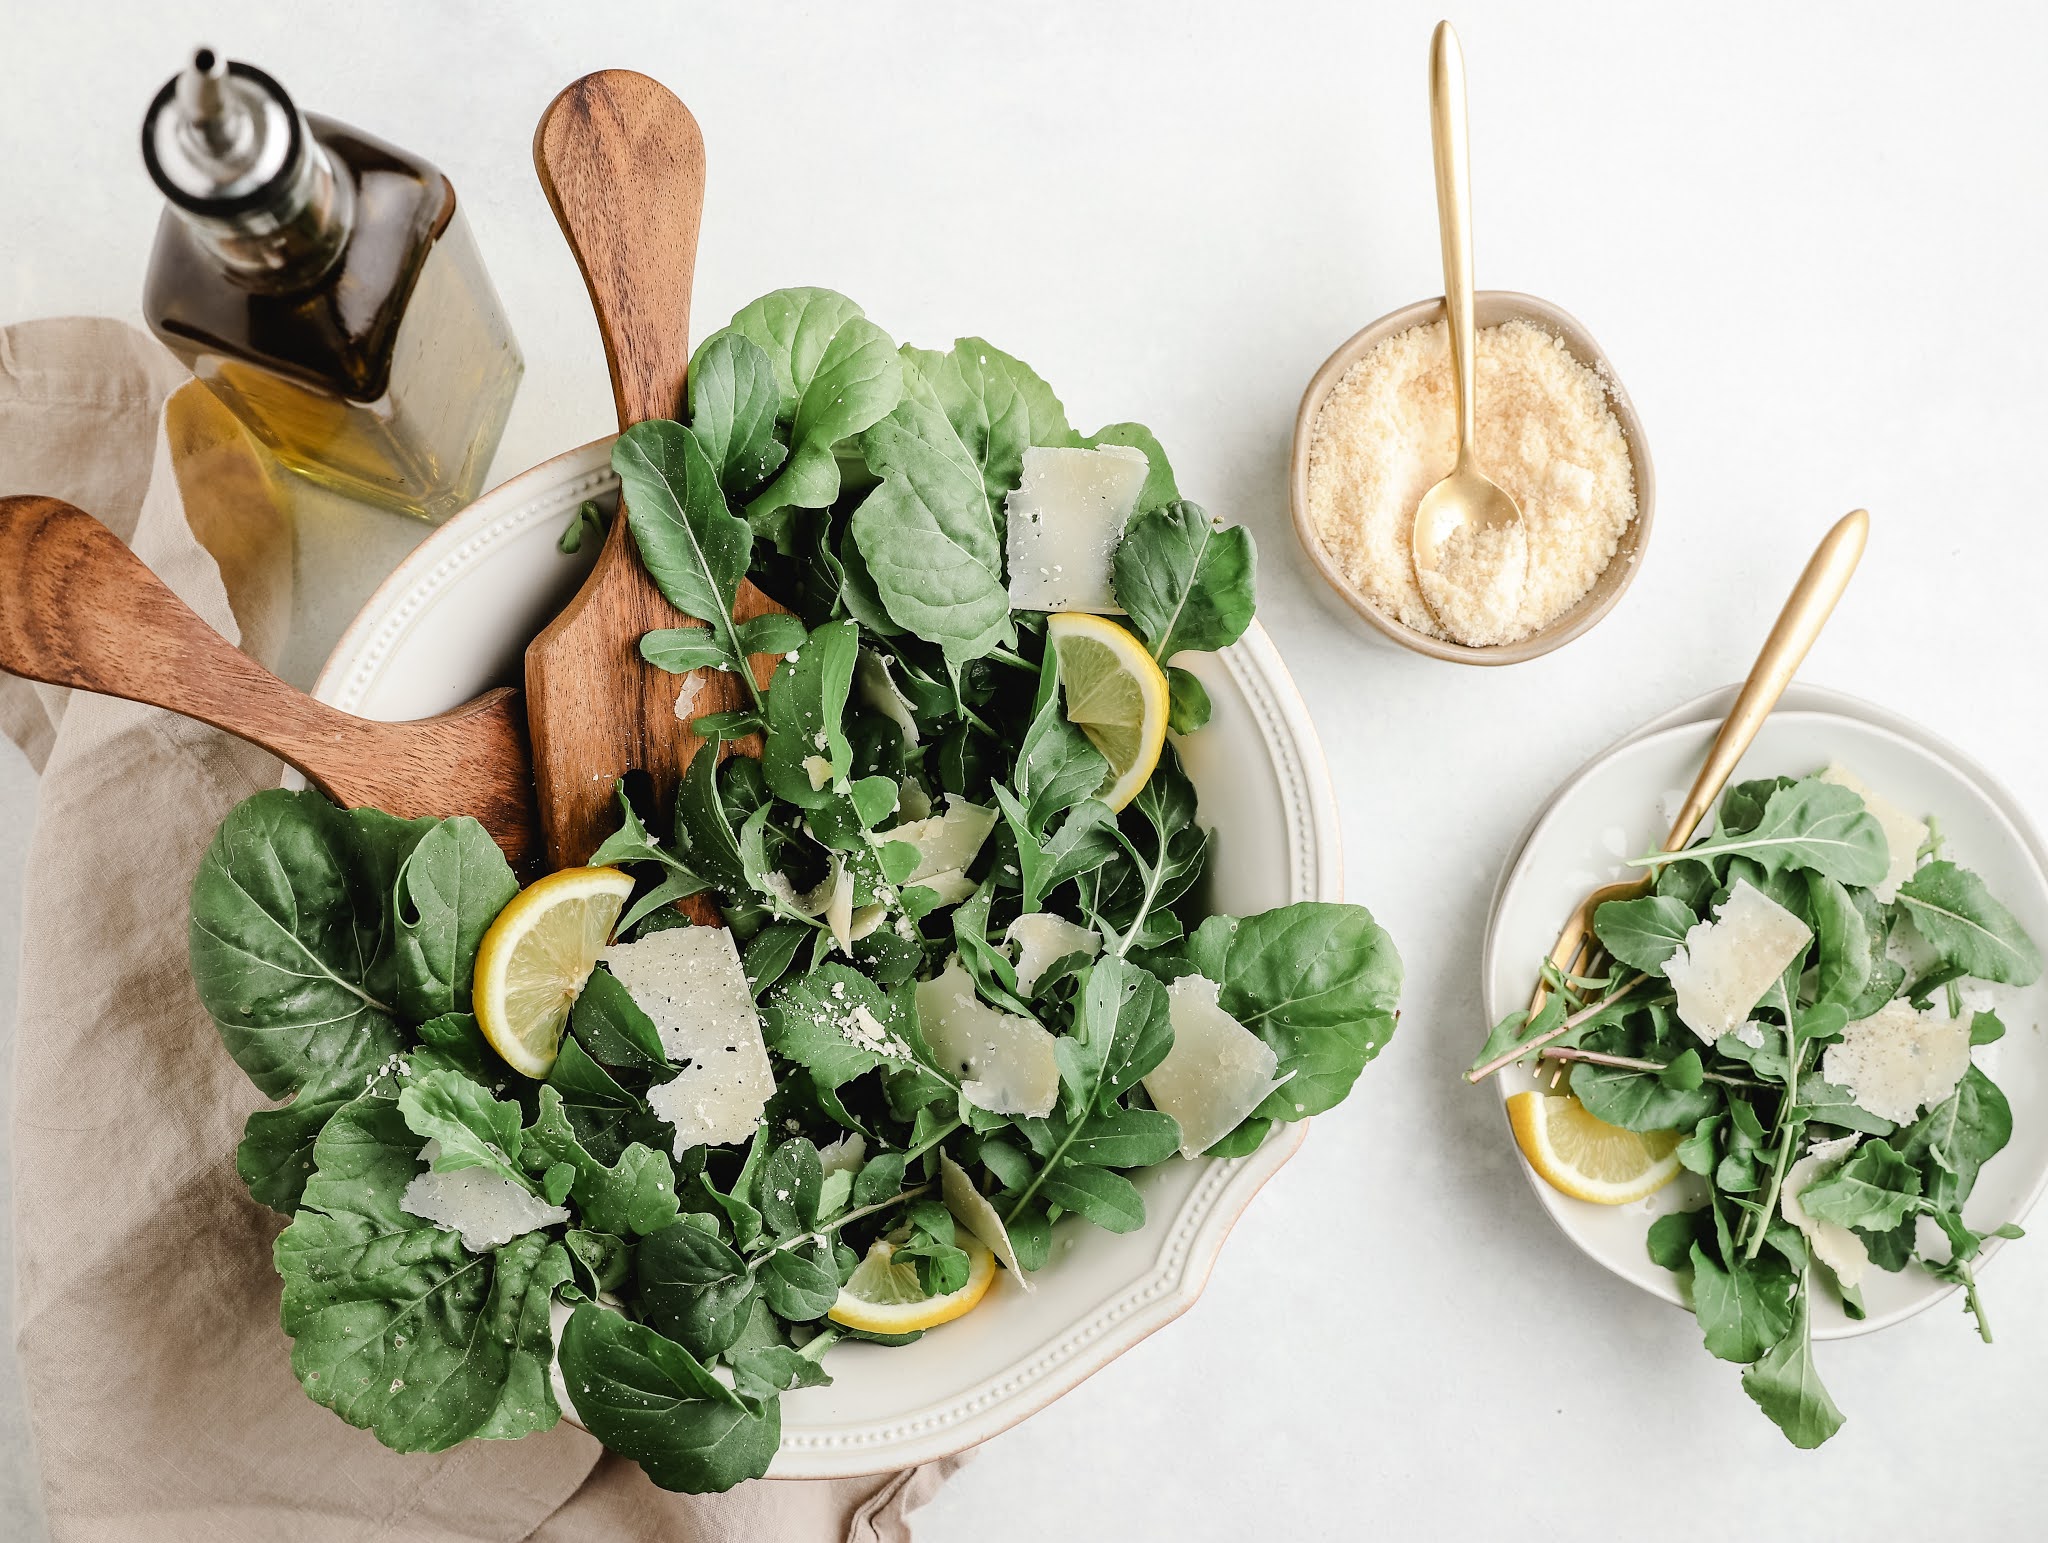
In The Fridge: Weekly, we prep raw ingredients and produce for fridge storage. This is always based upon what we normally snack on, plus what we’ll need for recipes during the week. For example, I chop up veggies like celery and carrots for easy snacking, and I also prep ingredients that I use for my daily salads for lunch.
If I had to pull out all of the ingredients every single day to put together a salad, I know that there would be busy days where I’d opt for something that was faster to make–like a microwave frozen meal. Those aren’t nearly as healthy, and I know that my body simply doesn’t feel as good eating those foods. So, it’s important to me to make it easier to choose healthy options.
I even make my own salad dressing every weekend–just one week’s worth at a time. If you’ve never done this, it’s seriously so easy, not to mention cheaper (and healthier) than fancy dressings. I use my immersion blender, and it takes no more than 5 minutes at the most.
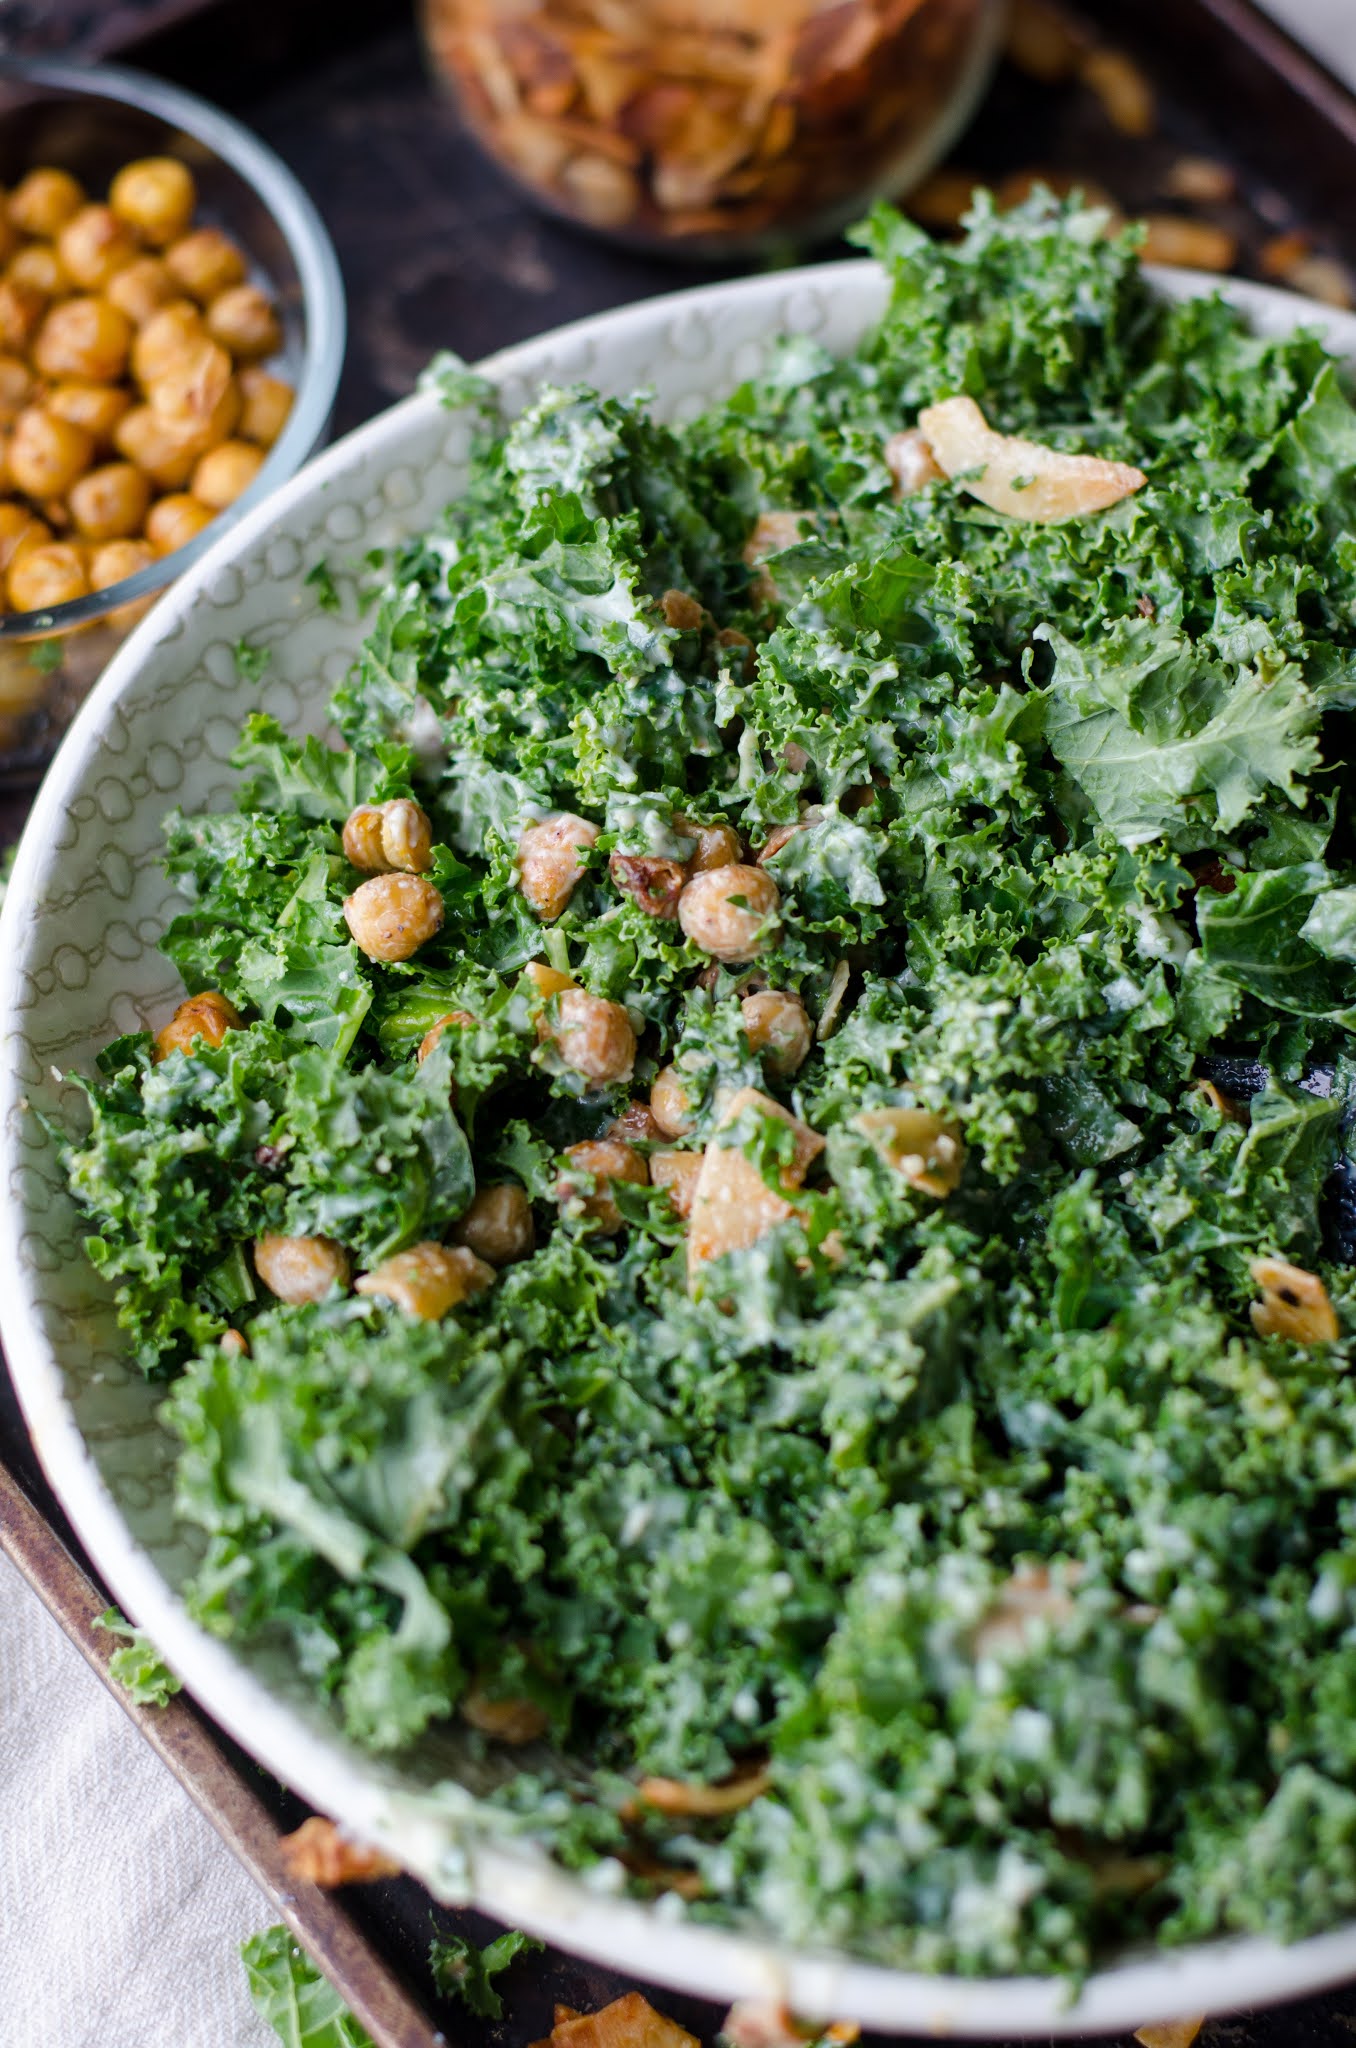
Other salad ingredients that I prep weekly are grated vegan parmesan cheese, pre-measured containers of slivered almonds and cranberries, chickpeas, and marinated vegan chik’n.
Let’s talk money savings.
We used to buy this brand of grated vegan parm. It’s a 4-ounce container that runs about $5 per tub. We now purchase this 5.29-ounce block of vegan parm, which we grate ourselves, for the same price. They taste exactly the same, and that’s about a 25% savings. While it might be less than $2 a month on average, it all adds up.
My grandfather had a saying that he drove into me while I was growing up: Watch the pennies and nickles, and the dollars will take care of themselves. It’s really true!
This weekly chore saves us money, but also makes sure that we have healthy ingredients ready to go–thereby eliminating any excuses to make healthy meals. Win win! At lunch time, I just pull out all of the prepped ingredients and build my salad in a couple of minutes time.
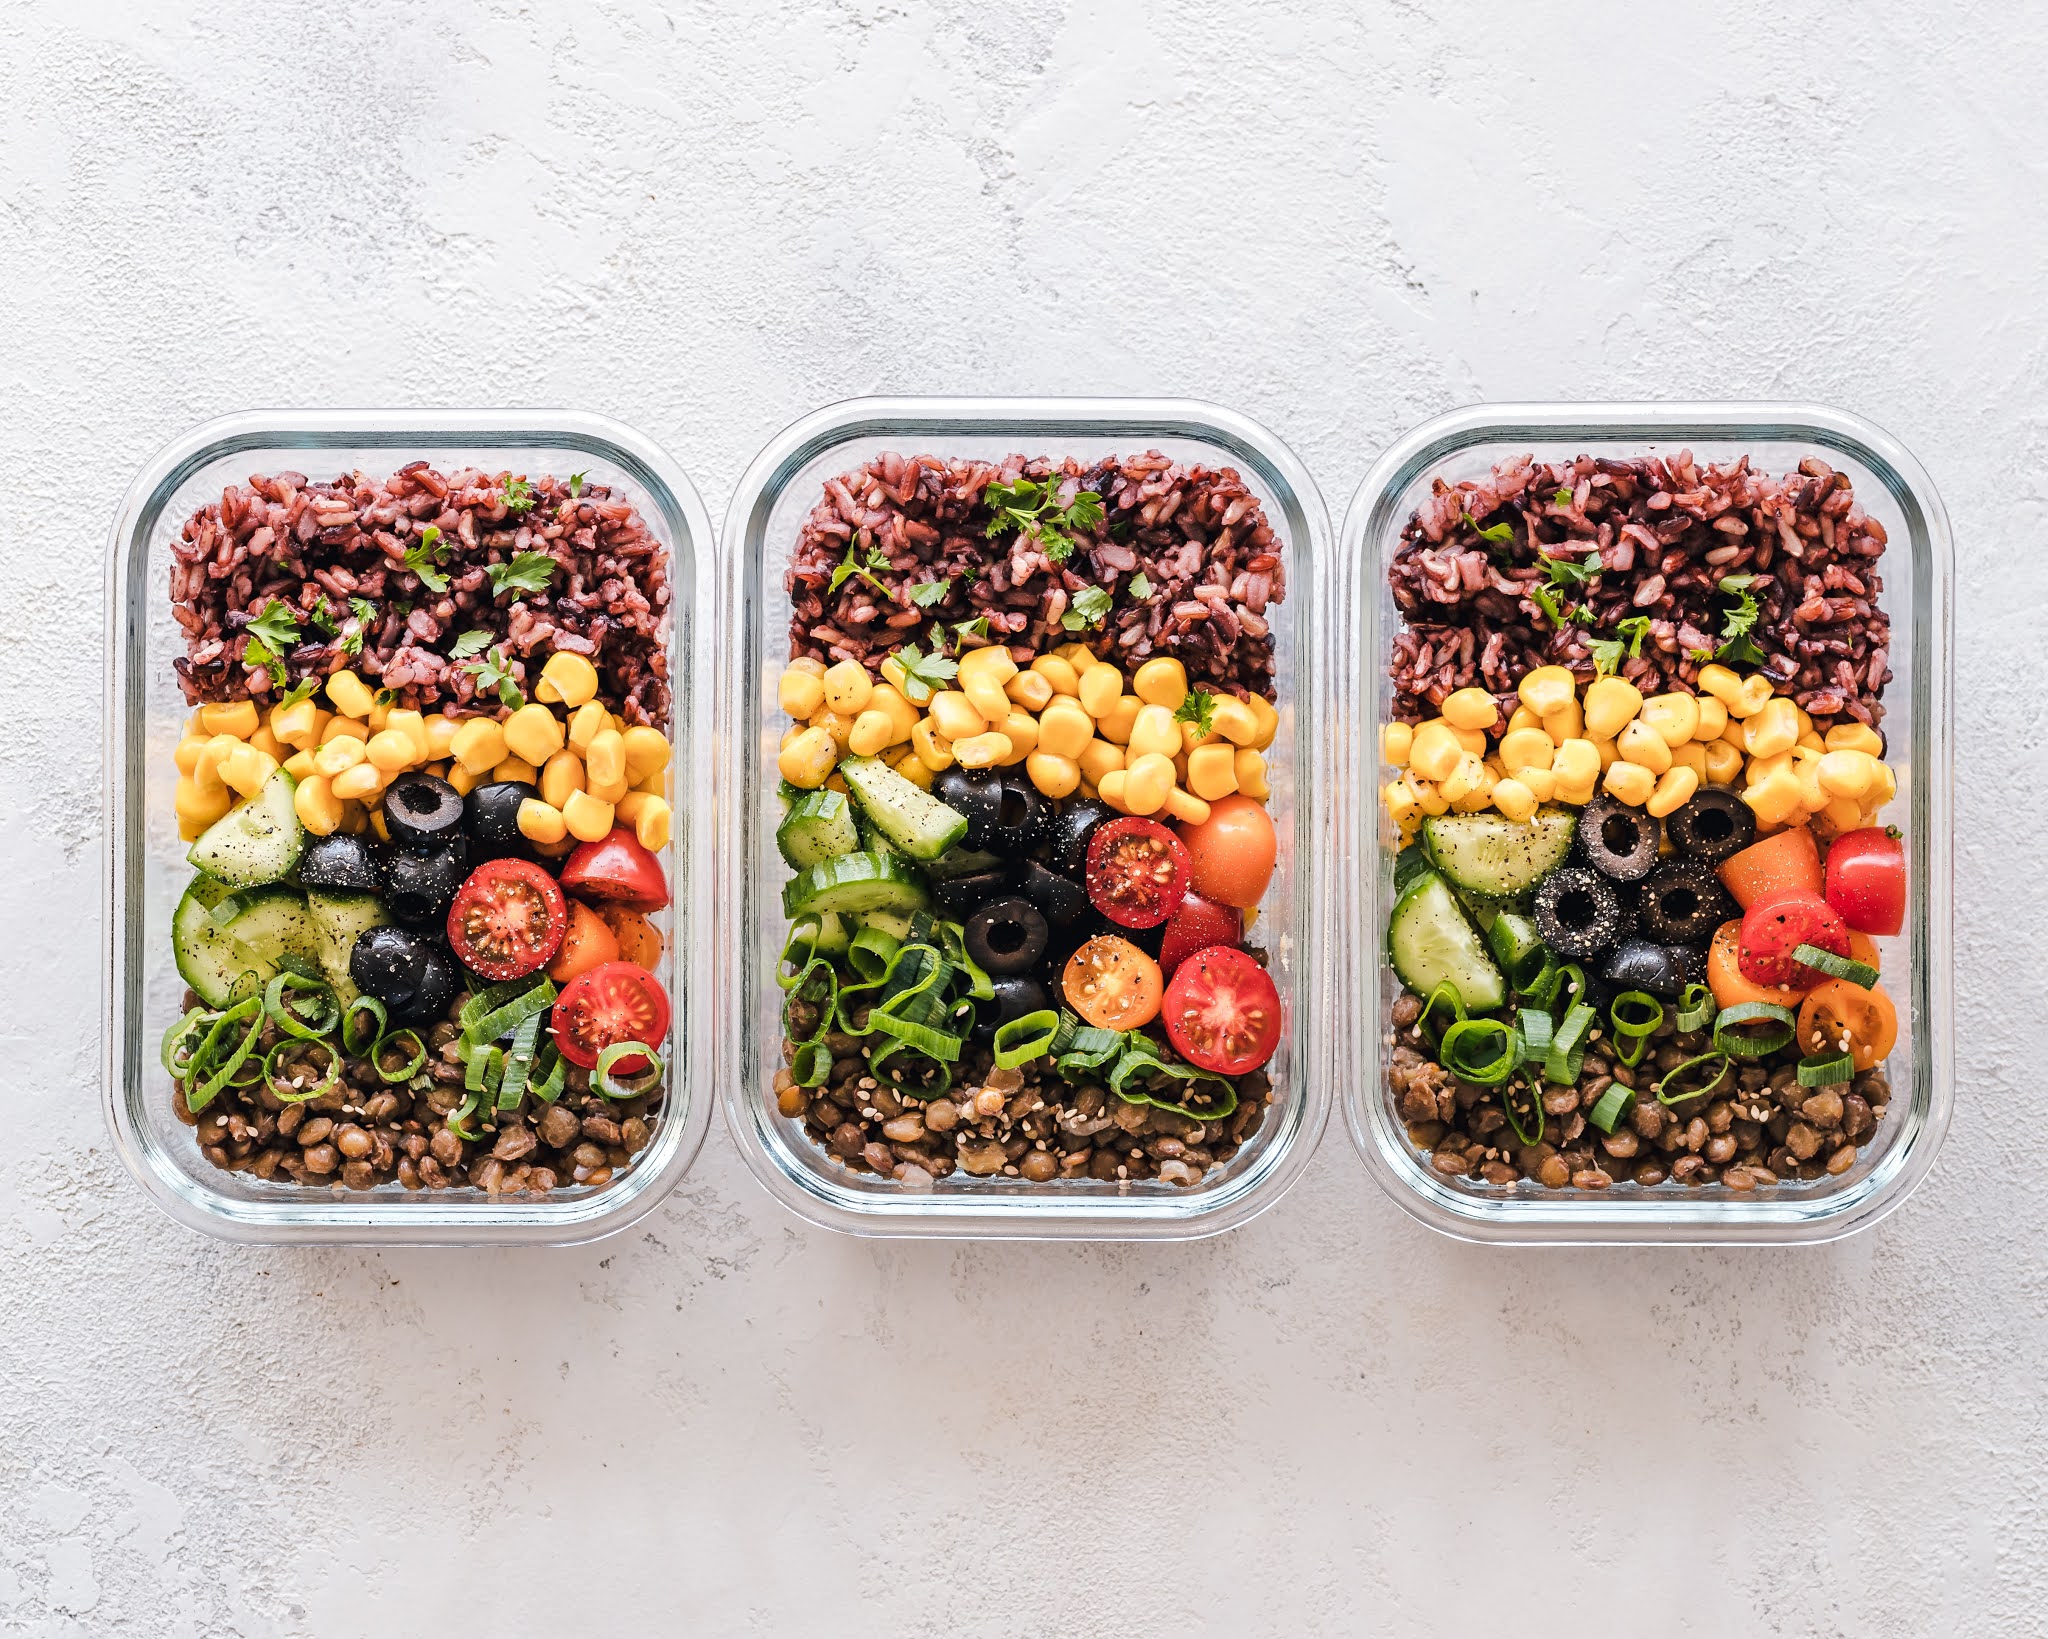
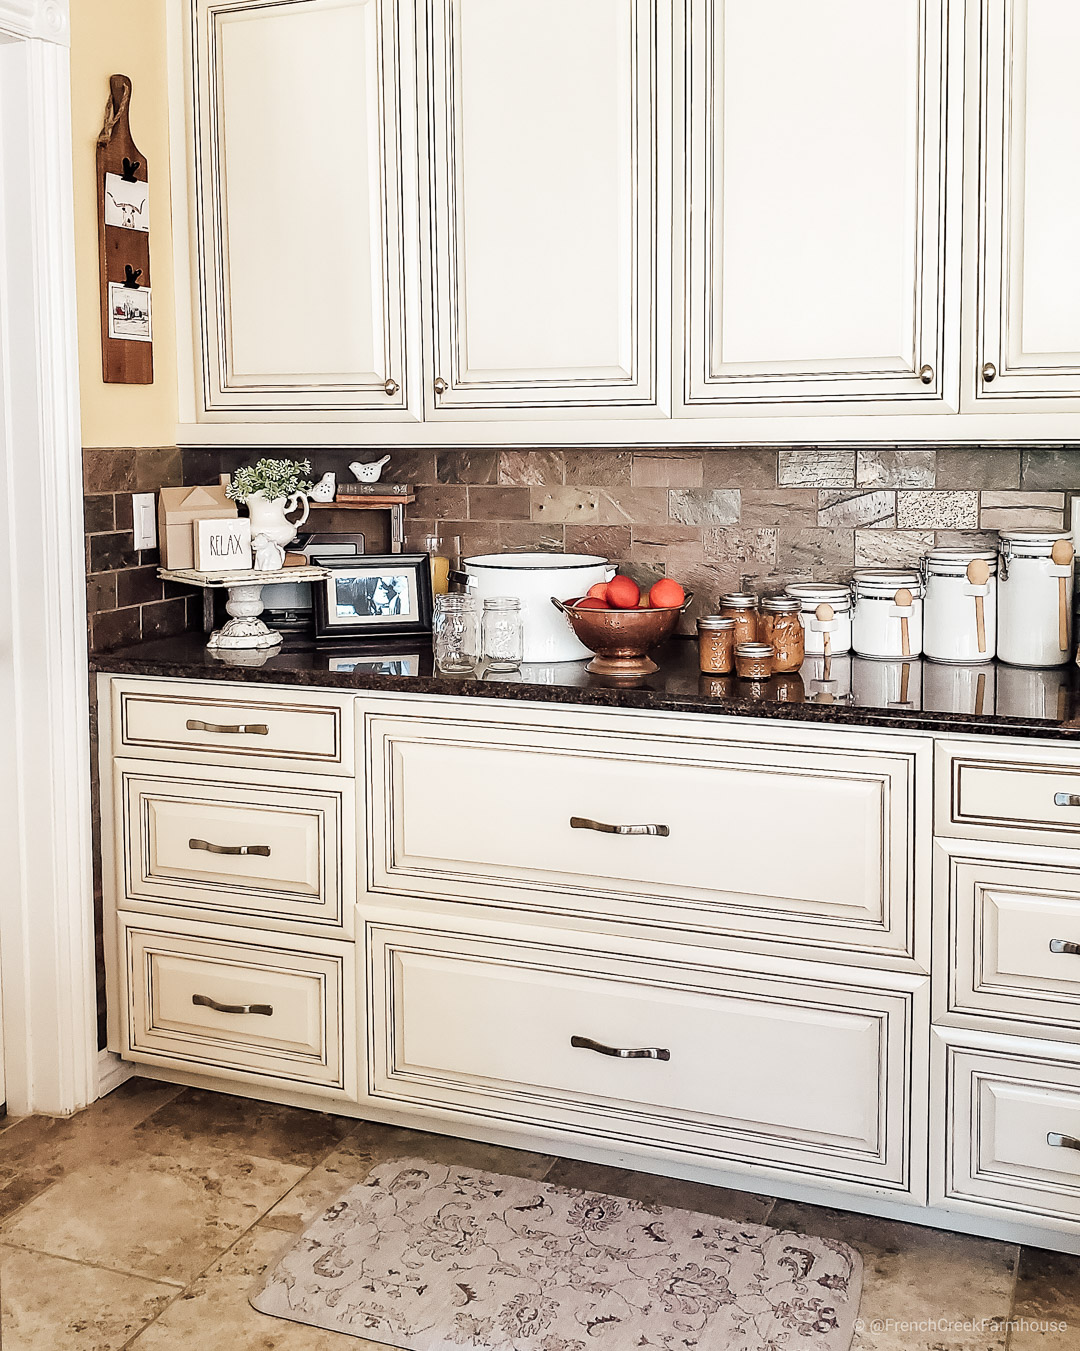
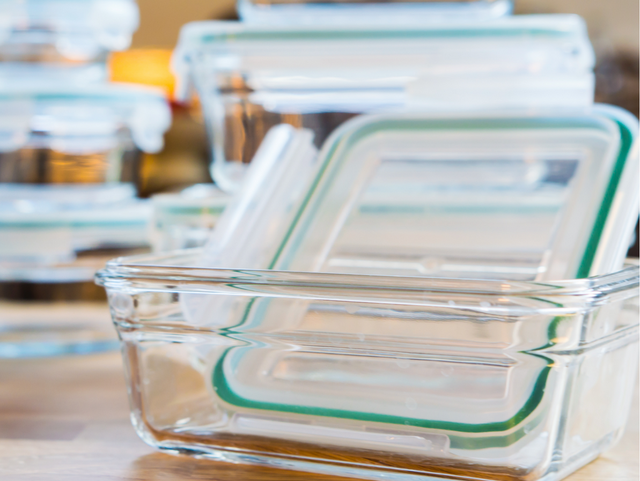
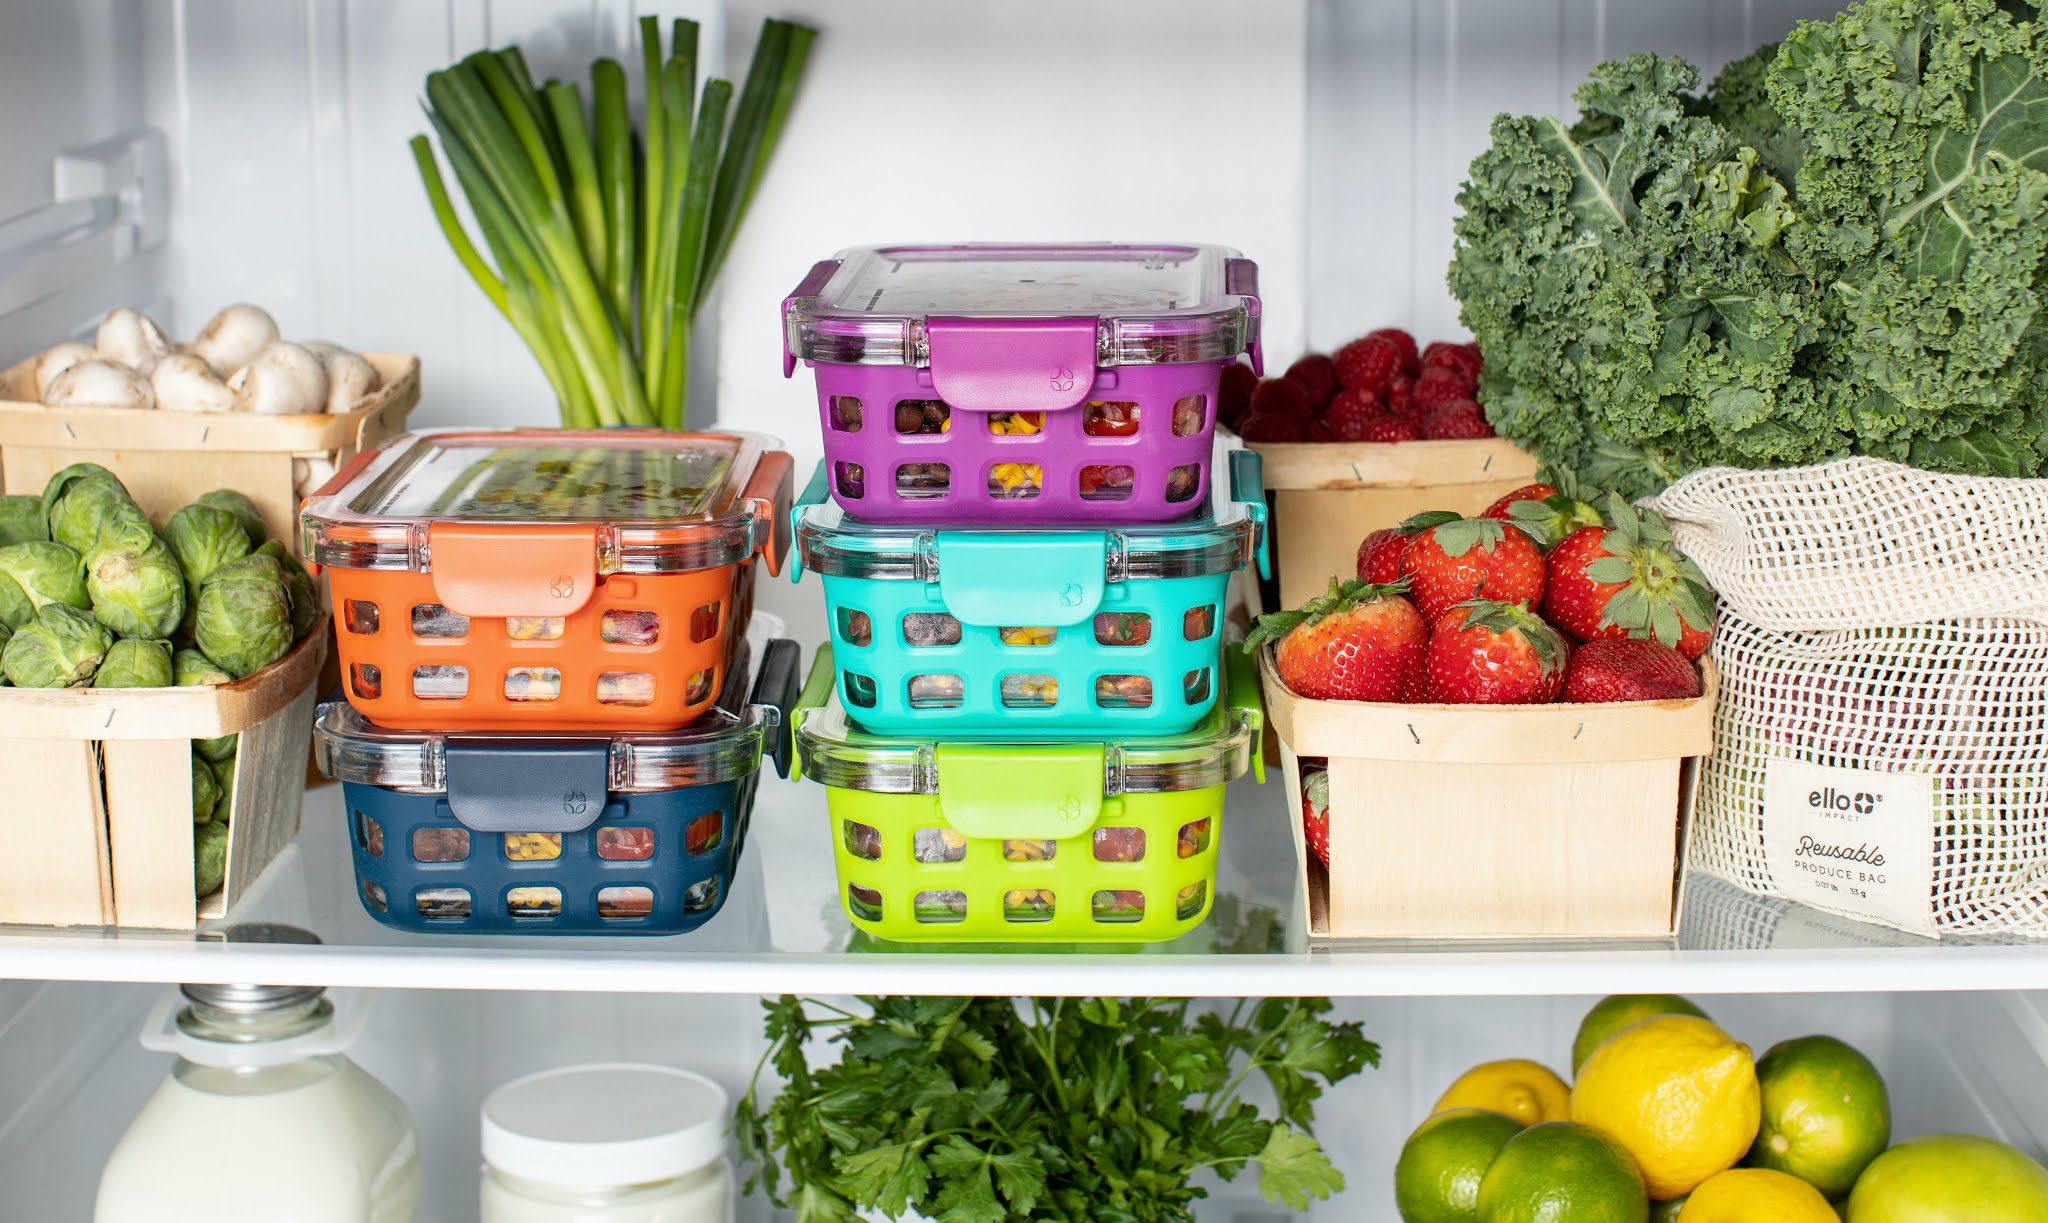
In terms of storage for these fresh ingredients, I am 100% dedicated to these glass containers. Not only do they look attractive stacked in the fridge (which makes you more likely to choose fresh snacks), but they keep food fresh so much longer!
 |
| Credit: USA Today |
We used plastic storage containers for a long time, but they don’t have air-tight seals so the food usually won’t last more than a few days–certainly not a full week. But these glass storage containers are amazing. A week’s worth of fresh ingredients will actually keep for the entire week–imagine that!
If you’re ready to upgrade your containers, I’d start with purchasing this multi-pack which includes several different sizes, plus this 3-pack of large rectangular containers. These two sets combined should cover most weekly fresh prepping needs. If you have a large family, maybe you’ll need to double that.
We’ve been using our containers for over five years, and we’ve never had a single problem with them. We wash them in the dishwasher, as well as giving the seals an extra hand-wash to make sure they’re very clean. We do not, however, reheat food inside the containers. If we’re storing something that needs reheating, we’d dish out that amount onto a plate to reheat.
I include this note because some people have left reviews saying that their containers shattered in the microwave. Honestly, I suspect this is mostly due to user error. Basic science will tell you that you can’t take glass from a super cold environment to a super hot environment and expect it not to break. When used properly, I doubt this would have happened, and we’ve certainly never experienced it.
Now, let’s move onto freezer storage items.
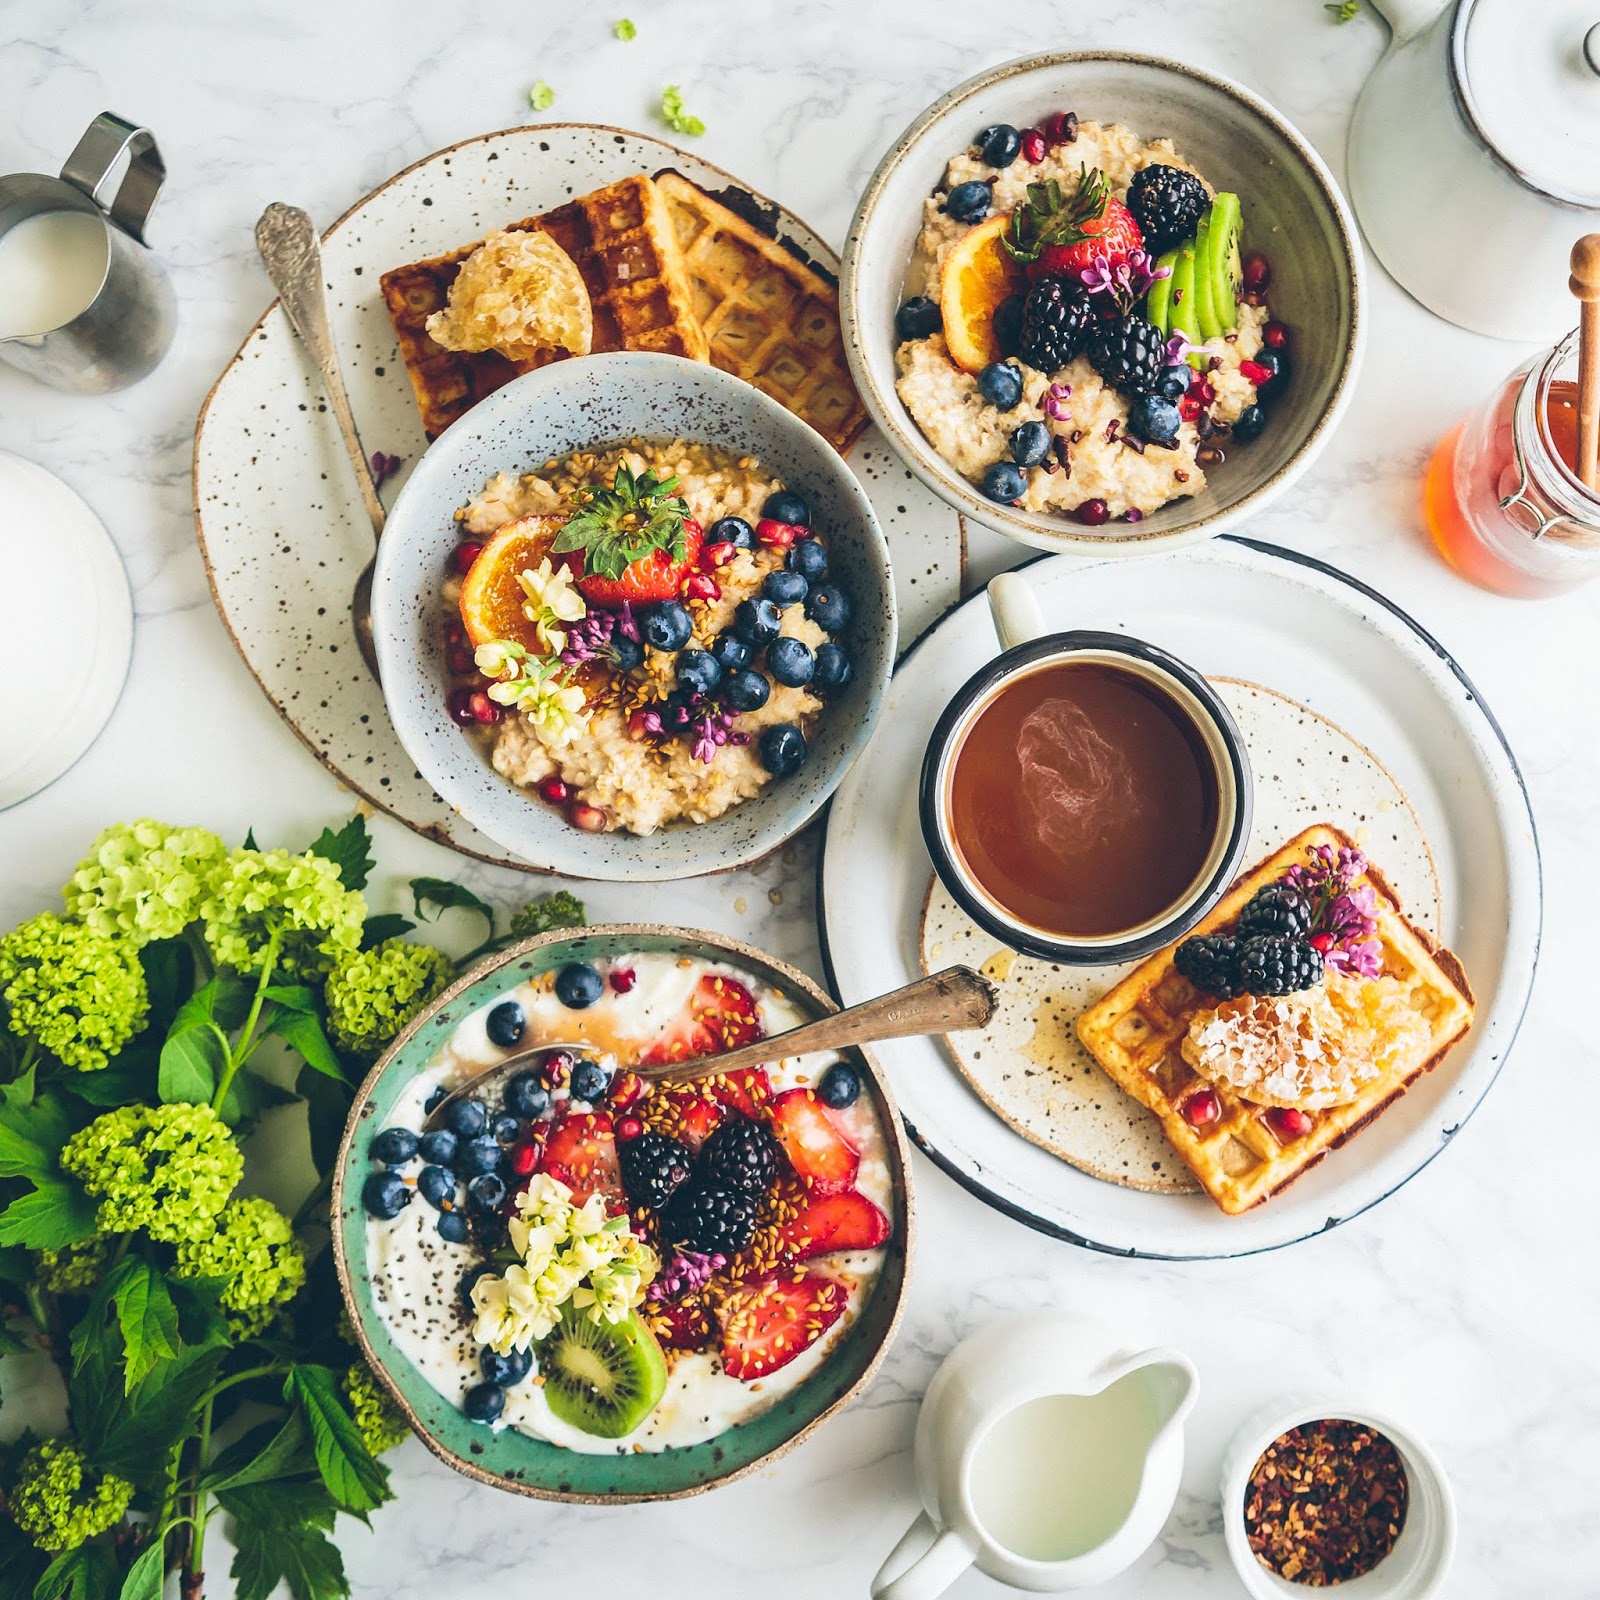
In The Freezer: Each month, I prep smoothies for breakfast. I’ve been doing this for over ten years, and it’s become like a necessity for my health. I make true fruit-and-veggie smoothies…not fruity milkshakes trying to hide behind the name “smoothie”. Mine are loaded with vitamins and healthy ingredients, and they’re my breakfast six days a week (on Sundays, we make a big family brunch instead).
Here’s my process.
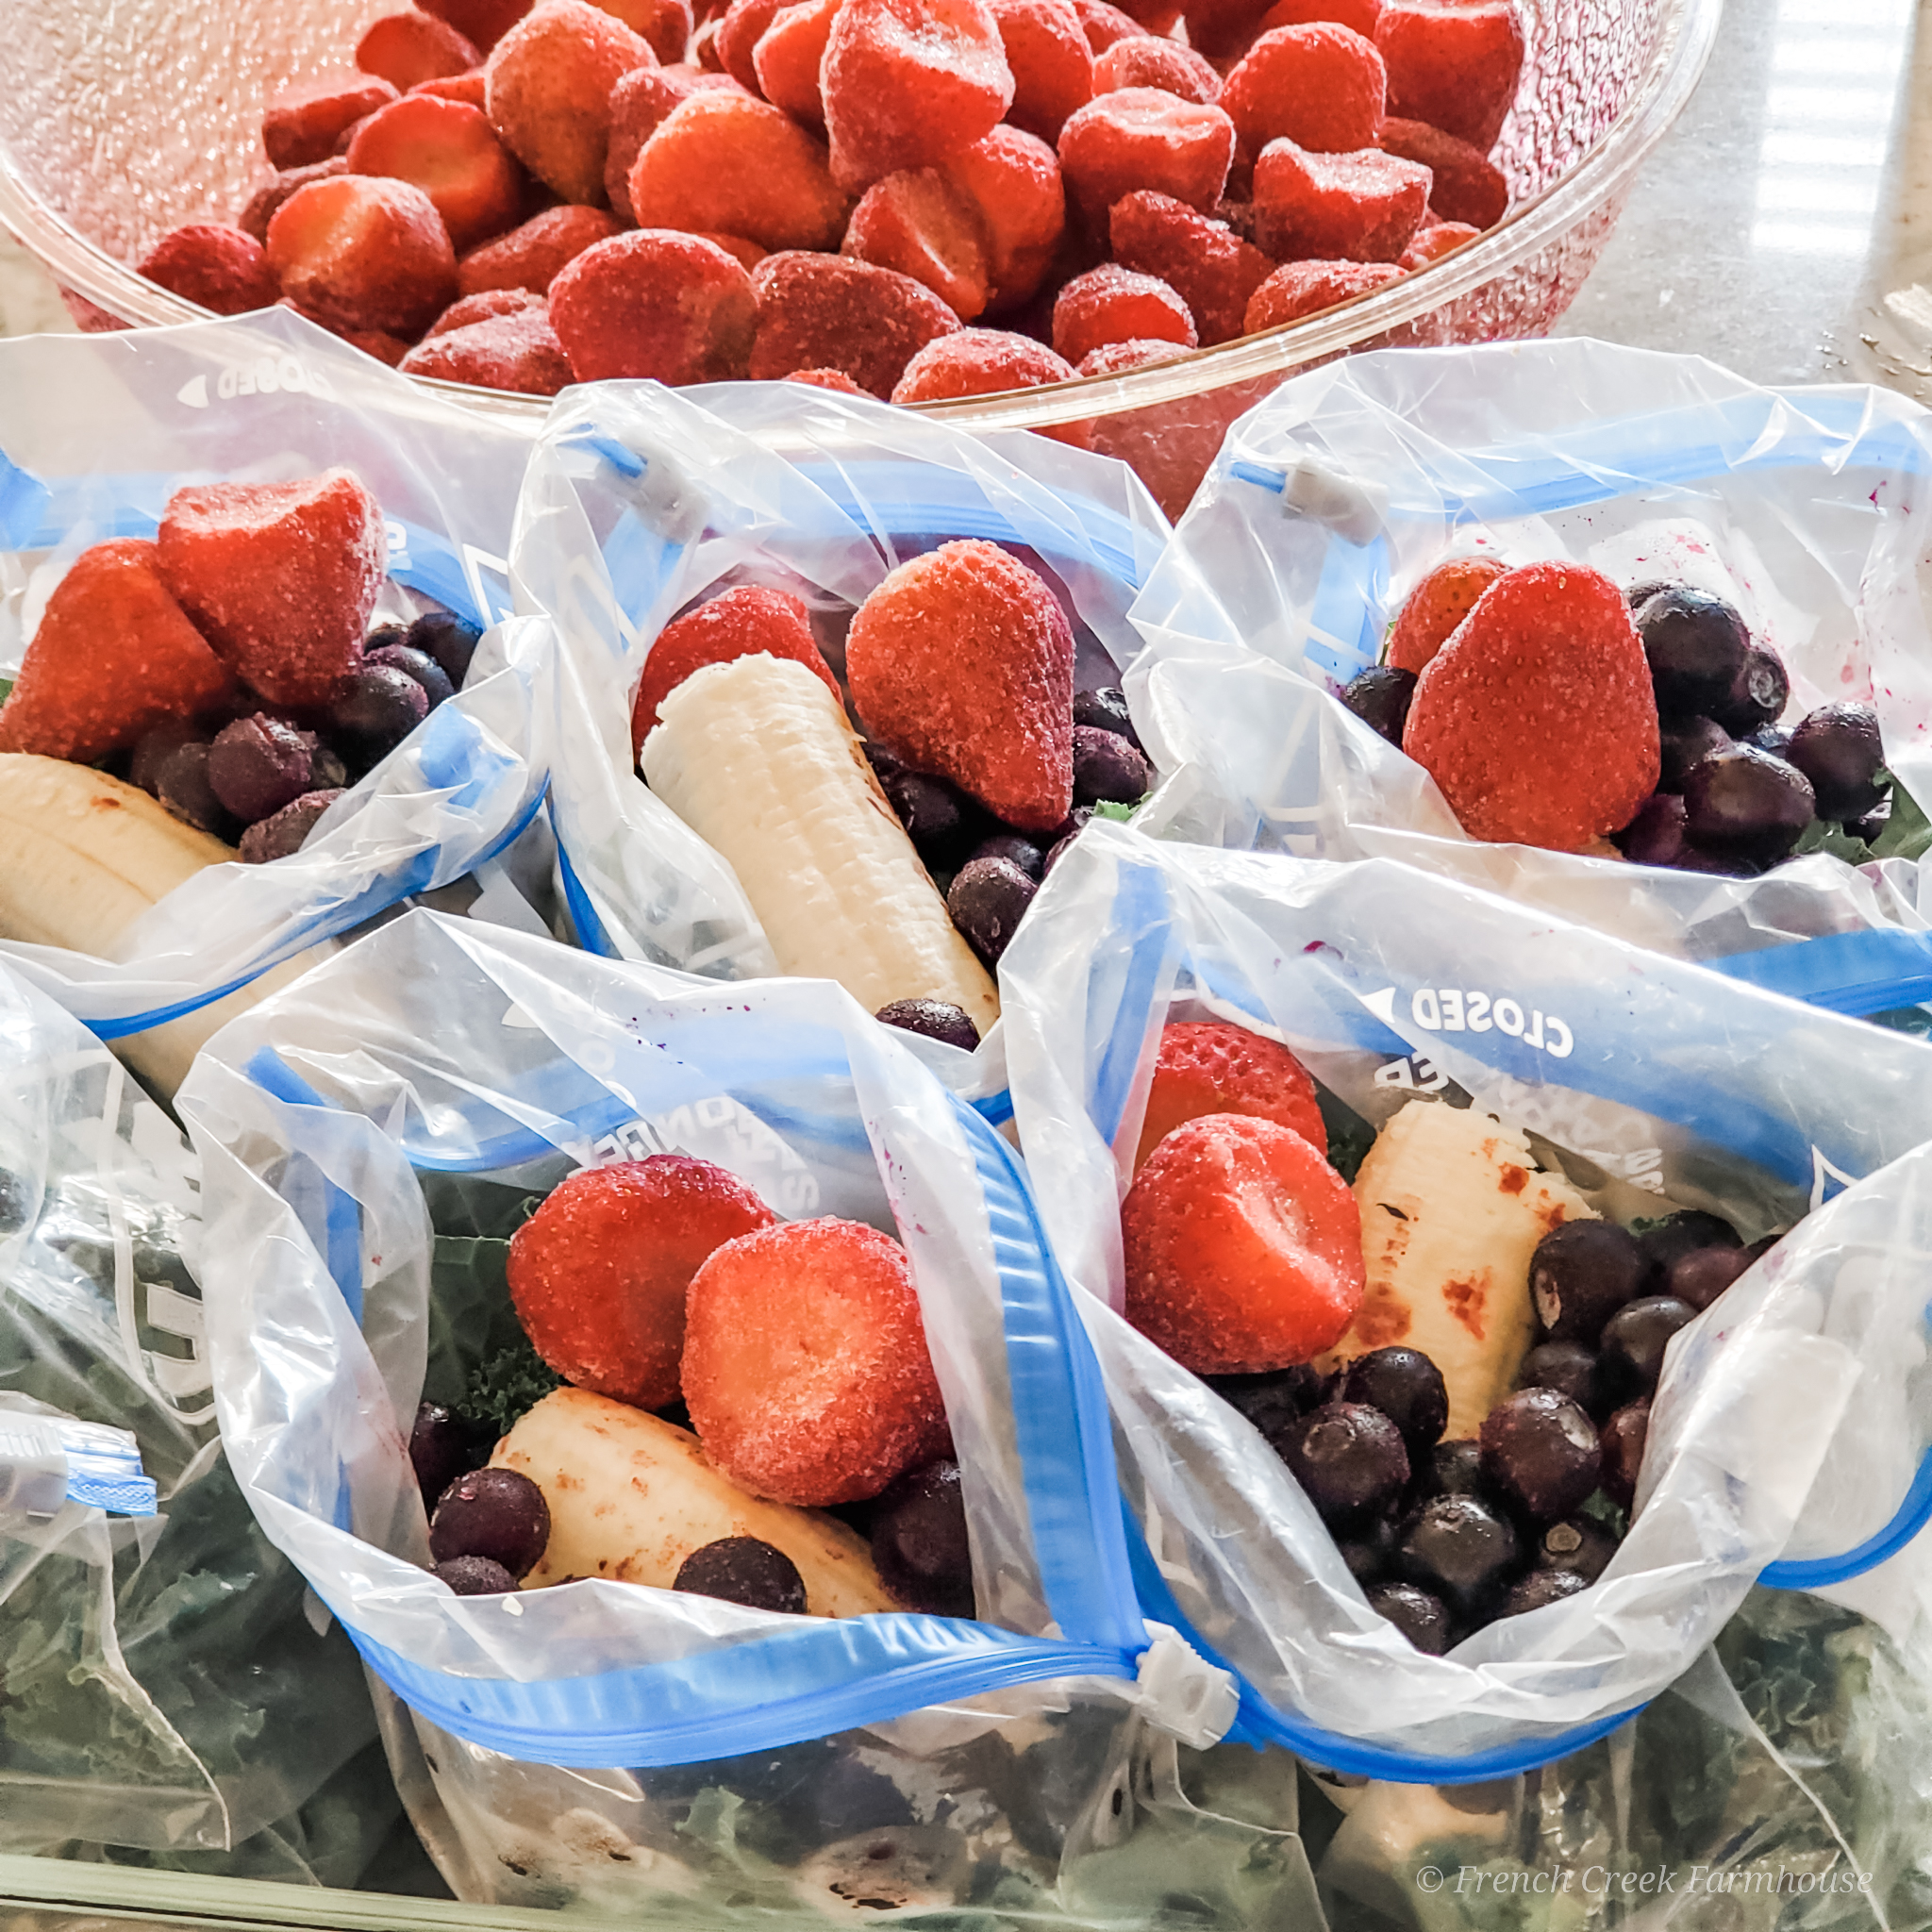
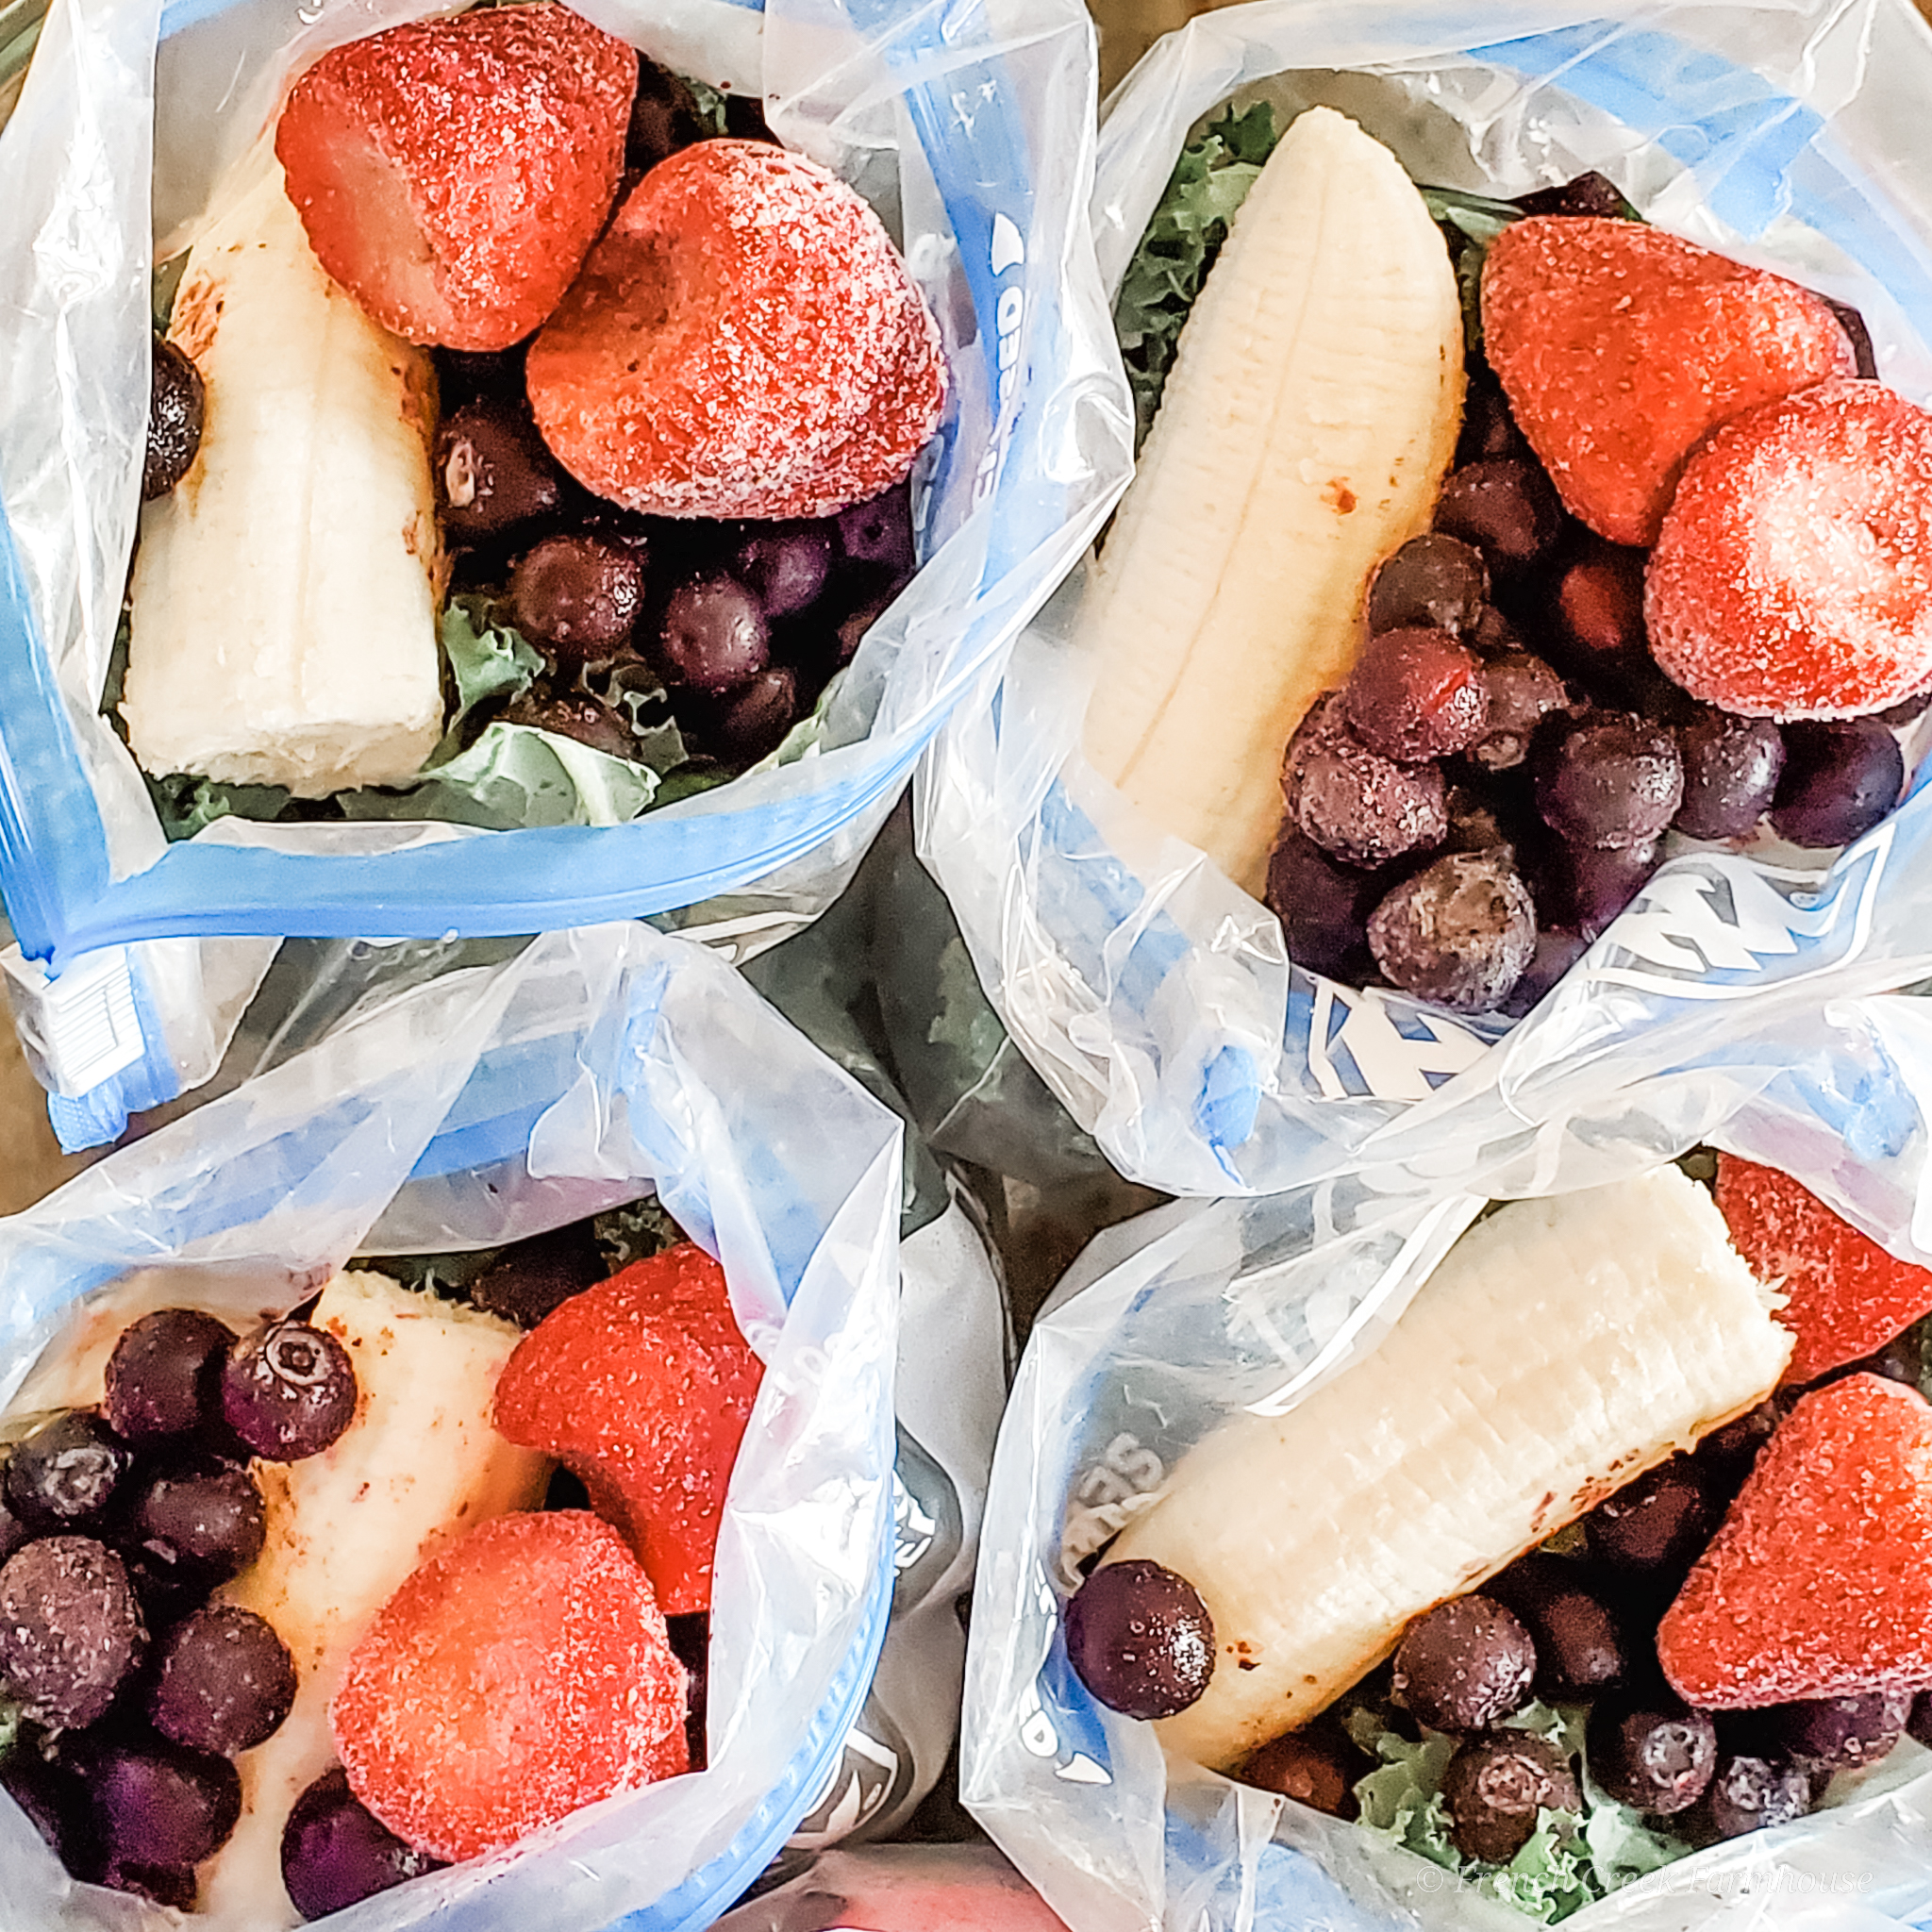
I set up 30 quart-sized freezer storage bags inside of baking dishes or foil pan liners. Those pans simply help keep the bags standing up, and help to catch any runaway ingredients that might try to escape during the filling process.
Each storage bag will contain one complete smoothie–all I need to do in the morning is dump it into my Vitamix with a little coconut milk, fresh beets, and a few fresh carrot and celery sticks. It couldn’t be easier!
I fill my bags with fresh kale, bananas, and cauliflower. Then I add frozen berries and sliced peaches for sweetness since my smoothies are heavy on veggies. To make the filling process easy, I dump my frozen ingredients into a big bowl, and then parse them out into each storage bag using ice tongs (which makes it much easier to grab things like frozen strawberries) or stainless measuring cups (for small things like blueberries).
Once all the bags are filled, I close them up and then package six bagged smoothies into an extra large zippered bag. These get stacked in our large freezer out in the garage, and we bring one week’s worth into the kitchen freezer each week.
My smoothie prepping has been on a monthly schedule for a long time, but this month, I decided to do six weeks’ worth as an experiment. I’m thinking about moving smoothies to a quarterly schedule to line up with my other freezer prepping….
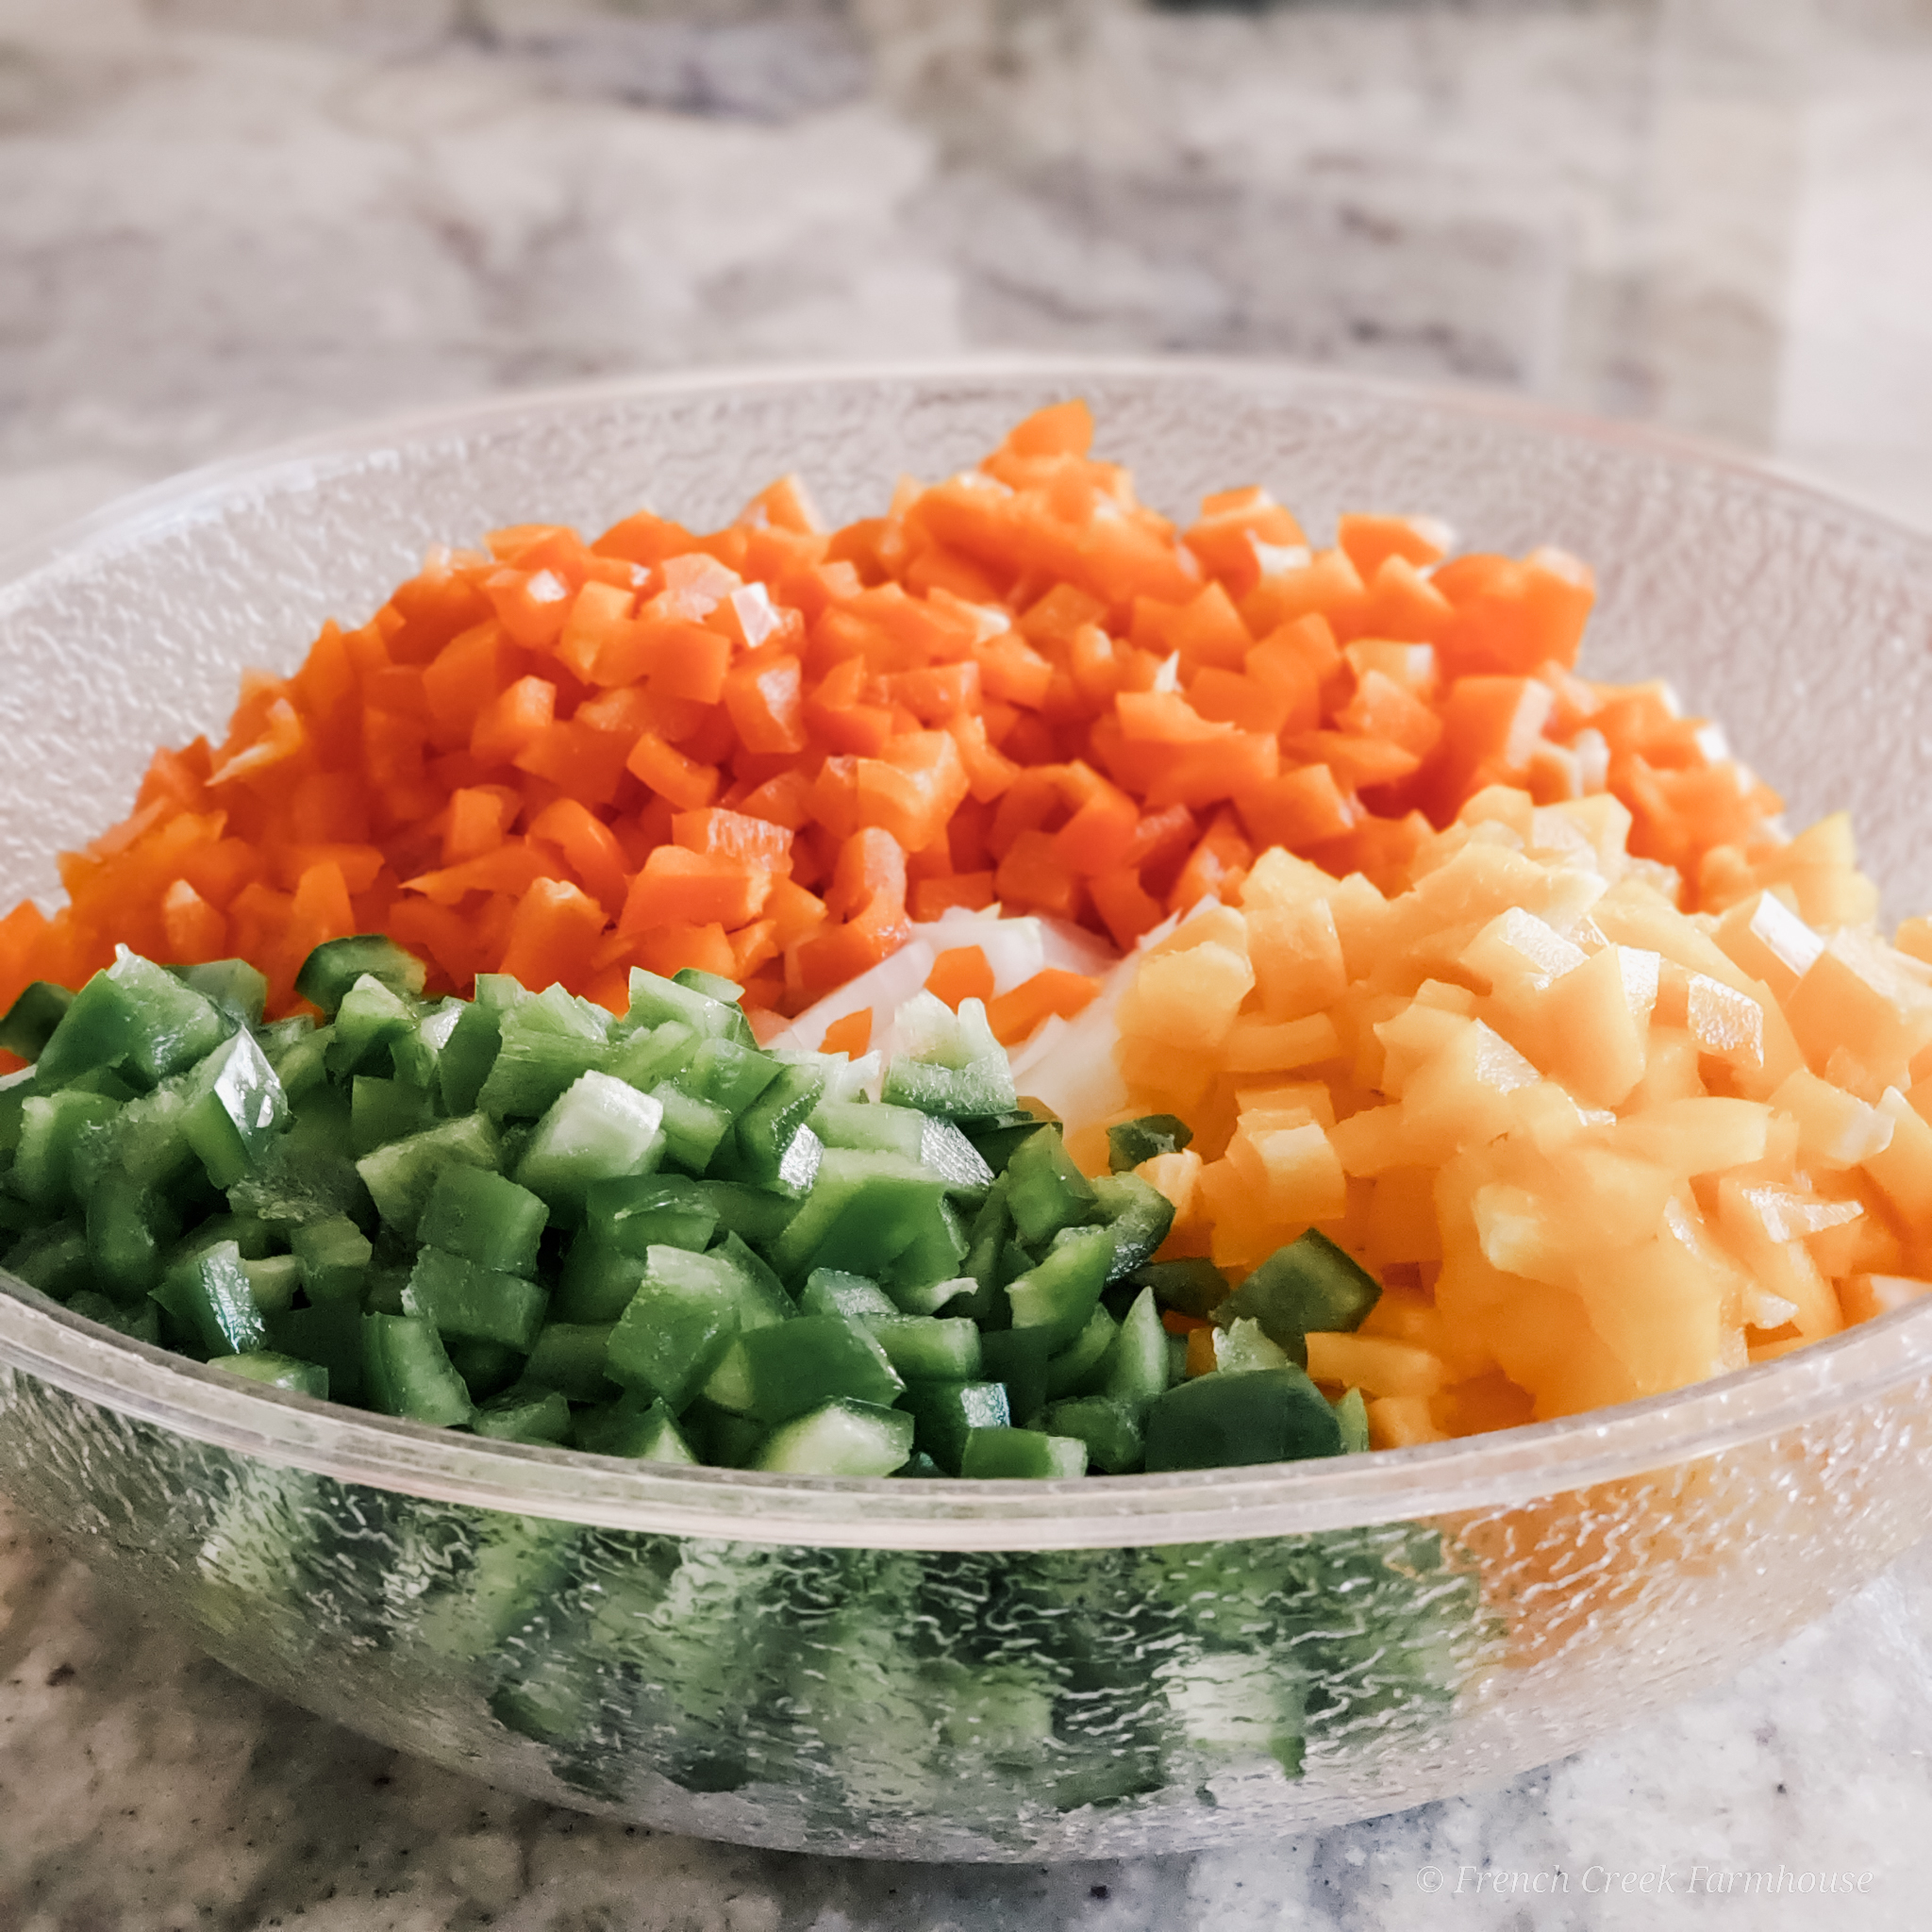
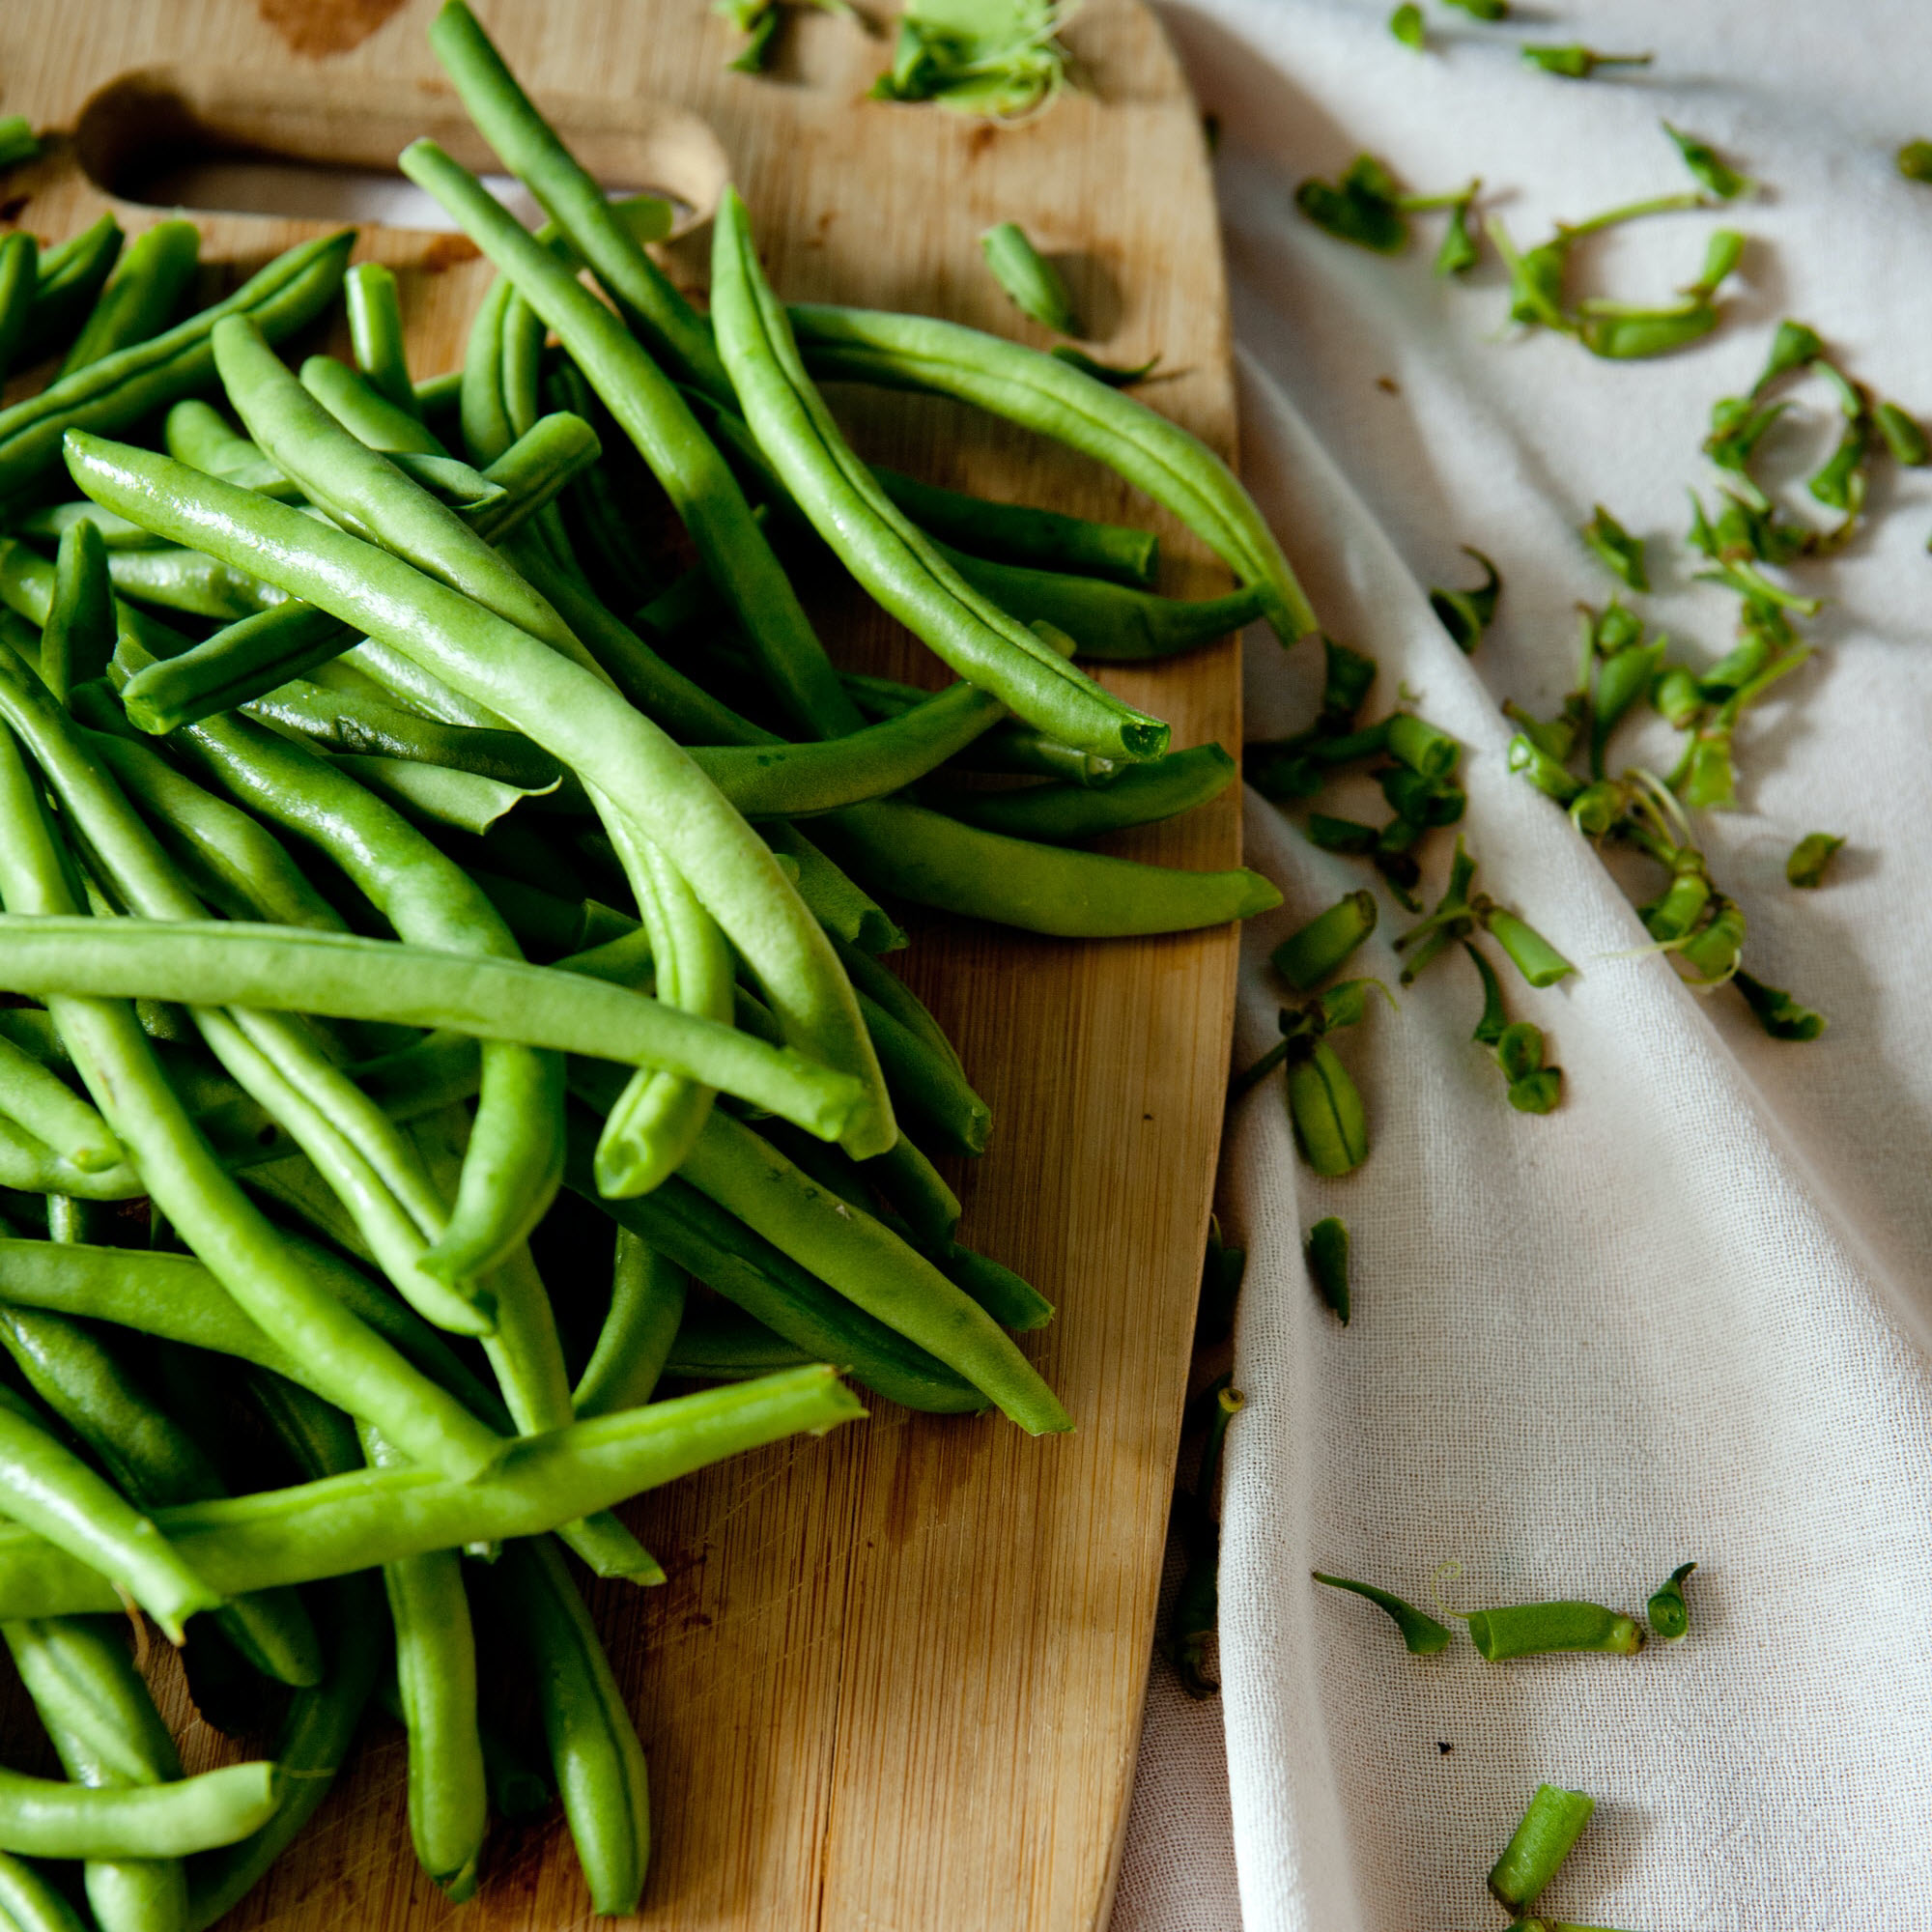
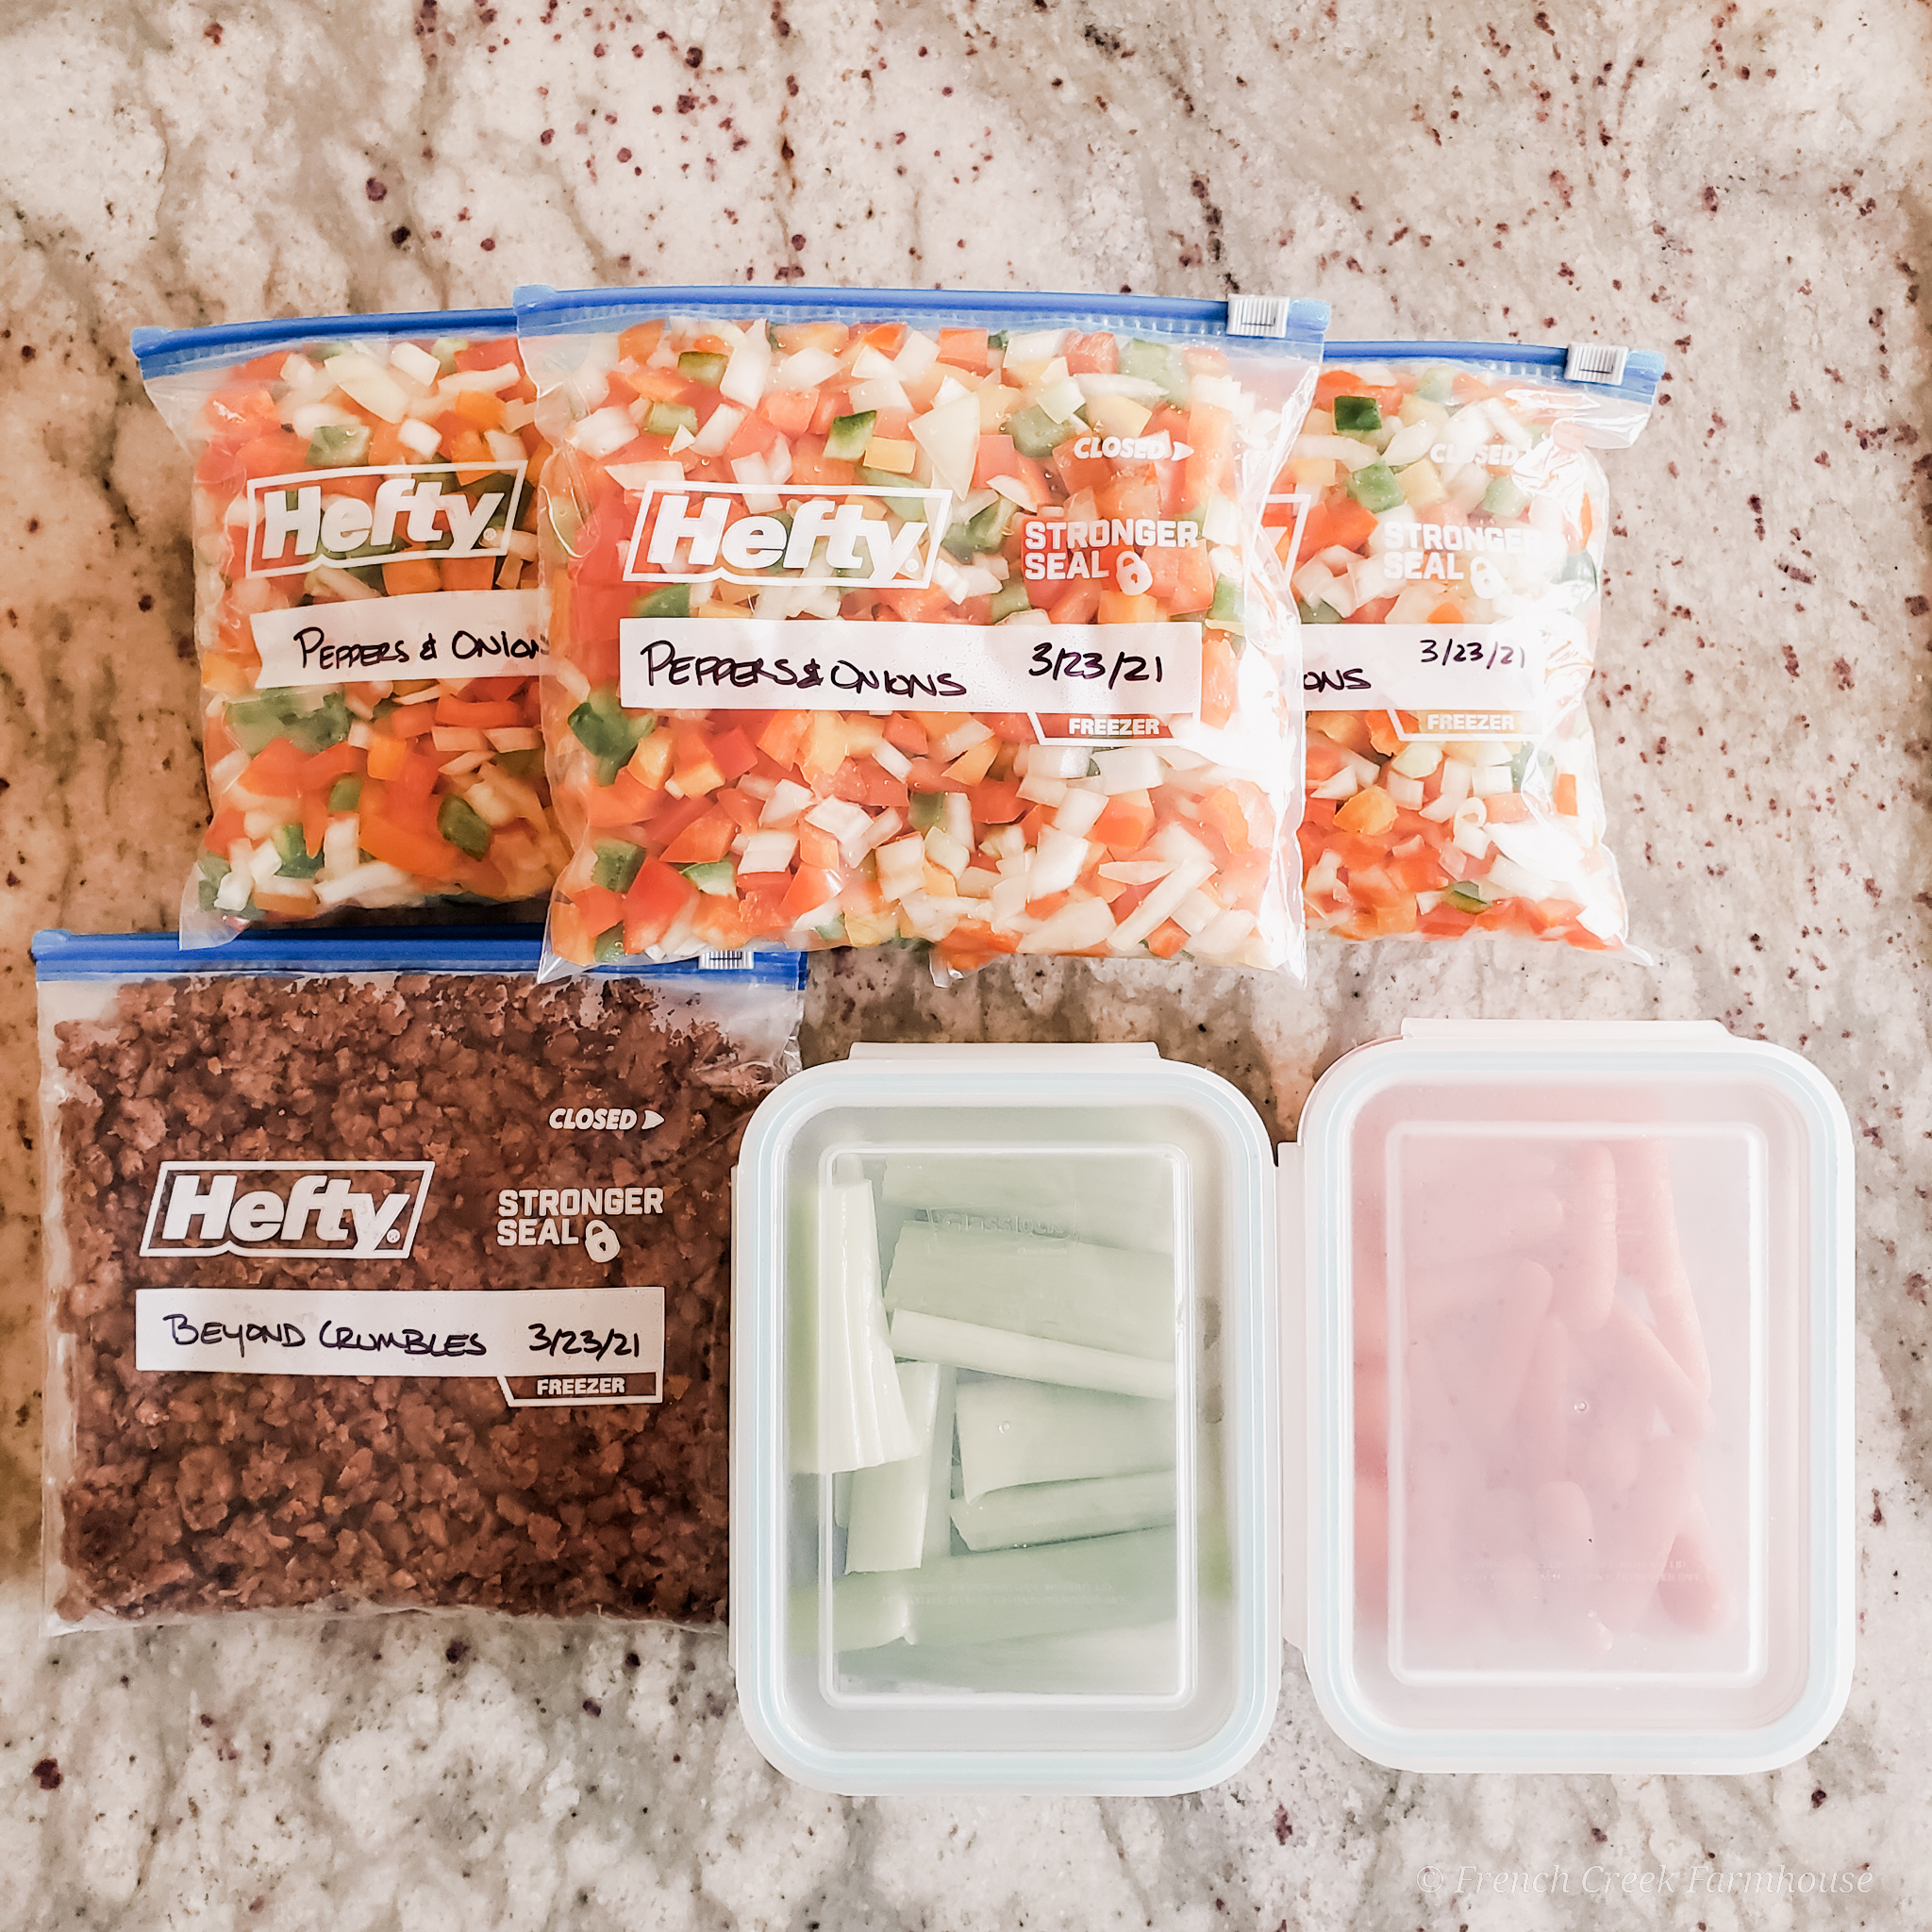
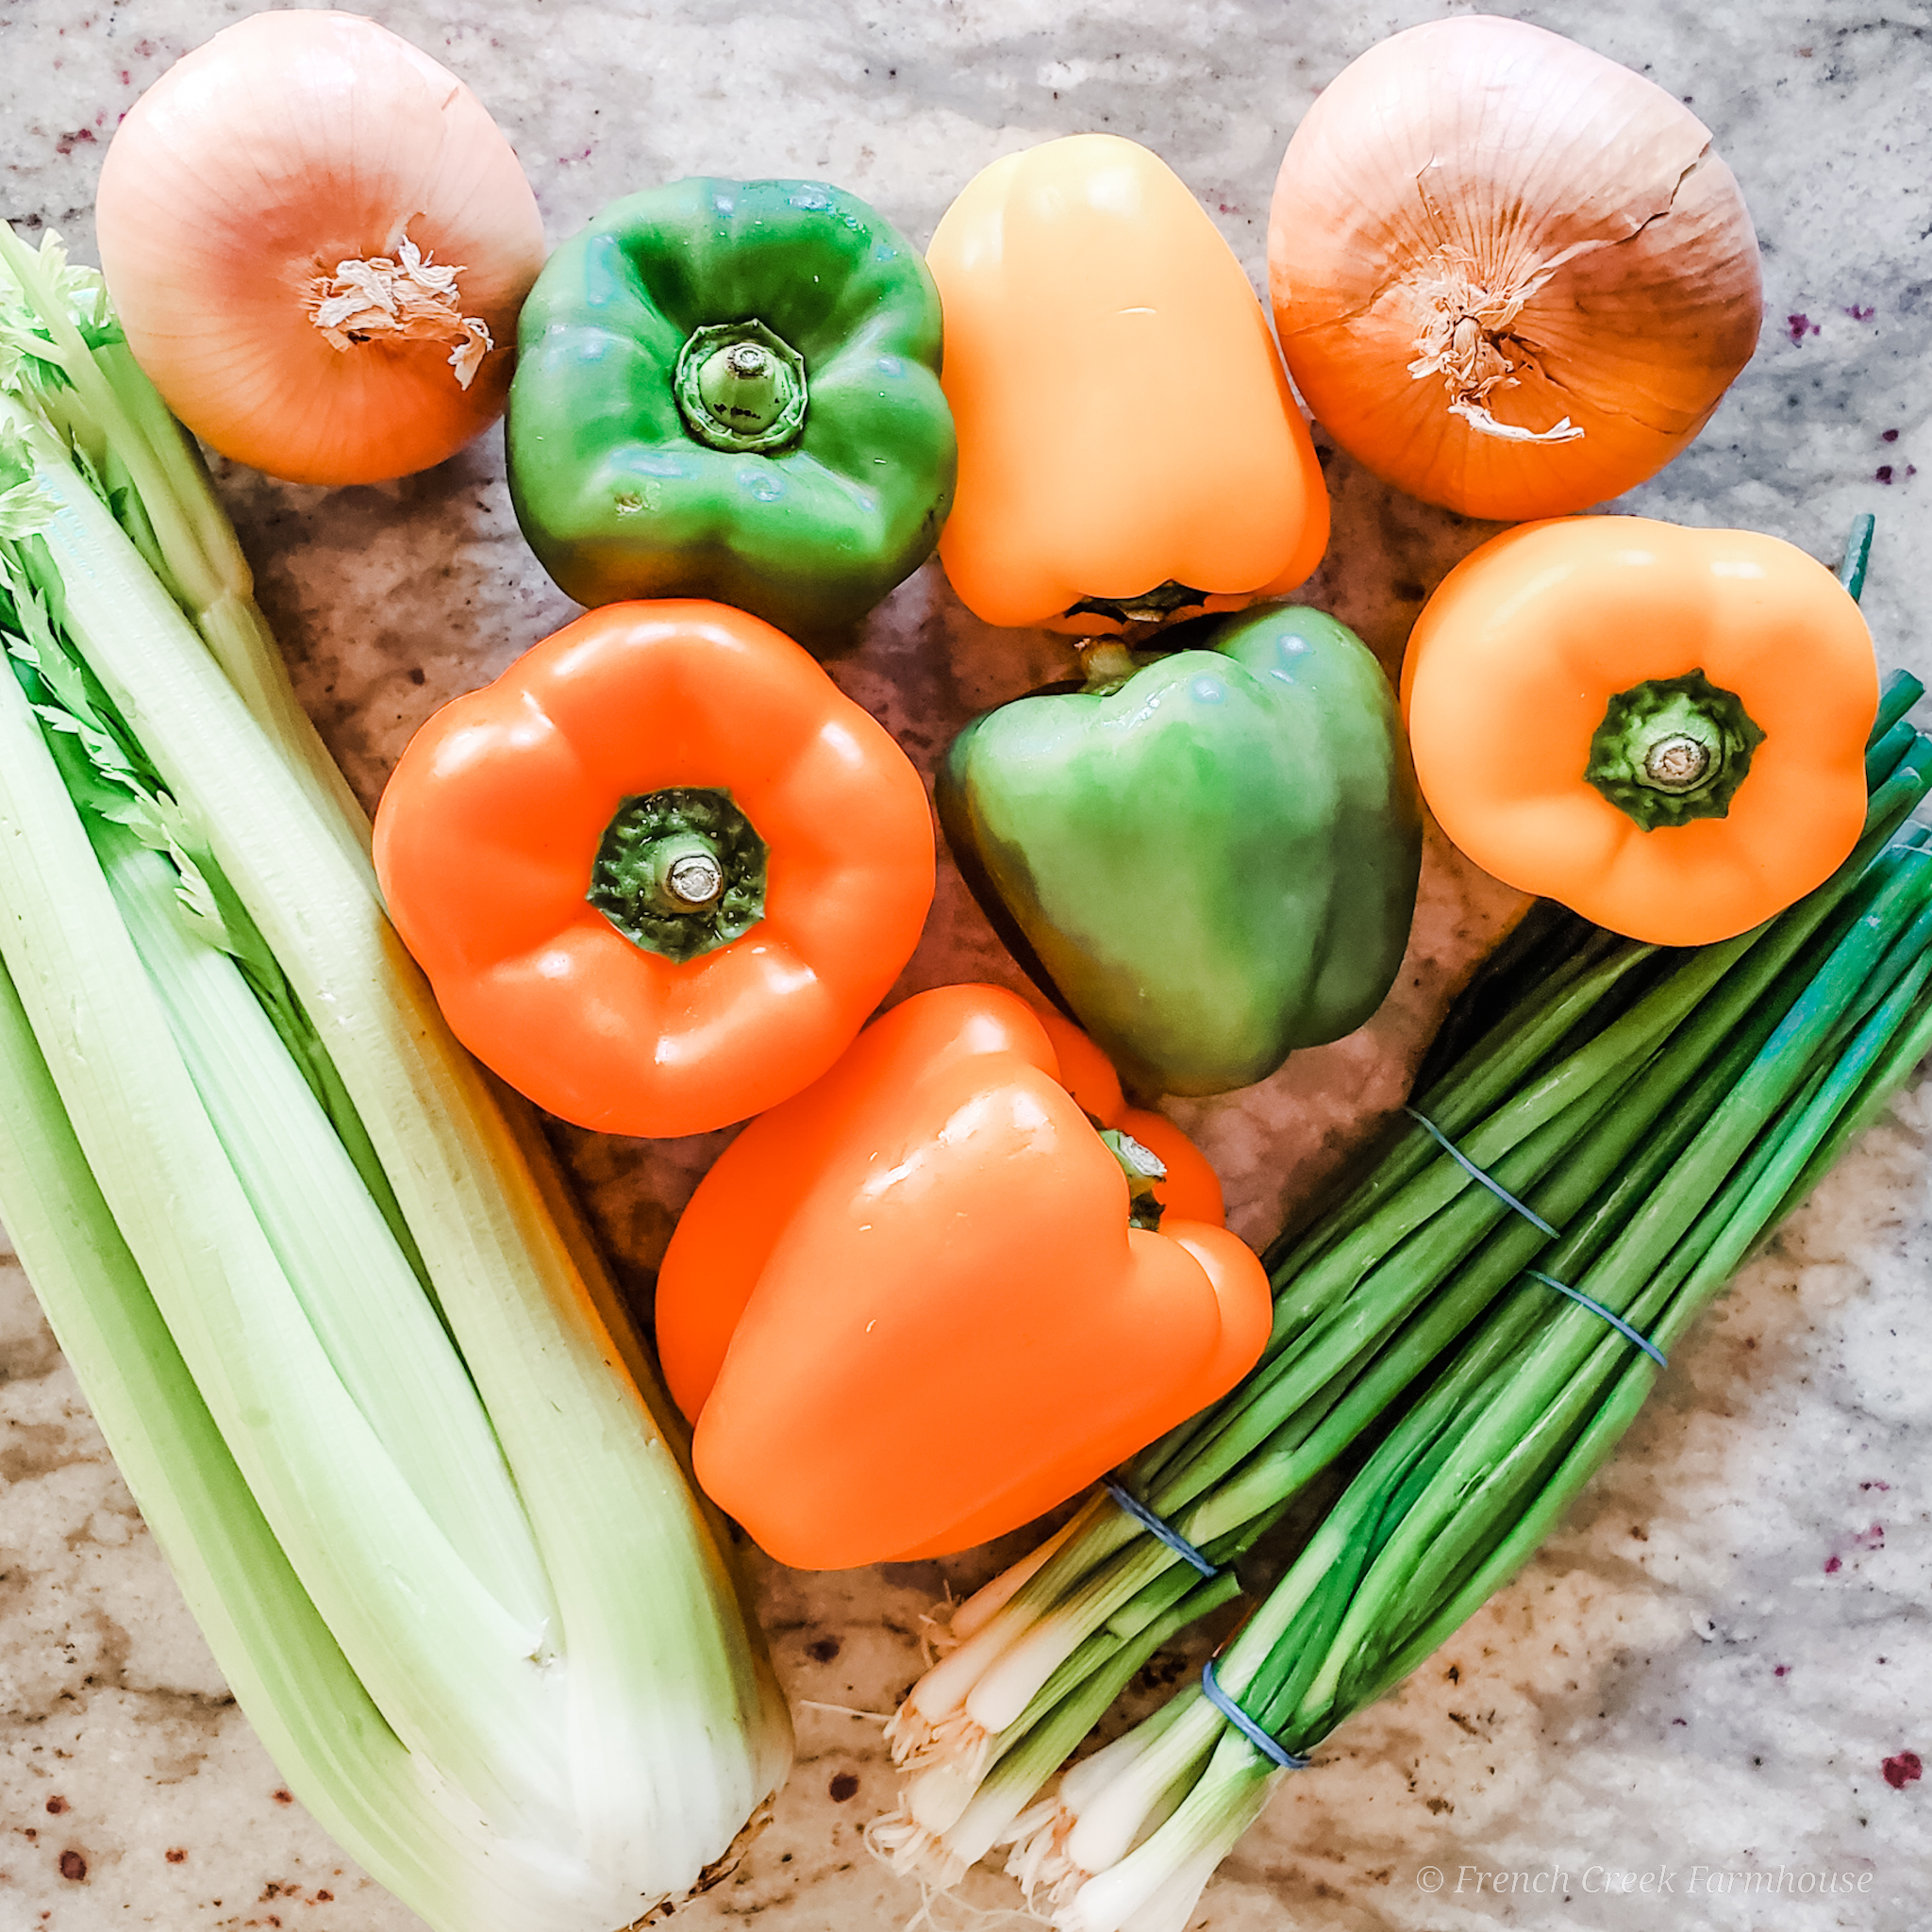
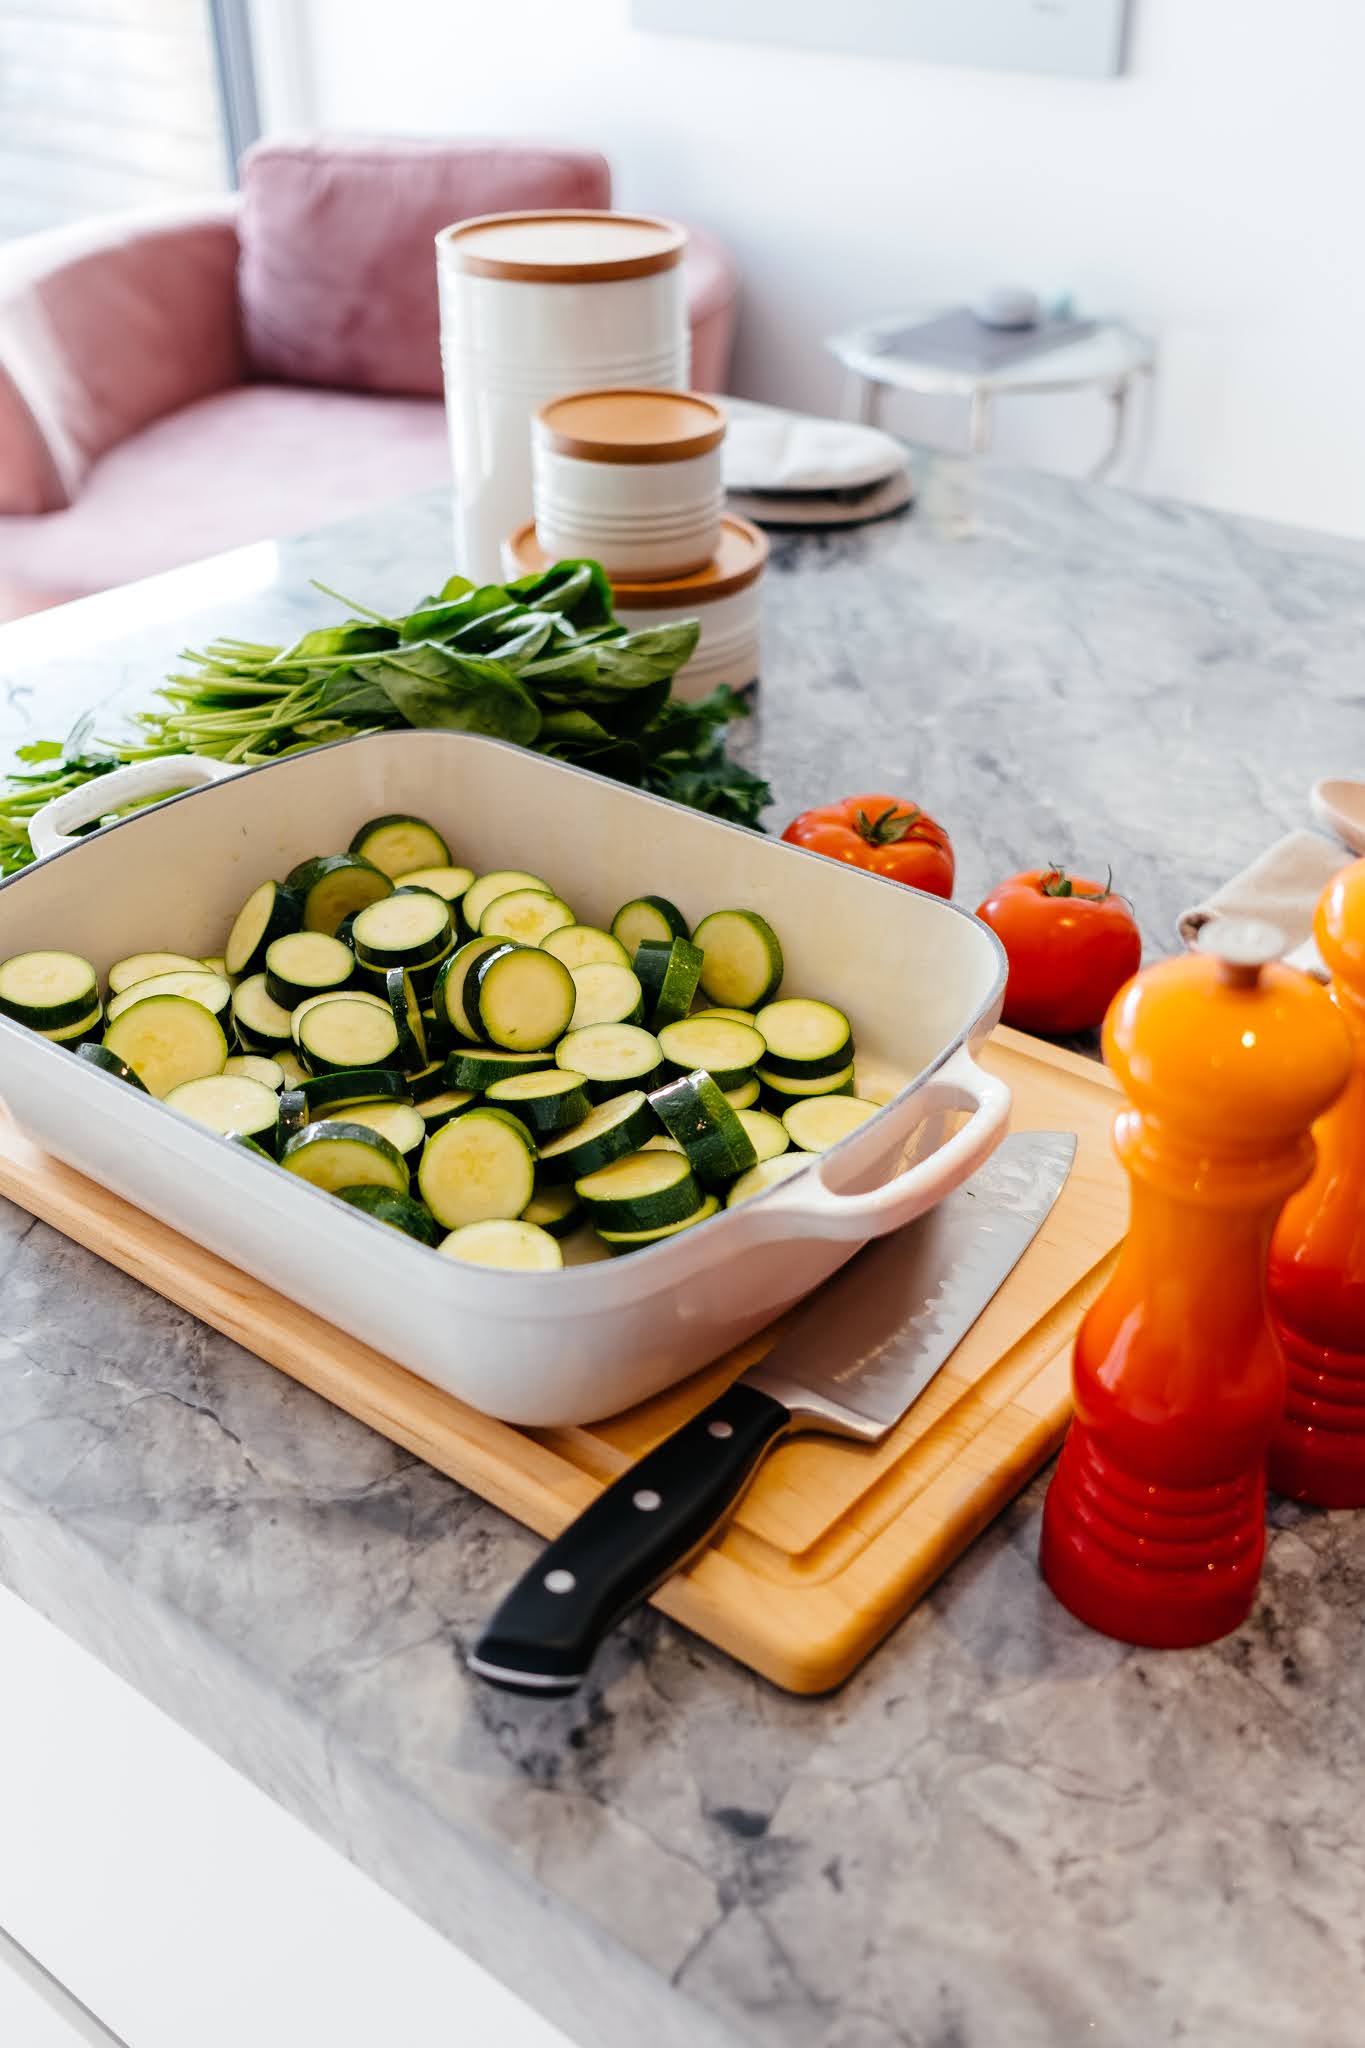
My quarterly freezer prepping includes diced onions and bell peppers, kale, spinach, snow peas, mushrooms, scallions, and riced cabbage. All I do is wash and chop all these veggies, then pack them into freezer storage bags–3 months at a time.
A little tip on dicing veggies…the easiest way to chop and transfer veggies is with these flexible cutting mats. They are one of my favorite things ever! After everything is chopped, you bend the mat into a sort of funnel that helps you pour the ingredients into a bowl, skillet, or freezer bag. So easy!
If you were wanting to store fresh veggies in the freezer longer than a few months, like if you were harvesting from your own garden once a year, this is yet another time when having a vacuum sealer would come in handy.
I spend less than 2 hours doing this work every 3 months. When we’re making meals, these ingredients are all ready to use straight from the freezer, and it saves a ton of time on weeknights not having to prep veggies for use in recipes.
Plus, you can buy more expensive veggies in bulk when they’re on sale, and save quite a lot.
For example, organic bell peppers are normally $2.19 each at our grocery store. But, they’re occasionally put on sale at 3 for $5. That’s, again, nearly a 25% savings. We typically use around 12 bell peppers (diced) per quarter, so that saves over $25 per year–just for that one ingredient! You can see how it really adds up.
PREPPING PREPARED INGREDIENTS
Just like with our fresh produce ingredients, we prep prepared ingredients for both the fridge and freezer.
In The Fridge: I mentioned it up above, but I prep both salad dressing and marinated vegan chik’n for my salads each week. (I actually hesitate to call it “chik’n”, but I know that’s how most people think of it. We just consider it another form of protein, and we don’t try to assign an animal name to it. But, to make things simple, let’s just call it chik’n for now!)
All I do is re-hydrate chunks of textured vegetable protein, then mix up a marinade of soy sauce, garlic, pepper, ginger, maple syrup, rice vinegar, and sesame oil. I let the chik’n marinate in the fridge over night on Saturdays, then stir fry it on Sundays, and store it in our favorite glass containers to top my salads all week long. Crazy simple!
Before going vegan, bleu cheese was my favorite dressing to use on salads. I loved the strong, tangy flavor and the creaminess. It’s certainly not the healthiest choice, though!
Today, I make my own dressing, and it’s a nice replacement for the strong flavors I like by using tahini paste, minced garlic, and dried herbs within a low-fat vegan mayo base. But you can make really any kind of dressing in just a few minutes using an immersion blender. Storing them in 16-ounce mason jars makes for easy serving in a container that will fit on the fridge door.
In The Freezer: Prepared ingredients that go into the freezer are great for putting together quick meals. The ones that we regularly use are veggie crumbles (as a substitute for ground), sauces for topping grain bowls, and the grains themselves (like jasmine rice). This is an easy quarterly task that makes such a difference in saving time and money.
In the past, we bought BeyondMeat’s veggie crumbles. It was great for things like tacos or mixing into spaghetti sauce, but also not cheap. A 10-ounce bag is $5.49 at the grocery store.
Instead, we now buy the one-pound packages of their plant-based ground. Well, technically, we buy at least 3 packages whenever it’s on sale. The normal price is $10 per pound, but it frequently goes on sale for $7–and that’s when we buy it.
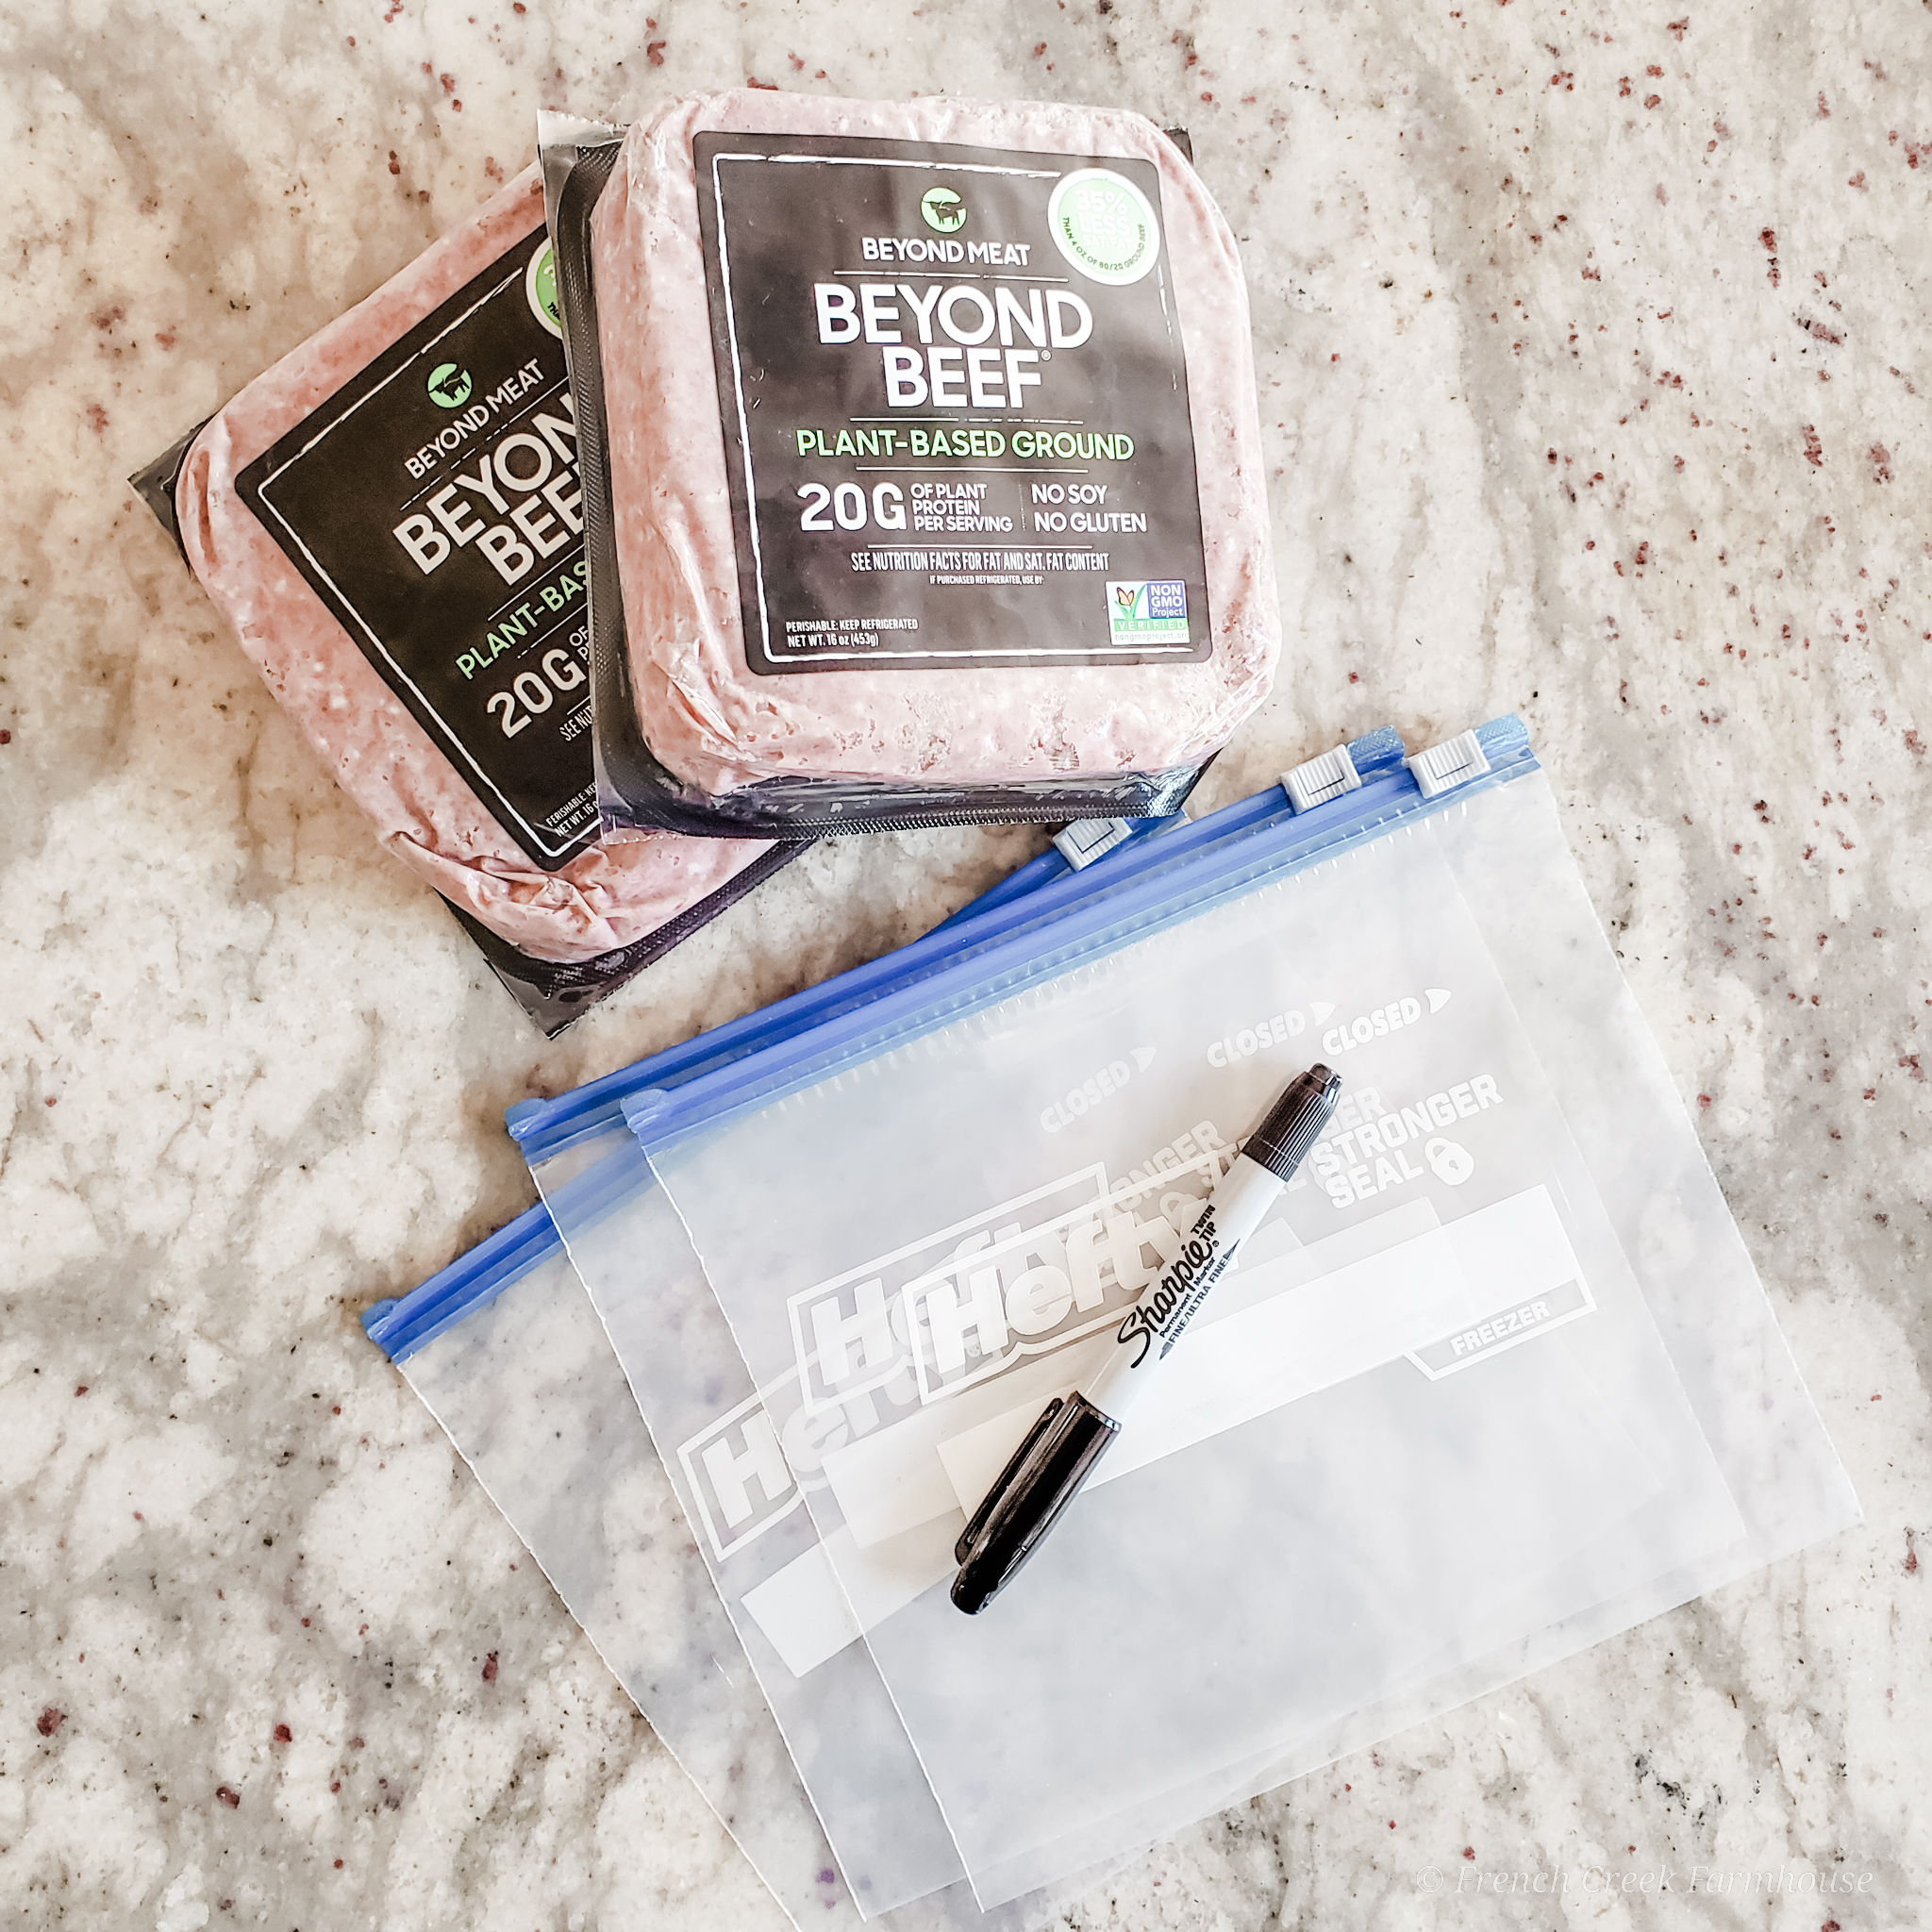
So, three pounds (48 ounces) costs us $21, and makes about the equivalent of 5 packages of the crumbles we used to buy…which would have cost $27.45. That saves over $6, and three pounds will last us about 6-8 weeks.
All I do is cook up the ground and divide it into five roughly 10-ounce packages. You can even preseason it with taco spices or whatever you might like while it’s cooking, although we usually season it upon reheating to make storing it easier.
Since I cook so much at one time, I use this very large skillet. I especially like that it has a “helper handle” because it does get quite heavy when prepping that much food at once, and it’s a really high quality pan that I’ve had for almost ten years, and it shows absolutely no wear and tear yet. I use it to make a lot of our meals, like stir-fry, homemade soups, curries…it’s really my favorite pan ever.
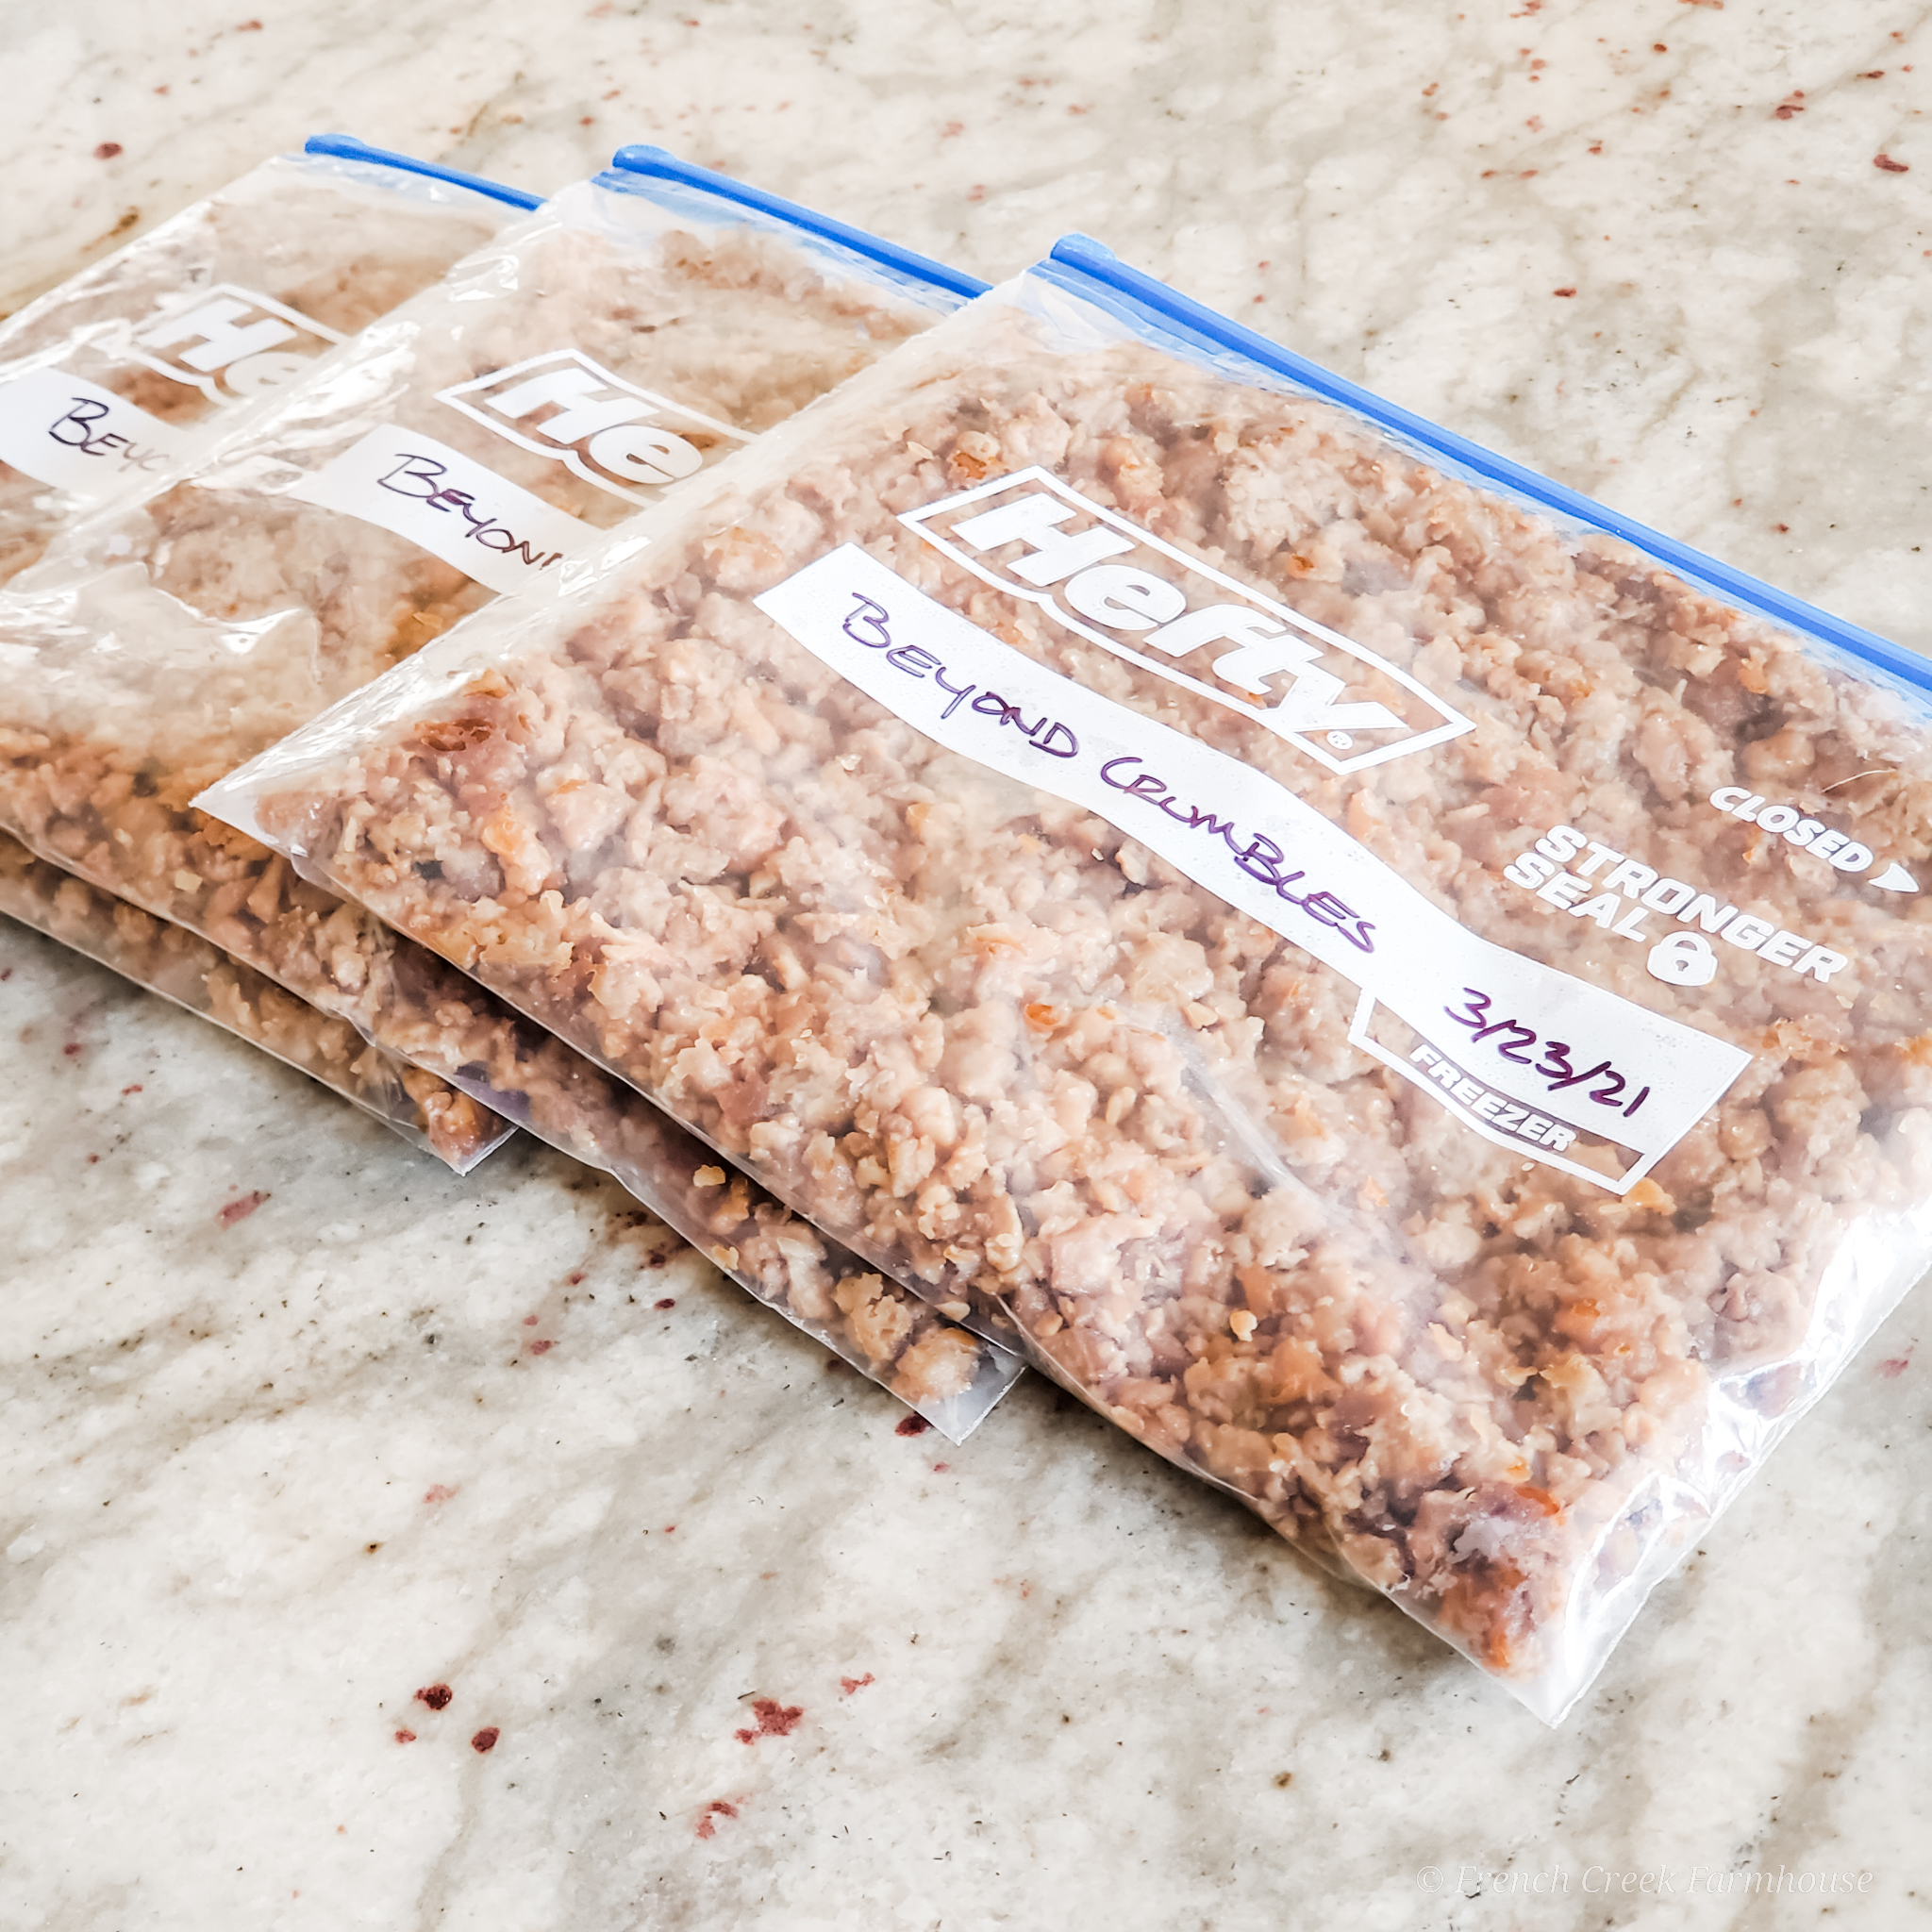
Regarding packing, you could certainly fit more than 10 ounces of crumbles into a quart-sized bag, however, when it freezes, it’s going to clump. Limiting how much you fit into the bag allows you to freeze the bags flat, and makes it much easier to break up when you’re ready to use it. A good whack on the edge of the counter will break it into crumbles you can then measure out into your recipe.
The same is true for freezing prepared grains like rice, quinoa, etc.
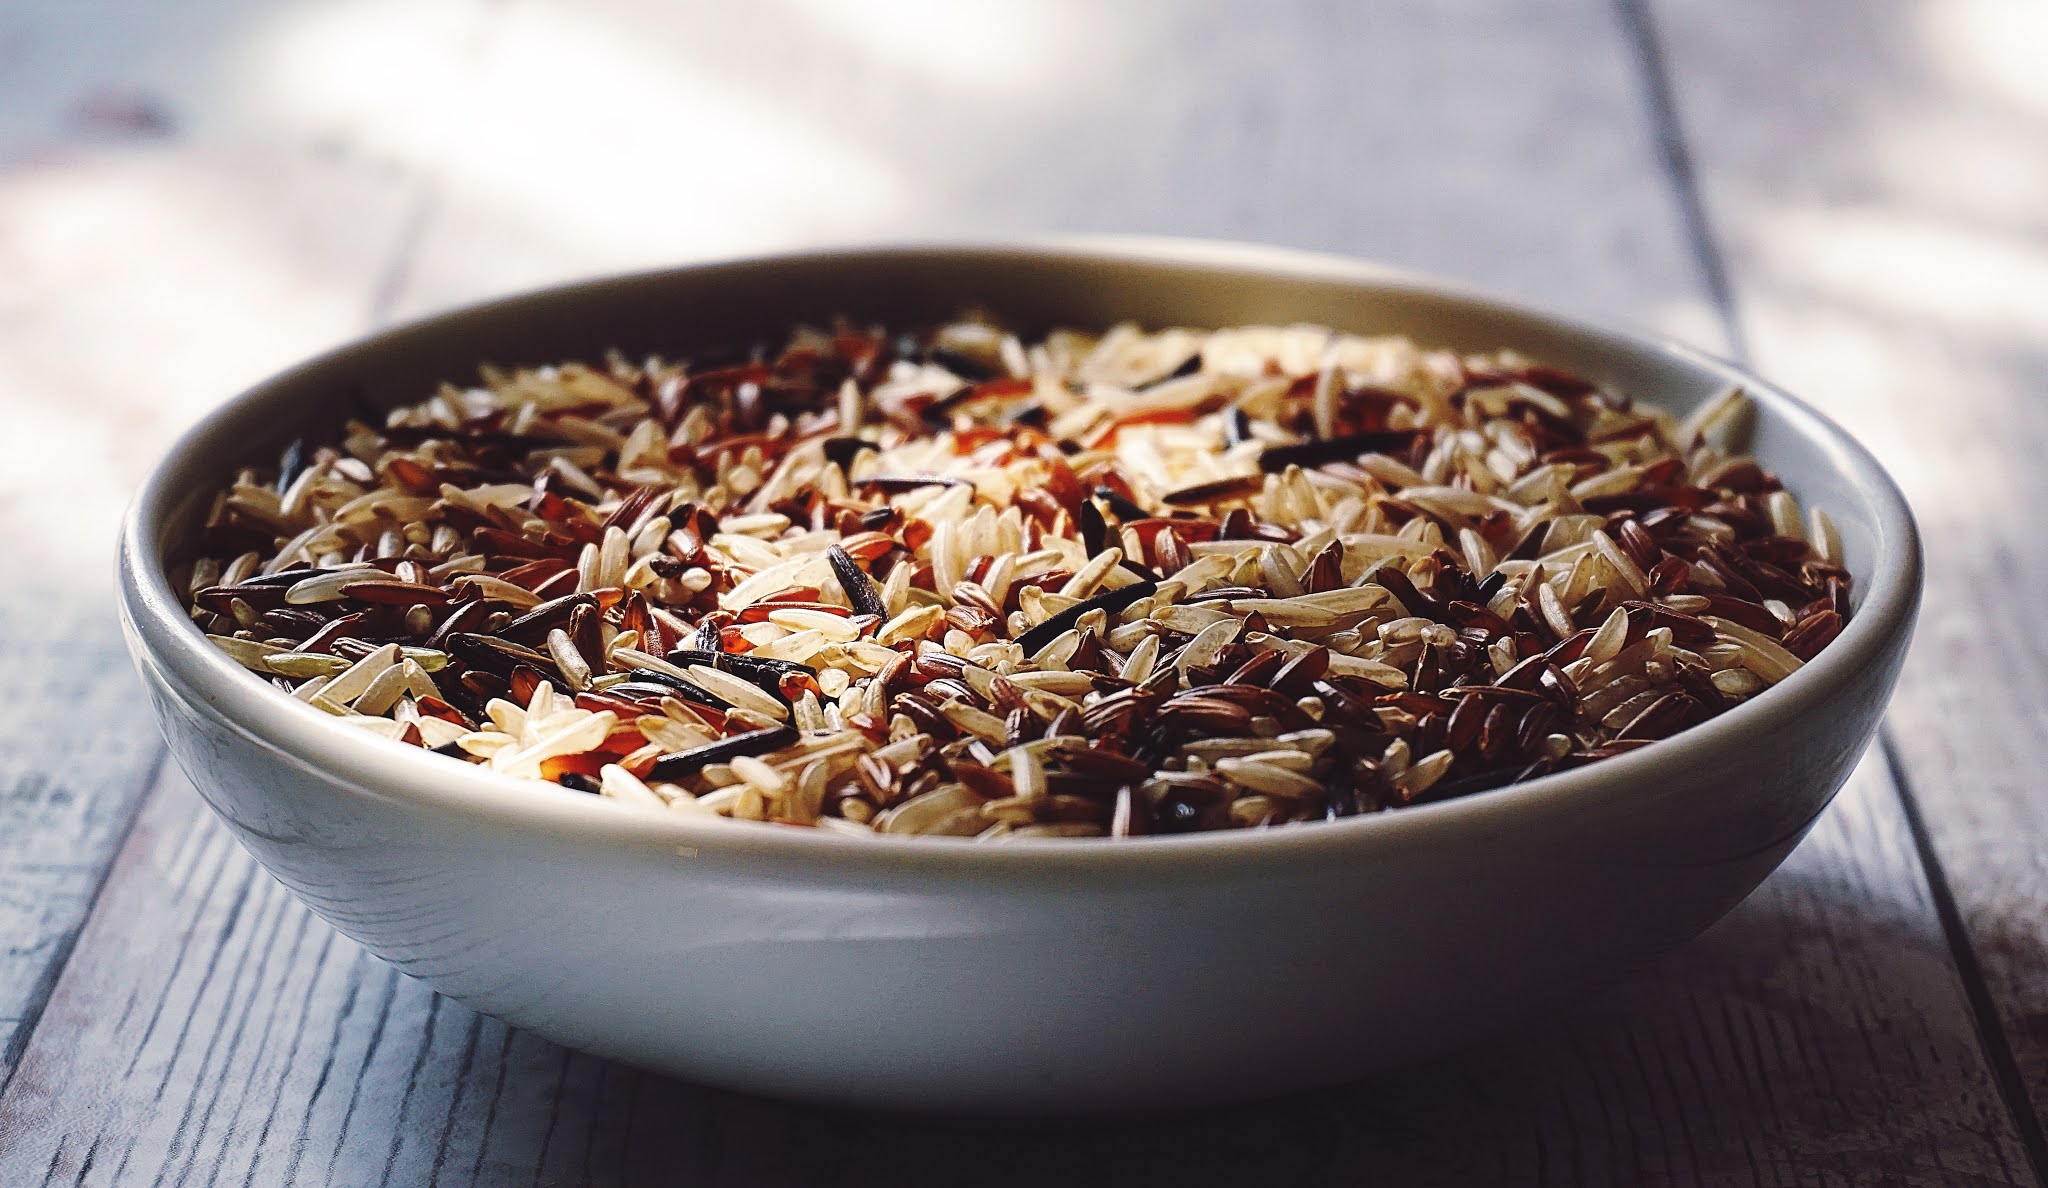
Just cook up a batch, and then scoop it into pre-measured servings, and freeze flat in bags. The one tool that makes my life so much easier in this process is a 4-ounce scooper. It basically works like a very large ice cream scoop, but it’s perfect for measuring exactly half-cup servings (the normal serving of rice per person).
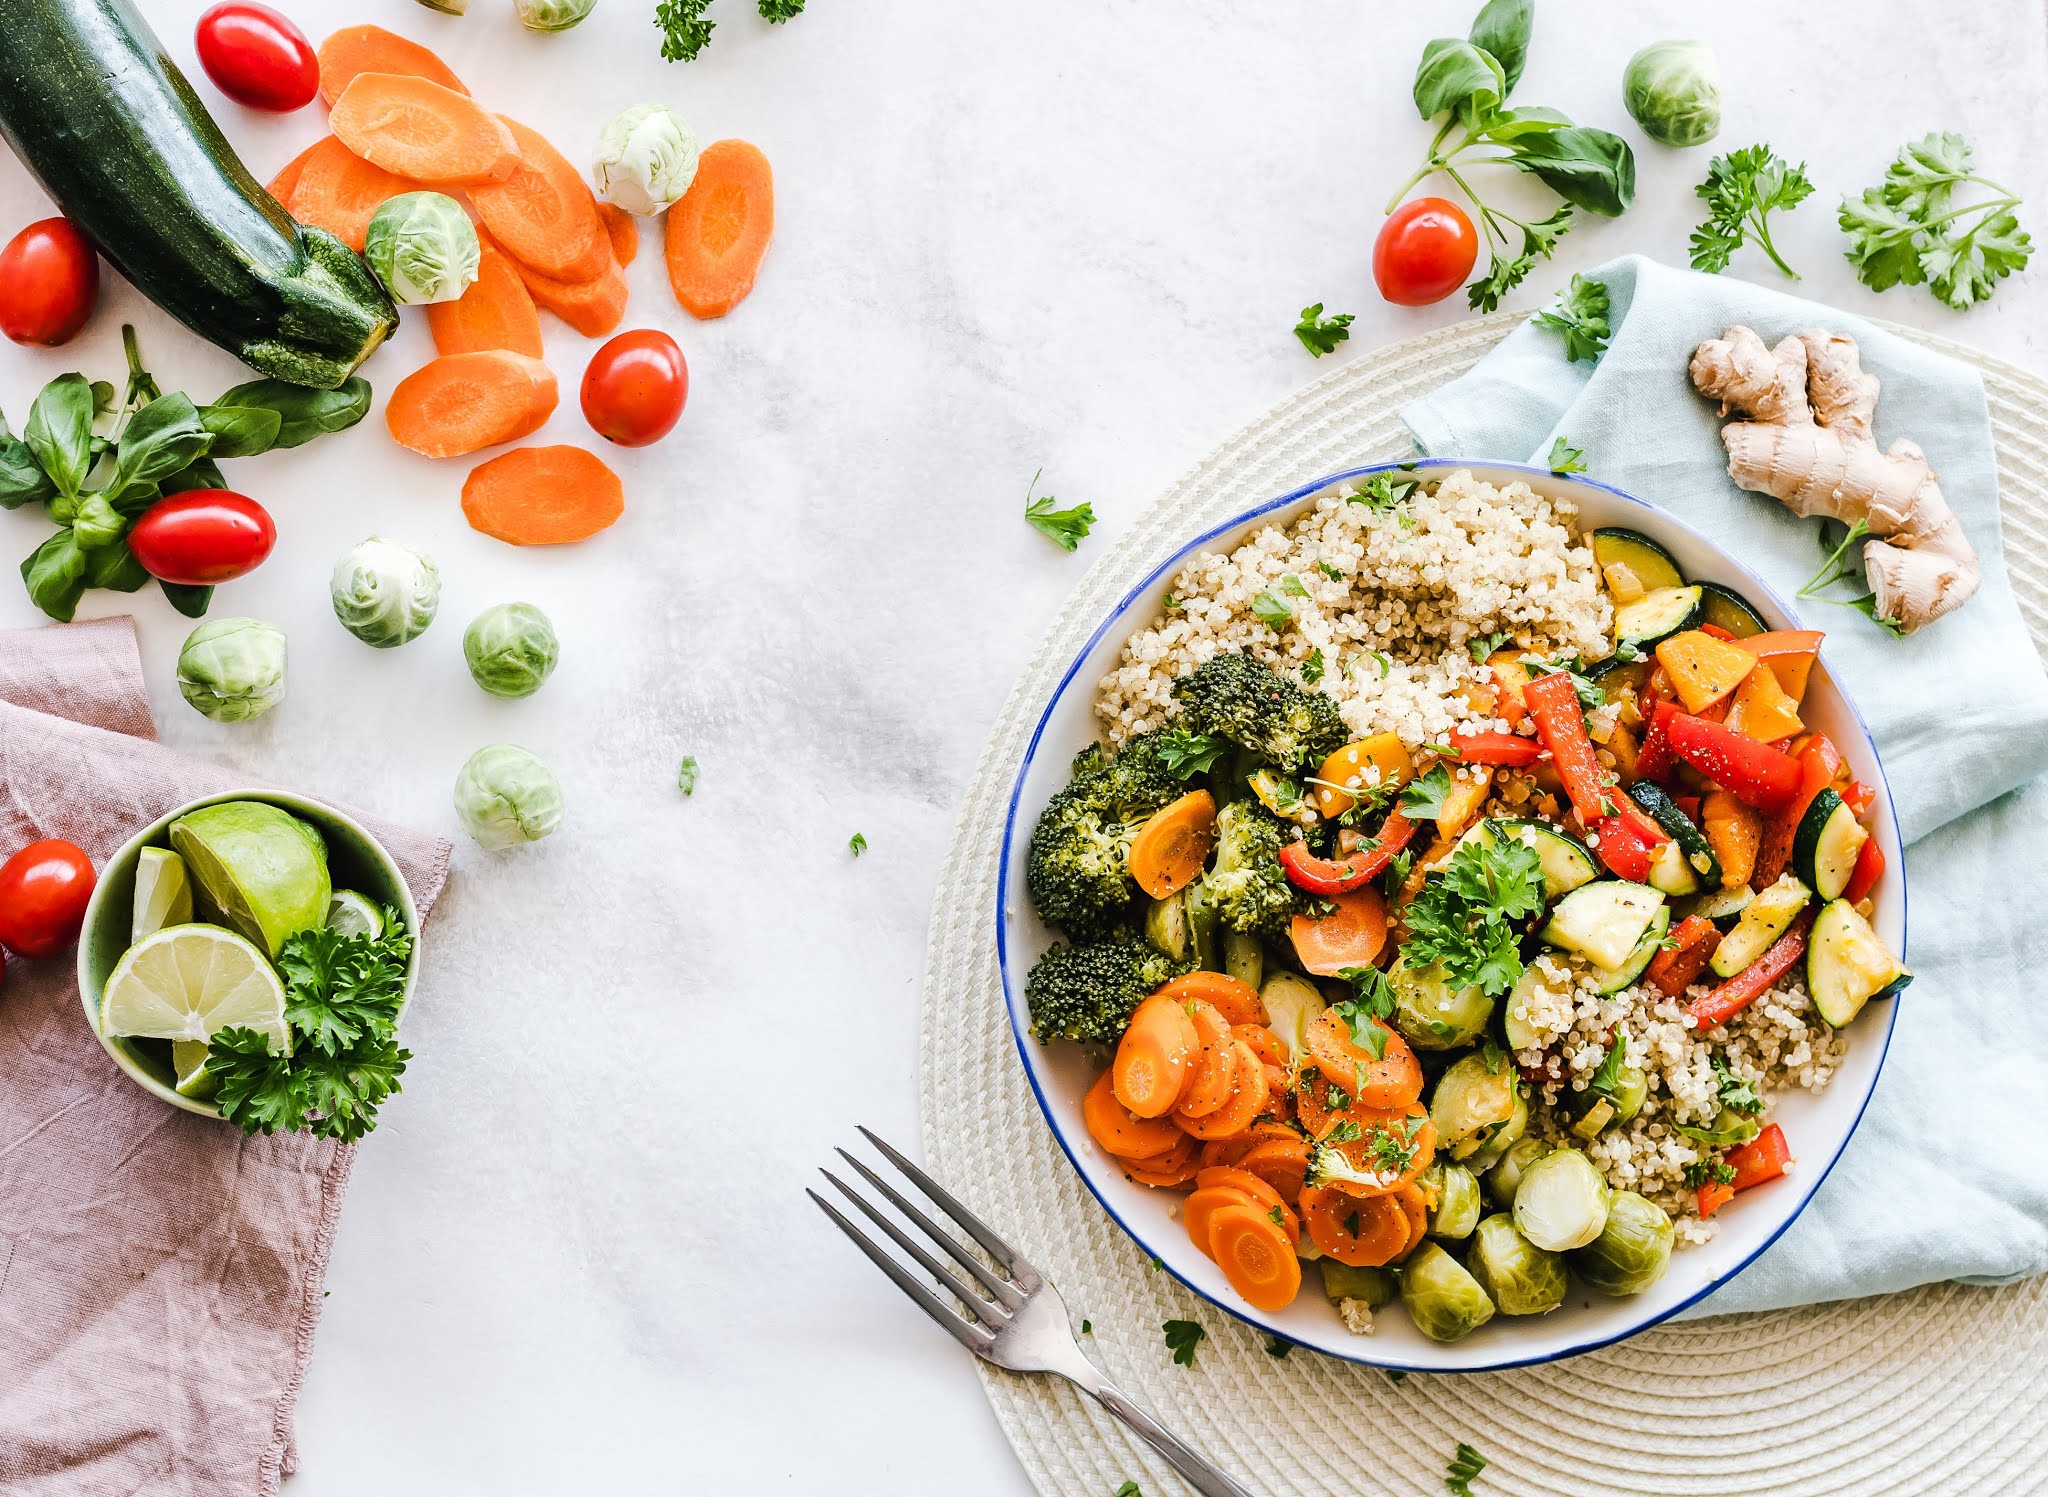
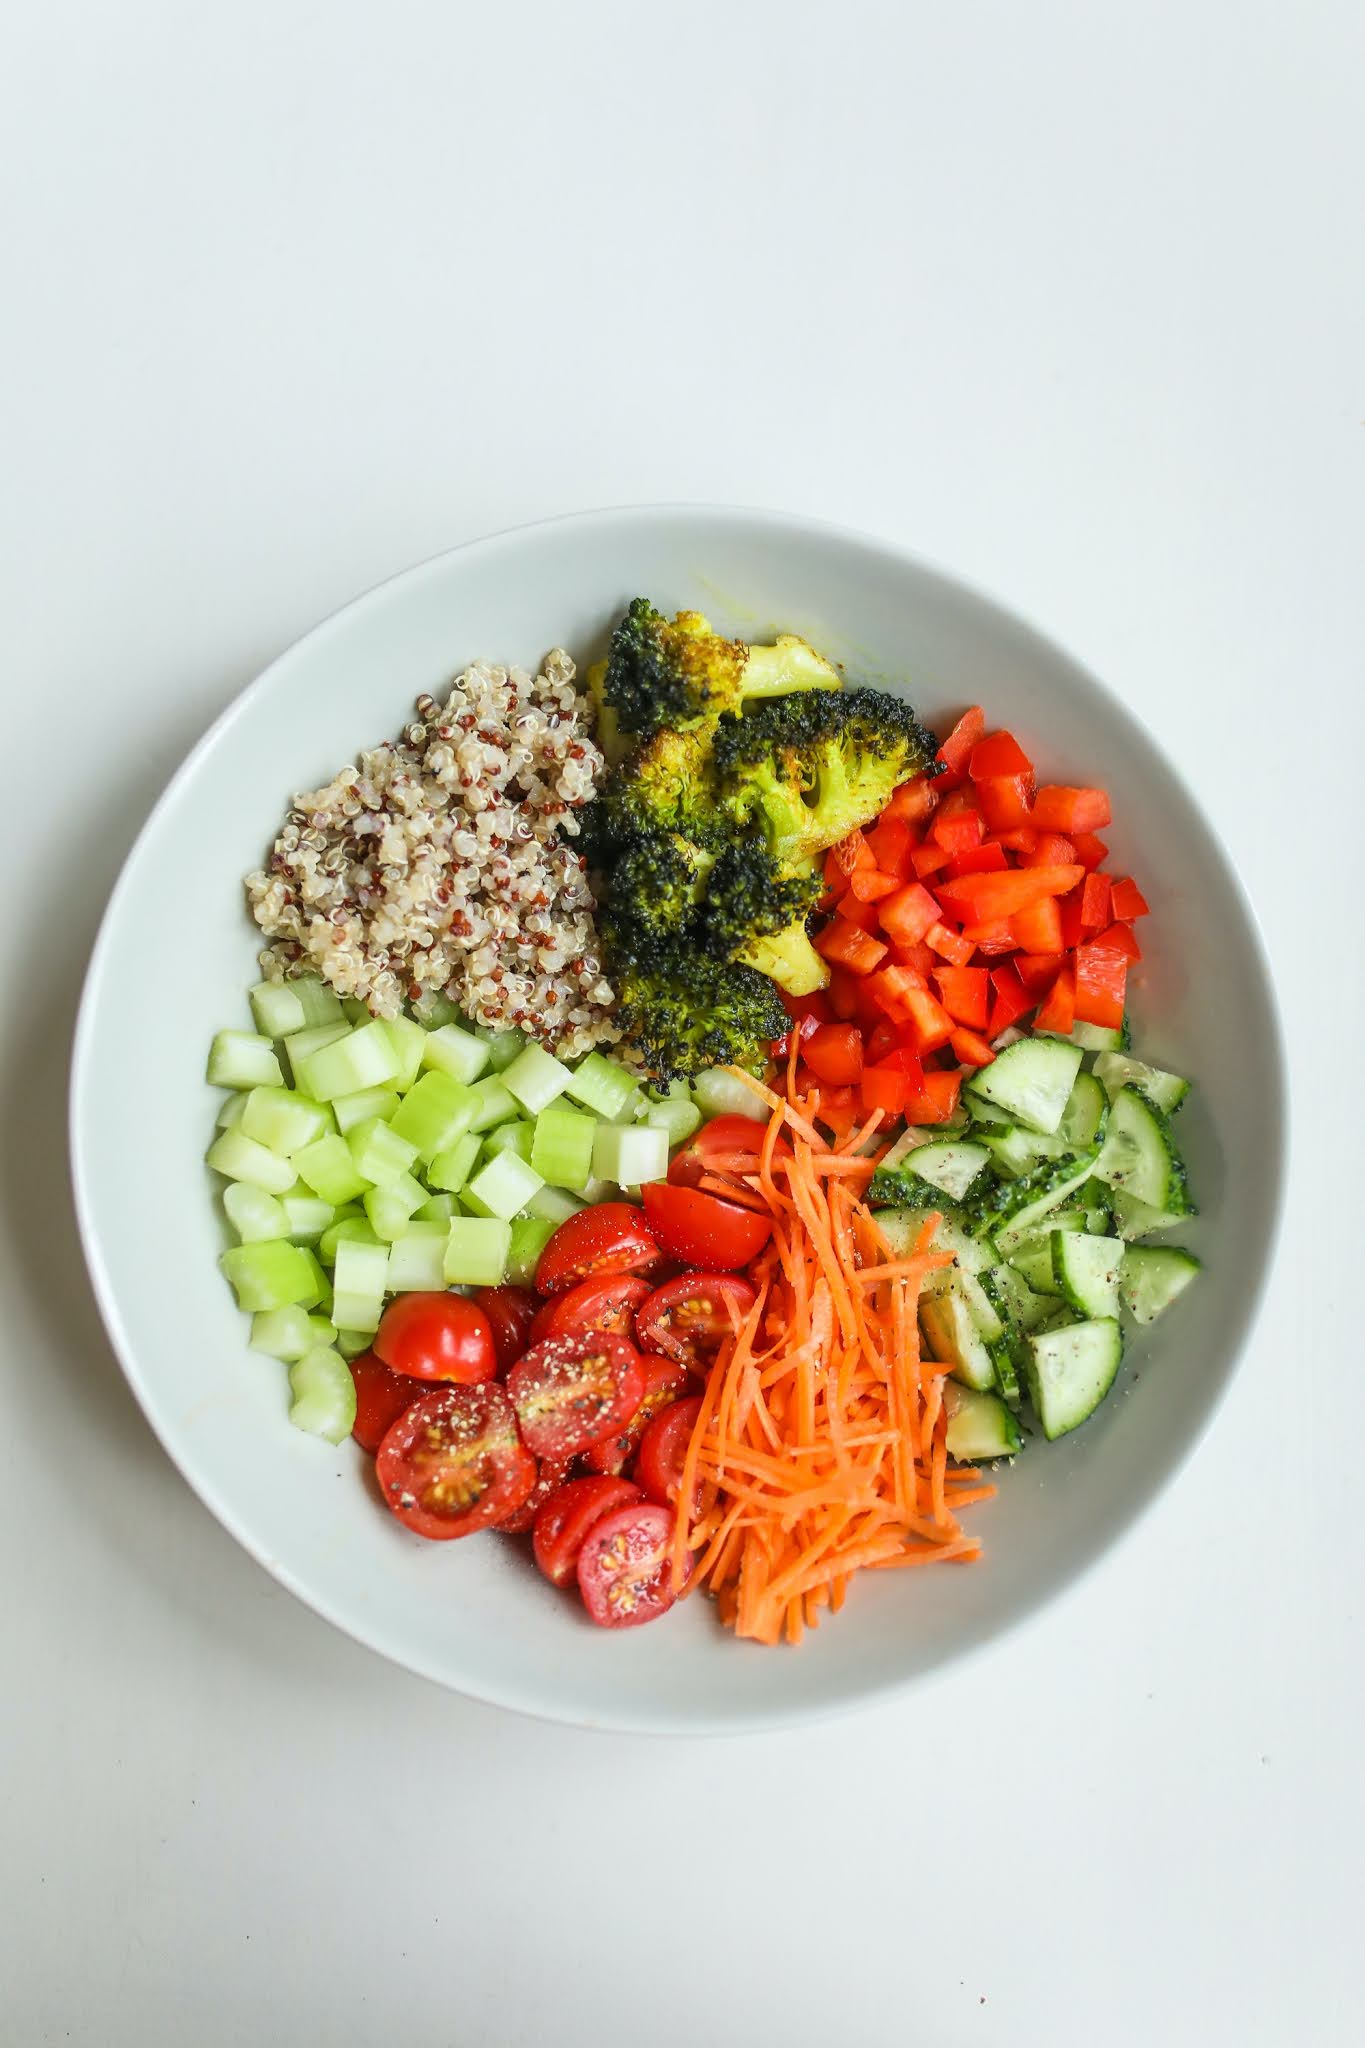
Then, make sure to whip up some sauces to top your rice bowls (the same way I make my weekly salad dressings), and then freeze them in individual servings using your vacuum sealer. Just reheat your grains, stir-fry some of the veggies and proteins you have prepped, and top with a sauce of your choice. Easy peasy dinner in only a few minutes!
Are you starting to see how much faster you can make healthy meals each day by doing these weekly, monthly, or quarterly prepping tasks? Now let’s talk about prepping for those days when you just don’t have a second to spare.
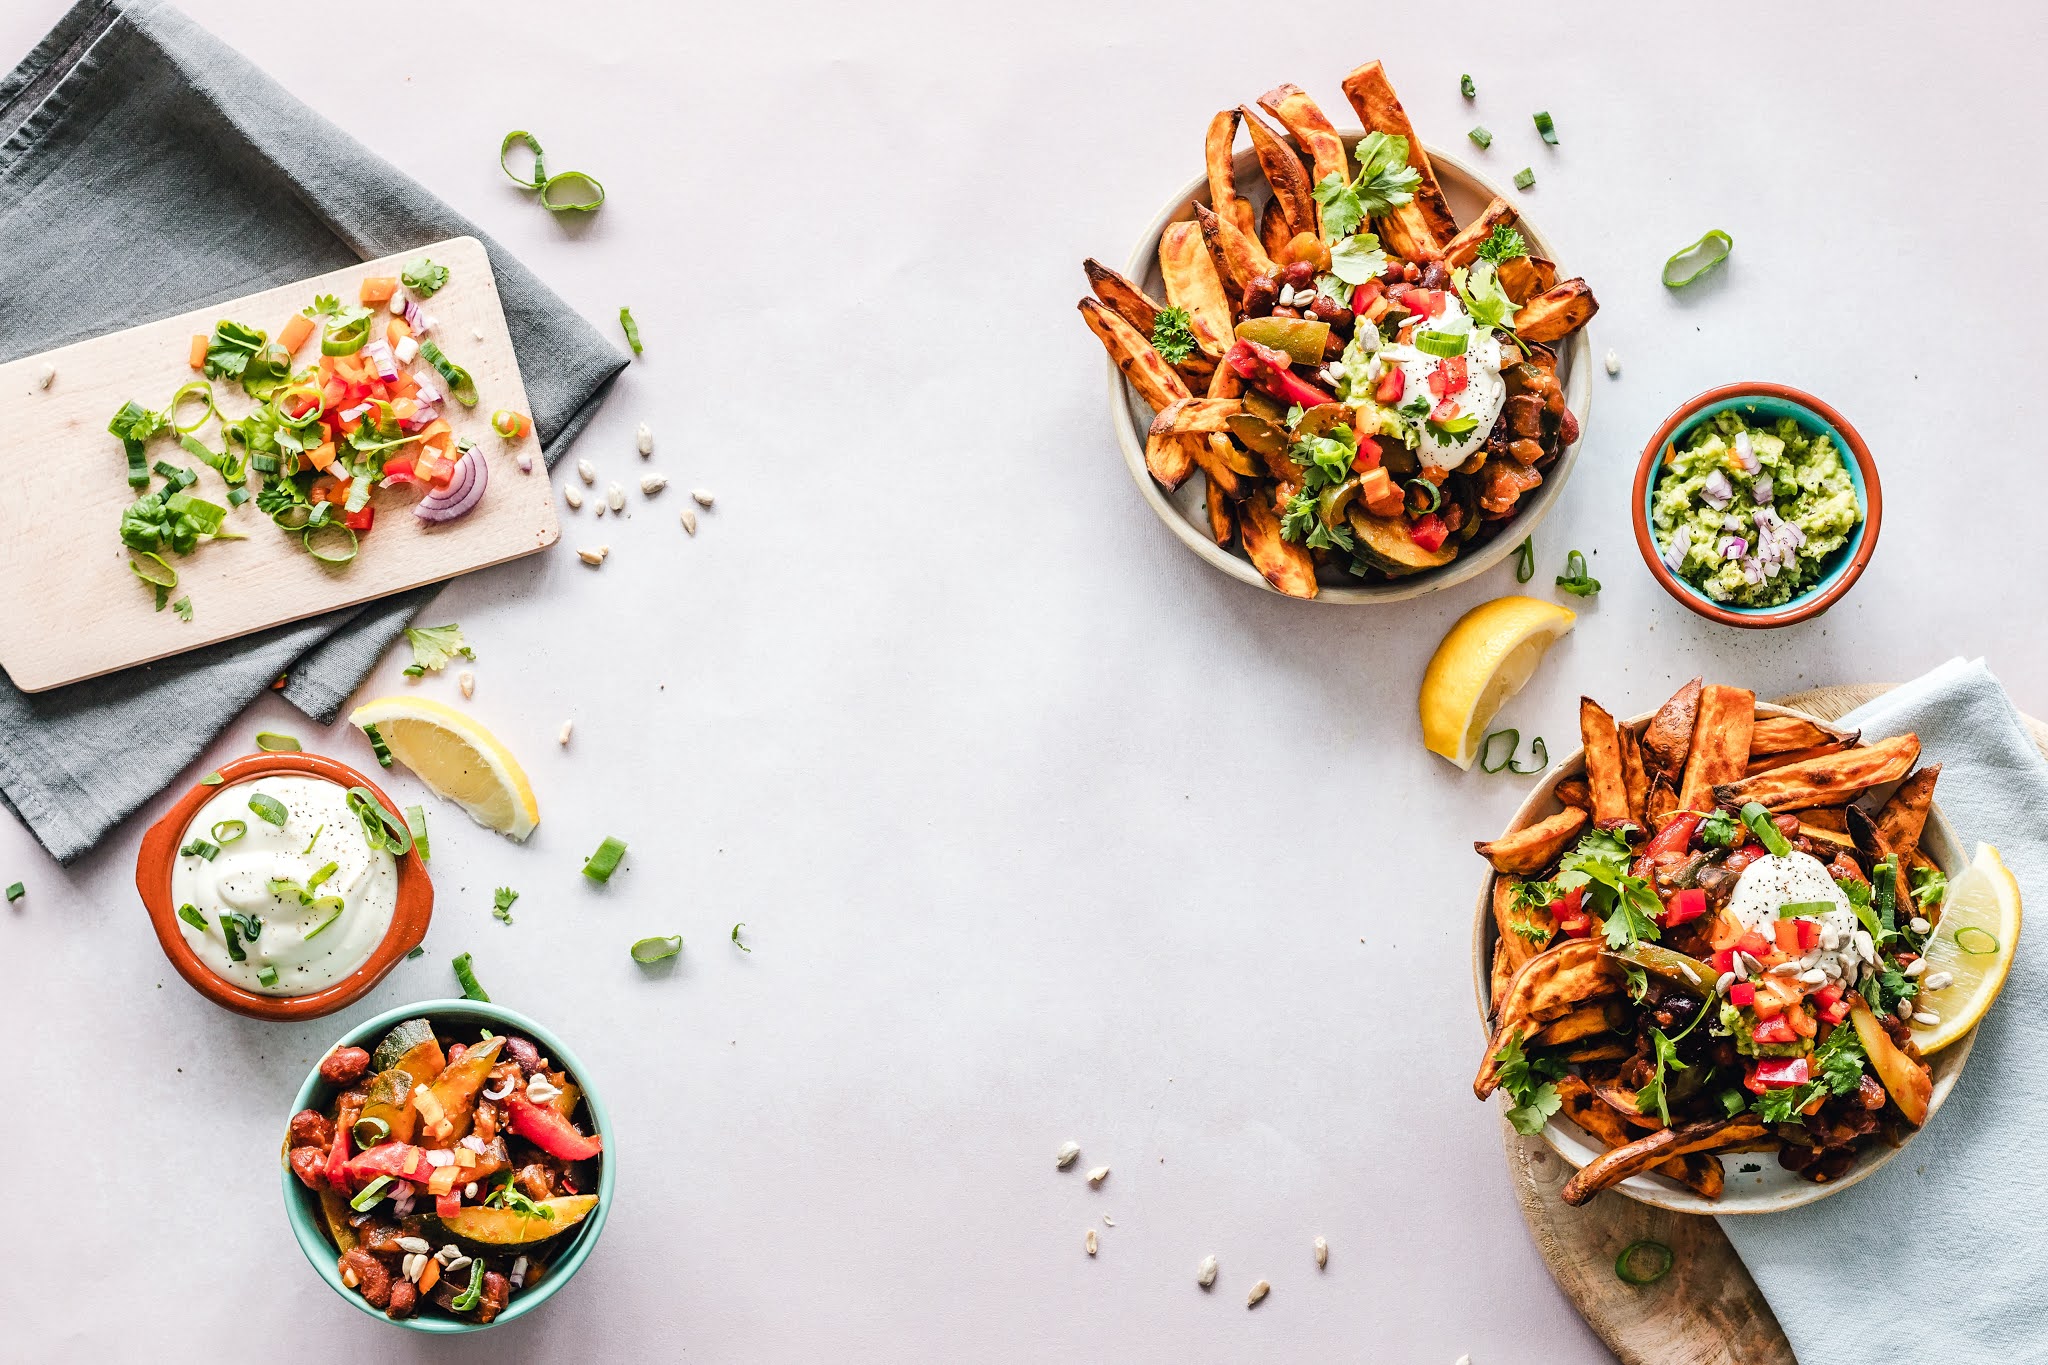
PREPPING COMPLETE MEALS
At this point, we’ve gotten so proficient in prepping our ingredients that we simply don’t require as much “complete meal” prepping as we used to do. This is a quarterly task for me now, but we’ve pared it down significantly.
In the past, I would prep an entire extra dish whenever I’d make something big. For example, if I made Shepherd’s Pie or lasagna for dinner one night, I’d actually prepare two of them. We’d make one that night, and the other would go into the freezer for a future night when we were short on time or energy to make something.
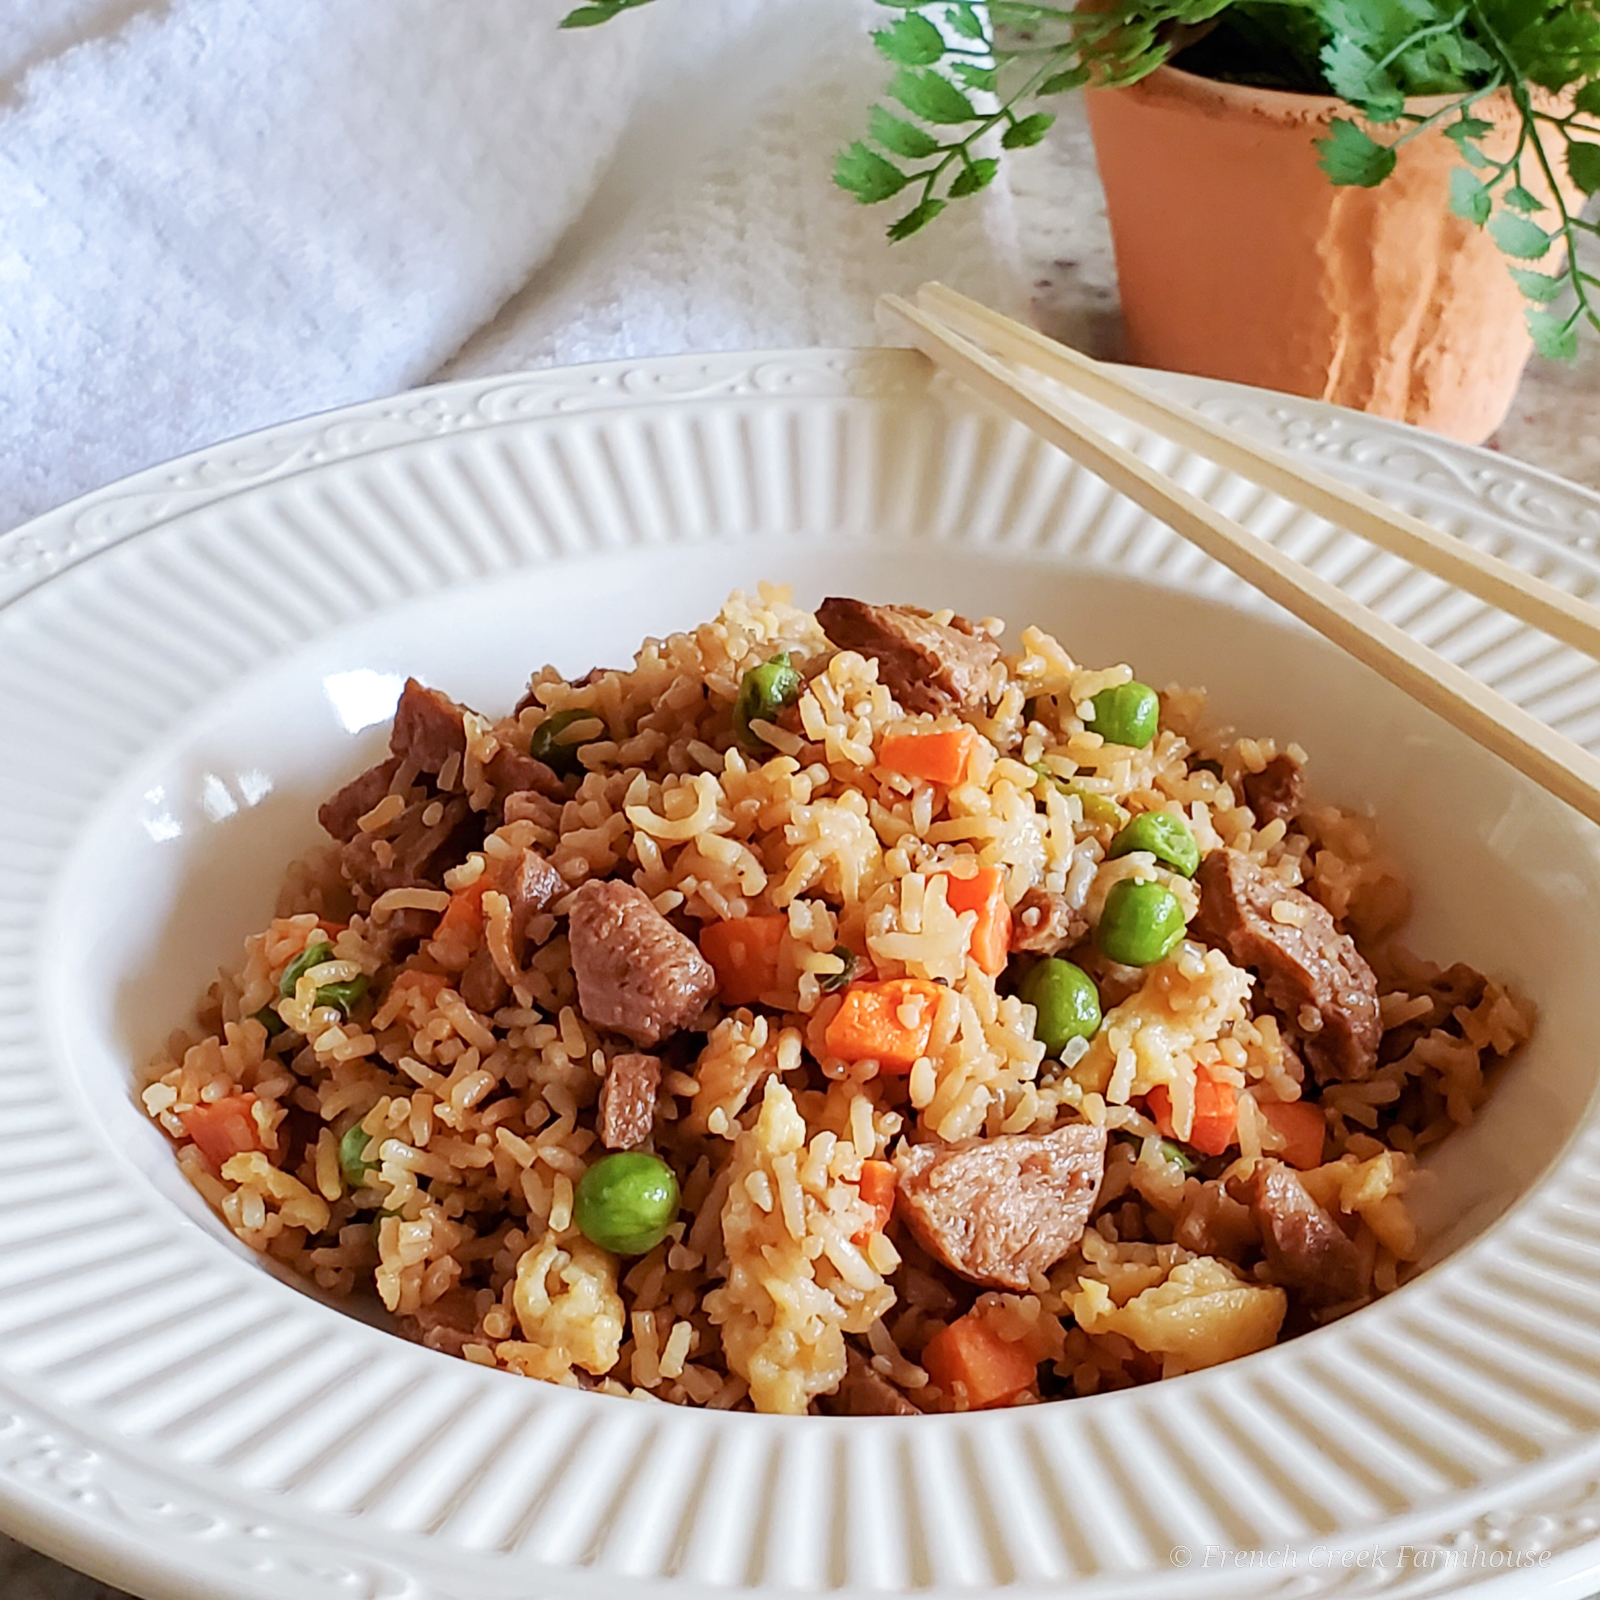
Now that we’ve increased the variety of ingredients we prep, we don’t stress those times nearly as much. We can put together a delicious grain bowl quite quickly with our prepped ingredients!
However, one dish that I always make each quarter is chili. Currently, that is our go-to meal for nights when no one wants to do the cooking.
I make a huge pot of chili every three months, then dish it into stackable freezer containers that hold about three 1-cup servings. Chili is so versatile, so you can eat it all by itself, as a side dish, or use it as an ingredient in a larger dish–like on top of baked potatoes, mixed with cheesy macaroni, or to make seriously killer nachos for movie night!
STORAGE & LABELING: Save Your Sanity
A couple of quick overall notes about prepping and storing food and ingredients…
First, label and date everything! Use a permanent pen that won’t fade away (these are my favorite because they’re double-tipped). And, when you write the date, be sure to include the year, too. Even if you’re doing this process monthly or quarterly, and you think that you’ll eat everything within that time, there’s always the possibility something will get misplaced in your cupboard or freezer. You don’t want to be wondering if that container was stored in March 2021 or March 2019.
If the item you’re storing has more than one ingredient, be sure to list them all. Especially if there are allergens involved! Don’t be stuck with questions like “does this sauce have tree nuts?” when you’re trying to whip up a quick lunch for a guest with a nut allergy. Be clear about what’s in a container because, more than likely, you’ll forget some details.
I share this tip about labeling from personal experience! Clear and thorough
labeling is an investment in your future sanity (and gut health!).
Second, use storage containers to help organize your prepped foods. I like these freezer baskets and these clear storage boxes for the fridge or pantry so that you can keep foods visible and easy to find.
Storage containers are especially useful if you’re using a vacuum sealer to store your foods. For example, it’s simple to freeze items flat, and then “file” them vertically into freezer baskets to maximize space. The same goes for pantry organization of dehydrated foods.
CHANGES WE’RE PLANNING TO MAKE THIS YEAR
No matter how long you’ve been involved in homesteading, it’s a process of evolution. As your needs change, you simply adjust. As you become more efficient, you have more room to add new steps into your routine. Things are always changing!
As I eluded to up above, one of the changes I’m trying to make is to move some of our monthly food prep onto a quarterly schedule. Obviously this isn’t going to be an option for every step. For example, you can’t just do all of the steps annually because some foods just won’t last that long.
I’ve been doing smoothie prep on a monthly cycle for many, many years now, but this past month, I did a 6-week prep to give myself a touch more time. It doesn’t take much additional time to make four versus six weeks’ worth of smoothies, but it reduces the frequency I’ll need to do it throughout the year.
I suspect that a 12-week cycle will probably work for the fruits and veggies I use in my smoothies, so I prepped 6 weeks worth in order to put smoothies onto the same timeline as my other quarterly prep. Let’s see how it goes!
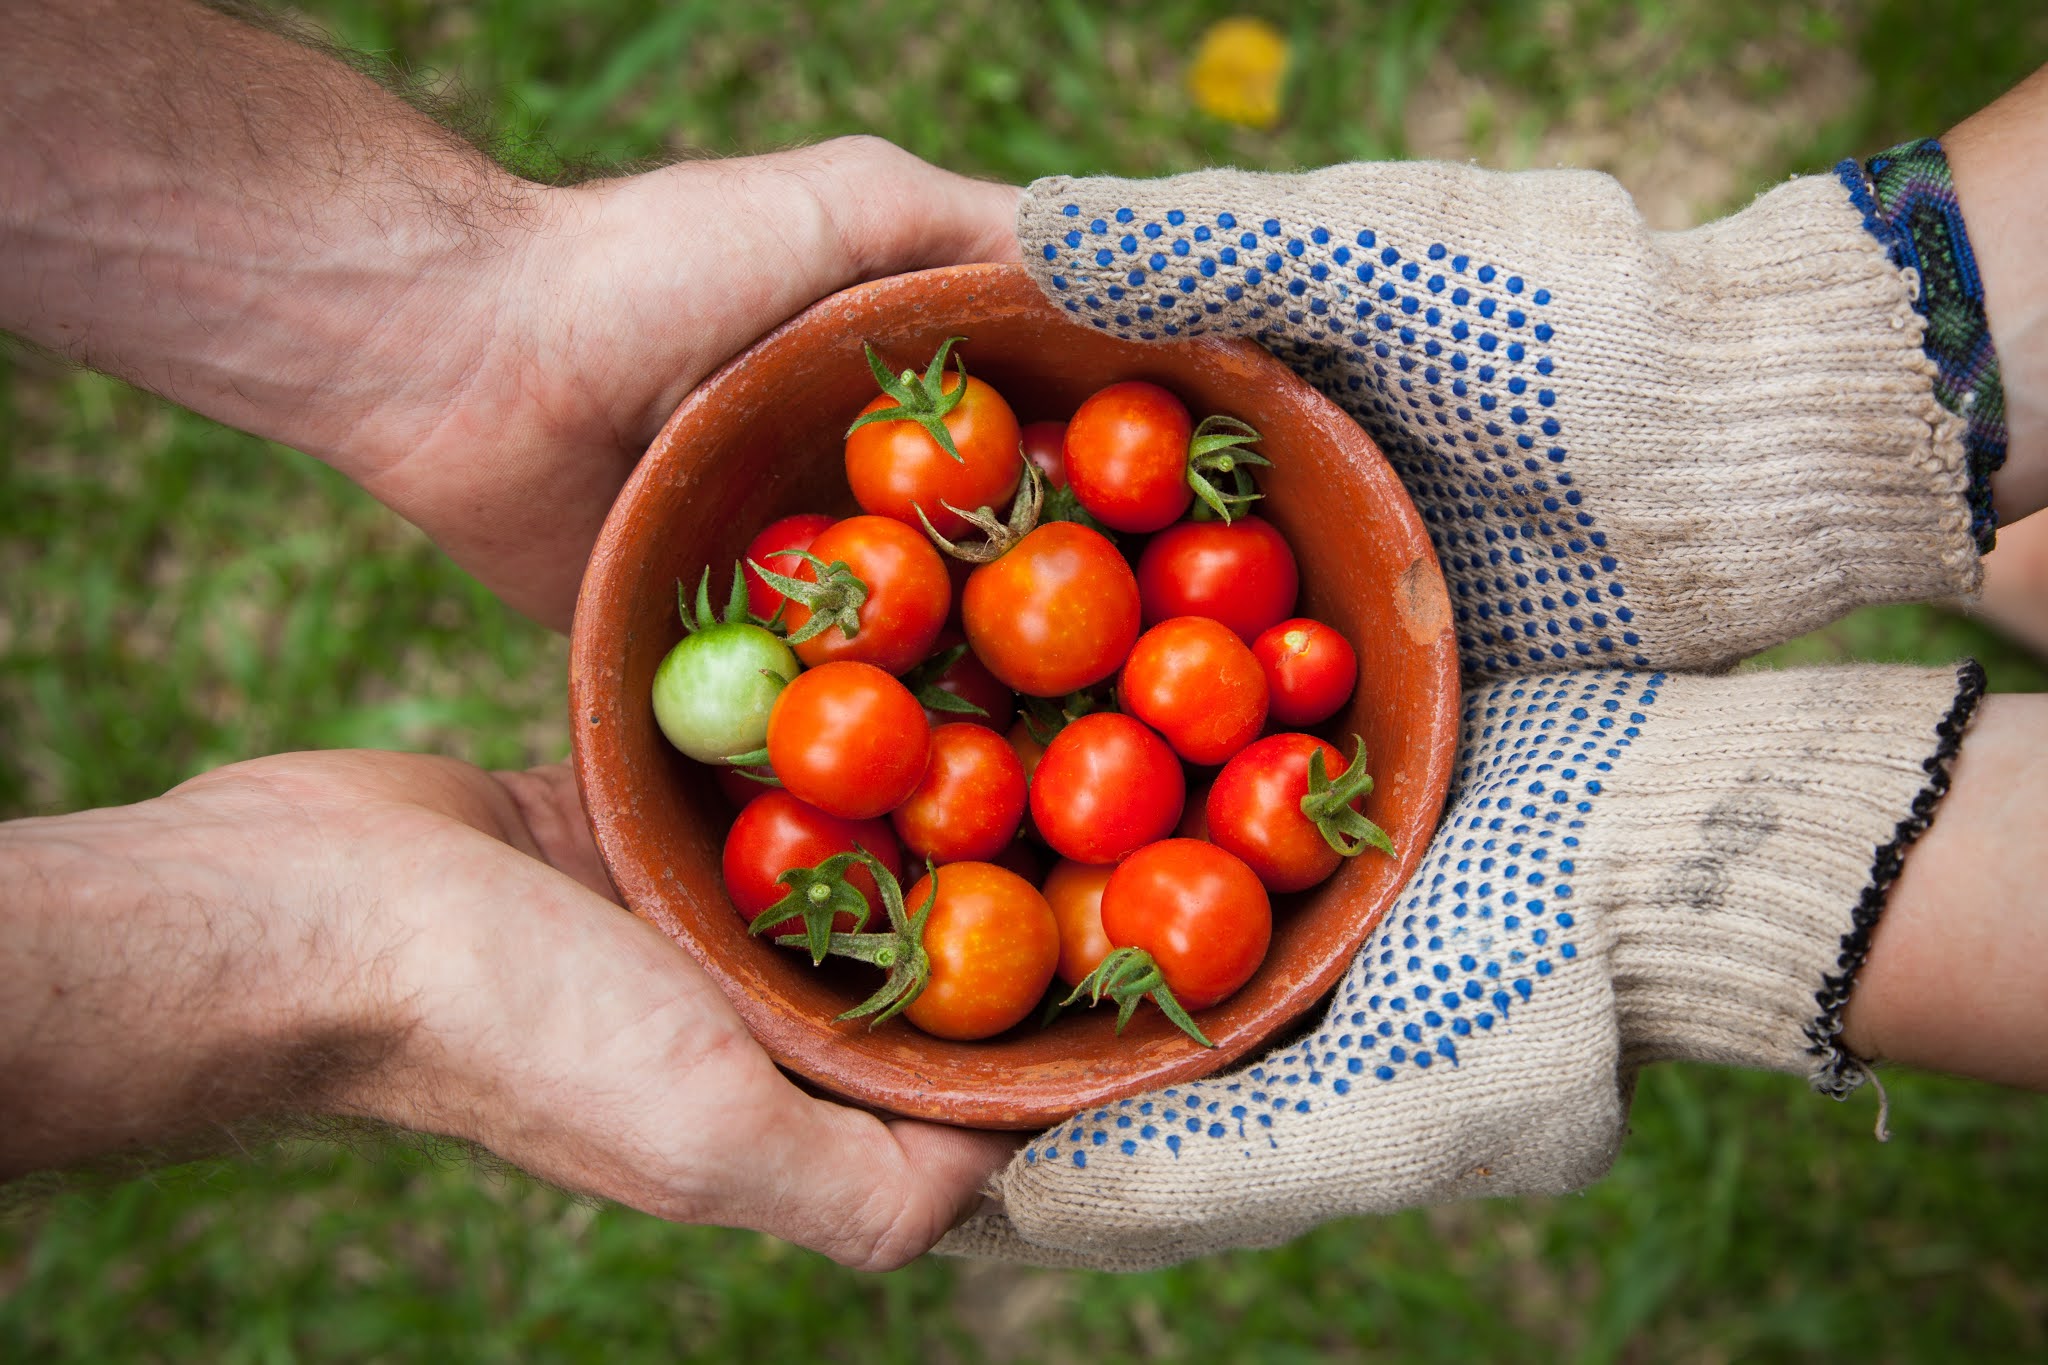
Another change we have planned this year, if all goes well, is to cut tomatoes and tomato products out of our grocery shopping. Store bought tomatoes are, like most commercially farmed produce, notoriously lacking in flavor. Yet, they’re something that’s pretty darn easy (and cheap) to grow on your own.
They’re also easy to can and store. High acid foods, like tomatoes, will keep their freshness for up to 18 months if stored properly, so I figured this was a good experiment at increasing our self-sufficiency.
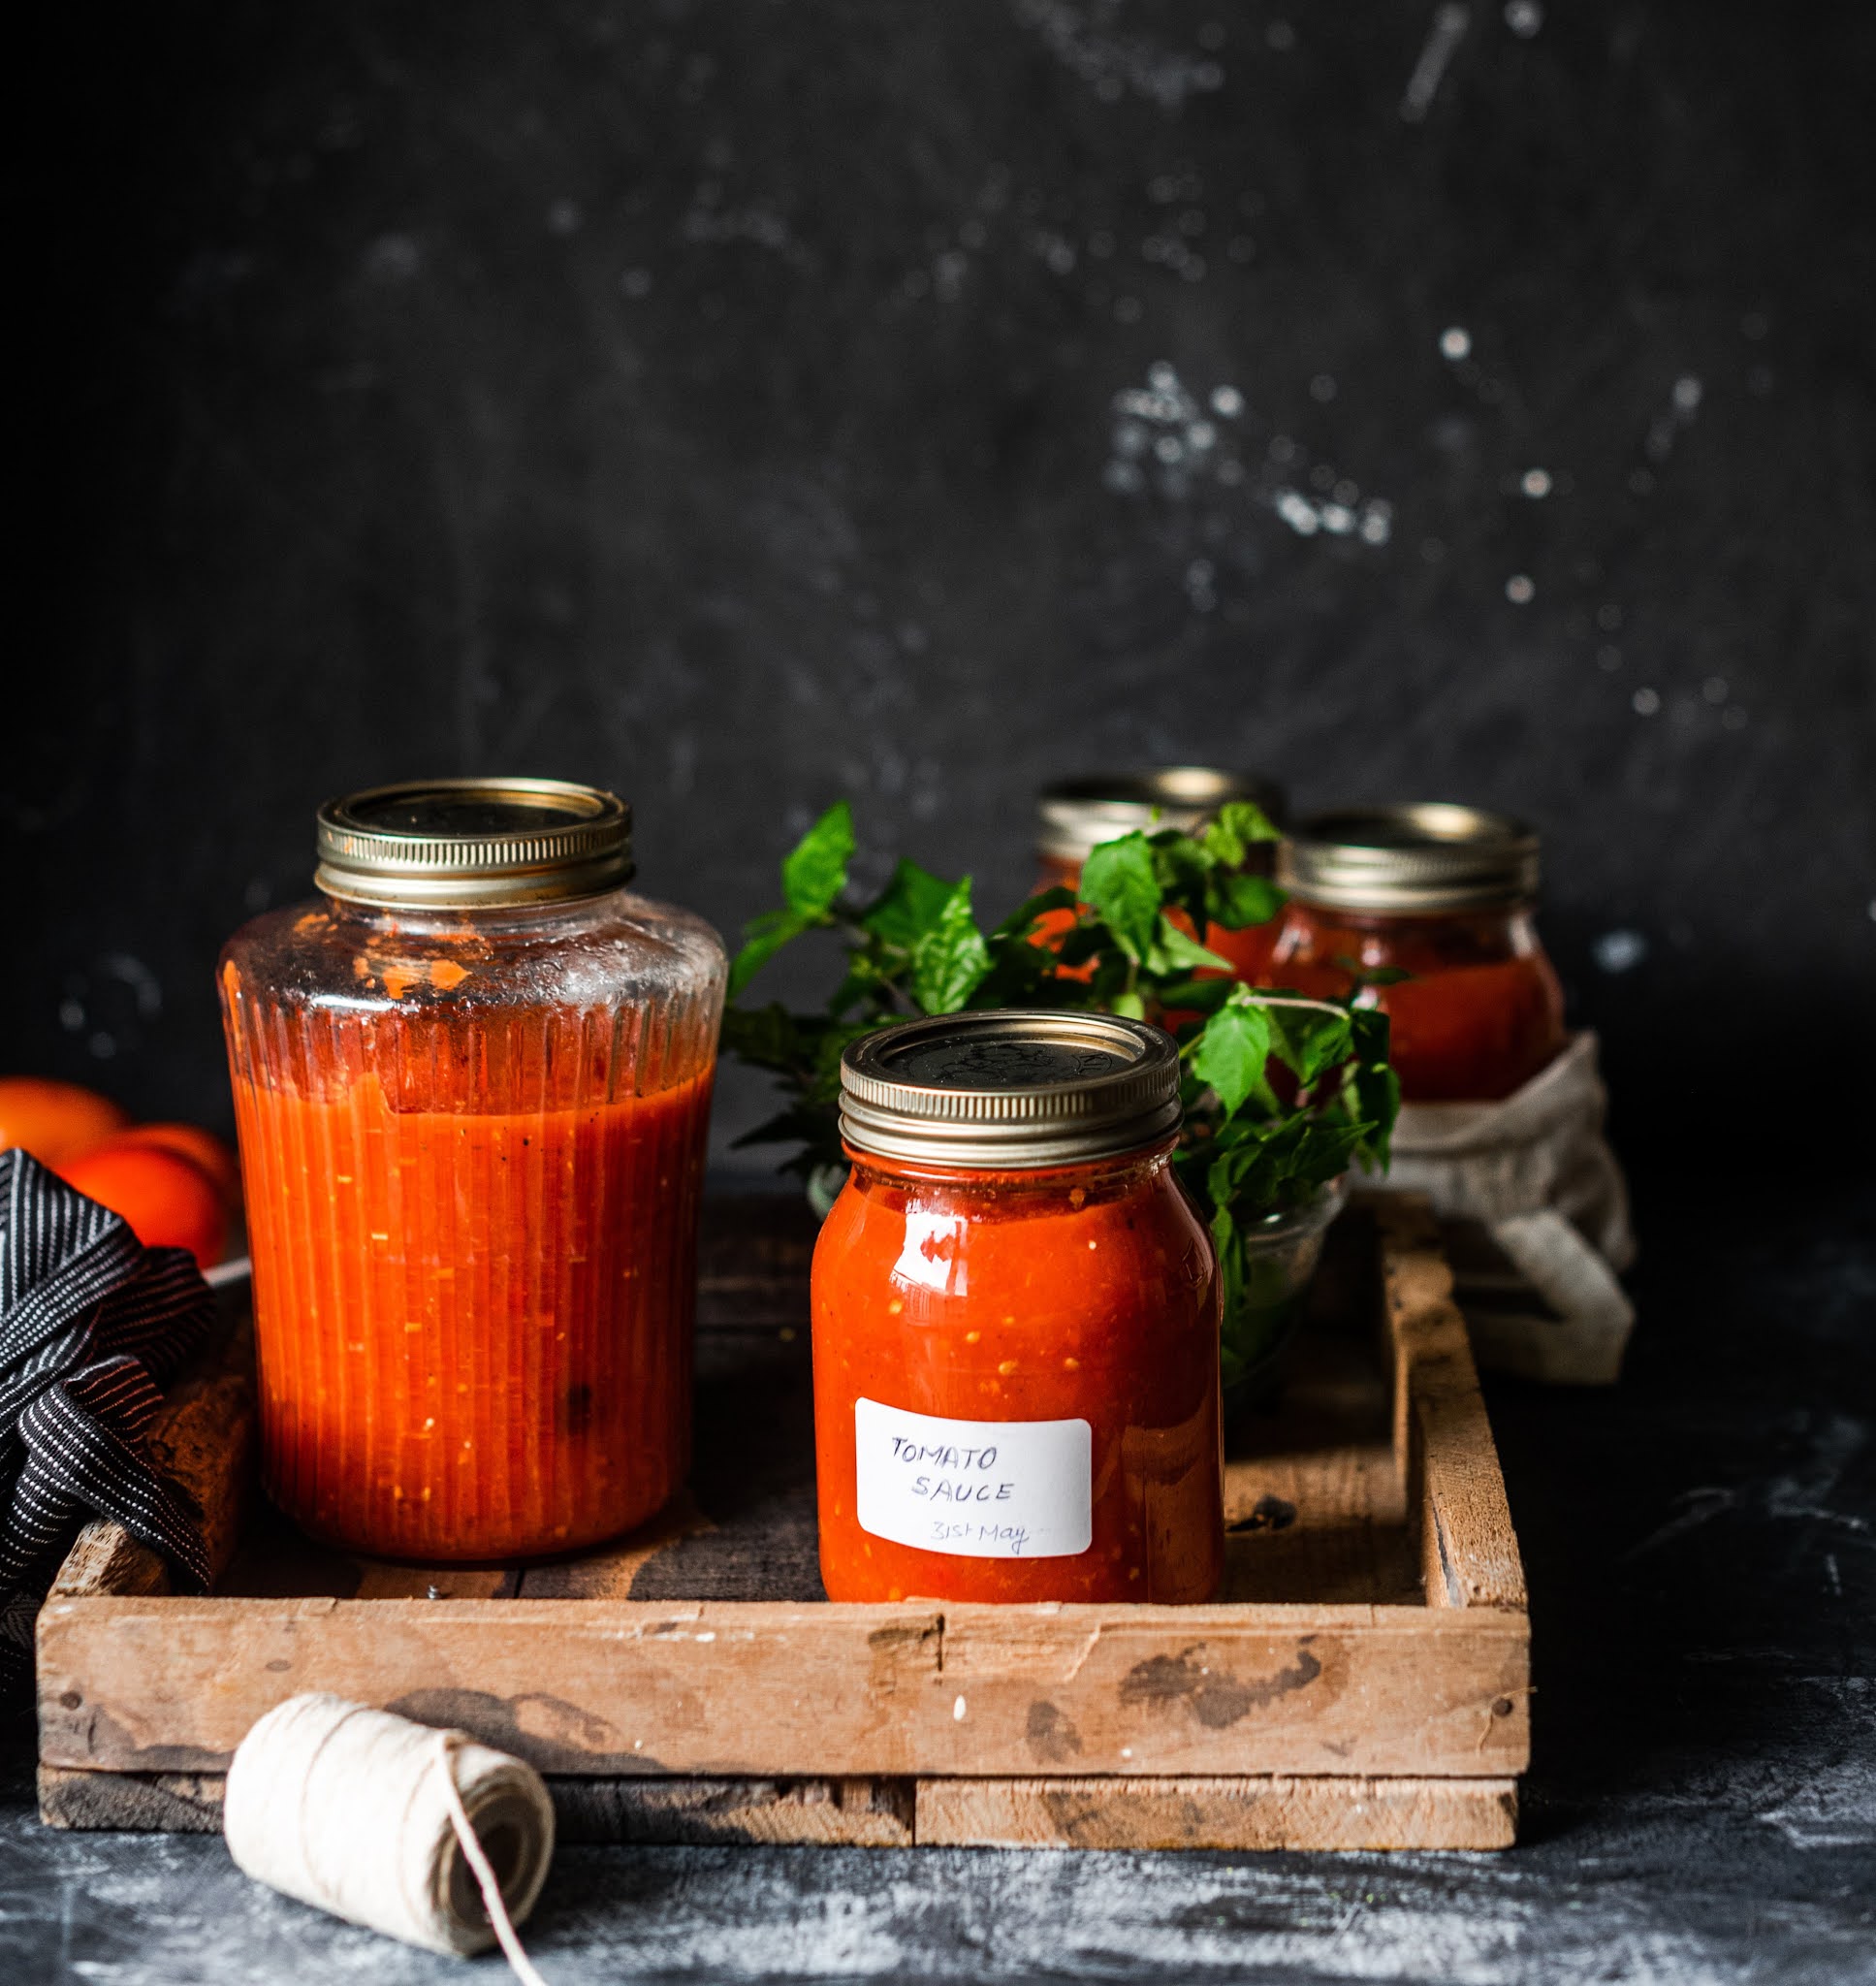
Last December, I dug out recipes for every type of tomato product we regularly buy: spaghetti sauce, tomato paste, pizza sauce, salsa…you get the idea. Then, I figured out how much of each we use throughout the year, and calculated my annualized tomato needs for all of it.
Next, I figured out the average yield per tomato plant for our region and determined how many plants we’d need to meet those needs. Only time will tell if this plan works out the way I’ve calculated it, but it’s a goal for this year. I’ll keep you posted!
CONCLUSION
Whew! At over 5,000 words, I do believe I’ve covered everything I set out to do with this guide and then some. Haha!
Seriously though, I hope I’ve helped to inspire you to incorporate some form of homesteading into your life through vegan food prepping.
No matter whether you live in a city apartment, or on 40 acres of farmland, this is something that everyone can do to save time and money while becoming more self-sufficient in the process. You might not choose to do all of these steps, but anywhere you start will make a difference.
I would love to hear more about your food prepping process. Share your tips in the comments below!
P.S… I’m currently offering a FREE GUIDE to all of my newsletter subscribers that will teach you my exact process for building delicious grain bowls, as well as three of my favorite recipes that will make your dinners amazing! Snag it right here (the downloadable/printable PDF will be delivered directly to your inbox within minutes).