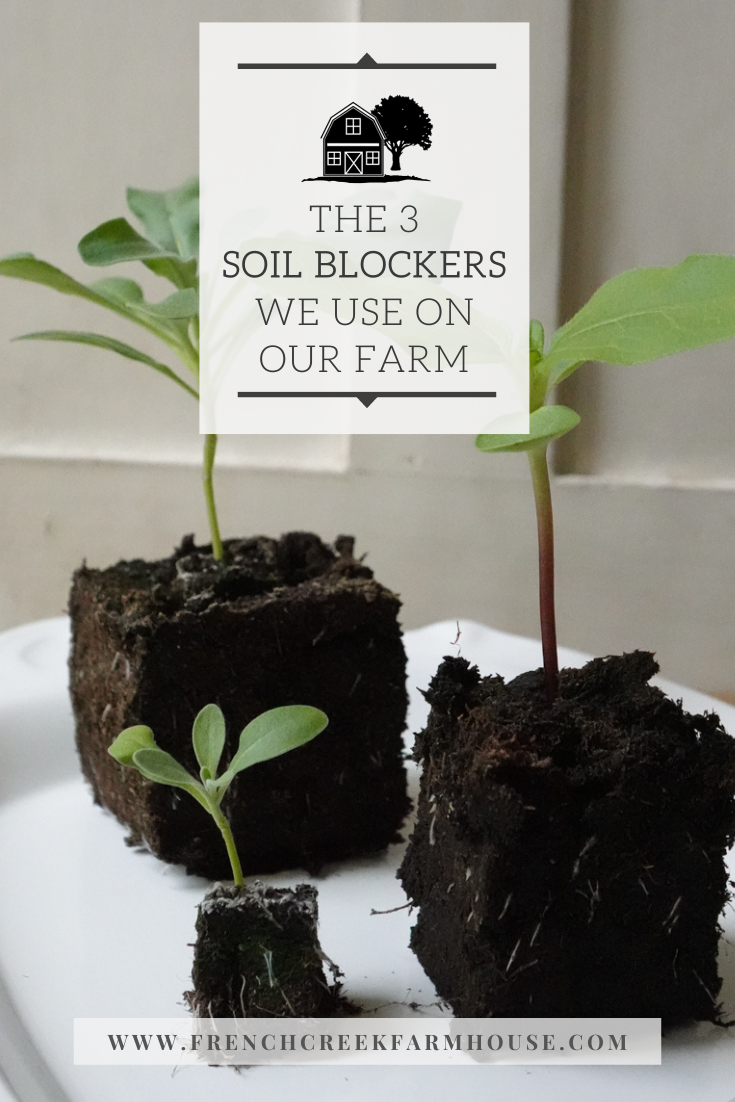
The Three Soil Blockers We Use On Our Farm
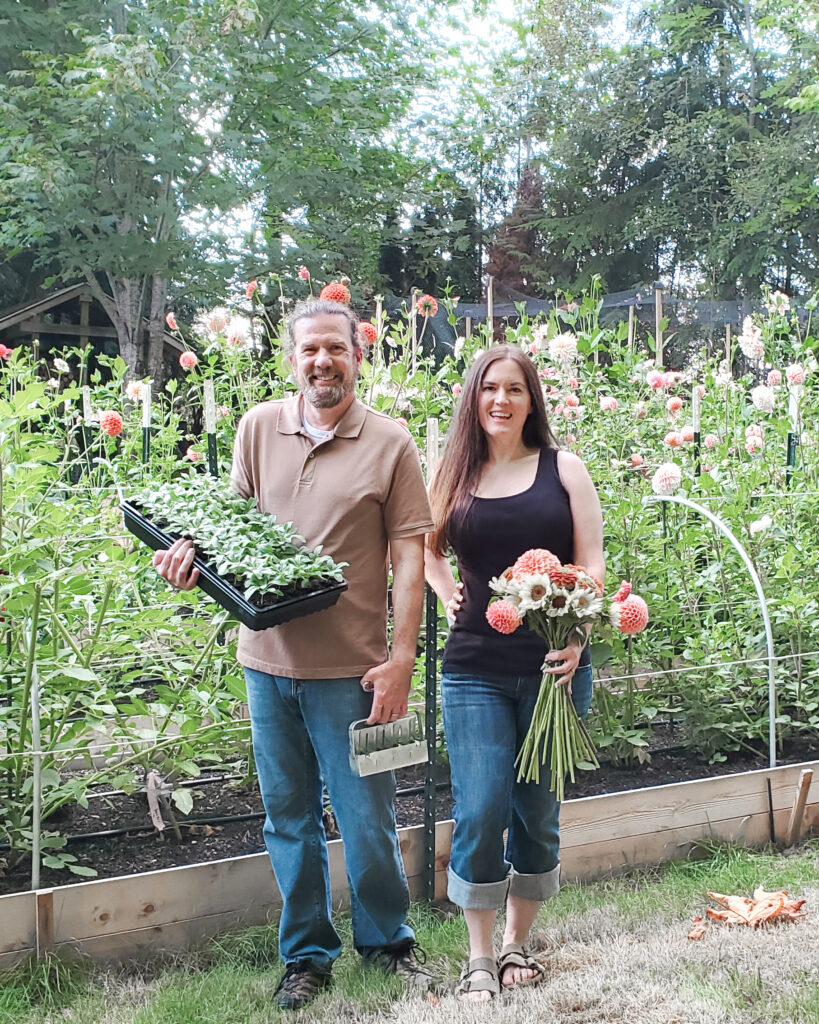
Operating a two-person farm requires us to constantly look for efficiencies to maximize our time. That’s just one of the reasons we rely on the help of soil blockers during this time of year.
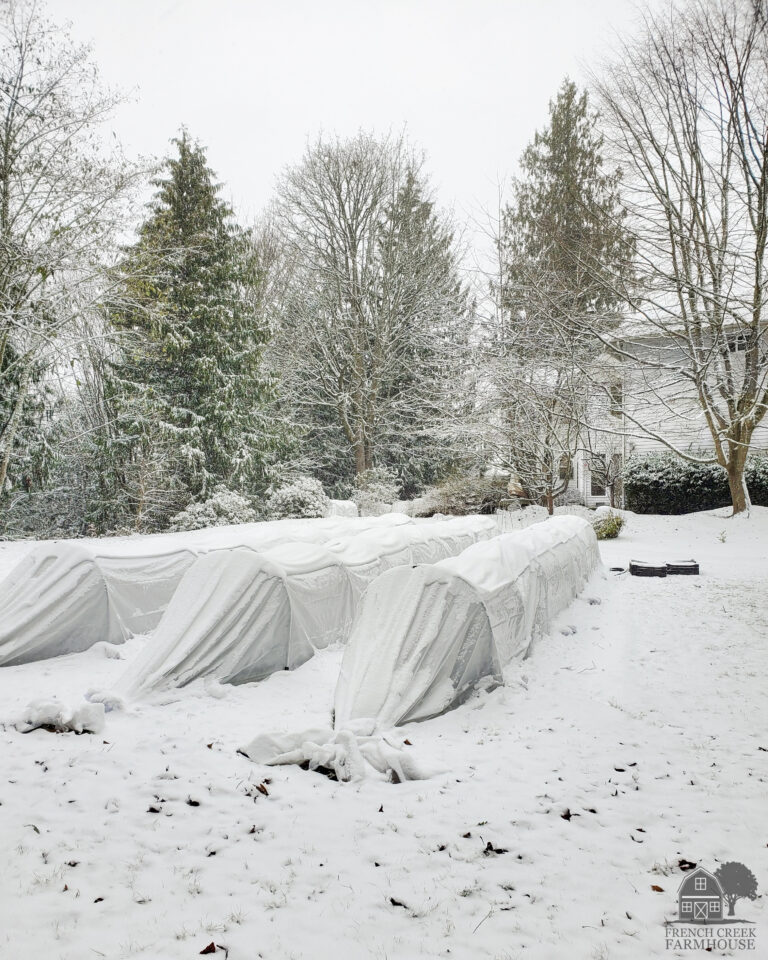
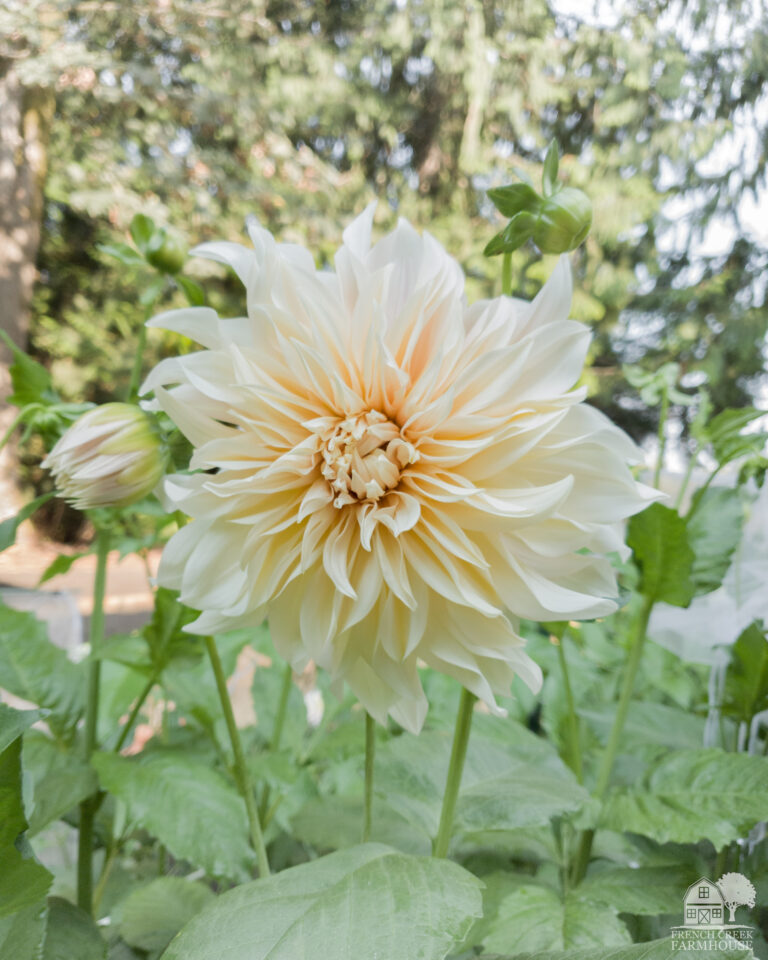
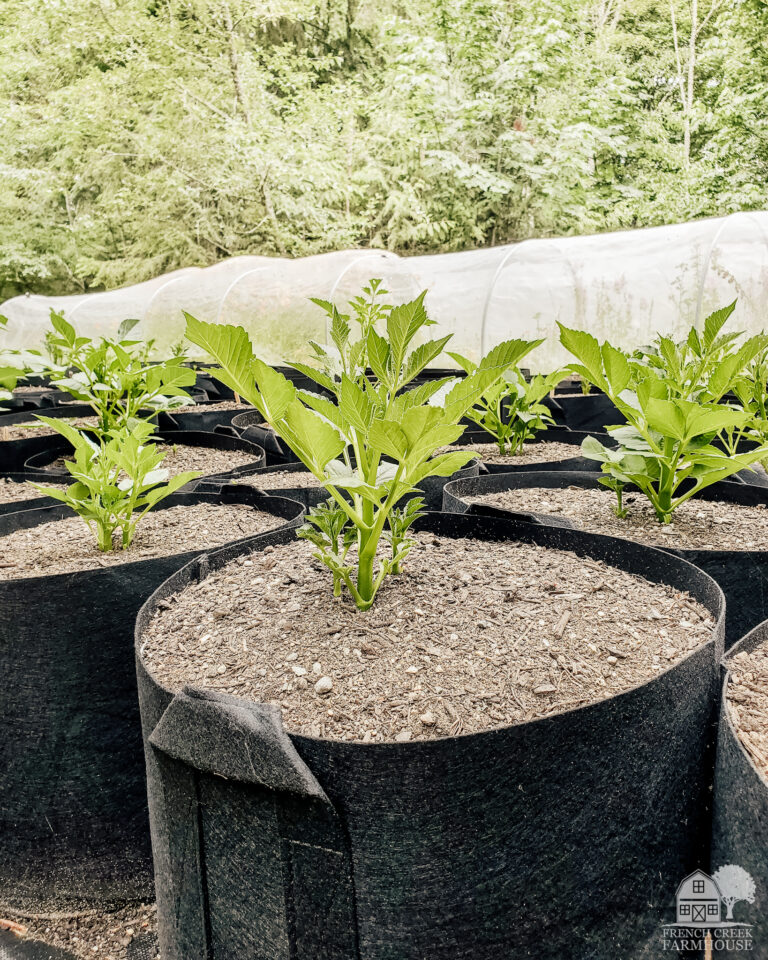
September is one of the busiest months on our farm. Our dahlia season is in full swing, and we’re harvesting an abundance of flowers each week. At the same time, we’re also working to get our hardy annuals into the ground for overwintering. It’s really like managing two farms at once!
Finding efficient ways to reduce our workload is absolutely necessary to the growth of our farm. So when we discovered soil blocking, we were hooked from the start!

Click here to subscribe to our channel, and never miss an episode!

Disclosure: This is not a sponsored post, and I have received no compensation for sharing anything that follows. Some links within this blog may be affiliate links, and I might earn a commission if you make a purchase through that link. This usually amounts to cents, not dollars, and helps to support the projects featured on this blog. I only recommend products from companies that I have found to be trustworthy. Read my full disclosure here.
What is a soil blocker?
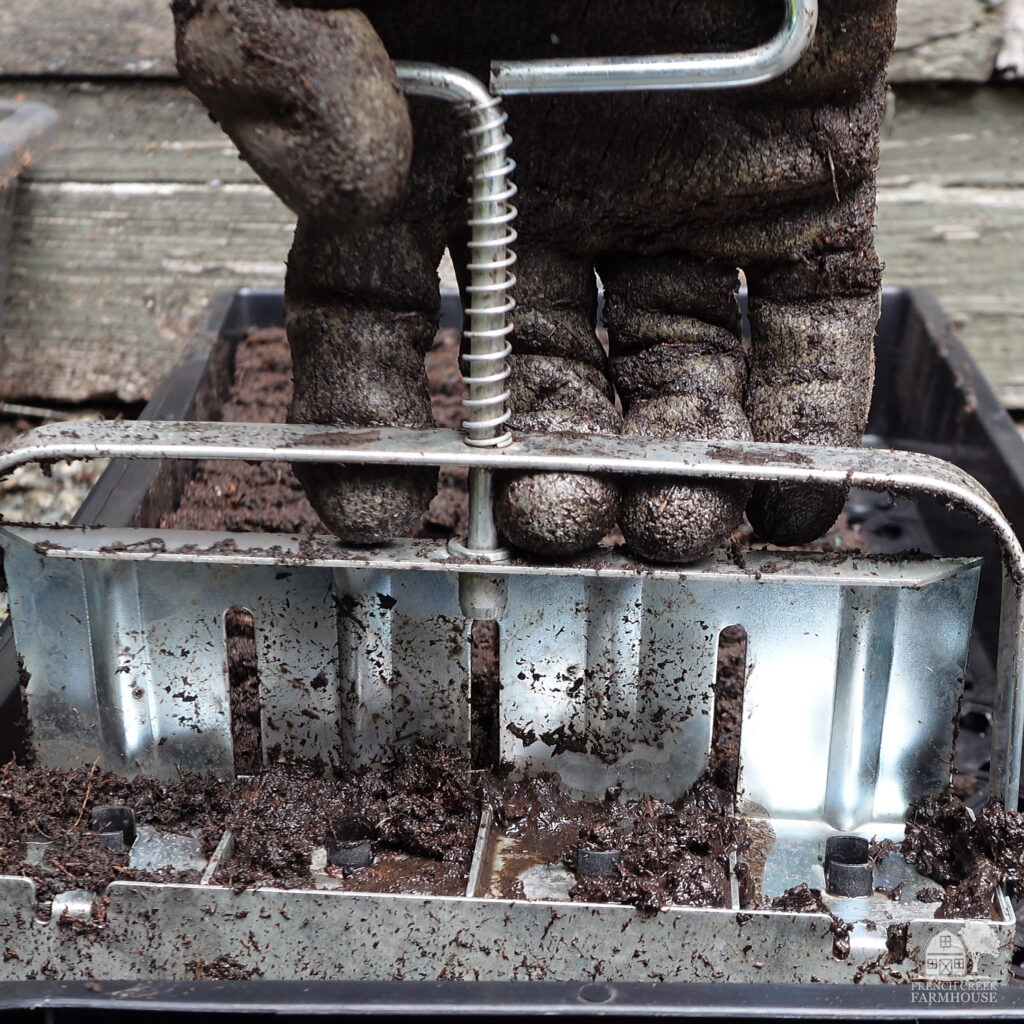
A soil blocker is a simple tool used to compress soil into a compact cube for growing seedlings.
Before we discovered soil blocking, we used traditional cell trays for over 15 years for starting our garden vegetables. Cell trays are what most people are familiar with when it comes to starting seeds, but they come with a lot of drawbacks.
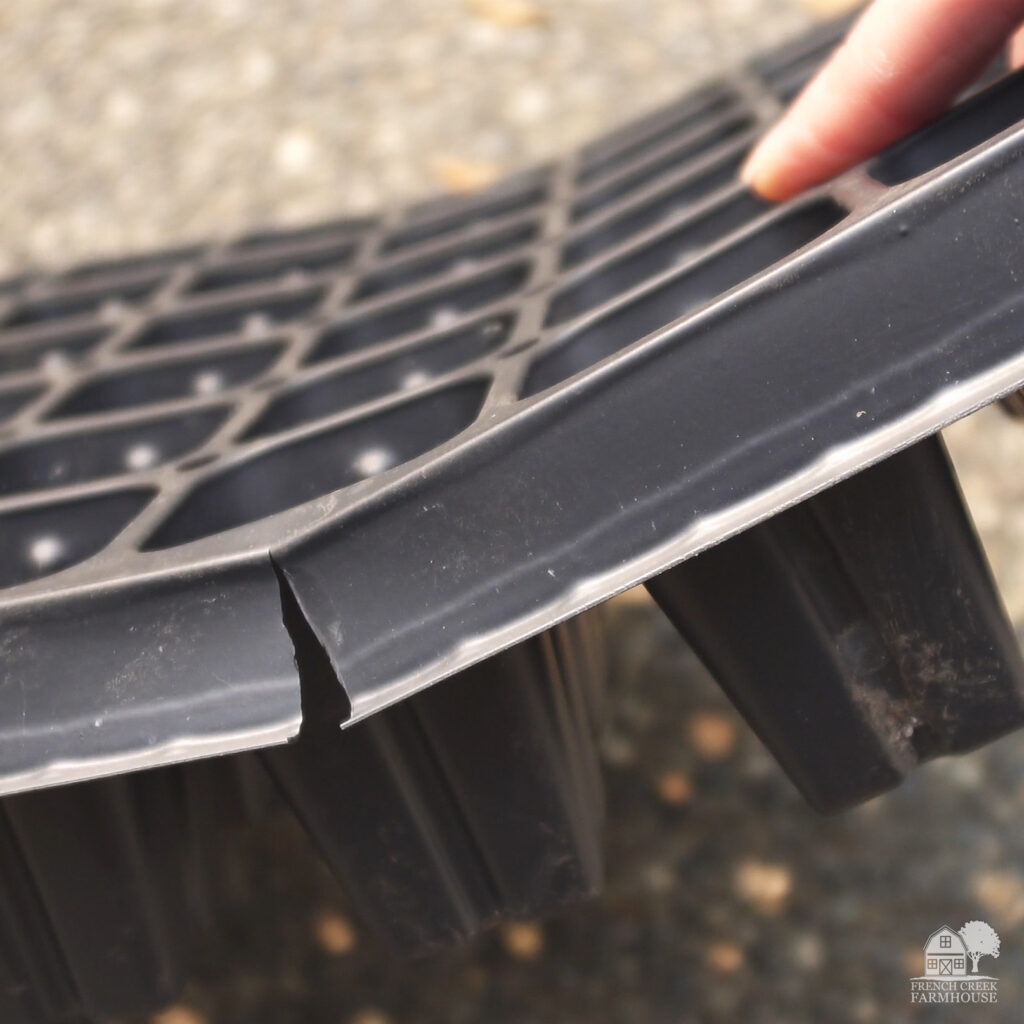
Traditional seed starting trays are usually made with fragile plastic that breaks easily, so you end up having to replace them quite often. This also means that they create more plastic waste as you end up throwing them away every year.

These types of trays are also difficult to clean, and if you’ve ever tried, you already know!
With soil blocking, you technically don’t even need trays (more on that in a minute), and there are even advantages to the plant itself.
Now, when it comes to purchasing soil blockers, you have several options. I’ll detail the exact soil blockers we use, but first, let’s talk about why soil blocking makes such a big difference.
Why Soil Blocking is the Best Choice for Our Farm
Part of our decision to pursue farming and homesteading was about our belief in being good stewards of our land. We wanted to be less dependent upon the supply chain and to be able to produce more of what our family needs from the land we tend.
That stewardship requires an awareness about the impact that agriculture has on the environment. This is a longer discussion that really requires its own blog post, but for today, let’s begin by addressing the issue of plastic waste.

Soil Blocking Helps to Reduce Plastic Waste
The United Nations’ Food and Agricultural Organization (FAO) released a report about the impact that agriculture’s use of plastics is having upon the earth and, specifically, soil health. Farming accounts for 3.5% of global plastic production.
That might not seem like a big number, but when you think about the disruption to soil biology and the ways that microplastics are entering the food chain and impacting human health, it’s something we really need to stop and consider.
Soil blocking has helped us to significantly reduce our use of plastic on our farm. For that reason alone, we highly recommend it over the use of traditional cell trays for starting seedlings.
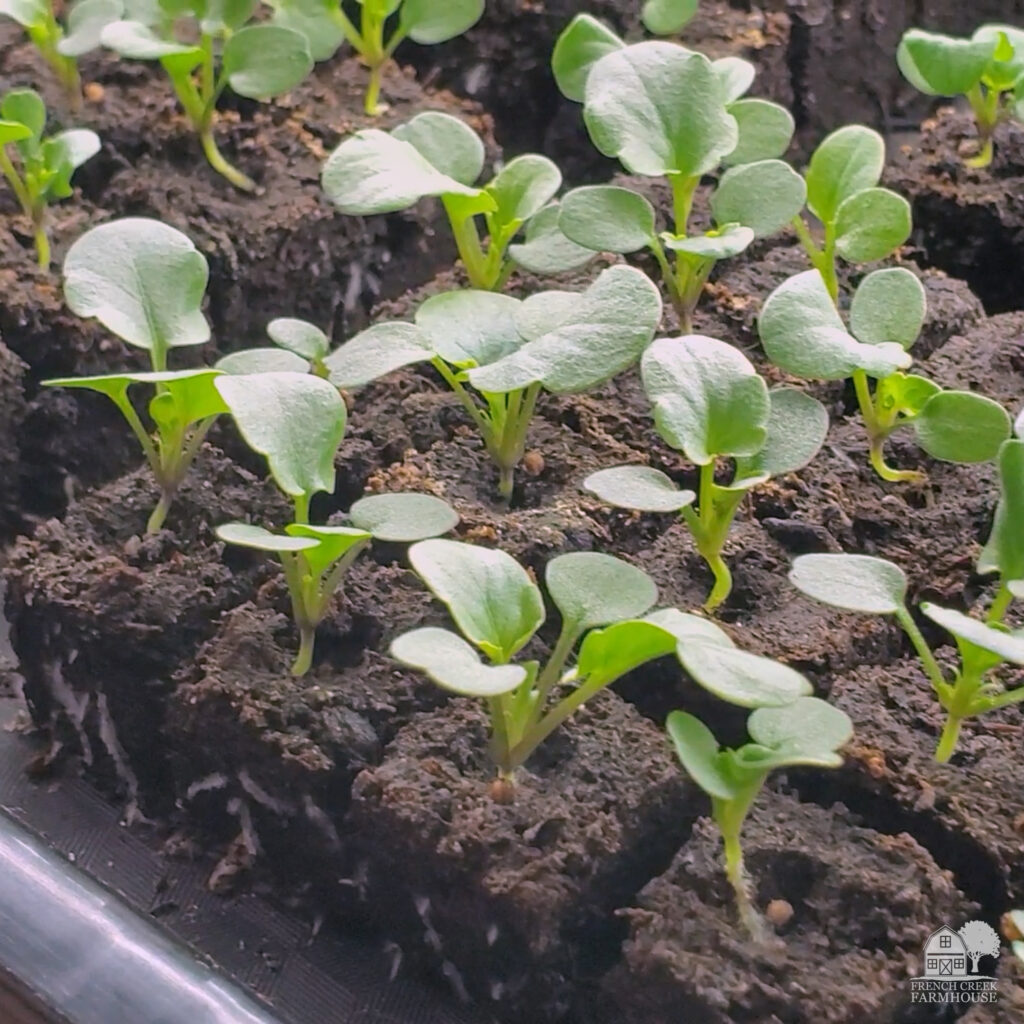
Soil Blocks Create Better Seedlings, Too!
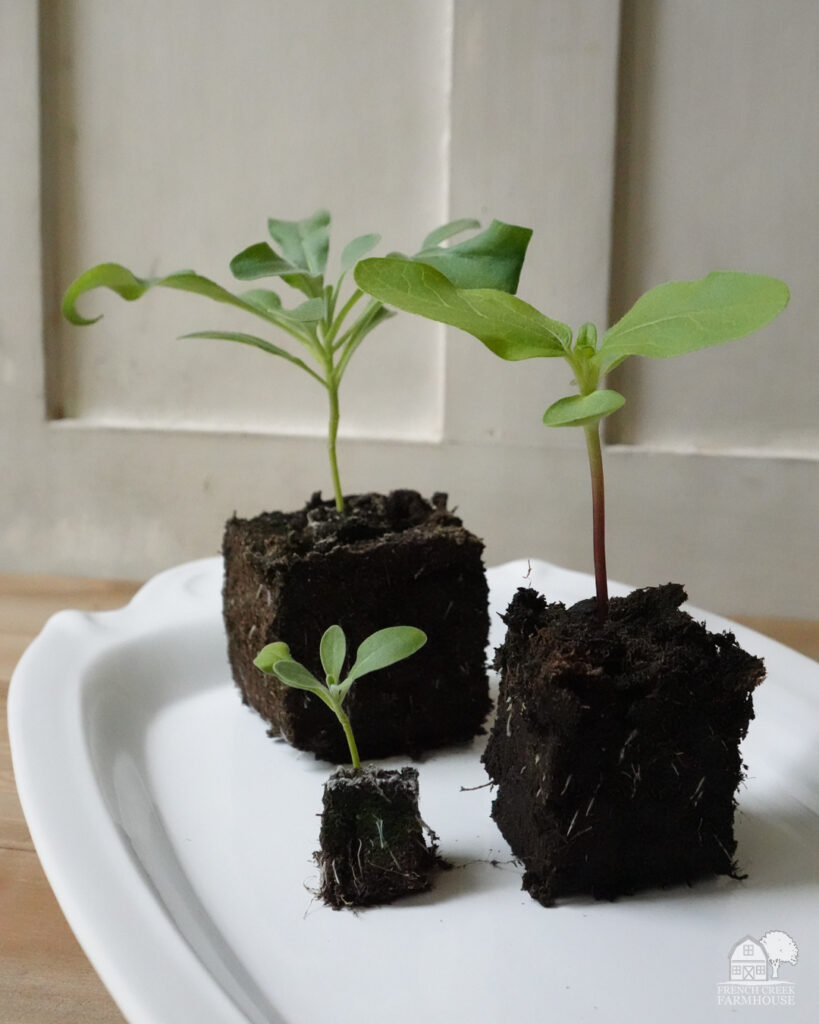
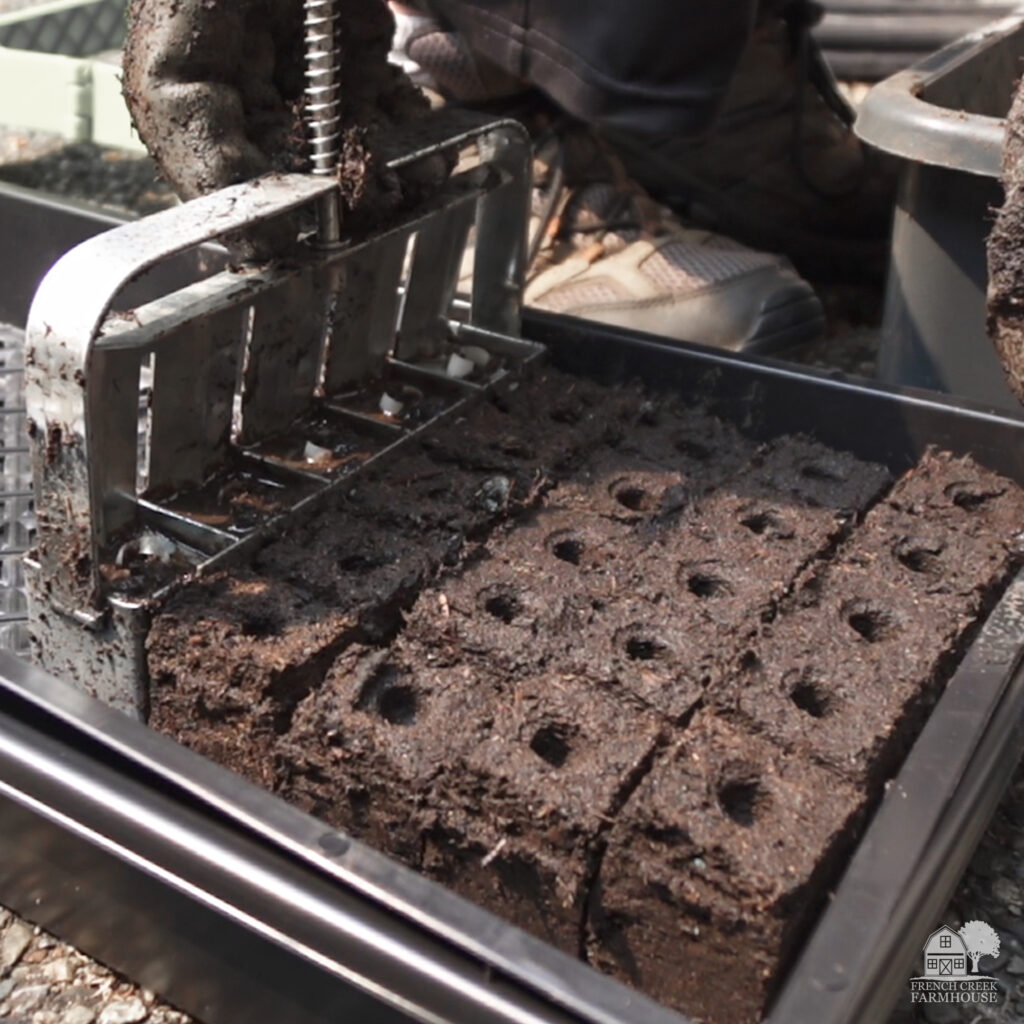
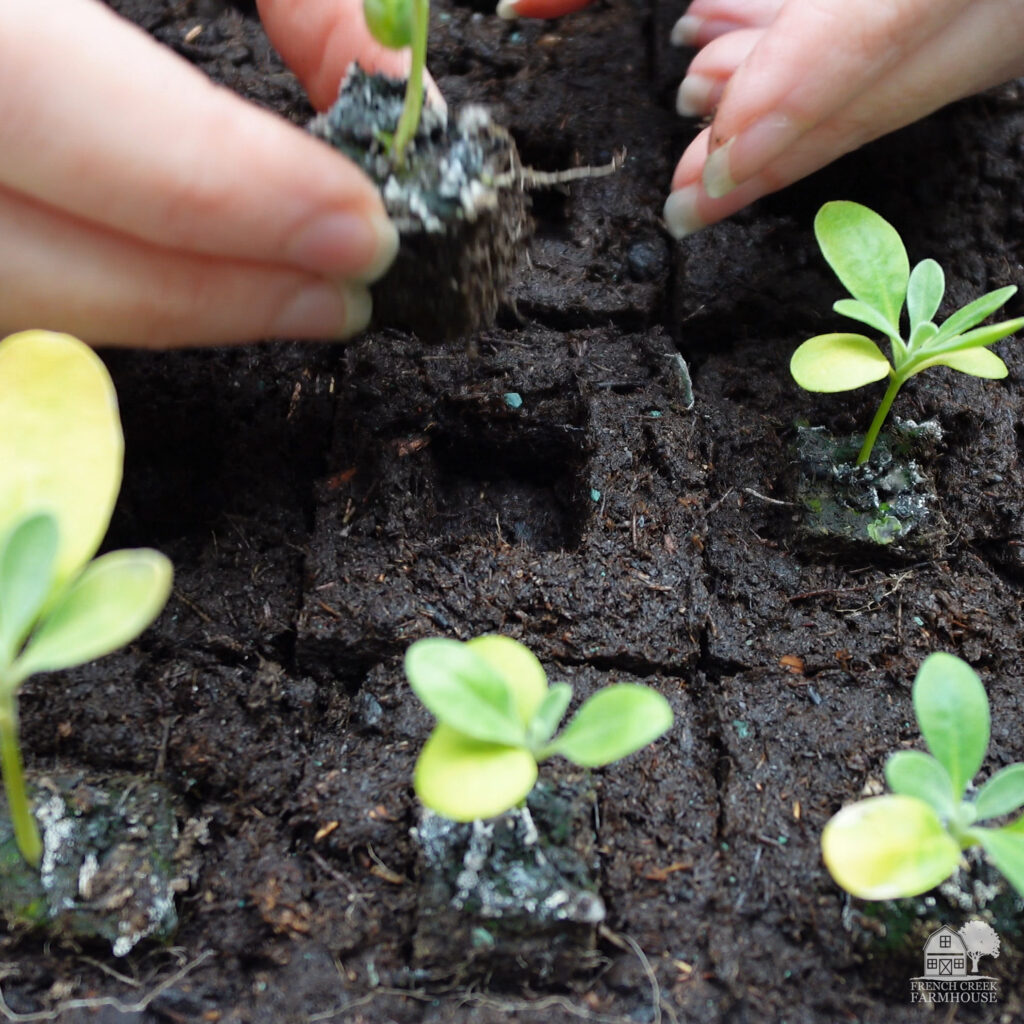
When you make a soil block, you’re compressing your soil mixture into a compact cube that stands on its own. There’s no need for the soil to be confined within the walls of a cell tray because the compression action of the soil blocker makes the whole little cube independent. It’s pretty cool, really.
One of the big advantages of soil blocks for seedlings is that the roots will grow to the edges of the soil, and then they become “air pruned”. What this means is that when the roots reach the edge, they’ll turn back around into the soil to continue growing.
If you’ve ever removed a seedling from a plastic pot, you know that’s precisely not what happens with that method. The roots of seedlings in trays will grow in a web around and around the soil, right up against the plastic. If left long enough, that’s what we call being “root-bound”.
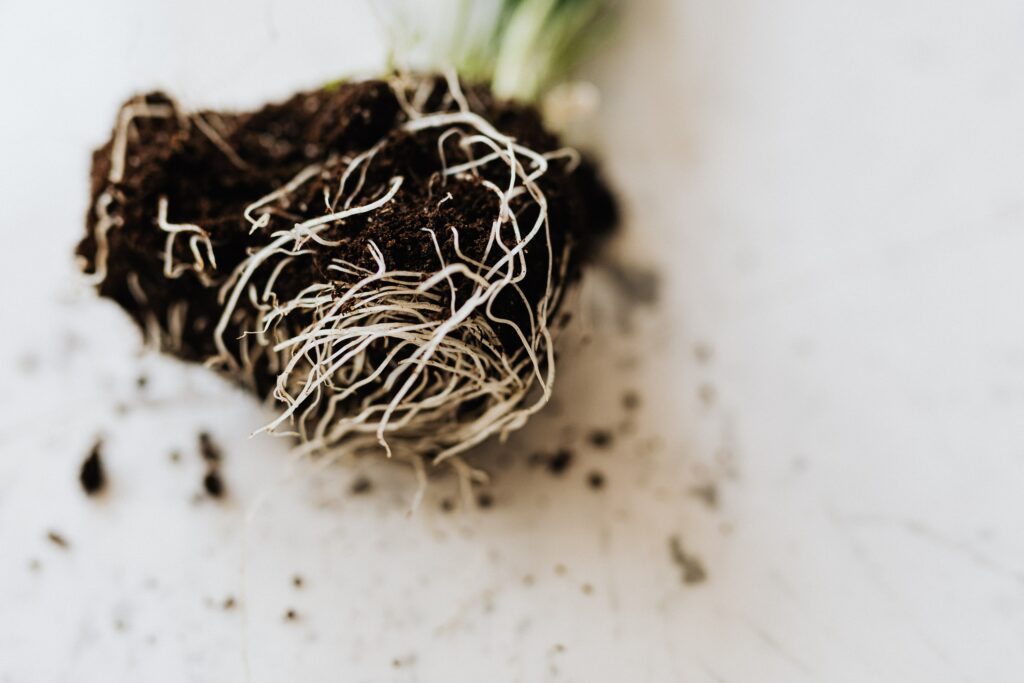
Then, when you transplant that seedling, they are much more likely to experience transplant shock when their delicate roots are disrupted.
But not so with soil blocks!
The seedlings’ roots have been air pruned throughout the growing process, and once they’re transplanted they can quickly establish themselves and continue growing on without this sort of transplant trauma.

No Room? Soil Blocks Save Space When Starting Seedlings!
If you have loads and loads of free space to start seedlings each year, I’m jealous. We certainly do not, and in fact, our complete propagation area takes up just 8 square feet for our ENTIRE farm!
Without a doubt, the only way we’re able to accomplish that is by soil blocking. We’re able to start thousands of seedlings each season in that small amount of space because soil blocks are seriously that efficient.
Let’s take snapdragons, for example. We currently grow over 1,000 snapdragon plants each year. If we were starting those seedlings in 50-cell trays, we simply couldn’t do it. On our 2′ x 4′ propagation rack, we can fit four 1020 trays per shelf. That would mean 200 snapdragon seedlings per shelf, and more than five shelves to start them all.
It would take up far too much space, and we wouldn’t have room to start all of our other varieties of flowers at the same time.
But we start our snapdragons in mini soil blocks, and we can fit all 1,000+ of them on just one shelf!
If we can run our entire farm with a seed starting area of just 8 square feet, just imagine how little space you need to grow seedlings for an amazing home garden!
The Three Must-Have Soil Blockers for Flower Farmers
To get into soil blocking, you will need to make an upfront investment into the proper tools. And, there are many to choose from, so it can quickly become overwhelming!
Here on our farm, we only use three soil blockers to grow all of our flowers and veggies all year long. If you add these three tools to your garden shed, you’ll be set!
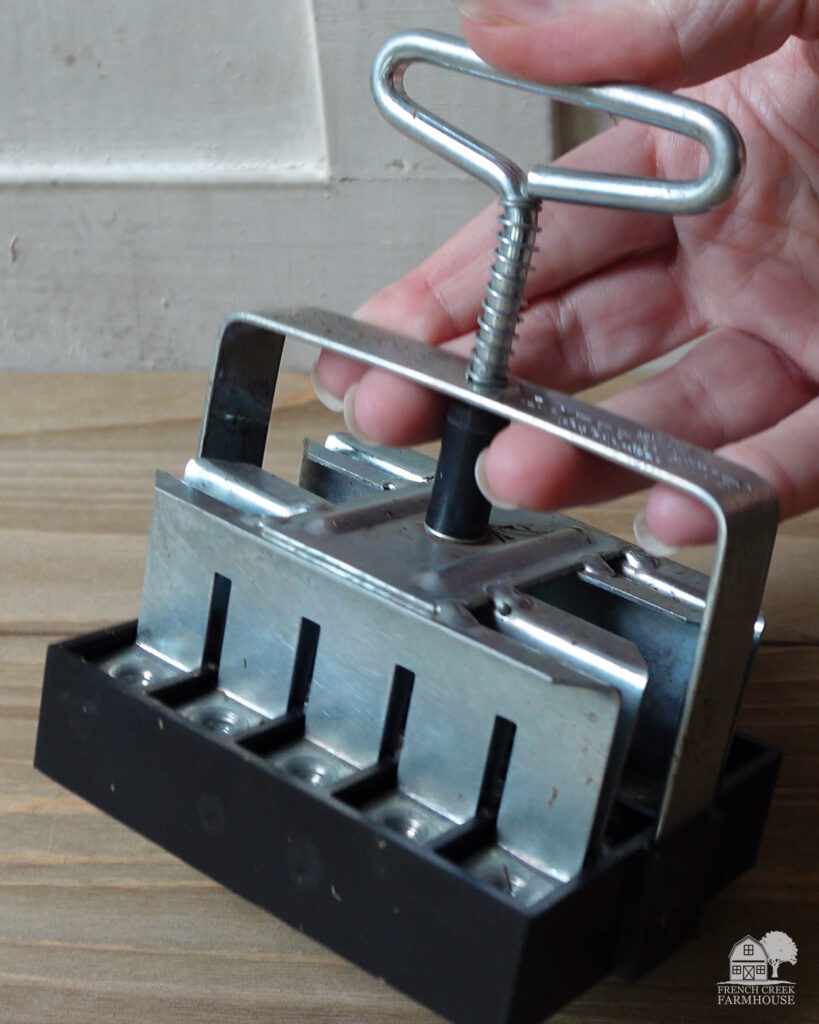
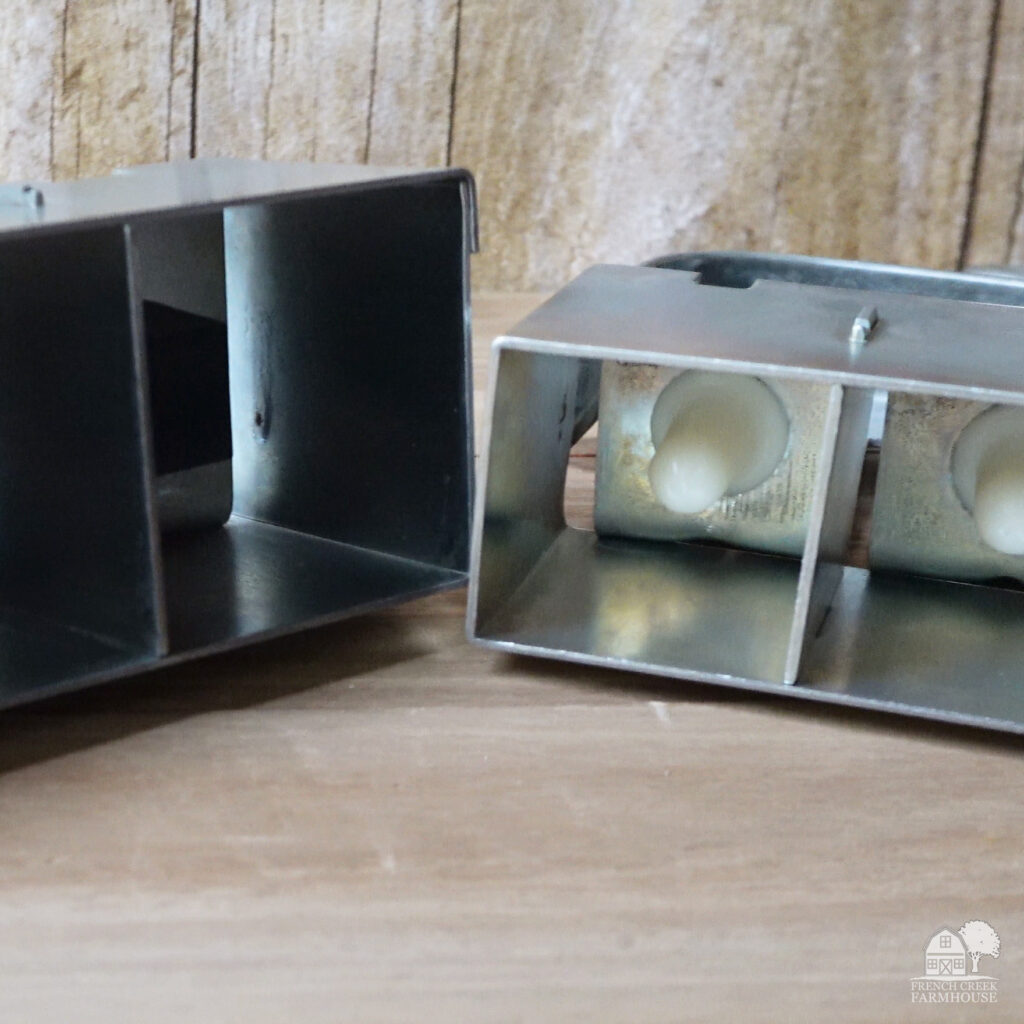
The Mini Soil Blocker
The vast majority of farmers and gardeners will begin with the Mini Soil Blocker. This blocker makes 20 soil blocks, and each is a ¾” cube.
This size of blocker is perfect for starting small seeds like snapdragons, stock, lisianthus, bachelor buttons, and many more.
Once the seedlings have developed their first true leaves, you can bump them up into larger blocks. This is exactly what we do, and I’ll explain that in a moment.
What I do think is important to say about mini soil blocks is that they require your utmost attention and care while your seedlings are getting established. Because the soil blocks are so tiny, they will dry out quickly. You’ll need to check them twice a day (at minimum, depending upon your growing conditions), and keep them properly watered.
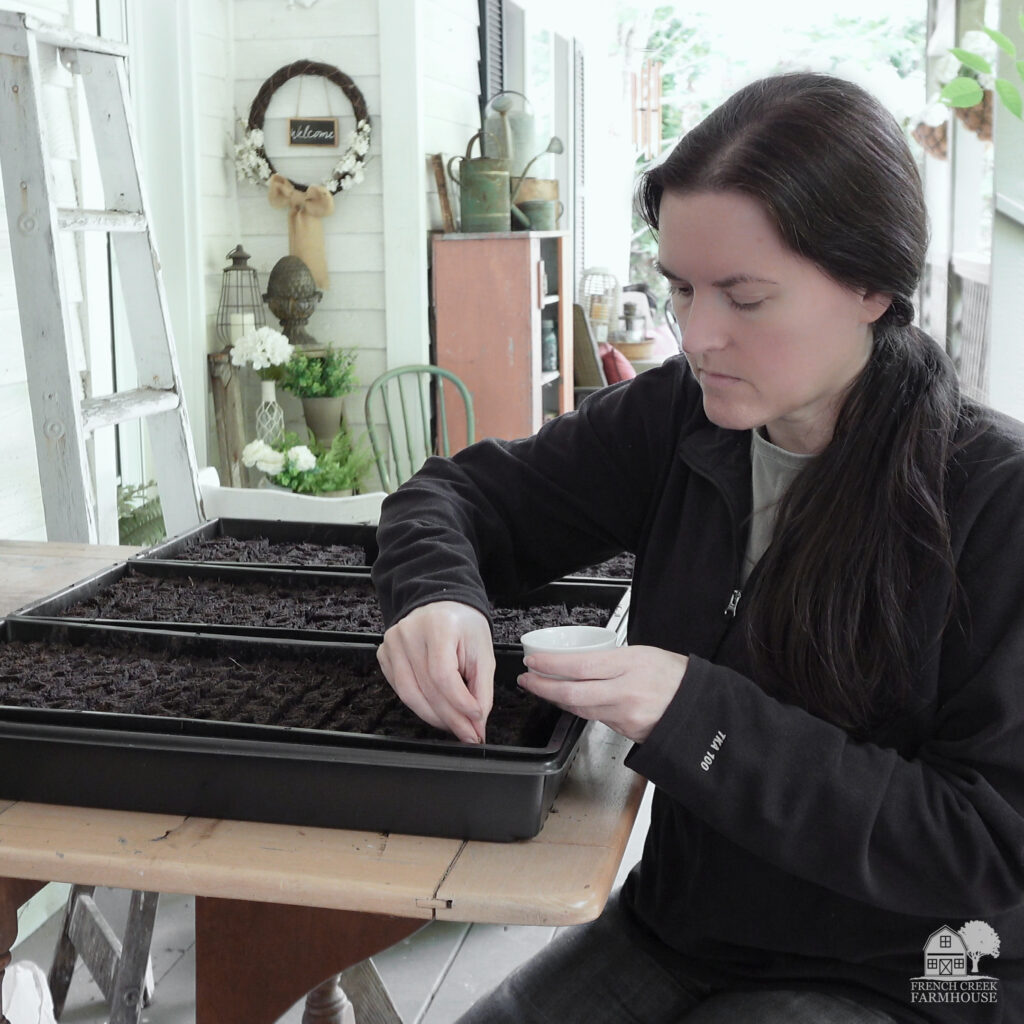
You can start mini soil blocks on just about anything you have available. A cookie sheet, shallow dish, or even a dinner plate will work just fine!
We use these cafeteria-style trays, which are perfectly sized for the shelves on our propagation rack. We can easily fit 220 seedlings on one tray. I have even squeezed 256 onto a tray in the past, but they were very tightly packed!
You can also use a 1020 tray with a mesh liner, but I haven’t found that to work as well. They’re much more difficult to water in 1020 trays because they’re simply so tiny.
The Medium Soil Blocker
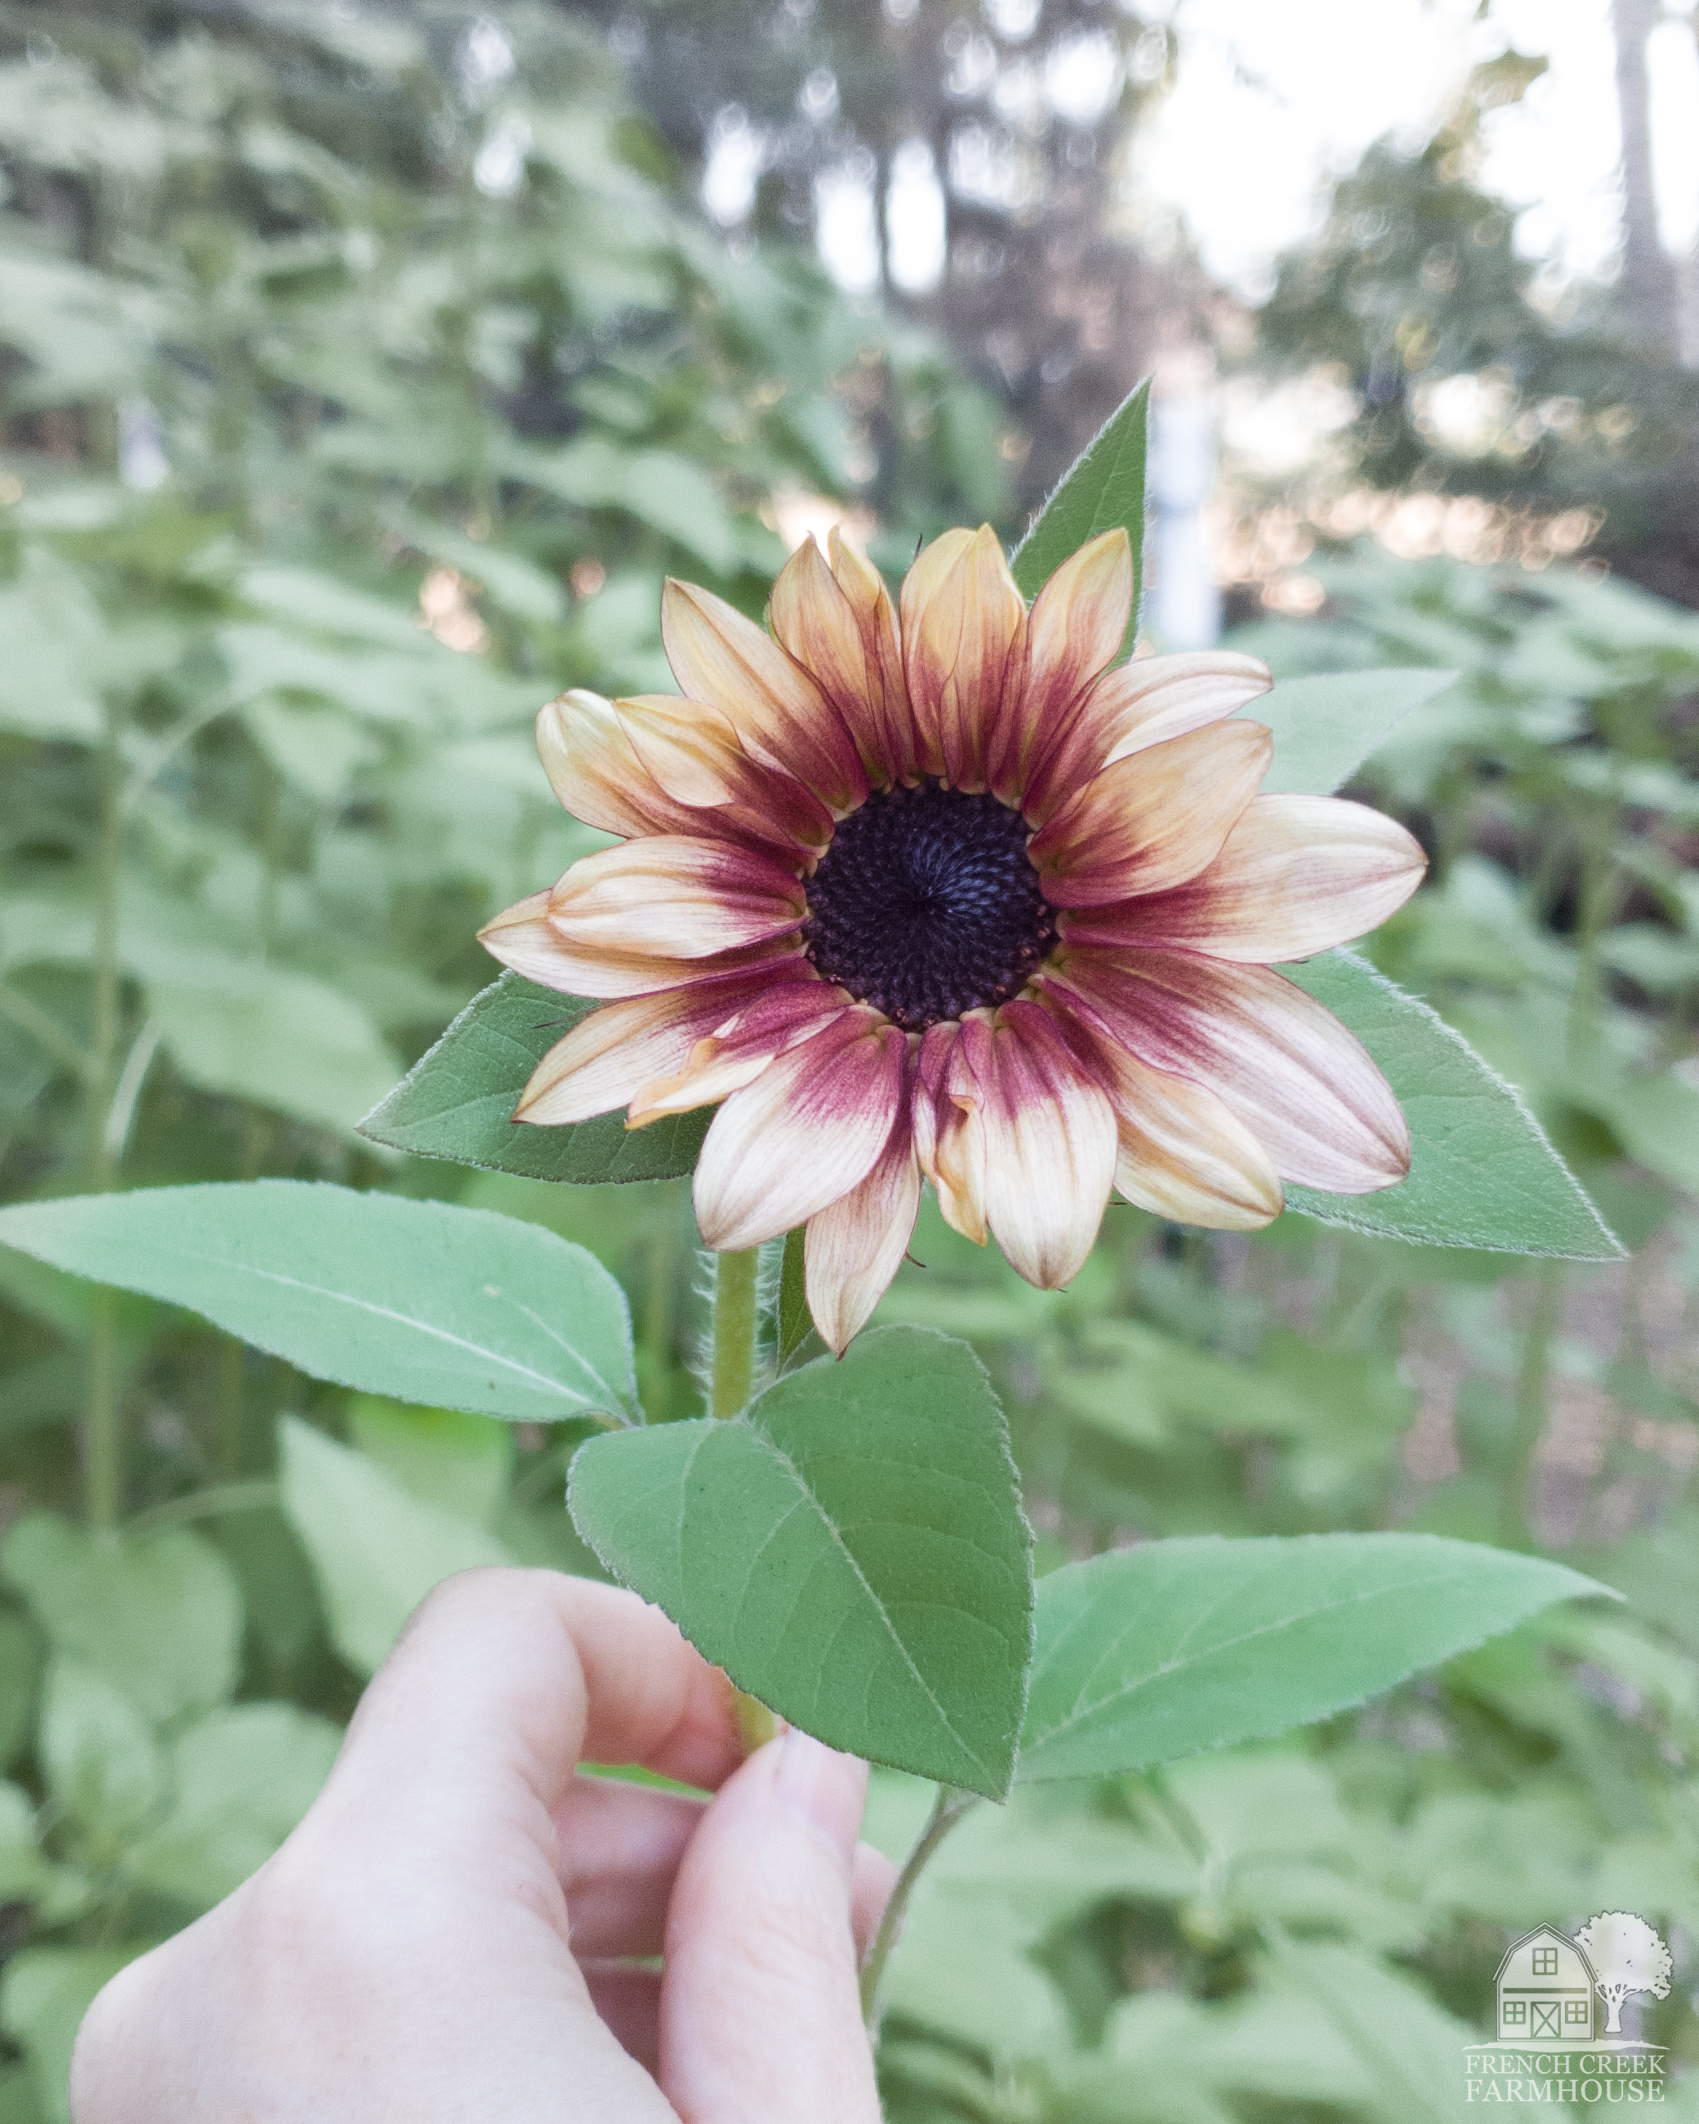
If you’re going to be starting larger seeds, like sunflowers or zinnias, then you’ll need a bigger soil blocker. The medium blocker is our favorite for these types of seeds.
In our first year of soil blocking, we used the mini and the large soil blocker exclusively. So all of our bigger seeds were started in large blocks at that time.
But, the larger blocks (equivalent to a 50-cell tray) take up more space. They also use more soil than is necessary for the size of seedling.
That’s when we decided to invest in the addition of the medium soil blocker, and I highly recommend that you do the same!
The Medium Soil Blocker makes 1½” cubes, and you can fit 75 in a 1020 tray.
Speaking of trays, for this size of block, we use flat-bottom 1020 trays with mesh-bottom liners. This makes it super easy to bottom-water our seedlings.
Since plastic waste is something we’re very mindful about, we upgraded our 1020 trays this year to these super heavy duty ones. They’re made from rigid plastic that’s completely unlike the standard trays you’re probably used to using. Those ones are flimsy and break easily, but these heavy duty ones are incredibly strong. They’ll last for years!
By default, the medium soil blocker will come with standard dibbles. However, you can purchase an extra set of these 1″ long dibbles to swap them out. This makes it much easier for larger seeds, like sunflowers, compared to the short dibbles. They’re so inexpensive, and you will appreciate the time savings!
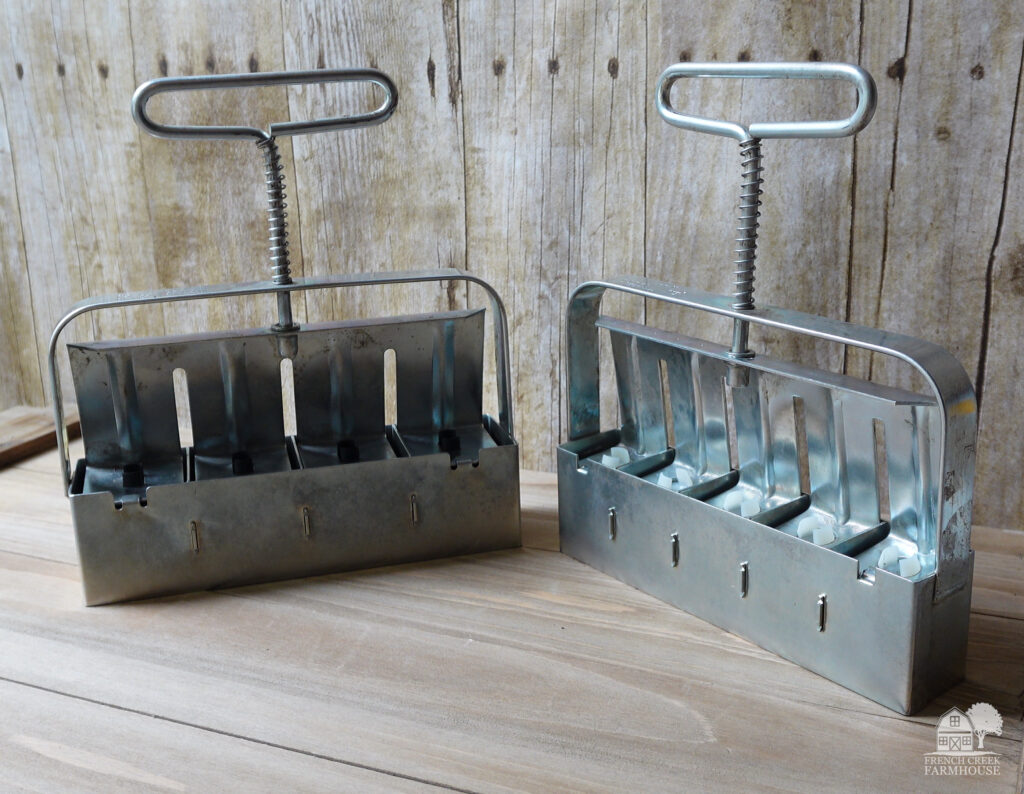
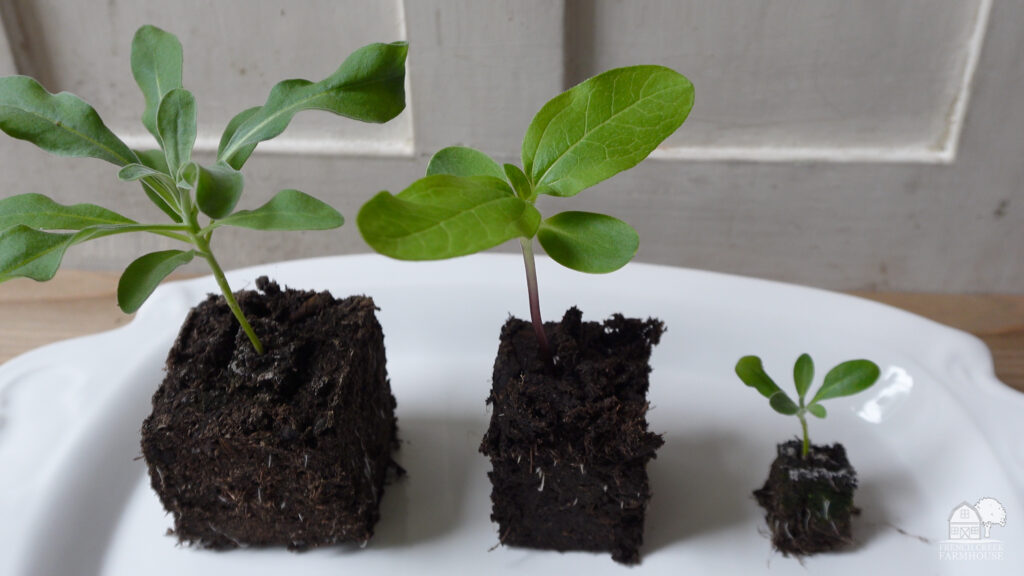
The Large Soil Blocker
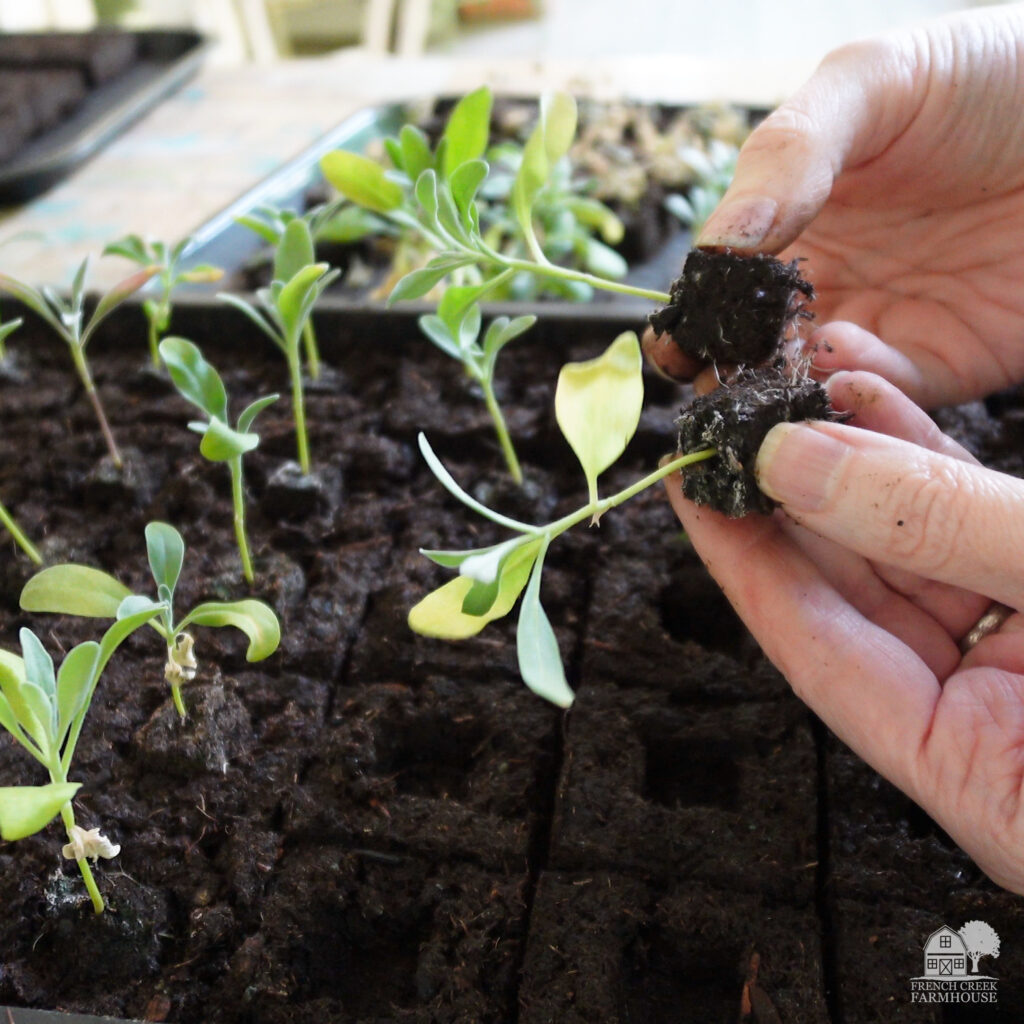
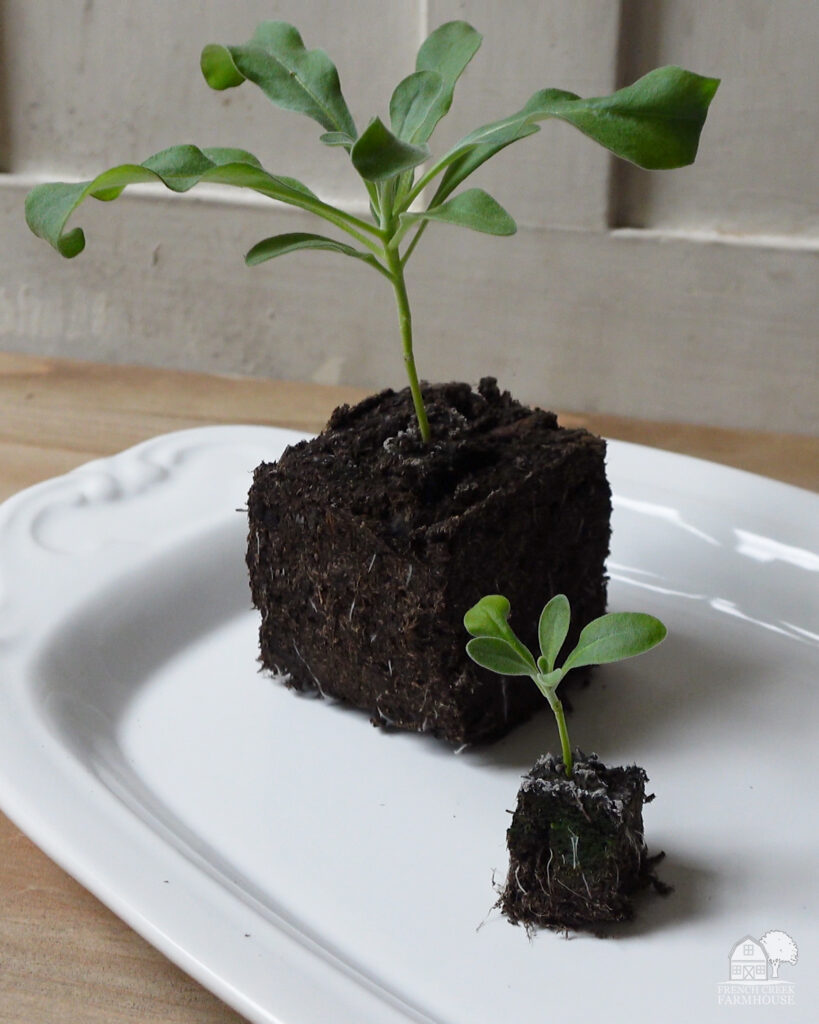
If you own the Mini Soil Blocker, then you’re going to need the Large Soil Blocker, as well. That’s because you’ll need to bump up your seedlings into larger blocks once they’ve grown their first set of true leaves.
The mini blocks simply won’t offer enough root development for your seedlings, in most cases. Bumping the seedlings up to the larger blocks will allow them to better establish themselves for transplanting. The large soil blocks are 2″ cubes, and will allow your seedlings to grow on for several more weeks before making their way into the garden.
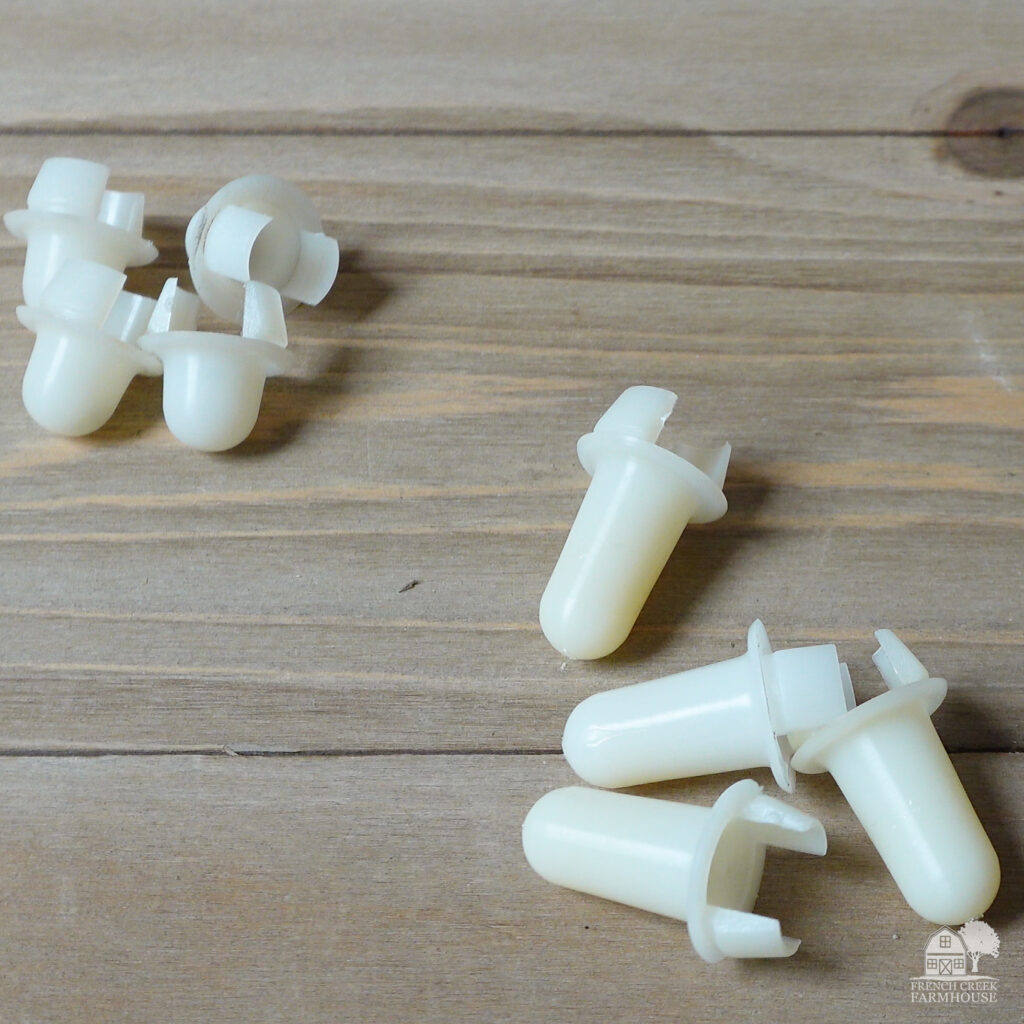
Just like the Medium Soil Blocker, the Large Blocker will come with standard (short) dibbles, by default. You will need to purchase an extra set of square dibbles to swap them out.
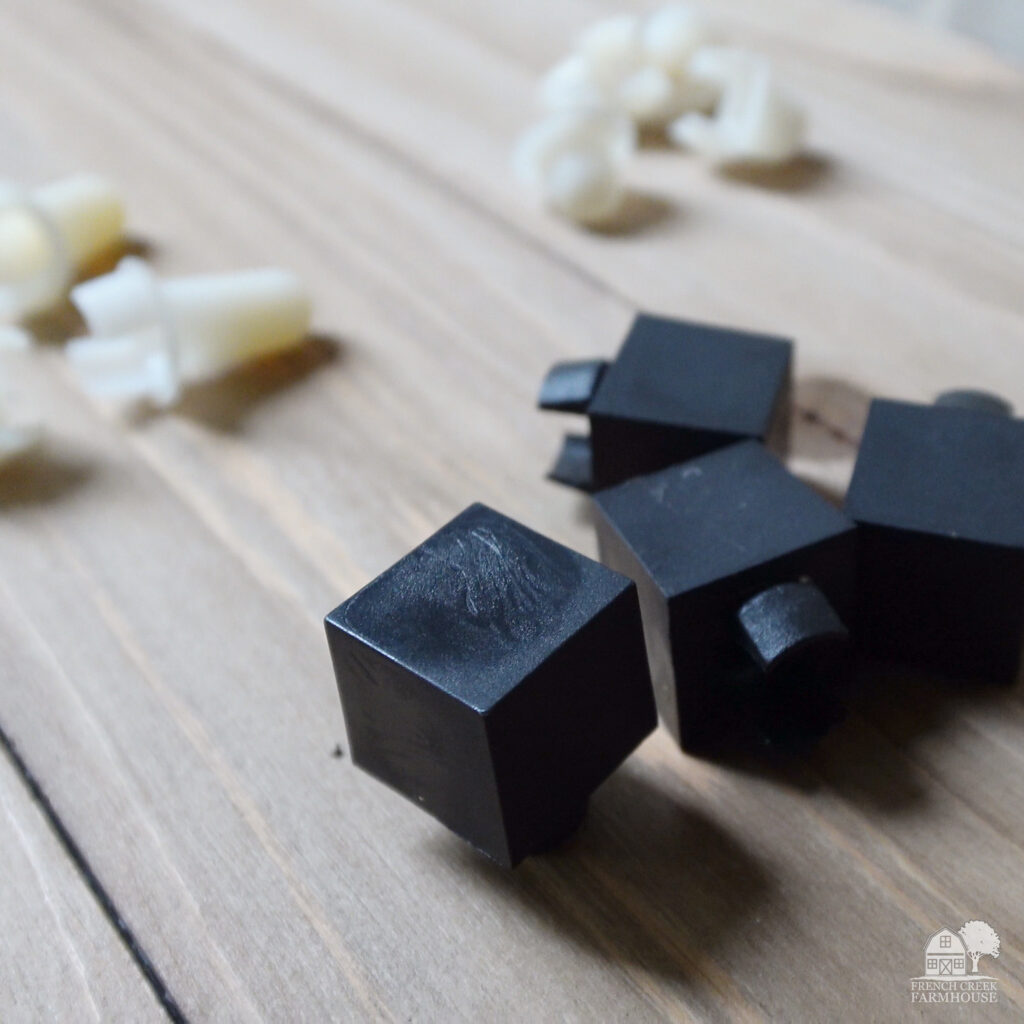
The square dibbles make an indentation that’s the exact right size to bump your mini-blocked seedlings into the large blocks.
Also like with the medium blocks, we use mesh-lined trays for large blocks, as well. You can fit 50 in a 1020 tray.
Do You Really Need to Buy More Than One Soil Blocker?
If you’re a frugal type, like me, you might be wondering whether you really need all three of these soil blockers for your garden.
I’m going to say yes and no. It really depends on what and how much you’re growing. Here’s why.
First, there are MANY more sizes and styles of soil blockers out there, and they all have great uses. But I think that you can do pretty much everything you would want to do in an average garden with just the three that I’ve listed here.
So, if you want to have the broadest range of ability to grow just about everything your heart desires, then you can do that with just these three. You will be a happy gardener for life without buying all the other types out there.
Second, if you start with the Mini Soil Blocker, you definitely need the Large Soil Blocker, as well (which I already discussed above). Your seedlings will need to be bumped to the larger block to grow on before transplanting. So, the in that sense, yes–you need two soil blockers, at minimum, if you want to get into soil blocking at all.
Now, let me talk to the scrimpers and savers (you are my people…I get you!).
Some of you might wonder why you would want the Medium Soil Blocker if you already own the Large Soil Blocker. And if you reeeeeally need to restrict your budget, this one is the one I’d wait to invest in. We got by without it when we first started, so you can too.
However, you do need to crunch the numbers to see if you’re actually saving by waiting to add this blocker. Let me explain…
The Medium Soil Blocker will allow you to fit 75 seedlings per tray, versus just 50 with the Large Soil Blocker. That’s 1.5 times more seedlings per tray, so if propagation space is limited for you (like it is for us), that might matter.
Also, those medium blocks use less than half the amount of soil, by volume, compared to the large blocks. That’s a HUGE difference. When you consider the cost of your soil mix and amendments, you might find that the Medium Soil Blocker pays for itself in short order.
Obviously all of this depends upon what and how much you’re growing. But, for example, we start between 150-200 sunflowers per week in medium blocks, 20 weeks of the year, so it more than makes sense for us to have the Medium Soil Blocker because we’re cutting the cost of our soil mix in half.
Once you do the math with an eye toward your own growing needs, you’ll be able to decide the best route to follow.
Are there any downsides to using soil blockers?
This wouldn’t be a fair review if I didn’t look at both sides of soil blocking. Although there are numerous advantages to soil blocking, I will also be completely honest about what I don’t like.
I have small hands, and one of the downsides for me is that using the blocker hurts after a while. Granted, it depends on how many soil blocks you need to make. A couple of trays is no problem, but if I’m spending hours making hundreds or thousands of soil blocks, my hands start to hurt.
Hence, Rob does most of our soil blocking. Yay for man hands!
Also, making soil blocks is time-consuming. But, you’re going to spend that time somewhere, and it just depends on where you want that to be.
While it’s much faster to dump soil into traditional cell trays for starting seeds, getting those seedlings out of the tray to transplant is more of a hassle. While you’re on your hands and knees in the dirt, and your back aches, and you just want to be done! Versus sitting at a table making soil blocks comfortably? It’s an easy decision for me.
Not to mention what I’ve already said about seedling health and transplant shock.
For us, the numerous advantages to soil blocking so incredibly far outweigh any disadvantages that there is no contest.
Every grower will have to weigh the variables for their own growing situation. But if you want to know whether I think the investment into soil blockers is worth it? It’s a resounding yes from our little farm!

Ready to dig in and grow something beautiful?
Get my Free Garden journal
Let’s be gardening buddies! Sign up to join our community, and get your free printable PDF Garden Journal. This is so good!


what soil mix do you use for your blocks?