Winter Vegetable Gardening: A Complete Guide to Four-Season Growing

With summer behind us and several cold, dark months up ahead, many Northern growers are hanging up their garden gloves for the season. However, for those who recognize the tremendous value of four-season growing, the onset of winter is not a signal to retire from the garden, but an invitation to adapt and extend the joys of cultivating fresh, homegrown produce throughout the year. Winter vegetable gardening, often regarded as a challenging yet rewarding endeavor, offers a multitude of benefits that go beyond merely surviving the cold season.
Whether you’re a seasoned gardener or just beginning your horticultural journey, the rewards of winter vegetable gardening are well worth the effort and promise to fill your table with flavor-filled, homegrown goodness during the chilly months.
That is, if you know how to do it properly! And that is exactly what I aim to cover in this very comprehensive guide. And, I do mean very comprehensive, so grab a cup of tea and find a cozy chair!
Because there’s a whole lot of detail here, I’ve included this Table of Contents to help you navigate to the specific sections that are most valuable to you. Be sure to pin this post so you can come back to it anytime you need a quick bit of advice for your winter vegetable gardening journey!

Disclosure: This is not a sponsored post, and I have received no compensation for sharing anything that follows. Some links within this blog may be affiliate links, and I might earn a commission if you make a purchase through that link. This usually amounts to cents, not dollars, and helps to support the projects featured on this blog. I only recommend products from companies that I have found to be trustworthy. Read my full disclosure here.

The Many Benefits of Winter Vegetable Gardening
There are several benefits of growing vegetables in winter, ranging from the most practical and efficient, to the ways that growing can contribute to a better quality of life.
Efficient use of garden space
Unless you have acres to spare, efficiently using the space you have available for gardening is probably always on your mind. If you’re anything like me, your wish-list of what to grow always exceeds 1) how much space you have, 2) how much time you have, and 3) your budget for seeds!
Growing some of your vegetables over the winter can certainly help with the space issue.
By extending your growing season, you can reallocate space for growing specific crops in specific seasons. This isn’t a crazy idea either, because some crops are simply better suited to different times of the year.
I have several friends who have completely given up on some cold-season crops because they have always tried growing them in the summer. Even though our summers aren’t terribly hot here in the PNW, it can still make certain varieties more challenging.
Simply by moving those crops to the “shoulder seasons”, production can improve remarkably.
Spreading out the workload
Growing vegetables over the winter also helps to level out the workload of gardening and free up some of your time.
Instead of being overburdened during the summer with all of your gardening to-do’s, you can spread the work over the entire year when you grow some of your crops over the winter.
This also applies to canning and preserving your harvests. In my years of vegetable gardening, I’ve found that growing is only half the challenge. You still have the work of harvesting and preserving what you grow. During the summer, you can start to feel stretched incredibly thin by all of the tasks there are to accomplish.
This is just another advantage of growing certain crops during the cooler months.
Better flavors and fresher produce
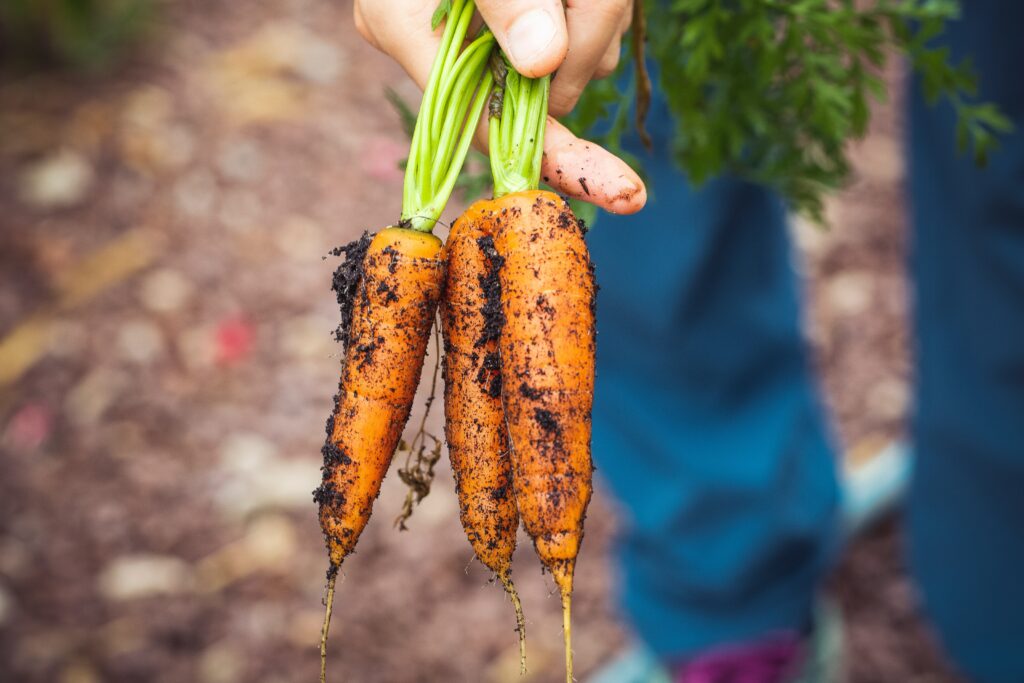
There is no question that some vegetables taste infinitely better when grown in cool conditions. Your carrots and beets, for example, will be much sweeter when grown in cool soil.
Growing vegetables in the winter also gives you greater access to fresh produce. Instead of growing everything during the late-spring through summer, then eating preserved veggies the rest of the year, four-season growing provides you with fresh options the whole year!
Improved well-being
It’s no secret that the winter months can wreak havoc on your emotional well-being. Whether you suffer from Seasonal Affective Disorder (SAD), or if you just find yourself with a case of the winter blues and cabin fever, having a garden to tend through the winter can bring some relief and make you generally feel better.
Because we live in a more Northern latitude, I have a tendency to struggle with the long, dark months. However, I’ve found tremendous benefits in getting out and working in the garden.
Sure, the weather is colder and often rainy, but with the right clothing and my favorite winter gardening gloves, it’s really not an issue. Especially in comparison to the health benefits I reap from getting outside and doing something that brings me joy!
Selecting the Best Vegetable Crops for Winter Gardening
Before you can have any success with winter vegetable gardening, you need to know which varieties of vegetables are appropriate for winter growing.
Now, if you have a high tunnel/greenhouse with supplemental heat and lighting, obviously this will be less of a concern for you. We’ll get into that in a moment. But if you’re a regular grower, like me, making the right seed choices is vitally important.
What follows are the main crops to consider for winter gardening. Within these types of vegetables, you’ll also need to be certain to select specific varieties that are more tolerant to the cold and light conditions for your latitude.

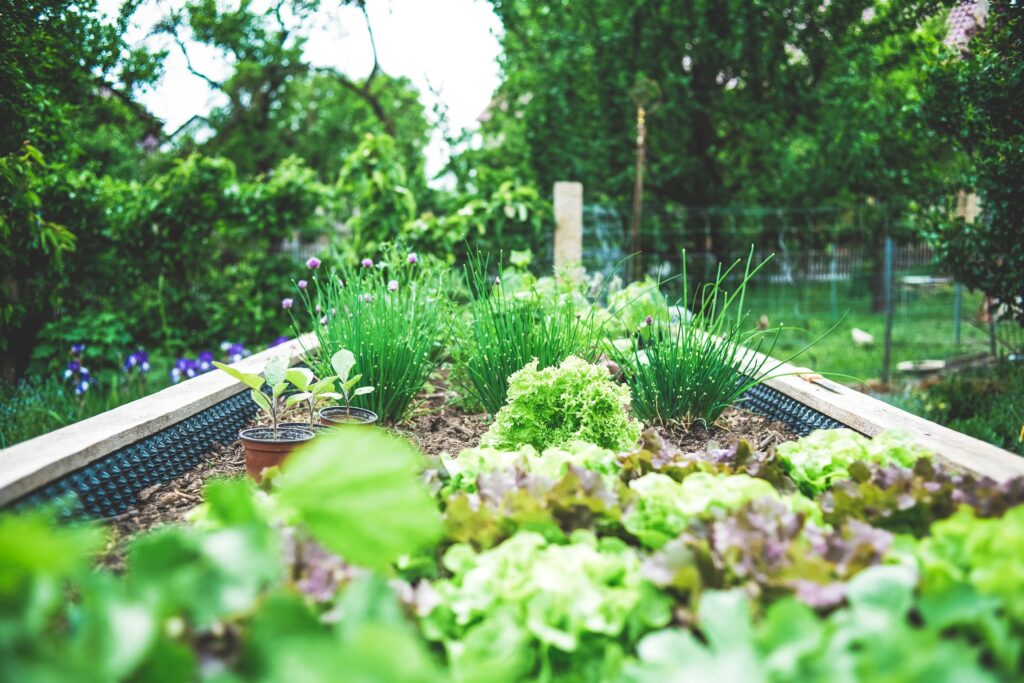
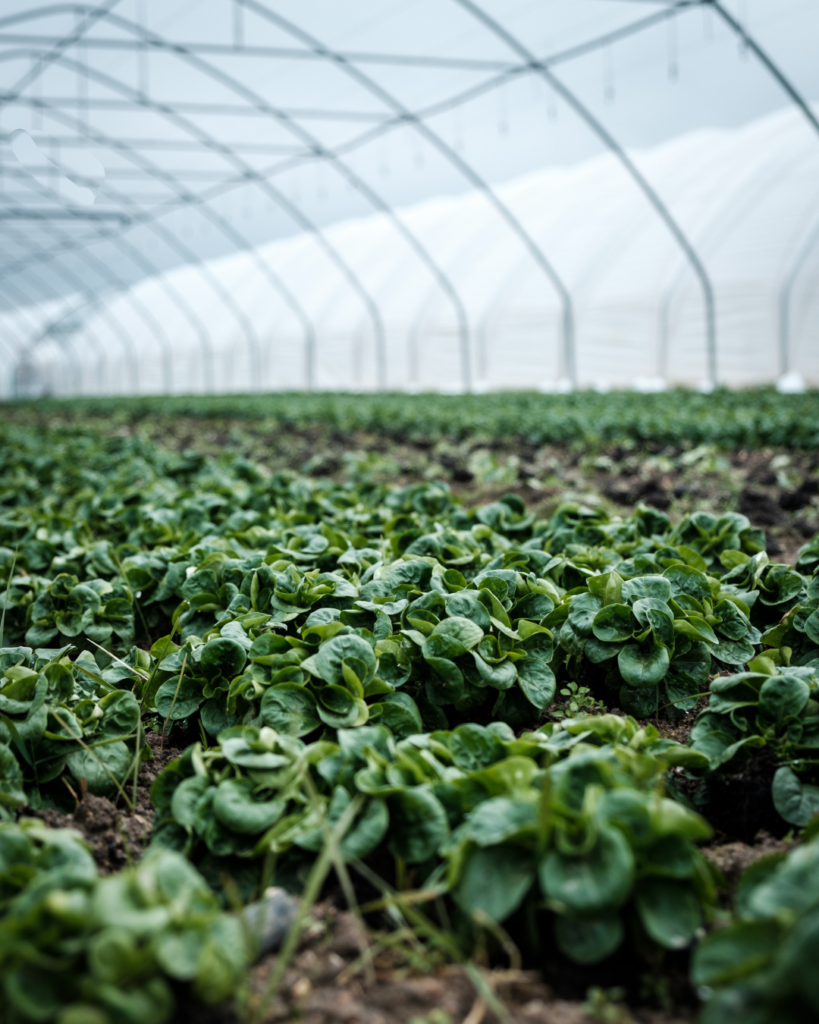
1. Leafy Greens
Lettuce is a fantastic crop for beginners because it tends to be quite reliable. Since it can be used for salads, sandwiches, and garnishes, it’s an easy fresh vegetable to incorporate into your menu planning rather than harvesting and preserving for later. You can plant 1-2 plants per square foot, depending on variety, so it’s also a great crop if you have limited space.
We grow a few varieties of lettuce over winter, but this is my favorite because it produces large, flavorful heads.
Spinach and swiss chard are also happy to grow in cool conditions, and can be frozen for use in recipes throughout the year.
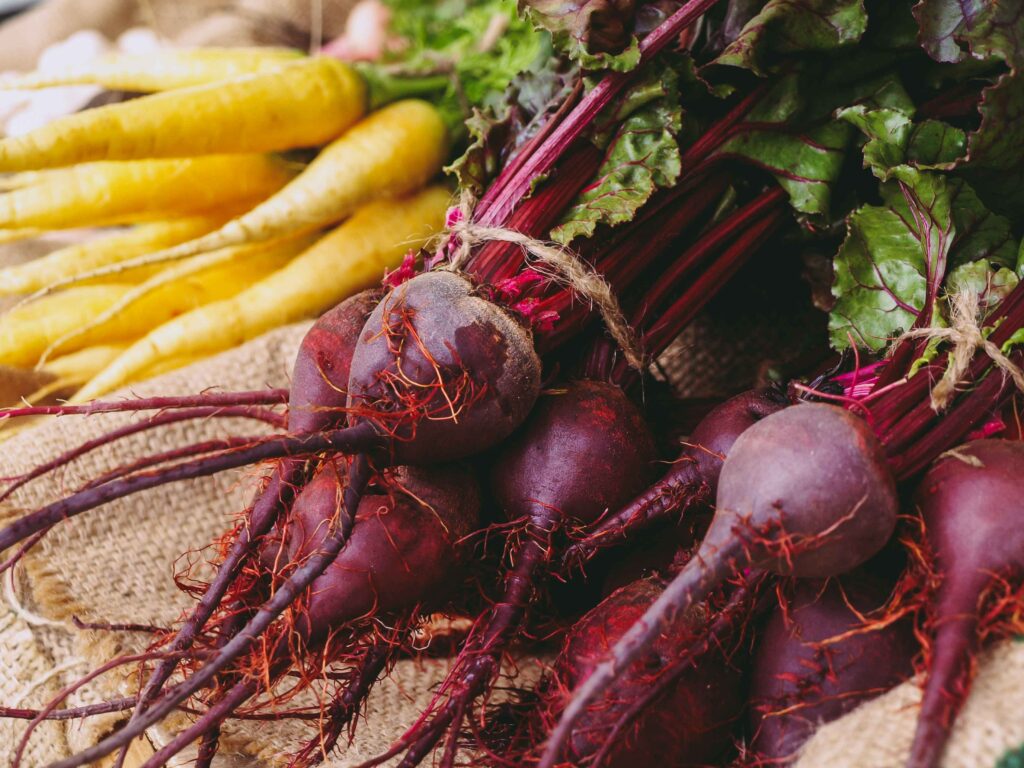
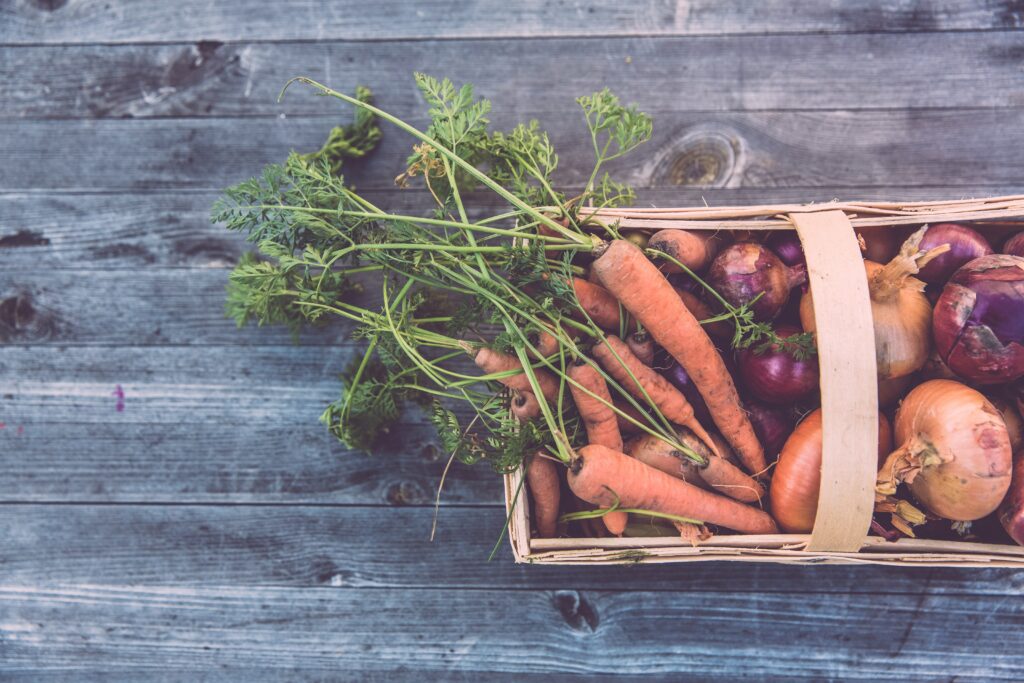
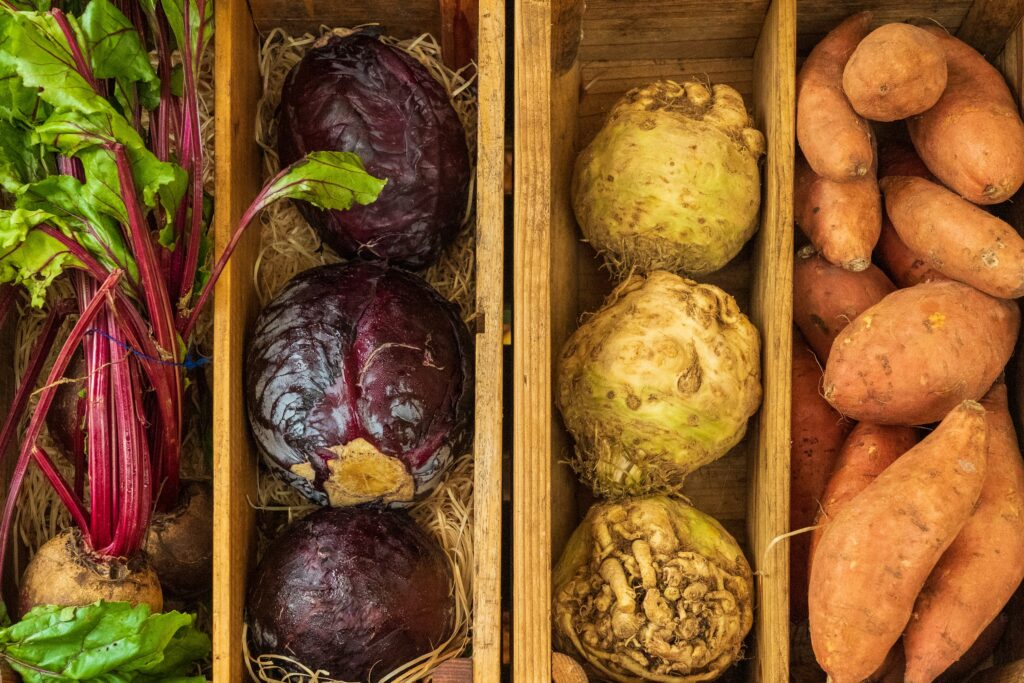
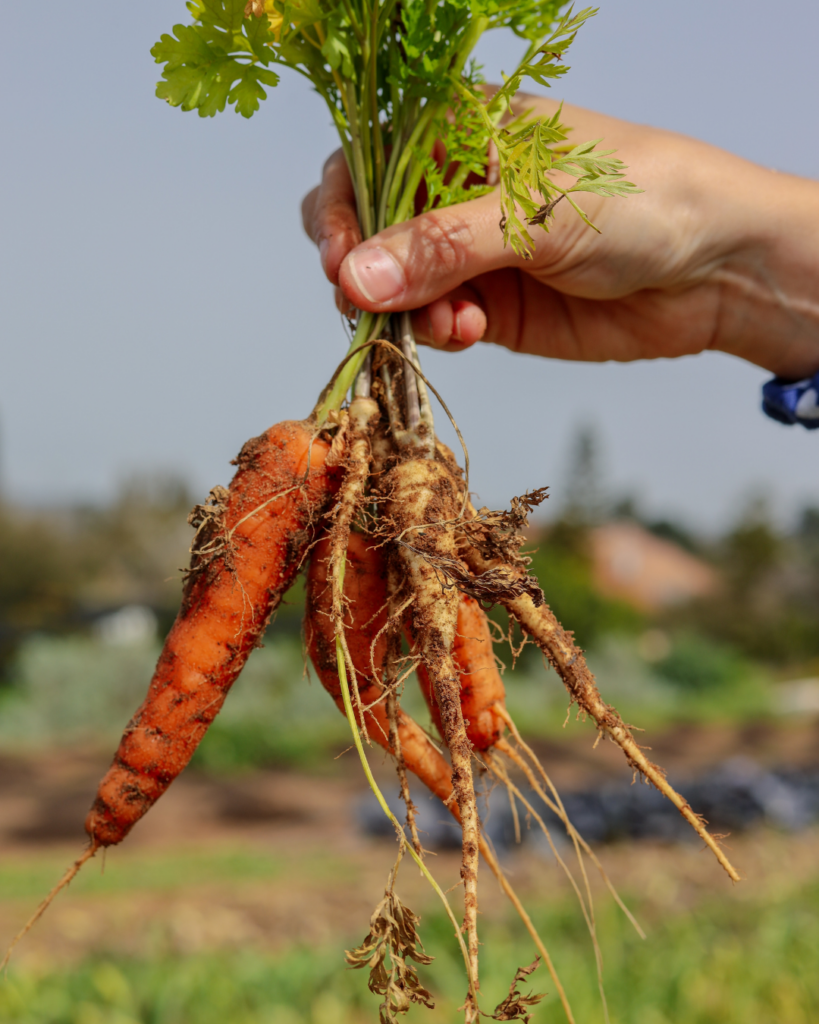
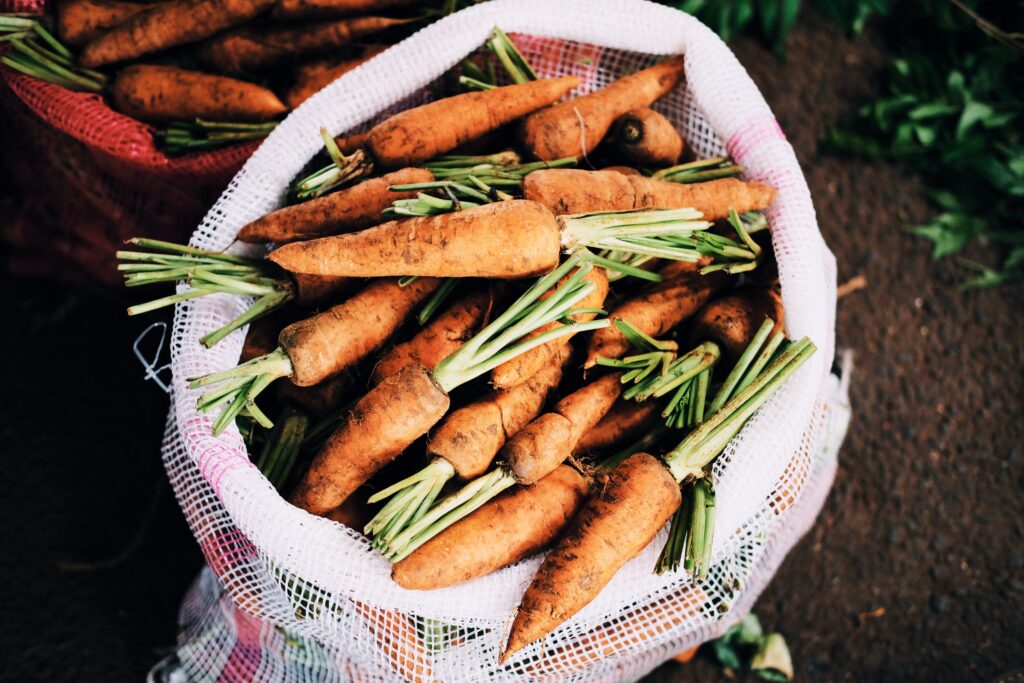
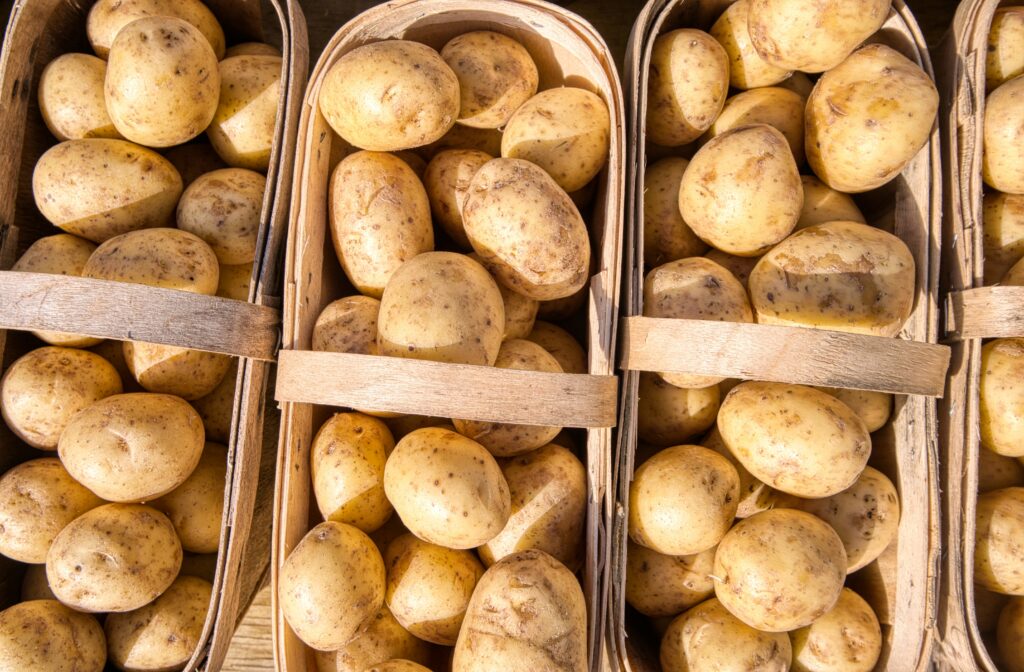
2. Root Vegetables
Carrots, beets, and turnips are wonderful choices for winter vegetable gardening. The tops of beets can also be harvested as greens for salads.
We like to preserve our overwintered carrots and beets because they have the best flavor when grown in especially cool conditions. I certainly prefer using them in recipes over the fresh ones grown during warmer times of the year!

3. Cruciferous vegetables
Broccoli, cauliflower, cabbage, and kale are all considered cruciferous vegetables.
Members of the Brassicaceae family, they’re called cruciferous from the Latin word cruciferae because their four petals look like a cross (or crucifix).
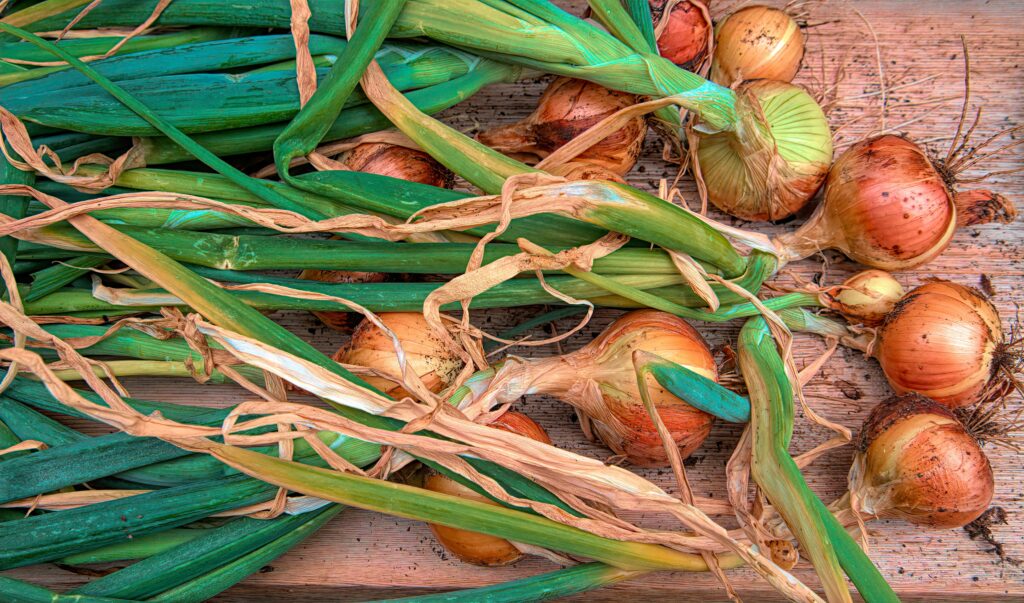
4. Alliums
Onions, garlic, and shallots are wonderful bulb-vegetables to grow over the winter. All of these are easy to grow and store fresh for several months.
Preserving these vegetables in the freezer will buy you even more time to enjoy them. Plus, you can also dehydrate these to make your own powders for seasonings.
While I love dehydrating food, we’re planning to also add a freeze dryer to our farmstead for preserving our harvests for a very long time. It’s definitely an investment, but one we think would be worth it. Depending on the method of storage, freeze-dried food can last up to 25 years!

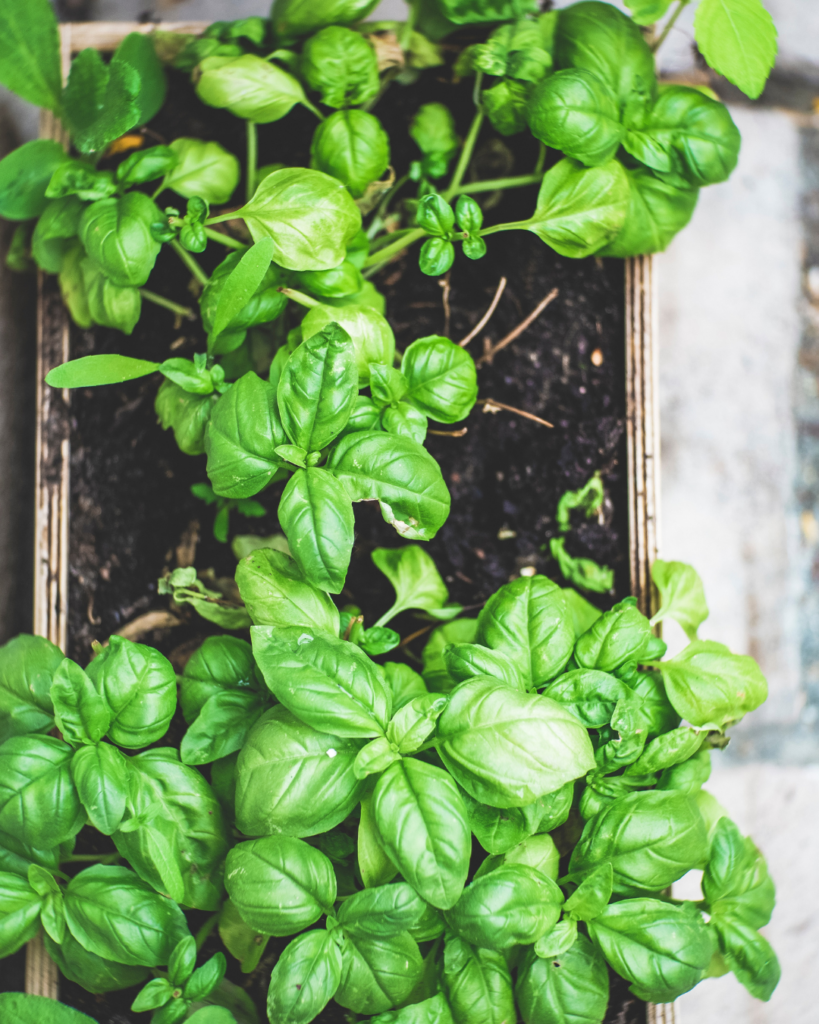
5. Herbs
Herbs are such a great way to add garden fresh flavor to your cooking, and they are perfect for growing in small spaces. Even if you only have window sill to work with, you can still grow your own food!
Parsley, chives, and rosemary are all ideal choices for winter growing indoors, or in protected outdoor spaces. You can also dry your harvests and make powders with these, too.

Timing Is Everything: Knowing When to Plant Your Garden
It has been over 20 years since I really got interested in growing vegetables. But, back when I first started, I didn’t exactly understand enough about the timing of planting crops. I followed the directions on the seed packet the best I could, but without knowing a bit more, you might find yourself feeling a lot like I did back then–frustrated and disappointed with the results!
Sure, the “easier” crops always produced reliably for me. But there were some crops I couldn’t seem to grow, and I didn’t know why. Over time, of course, I’ve learned a lot more, and sharing this information with you will, I hope, cut down on some of those struggles as you learn how to grow.
Above anything else in this post, this section is going to give you the real information you need to become a grower, rather than someone who just spends money on seeds.
So, let’s get into the details…

How day length affects plant growth
To be able to grow vegetables over winter, you need to first understand how day length (i.e. light) affects plant growth.
Day length, also known as photoperiod, significantly influences plant growth and development. It serves as a critical environmental cue that triggers various physiological responses in plants. The specific bits that are most relevant to growing vegetables include:
1. Bolting and Vegetative Growth
Plants can be categorized into long-day, short-day, and day-length neutral. On our farm, we typically use these categories when we’re talking about flowering because we grow and harvest specialty cut flowers. In addition to flowering, though, day length also affects vegetative growth.
In some instances, extended daylight encourages rapid vertical growth, a phenomenon known as bolting. Bolting can lead to a reduction in the quality of edible parts in crops like lettuce or spinach.
You’ll probably remember from elementary school science lessons that plants flower in order to create seeds and reproduce. But there are some plants, like vegetables, that we want to eat before they’ve had a chance to complete their lifecycle.
Let’s take lettuce and spinach for example. Both of these are considered long-day plants, meaning that they will bloom when the days are long (and, consequently, there is less darkness). This is what makes them ideal for growing in winter, when days are short and they’re not going to be quick to bolt.
Tomatoes, however, are day-length neutral. They will flower regardless of how long or short the day is. Although, the flowering will certainly happen faster and more profusely when the days are long. But with warm enough conditions, you can grow tomatoes all year long. Grown indoors with heat, these are what people call “hot house” tomatoes.
2. Tuber Formation
Day length also plays a crucial role in tuber formation in root crops like potatoes. You’ll want to pay attention to which variety of potato you’re growing and whether it’s considered short- or long-day.
Other root vegetables, like carrots, radishes, and turnips, work this way as well. These are all long-day plants. If you’ve been gardening for a while, you may have experienced difficulties growing these crops in the spring, and there’s a good reason why!
As the days grow longer moving through springtime toward the summer solstice, those long-day crops want to flower. Even if the conditions are equally cool in spring and fall, the amount of daylight (getting longer vs shorter) is what’s driving their growth.
Depending on your latitude, growing these same crops in the fall and winter may give you exactly the results you desire! This is exactly what we’ve discovered on our farm, and it has been a game changer.

3. Understanding the Persephone Period
If you’re familiar with Greek mythology, you might already know that Persephone was the daughter of the god Zeus and Demeter (the goddess of agriculture). Persephone was abducted by Zeus’ brother, Hades, and taken to the underworld to be his bride. Her mother became incredibly distraught and neglected the needs of the earth, which resulted in a widespread famine. Zeus intervened and negotiated a compromise with his brother wherein his daughter would be released for two-thirds of the year, but would spend four months of every year with Hades.
This is how Greek mythology explained why plants would grow during some times of the year, but not others!
Today, the Persephone Period is an horticultural term defined as the time of the year when there are fewer than 10 hours of daylight. Everything you’ve just learned about photoperiod means that you already understand why this is so important.
For our latitude, this happens between (approximately) November 1st and February 10th. During this time, plants essentially stop growing and go dormant.
Why it’s important to know when your Persephone Period occurs is because you will need to count backwards from this time to determine when to start your seeds for your winter garden. You can figure out the Persephone Period for your location using an almanac.

Planning your winter garden schedule
Once you’ve identified your location’s Persephone Period, you’re ready to start planning your seed sowing. Different types of vegetables will need to be started at different times based on their days to maturity. Some will be better started indoors for transplanting later, while others can be directly seeded into the garden.
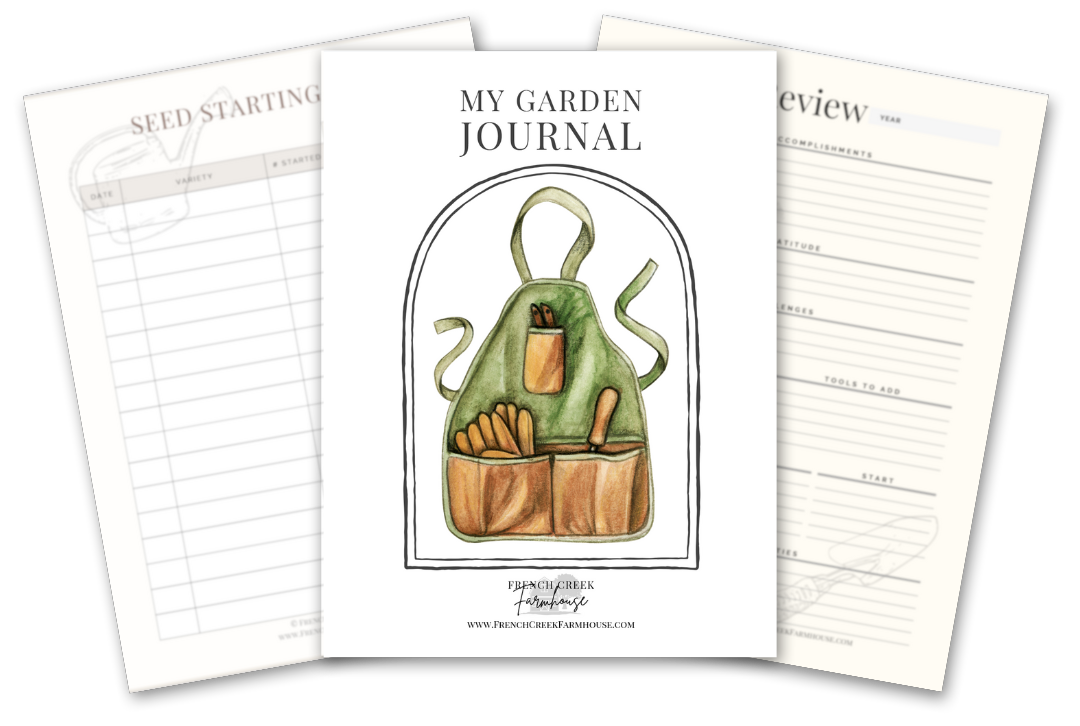
To help with this, I’ve even created a printable Garden Journal and Planner for all of my newsletter subscribers! You can get it right here, and with 16 beautiful pages, it will help you to keep track of all these important bits of information for your garden.
Succession planting
Some crops, like lettuce, are best to be succession planted. All this means is that you will plant your seeds at intervals, rather than all at once.
We do this because we want to have a continual harvest that’s spread out over a duration, rather than harvesting the entire amount at once.
A single harvest is great for crops that you’re going to preserve–for example, carrots and beets. But since lettuce is consumed while it’s fresh, planting several heads per week will allow you to have fresh produce over time.
We plant 24 heads of lettuce per week throughout the season; 8 heads each of 3 different varieties. How much you’ll need depends upon how many people are in your family, and how much you plan to consume.
For example, if you plan to eat a large salad every day of the week for lunch, you’ll need about 7 heads per week, per person. And, remember to account for some loss, as well!
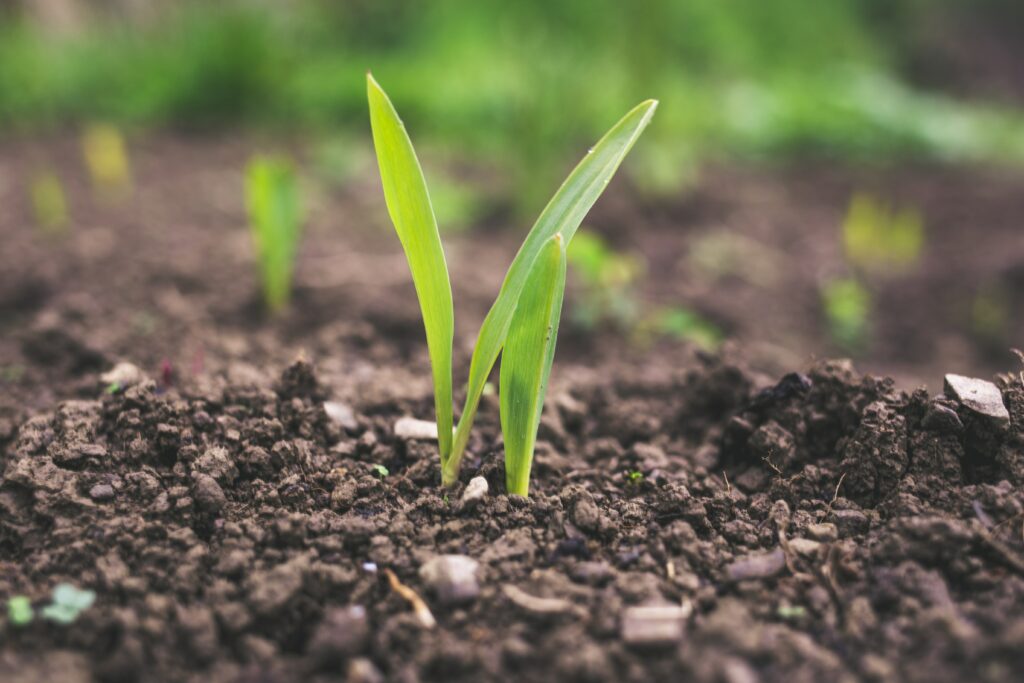
Starting Seeds Indoors for a Head Start
While there are many seeds that can be directly sowed into your garden, we start most of our vegetables indoors to transplant out after they’ve put on a bit of growth. We’ve had so much better luck with this method that it’s our preferred method now.
We do still direct sow things like beets and carrots, because they’re quite reliable on their own. But greens, broccoli, cabbage, and others perform best for us when transplanted as seedlings–especially for overwintering.
Growing out the seedlings indoors allows them to have a more established root system by the time they’re transplanted. We want the plants to be thriving as much as possible before our first frost, and this method just seems to be the best way to accomplish that.
Here’s how we do it…
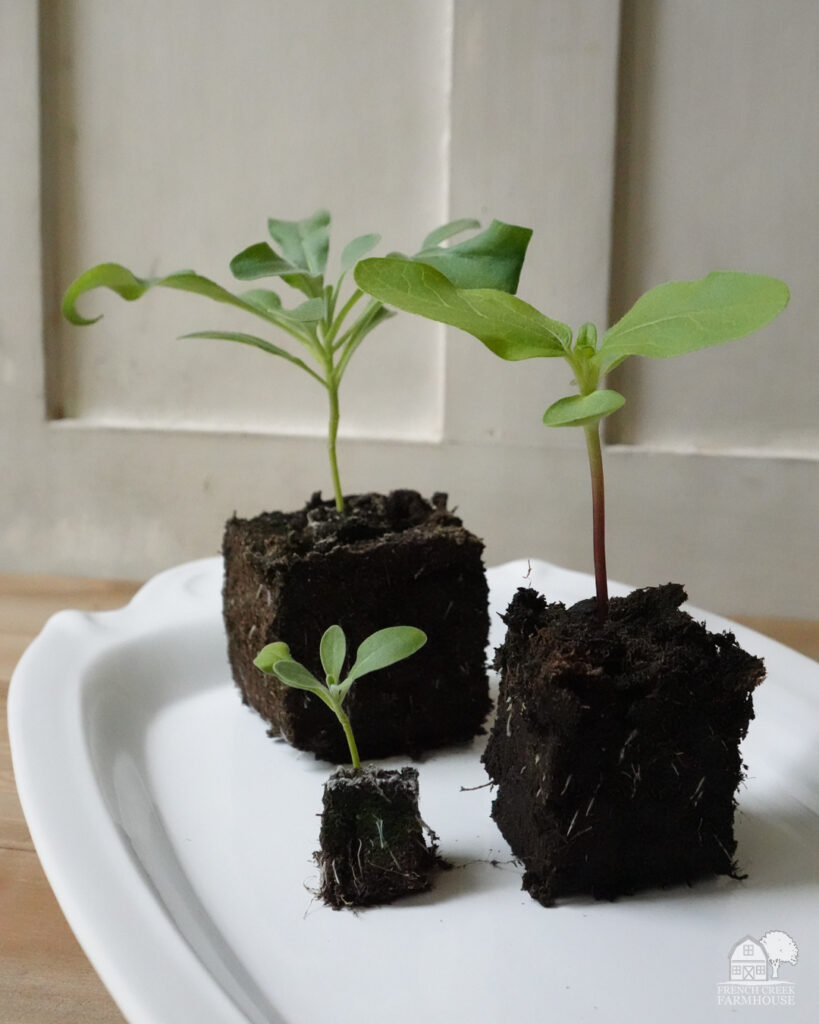
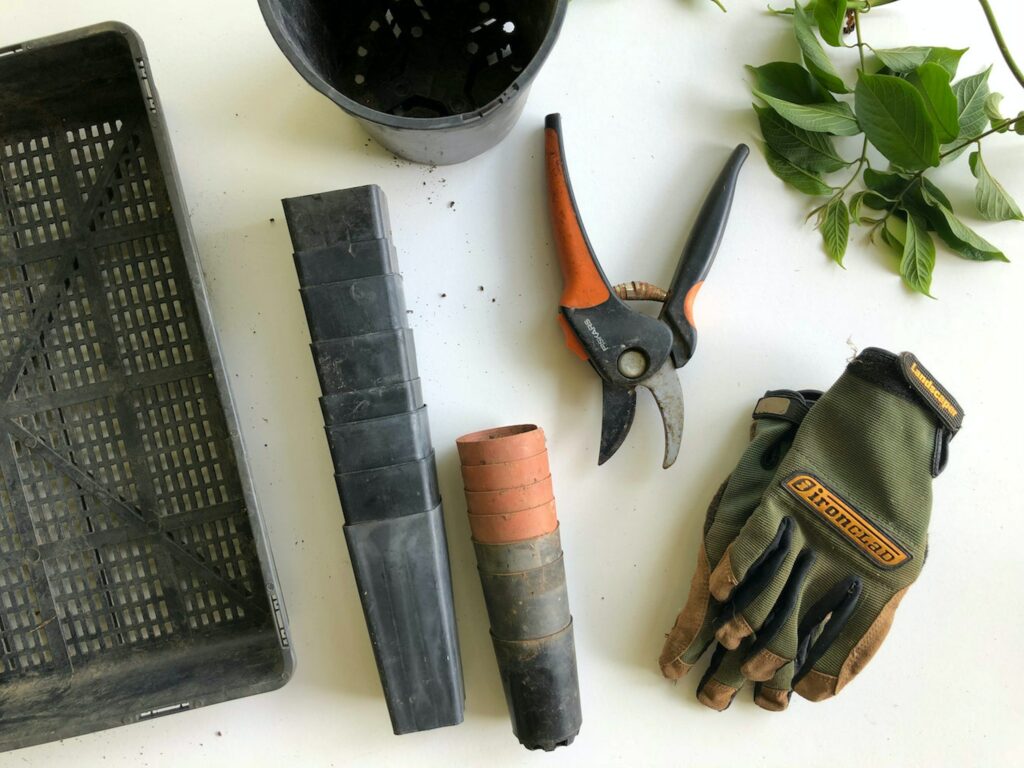
Soil blocking and seed starting
In 2022, we completely switched over to soil blocking and eliminated the use of plastic cell trays on our farm. Both for the sake of efficiency, as well as the health of the seedlings, we are fierce advocates for the benefits of soil blocking.
While there are many, many different types and sizes of soil blockers on the market, in our experience, you only need to invest in three to do pretty everything you would ever want to do–from flowers to veggies!
The process for soil blocking is essentially the same no matter the crop you’re growing. We start all of our flower seeds in blocks, and nearly all of our veggies.
Another benefit of soil blocking is the amount of time saved when it comes time to transplant into the garden. No more wrestling to get root-bound plants out of flimsy plastic cell trays. The process is so much more smooth and makes the chore more enjoyable too.
In this episode, we showed our exact process for soil blocking with all three blockers:
Indoor lighting and temperature control
If you’re keen to try soil blocking and starting seeds indoors as part of your adventures in winter vegetable gardening, you need a way to grow them into seedling stage. We do this in only 8 square feet of space for our entire farm!
Our propagation rack is equipped with heat mats, grow lights, and a fan for circulating the air. We have our lights set up on a timer (which is just a smart outlet connected to our Alexa with a daily routine) to run 16 hours per day (4am-8pm), so the setup is very automated.
We start thousands of seeds every week in this small amount of space, so if you’re a home gardener, know that you can do a whole lot in a very limited area.
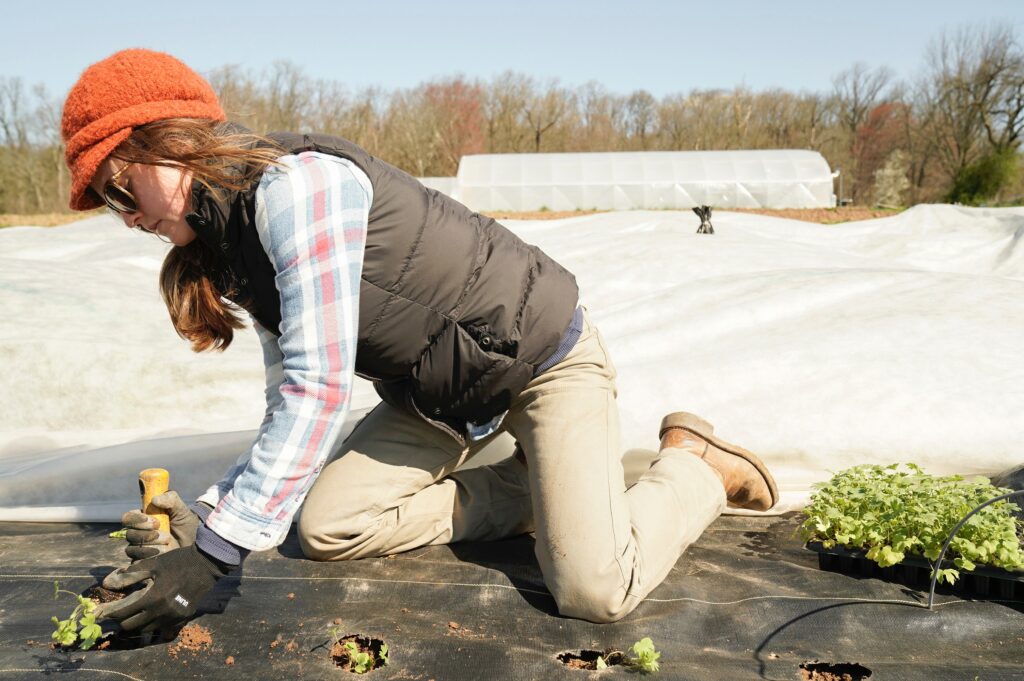
Transplanting seedlings to the garden
Once your seedlings have grown for a bit, it’ll be time to transplant them to your garden. Depending upon the vegetable, this can take anywhere from 3 weeks (for lettuce) to about 6 weeks (for cabbage). Your seed packet will provide guidelines for this, depending upon the crop and variety.
Before the seedlings can be transplanted, however, they’ll need a hardening off period.
Hardening off is the process of preparing your seedlings for a life outdoors after living in the cozy nursery environment where they were started. This process takes 7-10 days, and you’ll gradually expose the plants to more time outdoors, direct sun, and wind each day until they’re strong enough for transplanting.
If you skip this process, be prepared that your plants will likely wither and die after transplanting. At the very best, they’ll experience shock, which will set them back and may make it impossible for them to survive overwintering.
So hardening off is not a step you can skip if you want to have a flourishing winter garden!
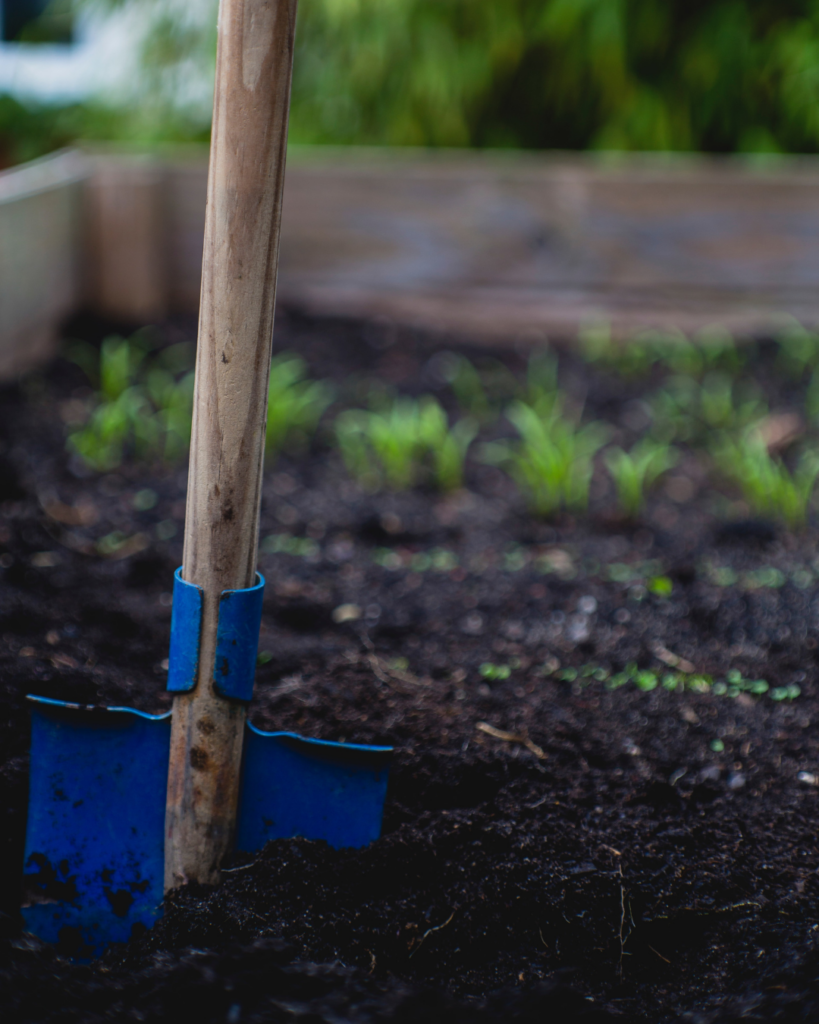
Preparing the Soil for Winter Vegetables
You might think that gardening should be as easy as planting something into the ground and letting it grow, but not all soil is the same. The very best thing you can do to help your garden to thrive is investing in cultivating rich soil for your plants to grow.
Soil testing and amendment
You may have heard/read this a thousand times, but there’s good reason why, so I’ll say it again: Have your soil tested each year! So many gardeners skip this and then wonder why they struggle to grow what others can.
Having your soil tested before jumping into winter vegetable gardening is not difficult. You simply need to dig a sample and mail it to a testing facility. Some county extension offices will do this for free, or you can pay a lab. It’s usually quite affordable (around $50 or less).
You’ll then receive a report letting you know exactly what you need to do to amend your soil for ideal growing conditions. This might involve changing the pH balance (a measure of the acidity or basicity), or adding certain nutrients to the soil.
In some situations, you may find contaminants in your soil, and you would not want to grow food in that location, so this is important information to find out!
The benefits of compost in winter gardening
A great way to keep your plants happy while winter vegetable gardening is by adding compost to the soil. Adding organic matter improves the structure and health of your soil while also helping it to retain moisture and necessary nutrients that your plants need to grow.
Healthy soil also reduces the need for pesticides and fertilizers by attracting beneficial organisms that do much of the heavy lifting for you.
We compost our kitchen scraps, grass clippings, leaves, and more so that we always have compost available for amending our garden beds. In our flower field, we purchase truckloads of organic compost each year to top the rows before planting as well.
We use a compact tumbling composter which takes up very little space. It’s super easy to empty the kitchen scraps from our countertop compost bin each week and rotate the pile.
If you don’t have space for a composter, you can also purchase finished compost in bags from any lawn and garden store. However, this is a much more expensive route than cultivating your own fresh compost if you have the space to do so. If you do purchase compost, choose an organic type with OMRI approval.
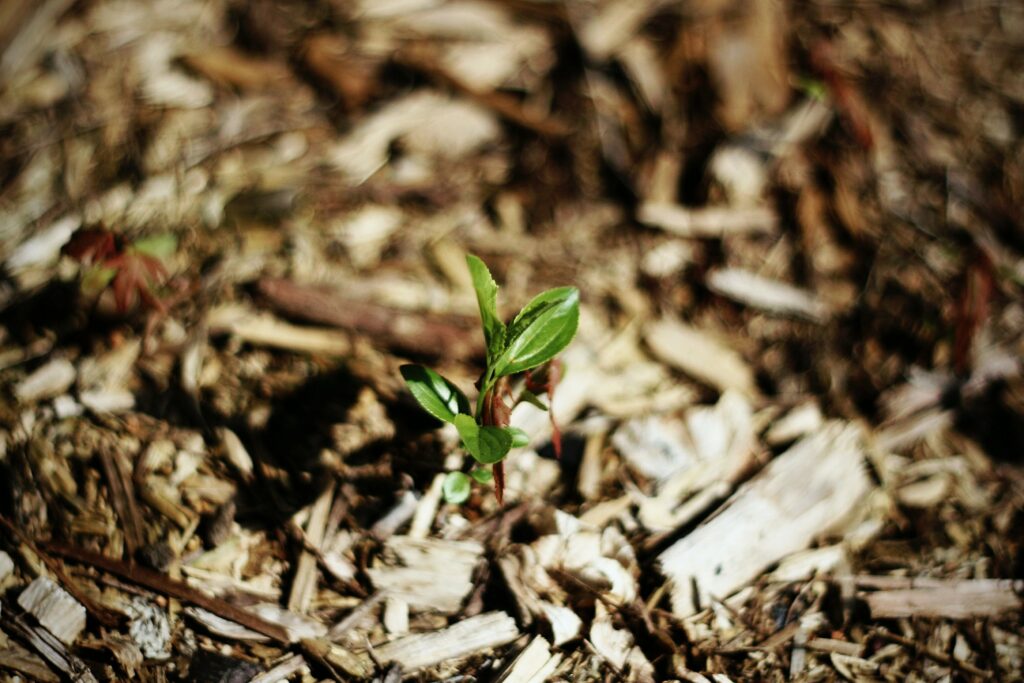
Mulching for temperature regulation
What’s the difference between compost and mulch? A lot! Mulch refers to shredded organic matter that has not yet been broken down into compost. Also, compost is mixed into the soil, whereas mulch is applied as a layer over the top of the soil.
The process of mulching helps to retain moisture, control weeds, and regulate the soil temperature. For this reason, it’s especially great for your winter garden.
We started creating our own mulch in 2021 to help control costs in our garden. We have so many deciduous trees on our property that require cleanup during the year, and leaf mulch works well in our garden.
To use a mulcher, you just drop the leaves and small twigs into the bin, and lovely chopped up mulch comes out the other side–it’s so easy! If you have larger branches and sticks, you can also use a shredder. We use both on our farm, and they’ve been a huge blessing!
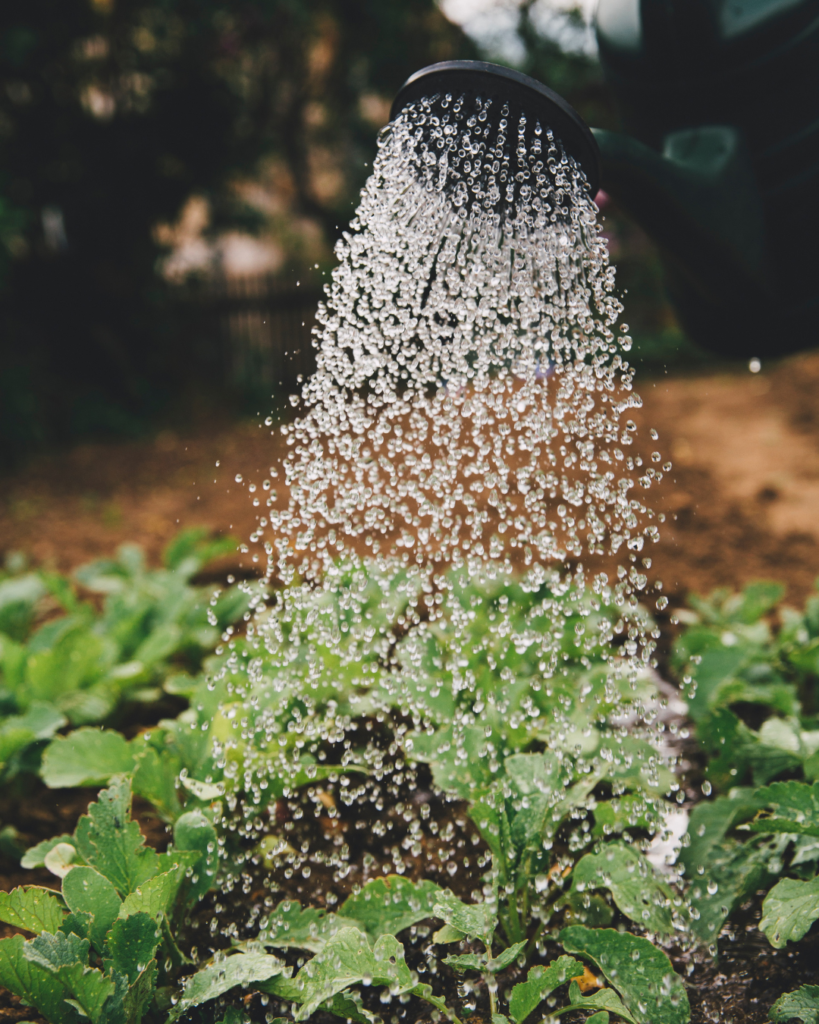
Feeding and Watering Your Winter Garden
Anything that grows requires nutrition and hydration to fuel cell growth. This is true for your winter garden, as well.
The importance of proper nutrition
Winter vegetable gardening presents unique challenges due to lower temperatures and reduced sunlight. To thrive in these conditions, plants require optimal nutrition.
Nutrients such as nitrogen, phosphorus, and potassium are essential for photosynthesis, root development, and overall growth. A well-balanced nutrient supply ensures that plants have the resources they need to continue growing during the winter months.
Proper plant nutrition is especially important to creating strong and resilient root systems. Robust roots can access water and nutrients more efficiently, ensuring the plant’s overall health and ability to endure the winter cold.
For all of these reasons, it’s important to begin with healthy soil. We prepare our beds for planting the same way before every season, and you can watch that in this video from this past spring:
Choosing the right fertilizer for winter crops
The use of compost, for us, significantly cuts down on our use of other types of fertilizer. We use absolutely no chemicals on our farm, and only need to feed with organic nutrients on a limited basis.
The first application happens just before planting. We broadcast an organic starter fertilizer, and mix it into the top 4-6″ of the soil either by hand, or with our tiller. The purpose of this type of fertilizer is to help the baby plants get established, not for long-term feeding.
Most of the vegetables we grow are relatively short crops and reach maturity in just a couple of months. This also reduces the need for very much fertilizer.
However, root crops, in particular, benefit from extra phosphorus. Organic bone meal is an easy way to add this nutrient. However, if you want to farm as a vegan, another good option is rock phosphate. It takes longer to break down, but also lasts longer in the soil.
We also utilize compost tea as a soil drench. This is made by soaking compost in water with an aerator for about 24 hours, then applying to the soil as a drench (or as a foliar spray, depending upon your desires). Again, because we mainly grow short crops, this really only needs to happen one time during the middle of the growing window when it comes to winter vegetable gardening.
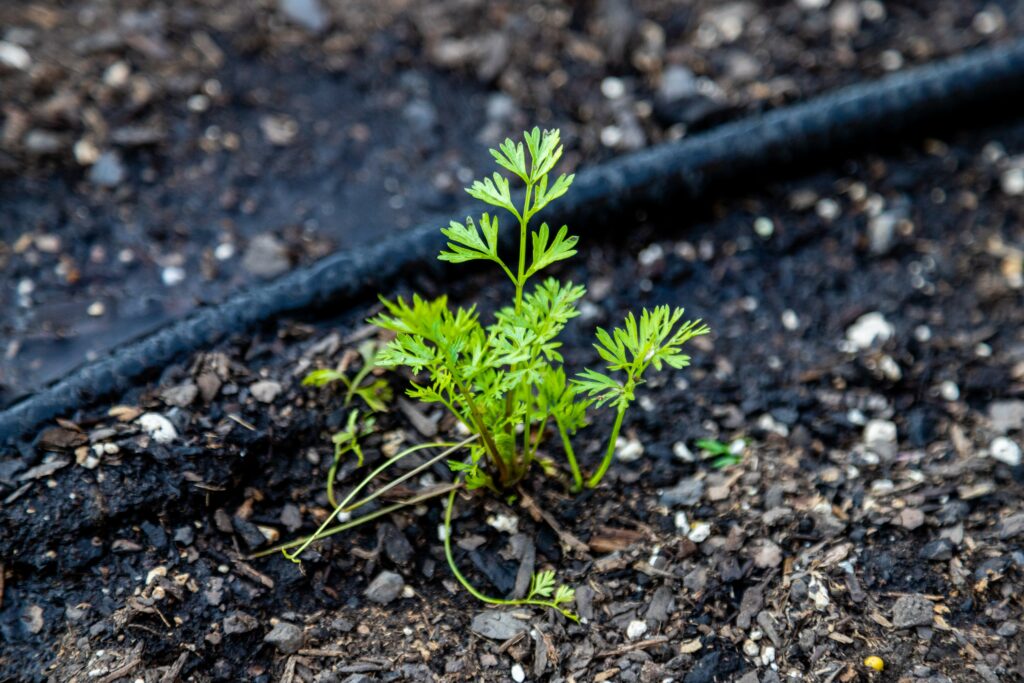
Drip irrigation for efficient watering
Watering the garden might just be the very last thing on your mind in the winter! However, if you use tunnels and cold frames for winter vegetable gardening, it’s something you’ll need to watch carefully.
This is a lesson we learned the hard way, so take my failures and use them to your advantage!
Here in the rainy PNW, watering is something that many gardeners leave up to Mother Nature. However, row covers can significantly reduce the amount of water that reaches plants–even in the soggy winter.
We use a very simple system of drip irrigation. Not only is it affordable and easy to setup, but it gets the water directly where the plants need it.
To control the water, we also use a bluetooth timer. This means that you can setup an automatic schedule, or turn the water on/off without even having to venture outdoors and into the elements on a crummy day.
Do use caution watering during the winter, though, as the chances of your water lines freezing can be a serious concern if your temperatures dip low enough.

Rainwater harvesting
If you want to save on the cost of watering your garden, you can also try harvesting rainwater during the wetter months of the year. However, take note, this practice is illegal in some areas, so be sure to checking your local ordinances first.
If you live in an area where collecting rainwater is permitted, you’ll need a rain barrel or other means to store the water until the time you need to use it. Make sure that the tank:
- is opaque to prevent algae growth,
- includes a mesh filter to keep out debris,
- has an overflow valve, and,
- is child, pet, and wildlife-proof.

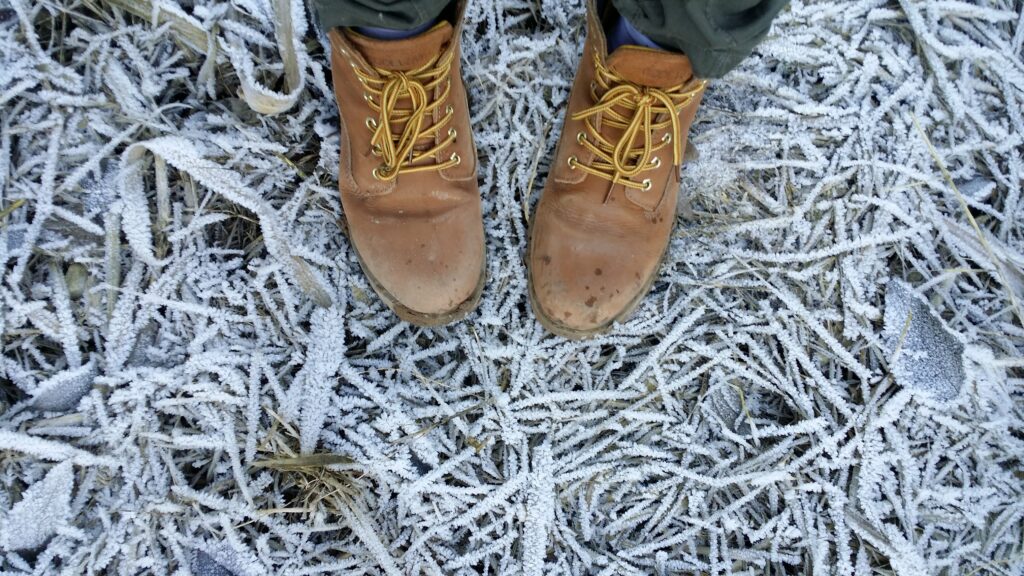
Protecting Your Winter Garden from Frost and Snow
For Northern growers, gardening in the winter means protecting your plants from the chill of the season. This is essential if you want your garden to survive and produce wonderful veggies to enjoy year-round.
When it comes to winter vegetable gardening, you have several options for controlling the growing climate. Which option you choose will depend upon 1) your preferences and 2) your specific growing conditions. Let’s talk through each of them…
Creating micro-climates
If you live in an area where it gets cold, but frost and snow are not much of a concern, you may be able to get through the winter by simply creating micro-climates. An easy way to do this is by planting wind breaks.
Wind breaks are rows of plants that provide protection from…well…the wind. A hedge row can accomplish this, so long as you make sure that you choose evergreen plants. If your hedge consists of deciduous plants, they will offer little, if any, protection once they lose their leaves.
We have a wind break on our farm of arborvitae shrubs. Our vegetable beds sit about 6′ (~2 meters) away from the windbreak, and the shrubs provide excellent protection from bitter cold winds that blow freely across the adjacent pasture.
However, that protection really only extends about another 20′ (~6 meters). This means that parts of our veggie beds (the parts farther away from the wind break) are less protected. We’ve noticed that those plants struggle greatly compared to those planted nearest to the wind break, even though all other conditions are identical.
To deal with that, we now plant the hardiest varieties in those less-protected areas–like kale, for example–while keeping the more tender crops closest to the warmer micro-climate offered by the wind break.
Row covers and cloches
Frost protection is a necessity where we live for winter vegetable gardening, and that means that we utilize row covers on all of our beds. This may feel daunting to home gardeners, but it’s really quite easy to set up.
Building Low Tunnels
On our farm, we use low tunnels, and they’re very simple to create. You’ll first need to create some hoops to extend across your beds. We space our hoops every 4-feet (~1.2 meters) down the length of the row.
You have many options for how to create your hoops, and it will come down to your budget, what’s available, and how much time you want to invest.
We bend 10′ lengths of electrical metal conduit (EMT) because they are incredibly sturdy and long lasting. This is the gold standard for creating hoops, but it does require a bigger investment because EMT is a bit more pricey than other materials.
Some home gardeners use plastic conduit (PVC) to save money, but it’s generally not recommended. When the PVC comes into contact with the plastic sheeting, it will cause it to degrade quite quickly.
Another option is to use bamboo trellises. And, if you’re only planning to grow crops that are very low to the ground, you can use a sturdy gauge metal wire. This won’t offer much protection if you experience snow, but it could offer some support for a simple layer of frost cloth for a chilly night here and there.
Protecting Individual Plants With Cloches
If you only have a few plants, you could even purchase or make DIY cloches that cover each individual plant. An easy way to DIY a cloche is with a tomato cage.
Alternatively, you could bend some chicken wire into a bowl-shape, as well.

Covering With Frost Cloth
Once you have your supports in place, you’ll be able to cover your crops with frost cloth. We use Agribon AG-30, which provides frost protection to 26° F. However, Agribon AG-50 will provide protection to 24° F for those in even colder climates. What you’ll need to consider is that the greater the frost protection, the less light that will get through the fabric. For example AG-30 allows 70% light transmission, while AG-50 only allows 50%.
We don’t recommend anything lighter than AG-30 simply because the material gets too thin and tears easily, making it useless.
Now, when it gets really cold, frost cloth alone will not be enough. We experience temperatures into the single digits at times, and for those stretches, we add a layer of greenhouse plastic over the top of the frost cloth.
For those wondering, the answer is NO, you cannot use the clear plastic sheeting found in home improvement stores. It doesn’t have UV protection, and therefore will yellow, become brittle, and fall apart in very short time.
Greenhouse plastic is UV protected to last for years, and this is not the place to try to save money. You should choose one that’s a minimum of 4 mil, but 6 mil is preferred (like this one).
You can also run a string of holiday lights inside your tunnel to add just a little bit of heat and help with the especially frigid nights. Plus, it’s pretty!
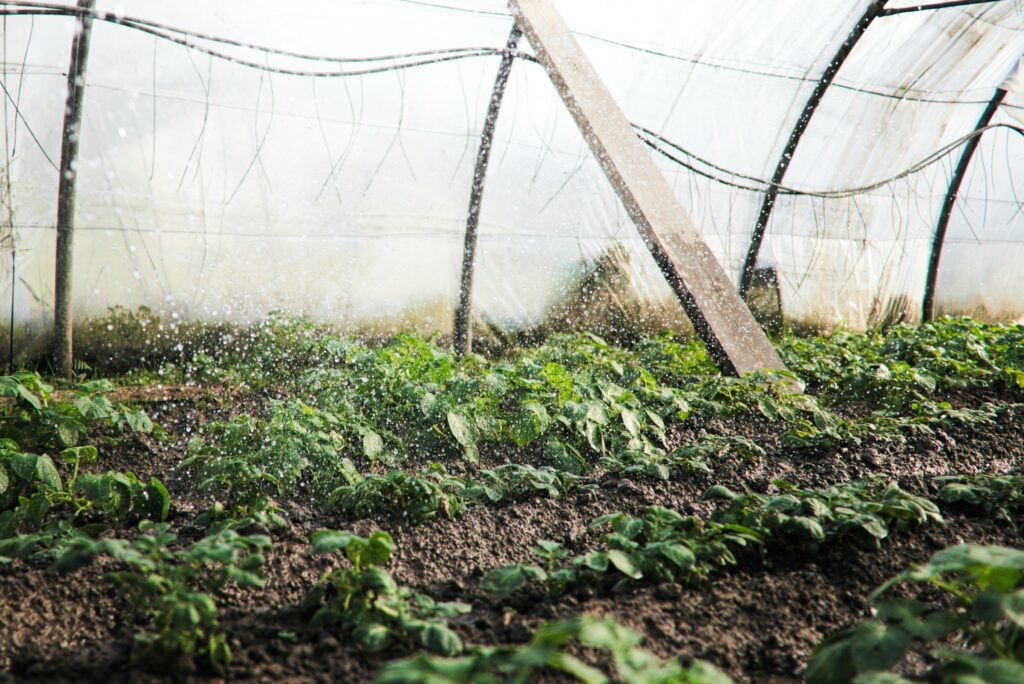
Cold frames and hoop houses
If you can afford it, a hoop house is quite a luxurious way to participate in four-season growing. Hoop houses work the same way as a low tunnel, but they’re tall enough to walk around inside. Some people call these “greenhouses”, but greenhouses are permanent structures. Hoop houses (also known as high tunnels) are only semi-permanent and designed primarily for season extension, so they’re a wonderful complement to winter vegetable gardening.
Cold frames are box-like structures with clear tops made of plastic or glass that work like mini-greenhouses over small garden areas. The tops are hinged lids that you can open to vent, or close to offer greater protection.
You can easily build cold frames, and they’re a great way to upcycle old windows, as well.
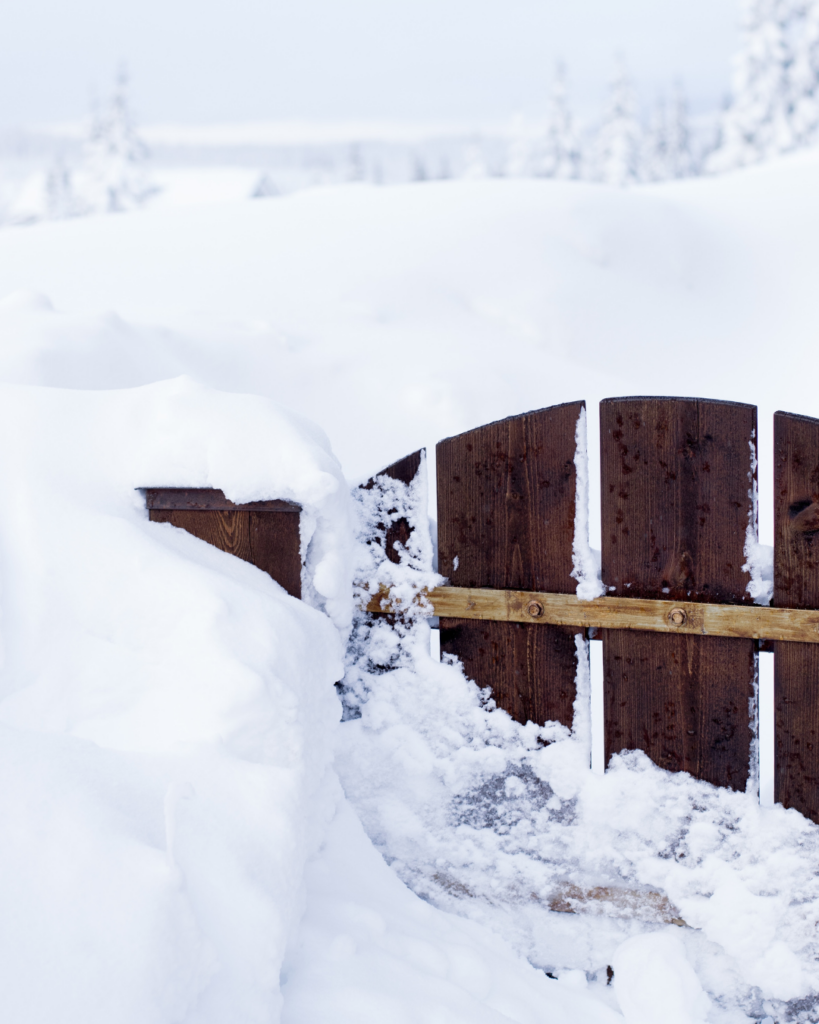
Snow management techniques
When it comes to winter vegetable gardening, we have to address the possibility of snow. Since you already have your row covers in places, you’ll be prepared for when it snows. Greenhouse plastic is essential for snow management because frost cloth alone cannot handle the weight of snow accumulation.
So, always be sure to put a layer of greenhouse plastic over the top of your frost cloth! You can lift it up to keep your tunnels vented when it’s not needed, then lower it when the forecast calls for snow. But, trust me, you do not want to be putting it on in the dark while the snow is coming down.
Don’t ask me how I know.
And speaking of working in the dark while it’s snowing, you’ll need to monitor snow accumulation on your tunnels. If it becomes heavy enough, they will collapse and ruin all of your hard work.
Depending on the rate of snowfall, this might mean going out to clear snow every couple of hours (or more). We’ve had storms that required us to go out all night long, and you’ll feel like you’re up taking care of an infant on those nights (which, you kinda are).
To clear snow, we gently brush it with a broom. The operative word there is gently. You don’t want to tear through your greenhouse plastic and render it useless.
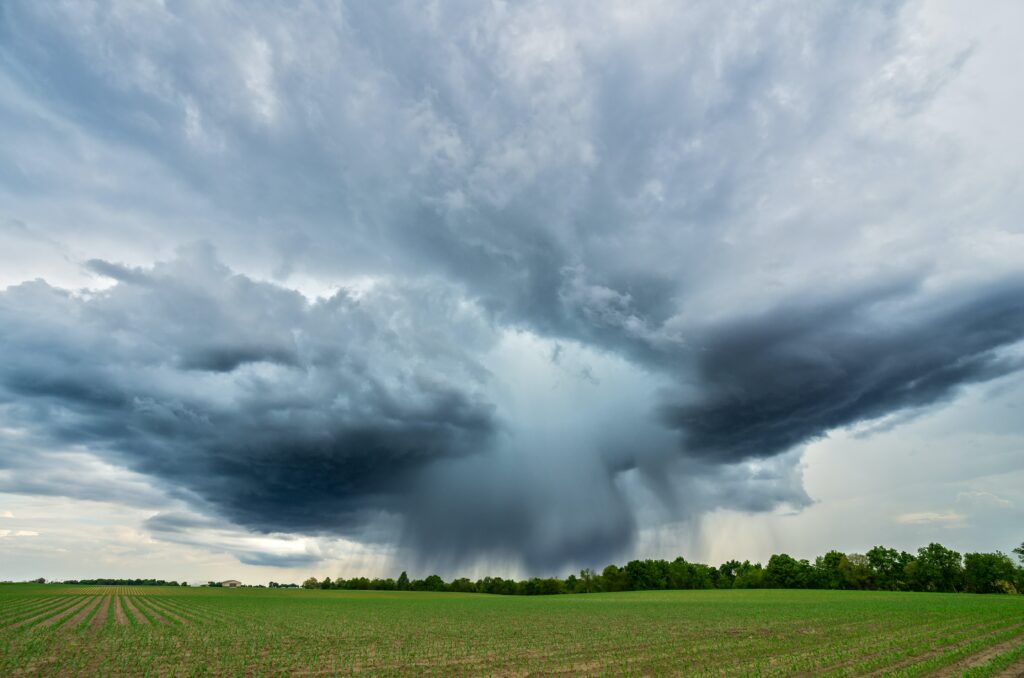
Monitoring weather forecasts
When you decide to jump into winter vegetable gardening, you’ll become obsessed with monitoring the weather forecast.
I mean, seriously, it will become such a big part of your life, and you’ll talk about it more than most people around you would like.
But, you’re a farmer now, and farmers care about the weather!
Technology has made this sooo much easier in recent years. Investing in a good weather station is something you’ll be grateful to have, and there are also plenty of weather forecasting apps to help along the way.
We also use individual hygrometer/thermometers around our farm to keep track of conditions in certain areas. A hygrometer measures humidity, while the thermometer tracks temperature. These ones are the ones we use, and they pair with an app to make it easy to track information. You can even set up alerts if numbers fall outside of an ideal range that you’ve set.
Harvesting and Storage
Properly timed harvesting and adequate storage techniques ensure that your winter bounty remains fresh and nutritious, allowing you to enjoy homegrown produce through all four seasons of the year.
Knowing when to harvest
Timing is everything in harvesting winter vegetables. To ensure you pick your crops at the peak of flavor and quality, consider the following factors:
- Maturity: Winter vegetables often require a longer time to mature due to the reduced daylight hours and lower temperatures. Refer to seed packets or labels for estimated days to maturity.
- Weather Conditions: Keep an eye on the weather forecast. Don’t allow an unexpected frost to wipe out your veggies before you’ve had a chance to harvest them.
- Taste and Appearance: Vegetables are typically ready for harvest when they exhibit the desired color, texture, and flavor. For instance, carrots should be crisp, and kale leaves should be tender and not overly bitter.
- Regular Inspection: Keep an eye on your vegetable crops frequently. You can harvest some crops continuously over the season, while other will be ready all at once. Leafy greens and herbs, for example, are often harvested with a consistent “cut and come again” approach, where you harvest outer leaves as needed, allowing the inner leaves to continue growing.

Proper harvesting techniques
How you harvest primarily depends upon what you’re harvesting. Here are a few helpful tips:
- Leafy Greens (e.g., Kale, Spinach, Lettuce): For leafy greens, use a clean, sharp knife or scissors to snip the outer leaves just above the base of the plant. Leave the central leaves intact to allow regrowth.
- Root Vegetables (e.g., Carrots, Beets): Gently loosen the soil around the root crop with a fork or your hands, taking care not to damage the vegetables. Lift them from the ground and remove the tops–but don’t throw them away! Carrot and beet greens are excellent for salads, or toss them into smoothies. If you keep chickens or goats, they would also love these tasty fresh treats. I like to blanch and freeze our beet greens to use in sautées later.
- Cruciferous Vegetables (e.g., Broccoli, Brussels Sprouts): Harvest broccoli before the florets start to separate. For Brussels sprouts, begin at the bottom of the stem and work your way up, picking the sprouts as they mature.
- Alliums (e.g., Onions, Garlic): When the tops of onions or garlic plants begin to yellow and fall over, it’s time to harvest. Allow them to cure by drying for a few weeks in a warm, well-ventilated area before storage. Properly stored, you can expect them to last 3-6 months.
Storing winter vegetables
Proper storage is essential for keeping your winter vegetables fresh for months to come. Depending upon how quickly you plan to consume your vegetables, you have many options for storing them.
Cold storage options
When you store your harvest in cold storage, the amount of time you’ll have to use them varies based on the method you choose and individual conditions. However, cold storage is generally going to be for more short-term storage, when compared to preserving.
- Root Cellar: If you have access to a root cellar, it’s an ideal storage space for many winter vegetables. Maintain proper humidity and temperature levels to prevent loss.
- Refrigerator: Some winter vegetables, such as carrots and beets, can be stored in the refrigerator crisper drawer for quick access during meal prep.
- Cool, Dark Place: For garlic and onions, store them in a cool, dark area with good ventilation. Mesh bags or wooden crates work well.
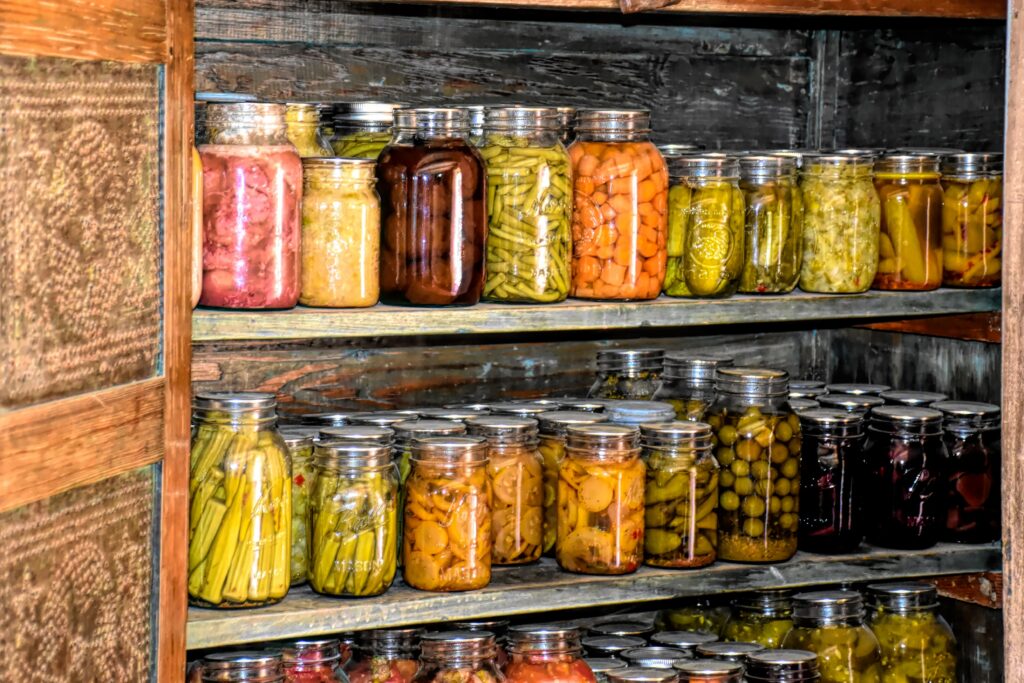
Preserving winter produce
If you want your harvest to last for quite some time, preserving your veggies is the way to go. Again, you can expect varying lengths of time depending upon the method you choose.
- Canning: Consider canning vegetables like beets and carrots to preserve them in airtight jars for long-term storage. You will need to use a pressure canner for these types of foods. Because they are lower in acid, you cannot preserve vegetables in a hot water-bath-style canner. For best quality, you’ll want to eat canned vegetables within one year.
- Freezing: Many winter vegetables can be blanched and frozen for use later. We freeze quite a lot of our harvest into vacuum sealed bags. Always be sure to label and date containers for easy identification. This will save you quite a headache later! Properly blanched, vacuumed sealed, and frozen vegetables can last for up to 2-3 years in the freezer.
- Dehydrating: Dehydrating is an excellent way to preserve some of your winter garden like herbs, and even some vegetables. Invest in a food dehydrator or use your oven to dry produce for long-term storage. Our Bosch oven has a built-in dehydrator, making this very simple. When purchasing a dehydrator, there are many options to consider, and I talked about this in more detail in this post. Dried vegetables have a shelf life of 6 months to one year, and herbs will last 1-3 years.
- Freeze Drying: For the ultimate in long-term food storage, you’ll want to invest in a freeze dryer. Your freeze dried harvest will have a shelf life of up to 25 years! You can also easily make your own backpacking meals or emergency meal kits, which gives you a whole lot of versatility.

Why I Will Forever be a Four-Season Gardener
For me, winter vegetable gardening is essential. With only so much acreage and time, four-season growing is simply more efficient.
We not only spread out the work over the course of the year, but also maximize our yields by working with our growing conditions like light, seasonal temperatures, and rainfall.
But maybe more importantly, the benefits to my own well-being make winter vegetable gardening especially important to me. I love being outdoors and working with our crops–whether veggies or flowers.
If we didn’t grow anything outside of the traditional growing season, more than half of the year would be empty of that particular joy in my life. And I’m all about finding ways to cultivate more joy in life!
When you have something in your life that adds to your sense of meaning, purpose, and joy, I think it’s important to find more ways to do it. That might mean, like it did for us, moving away from the city and starting a little farmstead. Or maybe it just means starting an herb garden in your kitchen window.
You can cover a great distance by taking small steps, but you’ll get nowhere by standing still. I wholeheartedly encourage you to leap joyfully into winter vegetable gardening and grow a life well-lived!

Ready to dig in and grow something beautiful?
Get our Free Garden journal
Let’s be gardening buddies! Sign up to join our community, and get your free printable PDF Garden Journal. This is so good!