Best Investments For a New Farm: Our Top 10 Recommendations
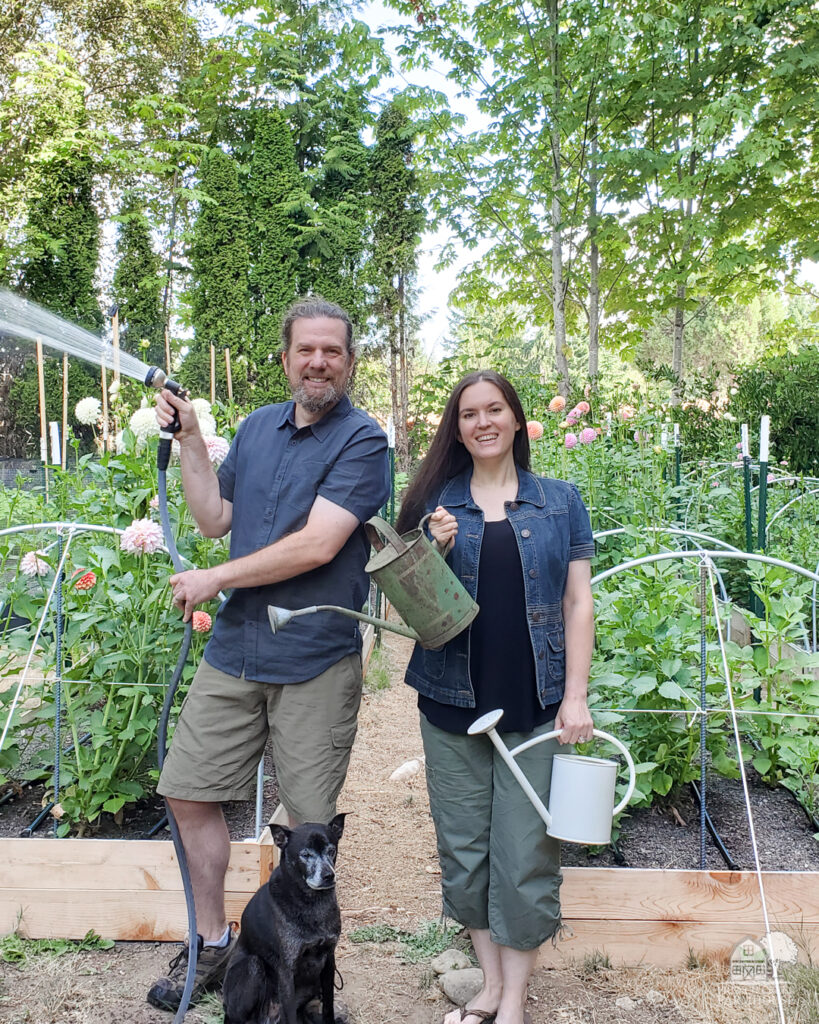
Starting our farm has been quite an endeavor. We’ve had to make a lot of decisions about how to allocate our budget and make investments in things that would both align with our plans for future growth and support us in the current moment. Now that we’ve been at it for a few years, we’ve had time to reflect on the choices we’ve made, and there are some investments we’ve made that have paid serious dividends.
If you’re new here, (welcome!) I should explain that we’ve been growing our farm for three seasons. In a nutshell, here’s how that’s gone:
- 2021: This was our “Know Nothing” year, and we were really just trying to formulate a plan for how we could create a profitable farm. We started by trialing different crops and making decisions about what and how we wanted to grow, and we made some early investments in tools and infrastructure that year.
- 2022: This was our “Growing at Scale” year. Once we had some ideas about what we were going to grow (specifically, dahlias), we needed to see if we could do it on a larger scale. We also needed to learn a lot more about building infrastructure like irrigation, raised beds, etc. The 5-year plan was drafted this year.
- 2023: This is what we officially consider “Year One”. It was the first year of our 5-year plan for our farm, and everything before it we call “Year Zero”. We profited no money in Year One. Actually, we made less than no money because we made even more investments into our farm’s growth and infrastructure, more than tripling the amount we grew from the previous year. Three years into this journey, and we still have negative dollars. However, we had no expectations about making a profit by this point either, so we weren’t disappointed.
As we begin Year Two, we’re at a place where we can actually look back and reflect on what we’ve done so far (both the good and bad). In that process, there are several places where we made investments that particularly stand out for us.
For anyone starting a farm, thinking about starting a farm, or simply looking to grow as a hobby with more efficiency, we hope this list will make as much of a difference to your adventures in growing as it has to ours.

Disclosure: This is not a sponsored post, and I have received no compensation for sharing anything that follows. Some links within this blog may be affiliate links, and I might earn a commission if you make a purchase through that link. This usually amounts to cents, not dollars, and helps to support the projects featured on this blog. I only recommend products from companies that I have found to be trustworthy. Read my full disclosure here.
Bootstrapping and How We’re Investing
We’re making every effort to bootstrap our farm. That means that we’re paying for all of our investments and purchases out of our cash (and personal savings) rather than financing it with loans.
At this point, off-farm income helps us to subsidize our growth, but we’re rapidly getting to a place where the farm is going to need to start producing enough revenue to get us to the next milestone of our five-year plan.
Any work we do off-farm takes us away from working on growing the farm, and so, it creates a pinch-point. This is a challenging place to be–not just for us, but any new business.
The USDA has reported that one of the main reasons why small farms fail is because they’re unable to scale quickly enough to support their own continuation. We discussed this in more depth in this episode on our YouTube channel, and it’s something we’re mindfully aware of as we work through our business plan.
This makes us very conscientious about where and how we spend our resources to grow our farm profitably, while also making sure the work is doable.
We think that means this list is all that more valuable, because we genuinely believe that each of these investments not only made a contribution to our efforts, but has also more than paid for itself. These are all real things that we’ve invested in and use on our farm.
So, without further ado…let’s dive into the list!
Wondering about ways to help us grow the farm?
Learn More about Community Supported Agriculture and ways you can help
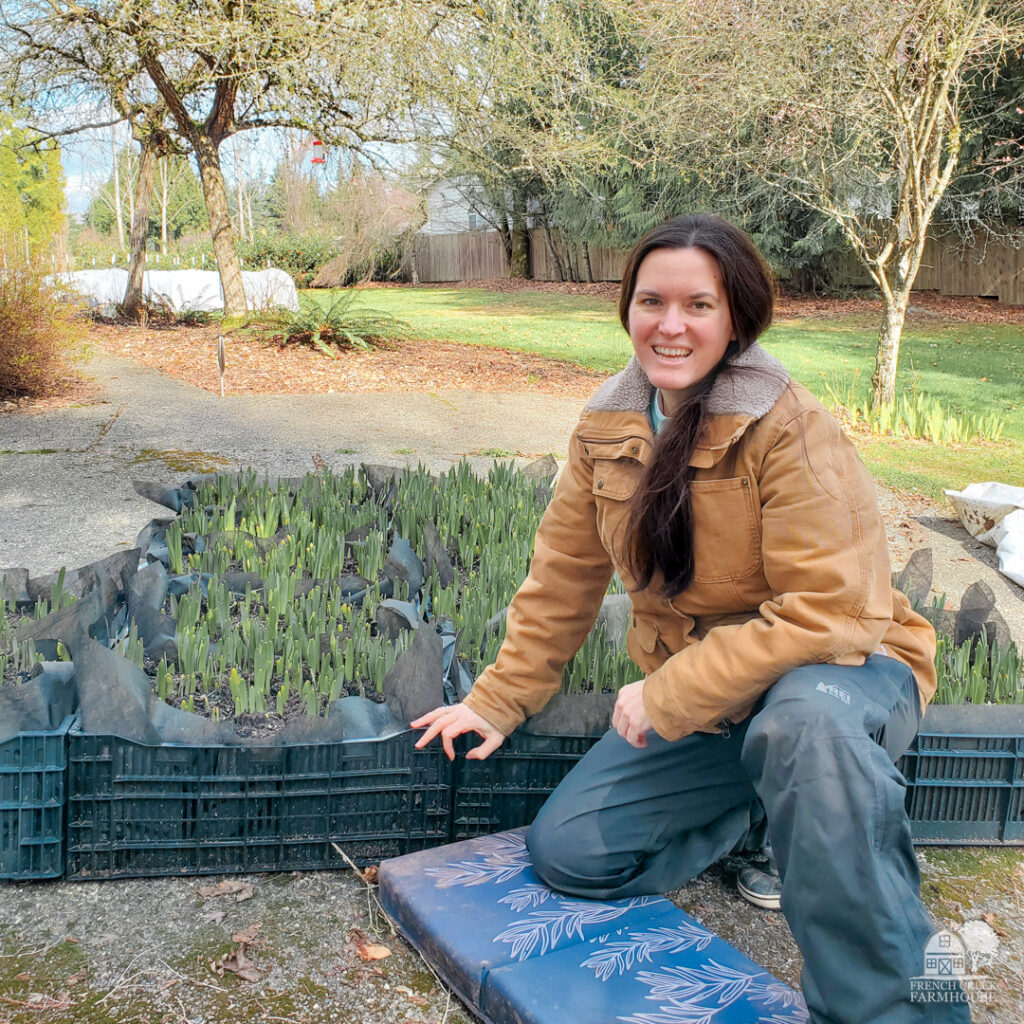
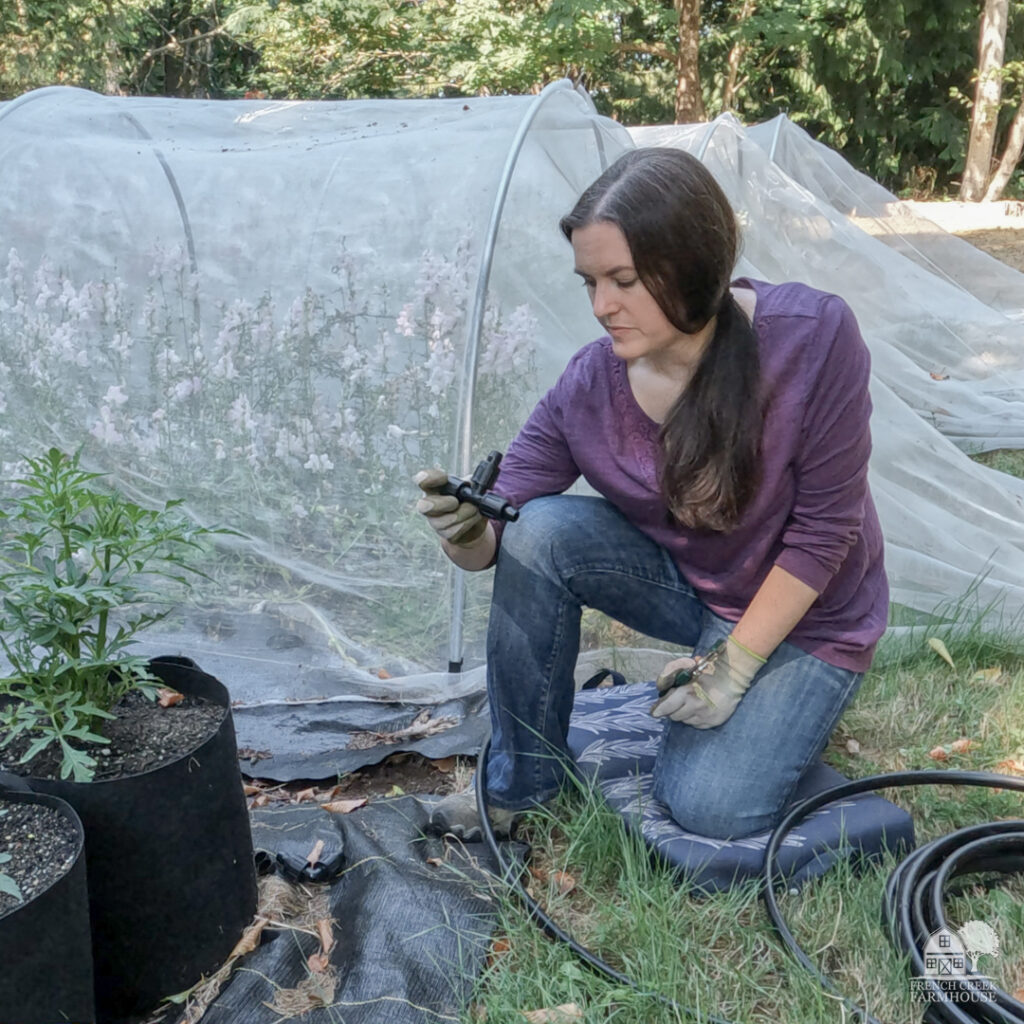
1. Memory Foam Kneeling Pad
Extra-thick, dual-layered memory foam covered with water-resistant neoprene protects your knees like nothing else we’ve tried!
What we love
This might seem like a minor thing to some folks, especially because it’s such a low-cost item. But it boggles my mind thinking about how many years I spent in the garden with sore knees. And, once we decided to start our farm, it was clear that the thin, rigid foam kneeling pads we’d always used (which already weren’t cutting it) were woefully inadequate for the amount of time we spend with our knees on the ground.
A couple of years back, I spent several days planting out thousands of seedlings, and by the end, my knees were so bruised and sore that just walking caused me horrible pain.
That was the last straw.
Our bodies are the pieces of equipment that are irreplaceable on our farm. As such, they’re also what we need to care for and maintain better than anything else.
If we blow out our knees, we’re in big trouble.
So the search was on to find a better kneeling pad that would hold up to the daily abuse of farming—not just occasional use in a home garden.
I ordered a few different options, and finally, I found THE one that has been far superior over all the others.
This kneeling pad has a rigid base for ground contact, and then two layers of memory foam on top, for a total of 2.7” of thickness. The neoprene cover is water-resistant and easy to clean.
I’ve used this kneeling pad in every condition…mud, rain, snow, and hot summer days. It has been my perfect companion through it all.
I also love that it folds in half and has carrying handles. It’s generously sized, but not too big either. We have quite narrow walkways between our rows, and it’s never a problem to fit where I need to kneel.
If, instead of 10 things, this was a list of the single best investment we’ve made in our farm, I think this might be it!
2. Drip Irrigation
Hand-watering not only takes up too much of our valuable time, but is also a less efficient use of water. Drip irrigation is a game changer!
What we love
Before we added drip irrigation, we spent up to two hours per day watering our plants by hand–an hour in the morning, and an hour at dusk. This was simply unsustainable.
For starters, our time is valuable. It’s important that we’re able to do a variety of chores throughout the day from tending seedlings to transplanting, weed suppression to harvesting, and post-harvest handling and get our flowers out the door. On top of that, we run the “business side” of our farm business which takes a whole lot of additional time and mental energy.
Giving up two hours per day to watering just isn’t feasible.
It’s also not a good use of our water, either. Hand-watering results in a greater amount of runoff (i.e. wasted water), and what does stay where it’s needed is rarely deep enough to nourish the plant’s roots.
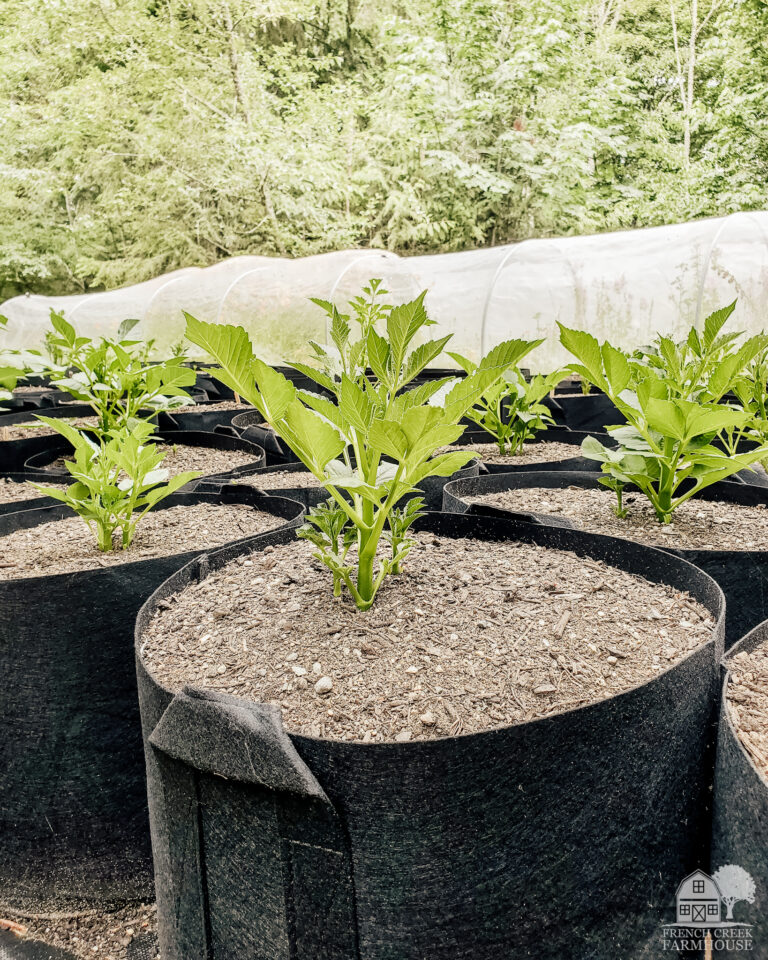
Last year, we experimented with growing about one-quarter of our dahlias in grow bags. This was essentially new “infrastructure”, and we were a bit delayed setting up irrigation to the bags.
While the plants were just sprouting, we could water them with a sprinkler. But this is such an inefficient use of water. Much of the spray is evaporated in the air, and the water isn’t directed exactly where it needs to go.
Drip irrigation solves all of that. We added drip to our grow bags and it freed up so much of our time, plus it makes the plants much, much happier.
With drip irrigation, water drips down slowly to provide deep saturation in exactly the spot where it’s needed. There is so much less waste! And, if you’re on any type of municipal water system, that means it also saves you money.
But even if you’re using well water, using that water wisely matters. Drip irrigation systems are an invaluable addition to any growing operation from home garden to commercial farming.
We also use a Bluetooth timer with our irrigation system. Last year, we had four zones, each operated by its own timer. This allowed us to set a schedule for each area, and let it run all by itself.
If we happened to get some rain and didn’t need the schedule to run for a day, it’s very easy to open the app on our phones and make an adjustment in a few seconds time.
I’m not exaggerating when I say that we could not run our farm without our irrigation system. This is an investment that pays you back by freeing up your time and producing healthier, happier crops all season.
3. Waterproof + Insulated Work Gloves
These gloves are 100% waterproof and thermal insulated making them perfect for wet and cold weather work.
What we love
Real talk…we spend a lot of money on gloves each year. When working in the dirt with plants is your job, gloves are a necessity. And we put our gloves through some serious abuse, so frequent rotation is necessary.
It’s not about keeping your hands clean, although that’s nice, too. But more importantly, we’re protected from bites and stings, slivers, blisters, and cuts.
Once again, I have to say that our bodies are the most crucial pieces of equipment on our farm, so protecting them and keeping ourselves free of pain and injuries is so important.
In the summer, we mostly use basic gardening gloves. In the fall, we upgrade to fleece-lined gloves for a little extra warmth. Those are also great for blister protection when doing chores like pounding T-posts for fencing.
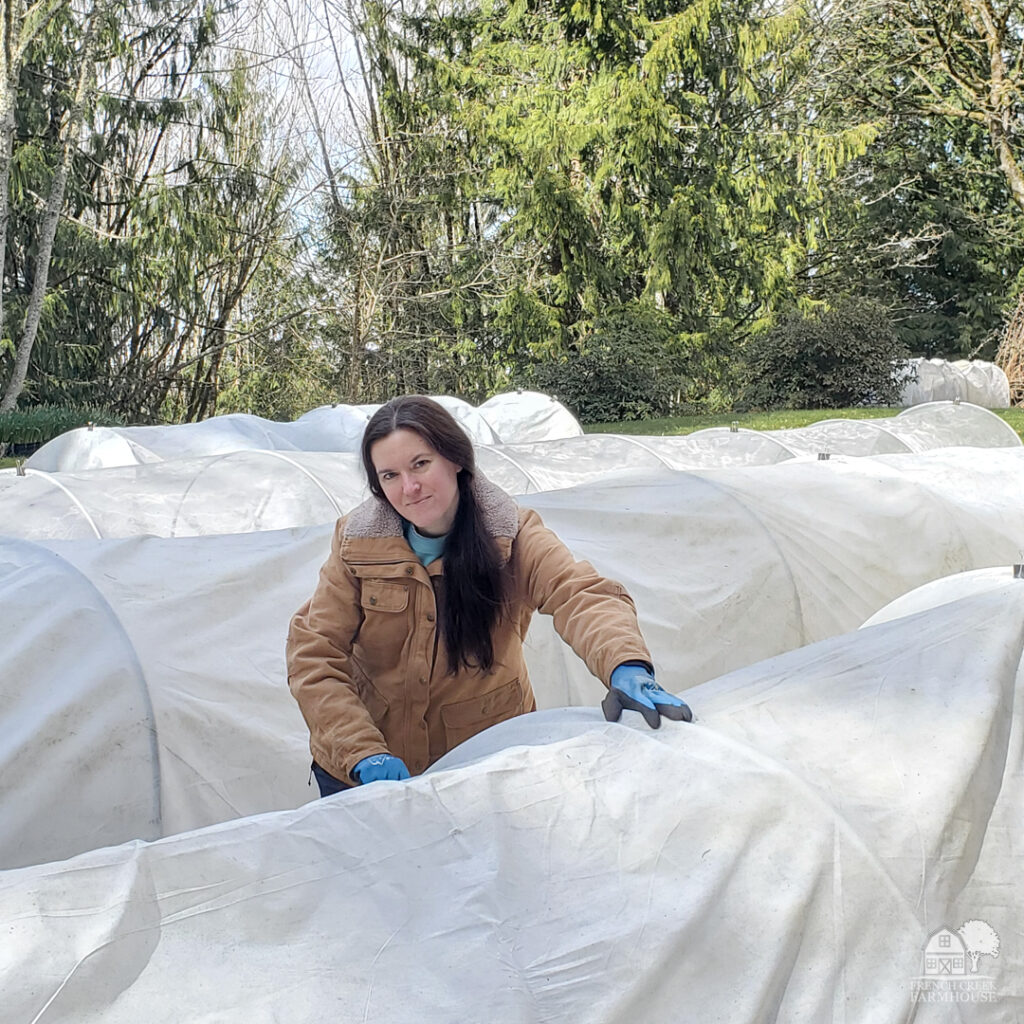
But in the rainy months and in the snow, that’s when we get serious.
Our cold-weather gloves are both fleece-lined for warmth, as well as waterproof. What a game changer they have been!
Washing and packing our dahlias after we’ve had our first frost used to be misery. It’s a cold and wet time of year, and it’s just a whole lot less enjoyable to be working outdoors.
One year, I nearly ended up with frostbite. My fingers started to turn blue-ish purple, I couldn’t feel anything, and as we worked to thaw them out, it was excruciatingly painful!
And mind you, I was wearing gloves at the time!
My gloves simply weren’t providing enough protection. As they got wet, they were no longer keeping me warm and dry. It was a painful, and scary, lesson that day, and I was determined to find a solution.
That’s when I found these fantastic waterproof, fleece-lined gloves, and they have been such a blessing. We both wear them throughout the colder months, and the extra protection makes such a difference in our comfort level while working at the cruddy times of year.
They’re also touchscreen compatible which means you don’t need to take your gloves off to answer your phone or use mobile devices.
They’re available in several sizes so you can find the perfect fit for every person on your team. For reference, I wear a size small, and Rob wears the large. And you can also color-code by team member or by chore. We order mine in blue and Rob’s in orange so we never have to worry about accidentally grabbing the wrong ones as we’re rushing off to work in the field. You could also designate a certain color for working with a particular crop, etc.
You will be so grateful to have these gloves when you’re planting bulbs, transplanting seedlings in the spring, or working on any number of chores during the cold/rainy season.
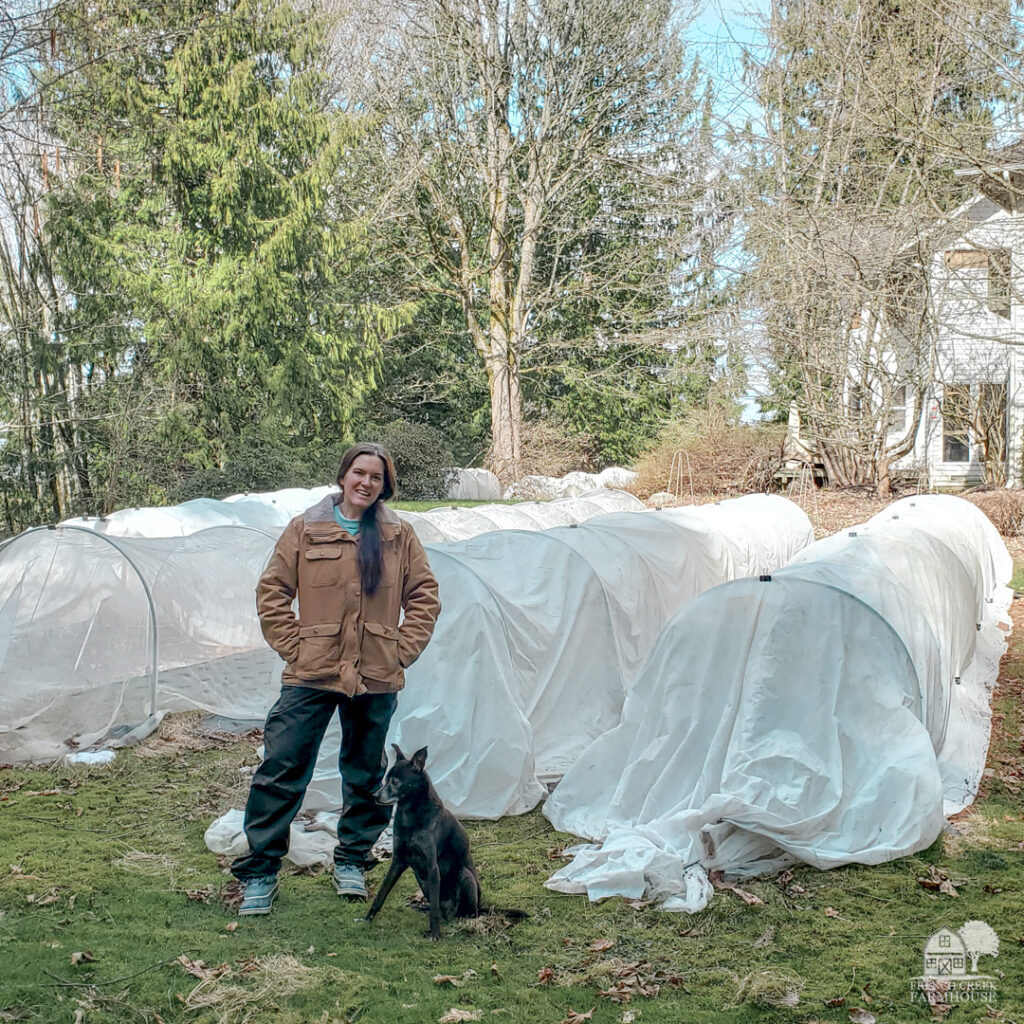
4. Rain Pants
You don’t need to be miserable and cold while working in wet weather. These pants will keep you dry and comfortable year-round.
What we love
Where we live in the PNW, it’s rainy and damp for a good part of the year. This can make getting outdoor work accomplished a lot less enjoyable.
These rain paints will change your gardening/farming life!
Even during the summer months, these pants are useful. You can put them on over shorts to keep dry when, like me you’re out harvesting in the early morning hours.
Walking through our dahlias first thing in the morning, you would swear it had just rained. The plants collect all the moisture on their leaves overnight, and you end up drenched when you brush up against them!
One thing I will note is that sizing for rain pants is different than sizing for normal pants.
First thing, rain pants are meant to be worn over another layer of clothing. So you need to consider what you’ll be wearing underneath. Jeans, for example, add a lot of thickness versus leggings.
But also, you don’t want your rain pants to fit snugly. There is no “give” in this type of fabric, and you need to be able to kneel down, squat, and stretch. You also don’t want to tear the seams. So the pants are going to be fairly baggy.
Working on our farm is not a fashion show, so this doesn’t bother me one bit.
I do think I look a little like a kid wearing hand-me-downs, but they do their job SO well that I could care less.
Now, dealing with ordering the right size can be tricky. For example, I’m 5’3″ and typically wear a size 6 (depending on manufacturer). I find that I usually fall in between a Small and Medium with sizing, and that can make ordering online difficult.
However, you can use the “try before you buy” feature with these pants to solve that issue. You can order up to 6 items, then return (for free!) what doesn’t fit within the 7-day try-on window, and you’re only charged for what you decide to keep.
These pants also come in both “regular” and “short” lengths…SO AMAZING for us shorties! Sizing ranges from X-Small to 3X, so there is something to fit any and every body.
I can’t begin to tell you how much happier it is to get chores done when you’re not damp and cold. These pants are such a blessing, and I wouldn’t want to work without them.
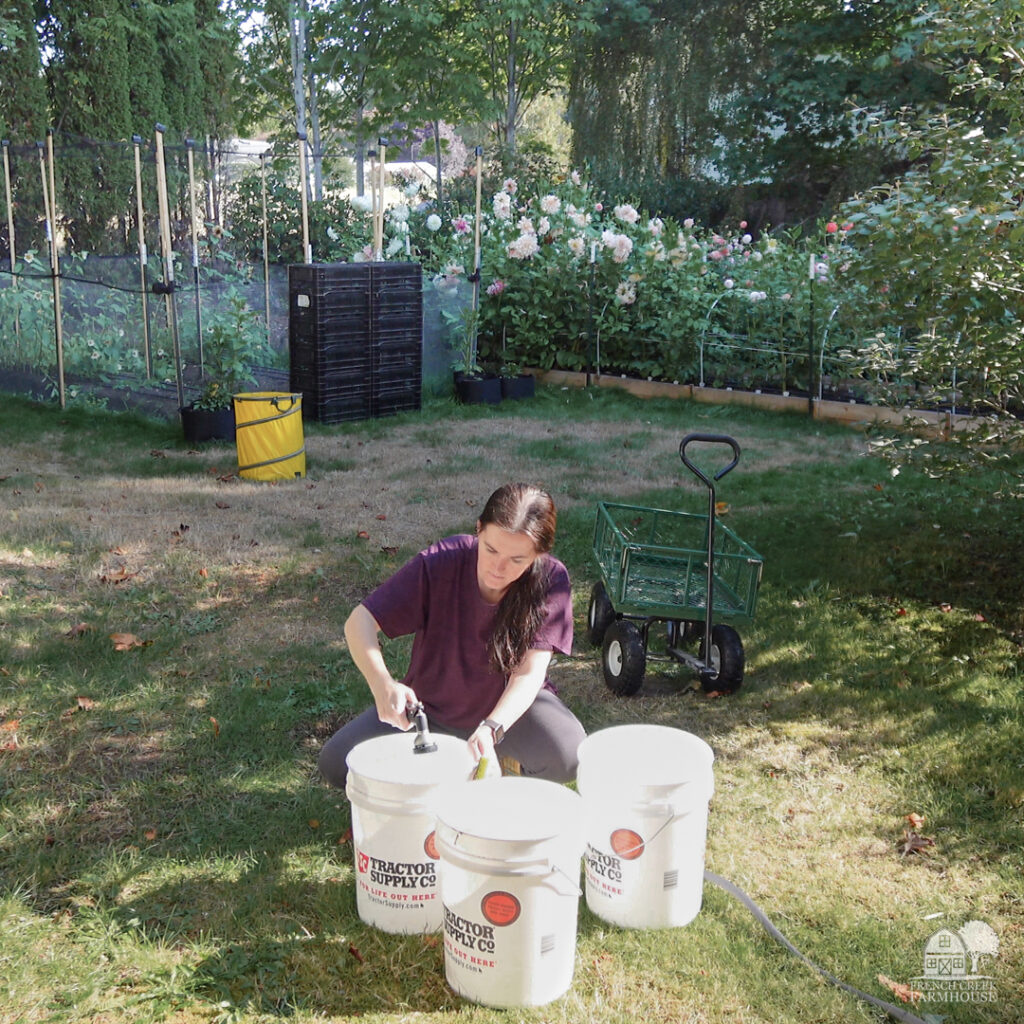
5. Five-Gallon Buckets
You’d be surprised how many ways a simple 5-gallon bucket becomes a workhorse on a farm!
What we love
Before we started our farm, no one could have prepared me for how many buckets we would need to keep up with operations. I’ve jokingly said that washing buckets is 50% of what we do around here…and I’m only partly joking!
Originally, we invested in some quite pricey florist buckets (aka cooler buckets) that we thought we could use for both harvesting, as well as holding wrapped bouquets. Over time, we found that they broke easily, and weren’t as easy to handle once they had the weight of water and stems.
I’m talking about the basic black buckets that you see holding bouquets in any flower shop. And they’re great for that purpose–but not in the field. They simply don’t hold up to that kind of use. They also don’t support long, tall stems during harvesting and transporting from the field to your cooler or workspace.
We also have the square Procona buckets, and we do use them quite a lot for delivering bouquets and even harvesting some of our veggies, but they aren’t ideal for harvesting flowers.
We’ve found that five-gallon buckets are the best for our farm because they’re incredibly sturdy, able to hold a lot of weight, and have a multitude of uses. Whether you’re weeding, making compost tea, or harvesting, they are so efficient. Additionally, the tall sides help to support flower stems (especially our dahlias) better than anything else. They’re also very easy to clean, and because we buy the white buckets, you can actually see that you’re not missing any dirt or debris (versus black buckets that hide the ick).
Oh, and did I mention that when you flip them over, they make an instant seat to take a water break when you’re out in the field? So much versatility!
Now, I will say that you can save a little bit of money by purchasing the Tractor Supply brand of buckets. We have tons of those, as well. But they do have the TSC logo on the side.
With the plain white buckets, although they are about $1 more, you can add your own vinyl stickers with your branding and logo for a custom look. This is great for delivering to CSA members or wholesale customers because it adds some professionalism.

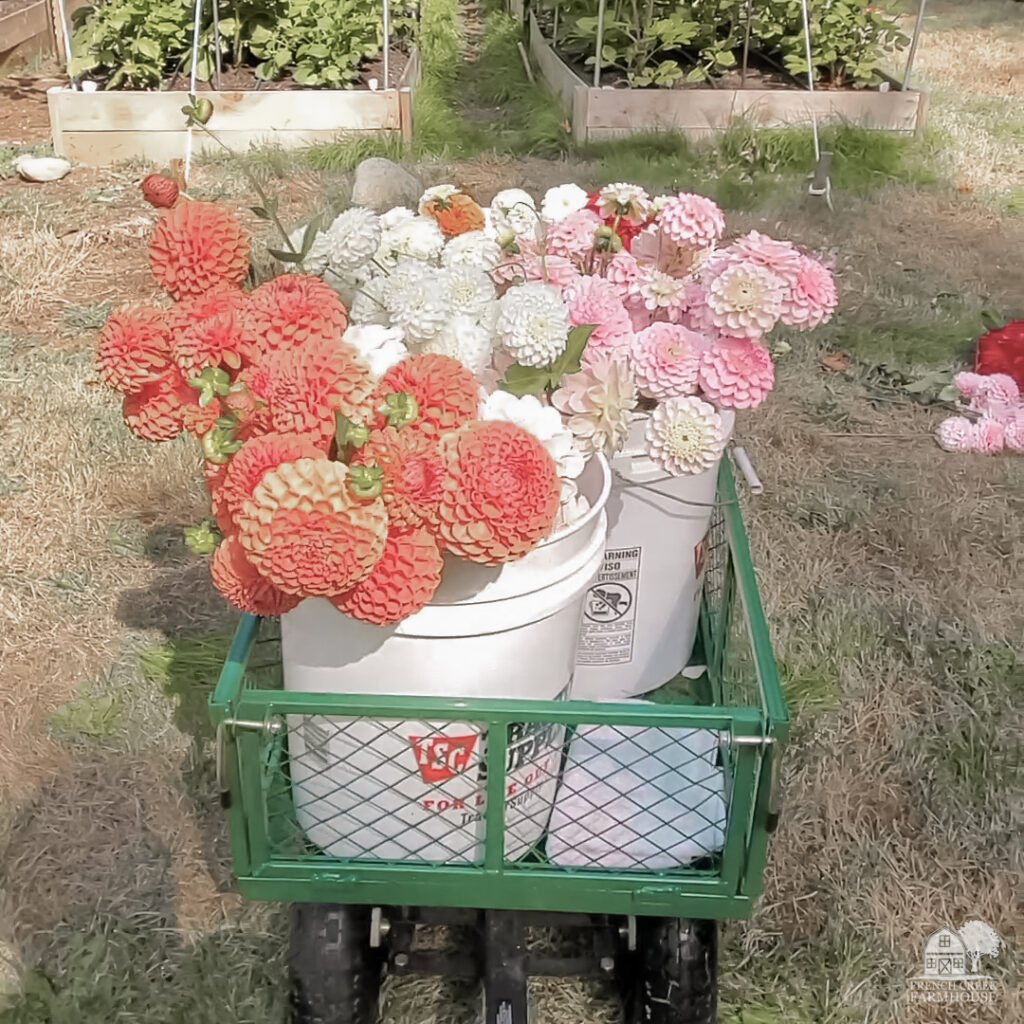
6. Gorilla Cart
Available in several sizes and styles, these carts receive daily use on our farm.
What we love
We purchased our first Gorilla Cart in 2019. My sister and I put it together on our living room floor in less than 30 minutes. We are still using that cart daily on our farm after almost five years of heavy use! It works as well as the day we bought it, and we’ve not had a single issue in that time. I can say with confidence that this is a quality, well-made brand that will hold up.
Since then, we have purchased the larger cart for times when we need to haul a bigger load. Both carts are useful, and I wouldn’t want to be forced to choose one over the other.
Our small cart is a good size for me when I’m harvesting flowers. It will hold three 5-gallon buckets, as well as my tools, gloves, water bottle, etc. This size, even when full of flowers, is easy to pull across the terrain.
Our large cart can do just as much, and more. Since it’s bigger, you can obviously haul more…but that means it will be heavier, and take more effort to pull. This is not an issue at all for Rob, but I’m not as tall or strong as he is. I can still pull it, but it’s just a little more work.
That might not seem like a big deal…until you’re work in the heat of summer and exhausted. Then it feels like it matters!
So, I tend to use the small cart when I’m harvesting. I fill three buckets, take them in for conditioning, and start another three buckets. That’s easier for me than trying to handle six buckets in the large cart.
But, on the flipside, our small cart can’t haul really heavy loads. We need the large cart for those times. It wouldn’t be efficient to pull just two or three bags of compost at a time; we need to be able to move stuff more quickly, and the large cart helps make that happen.
As you can see, both carts have their uses on our farm. And, most importantly, they’re vital tools for helping us get work done.
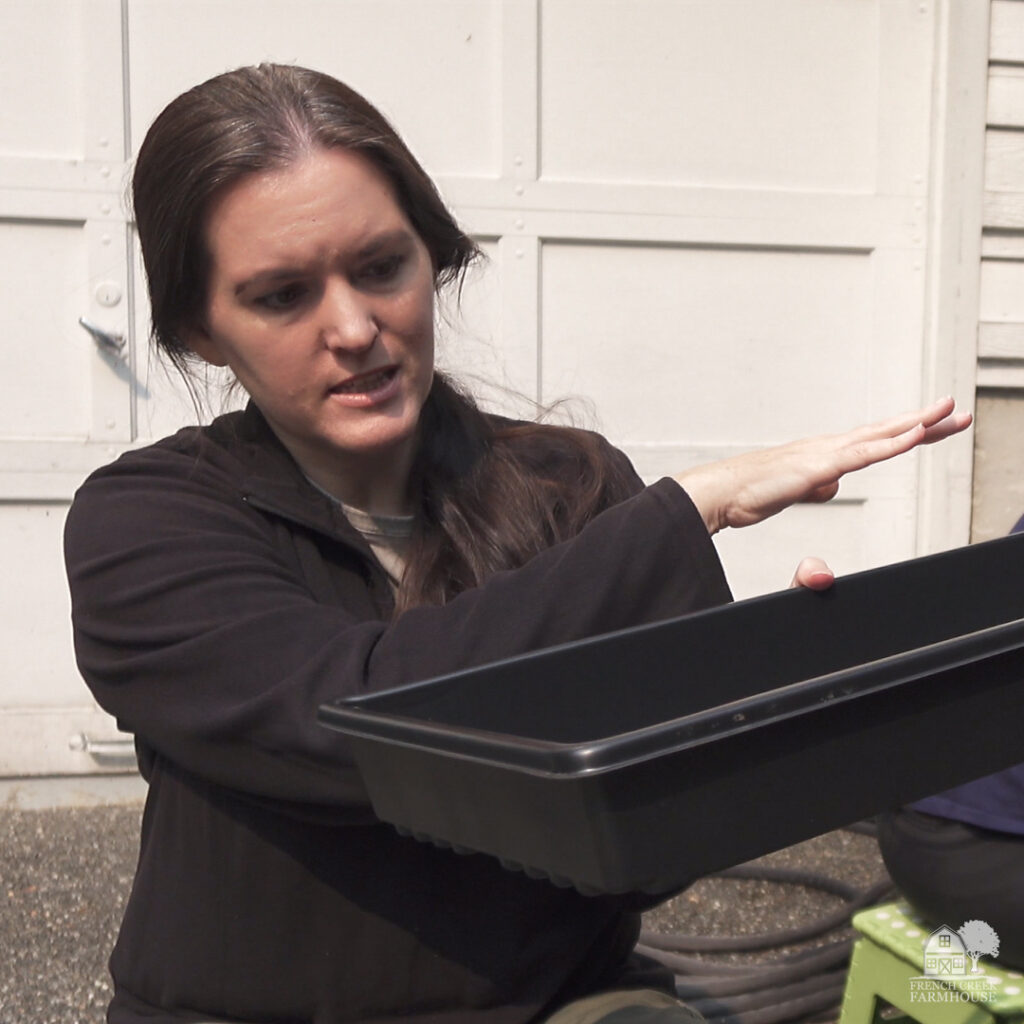
7. Heavy Duty 1020 Trays
Extra-thick, super strong trays to support your seedlings that stand up to everything we’ve thrown at them!
What we love
I have been singing the praises of these trays…loudly…for over a year. I first shared them with you in this episode about how we start our seeds in soil blocks:
To say that we’re fans of these trays would be a huge understatement. In fact, we just received another big shipment of them to the farm this week because we’re working to eliminate all of our old (flimsy) trays and replace them with these.
Are they an investment in comparison to standard trays? Yes. You will have to put some cash into these upfront. However, in the long run, I believe they’re much cheaper because these things are going to last, and last, and last.
Standard plastic trays are good for about a season. Maybe two if you’re especially gentle and/or lucky. Which means you’re going to need to purchase them over and over again as they break.
Since we first purchased these trays over a year ago, we have not had a single one break or become damaged. NOT….ONE!
This means that we’re reducing the plastic waste on our farm, and that’s something we’re really committed to doing. When we decided to switch entirely to soil blocking, this was a big part of the reason for that transition. Last year, I wrote about this (HERE) and explained about the impact that agriculture is having on soil health due to global plastic production.
Where plastic is needed on our farm, we’ve made the decision to invest in the highest quality products we can. It’s part of our commitment to land stewardship, and it’s something every farmer and gardener should be aware of.
These trays meet and exceed that threshold for quality.
But beyond that, you’re going to LOVE the fact that you can pick them up–fully loaded with seedlings–and carry them with one hand without every worrying that they’ll snap in half. If you’ve ever experienced this, you know what I’m talking about. You might have nurtured those seedlings for weeks–or months!–and then you just watch them laying smooshed in a pile on the ground because your tray buckled or broke.
It’s devastating.
You won’t have that issue with these trays. And cleaning them is also so easy.
We start by pressure washing them. Yes…with a pressure washer, just like how we clean our driveway each year. This gets all the gunk out super fast without hours of scrubbing. And since these trays are so sturdy, they aren’t phased one bit by this kind of treatment.
After that, just give them a quick wash to disinfect. We like to use a large plastic storage bin as a wash tub for this, and it’s an affordable way to keep your trays clean and ready for use.
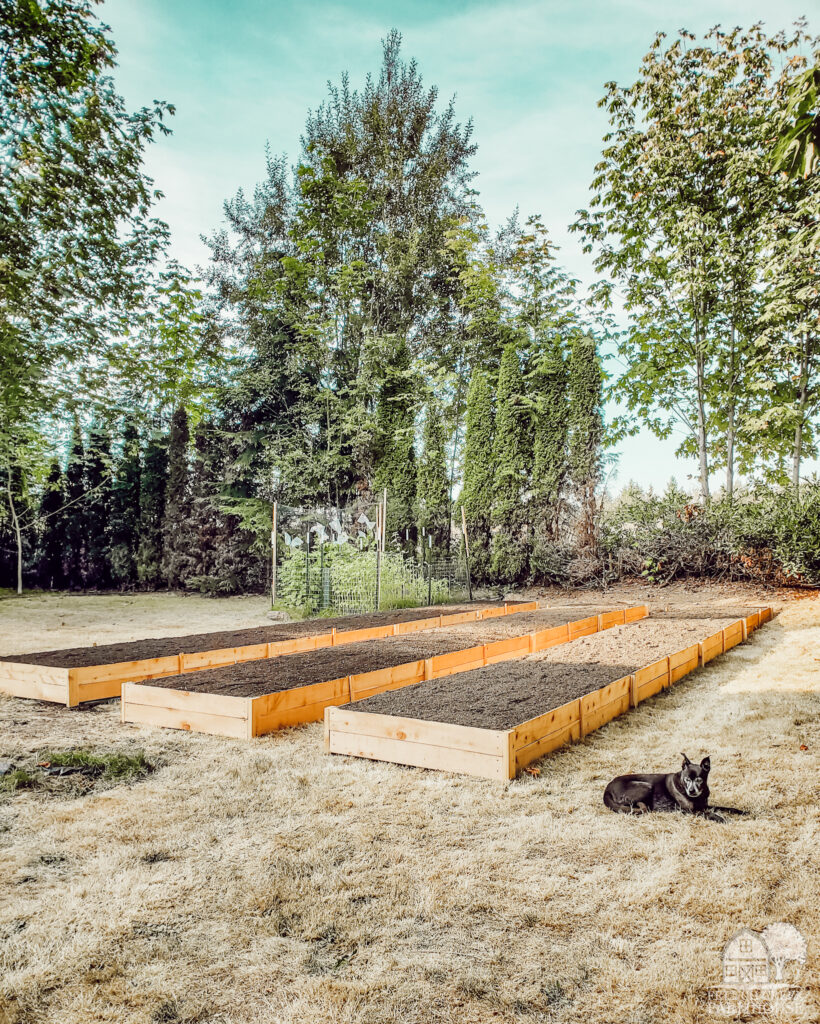
8. Raised Beds
Raised beds make gardening easier on the body and more enjoyable. Once built, they can last for years!
What we love
In 2022, we made the decision to experiment with raised beds on our farm. Growing our dahlias directly in the ground was taking a toll on our bodies, and we felt that scaling our production was going to be difficult with the way things were going.
Now, when I say “experiment”, that’s truly what I mean. Even before building the raised beds, we had a list of pros and cons about using them to grow our dahlias.
One big advantage for us was that the beds were filled with a high quality soil mix (premium 3-way topsoil, compost, and sand). Our land is really rocky and full of tree roots, and that makes growing dahlias especially challenging. Those tuber clumps need space to bulk up, and roots and rocks impede their growth.
We also have significant pest pressure from voles (aka field mice). They love to snack on dahlia tubers. Raised beds will not prevent that completely because they can still climb up and inside the beds, even if you add hardware cloth to line the bottom, but it does offer an extra layer of protection to deter them.
And another advantage to the raised beds is simply not having to spend so much time on our knees. Instead, we use these garden stools to sit beside the beds and do our work. This saves a lot of wear and tear on our bodies.
To be fair, however, there are some drawbacks to raised beds.
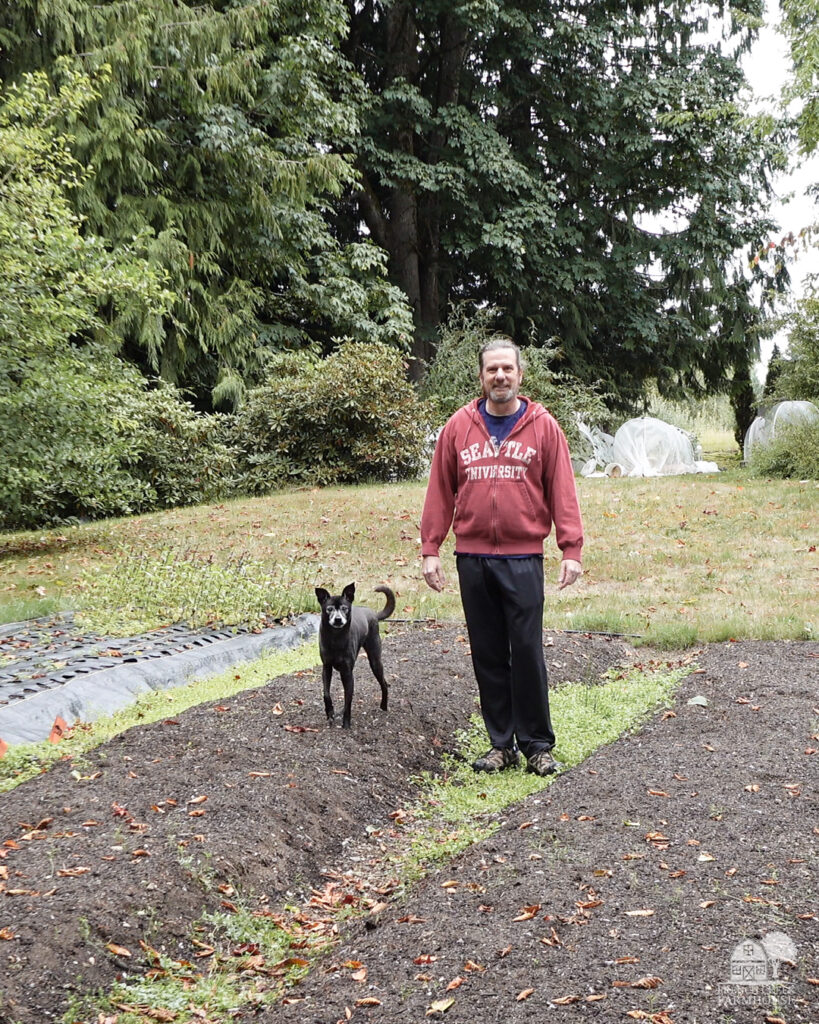
One disadvantage to raised beds is that you can’t just till them with a tractor or walk-behind tiller. The work you do on soil health has to be manual. For example, we amend our beds with compost and organic fertilizer before planting, but that has to be done by hand in our raised beds–and it’s back breaking.
In this episode, we showed the entire process, including a time-lapse of our work to prep some of our raised beds last spring:
Most people think it’s difficult and expensive to build raised beds, and that deters them.
But building raised beds is not a difficult endeavor. These raised bed connectors make it super easy. You can use any 2″ lumber (cedar will last the longest), and just use the connectors to fit the boards into the size and shape of beds you desire.
In terms of cost, yes, raised beds are an investment. But if you prioritize quality, your investment will last longer and eventually save you money and/or time. If building your raised beds out of cedar isn’t feasible for you, a significant savings can be had with fir. The beds won’t last as long, but if you’re trying to grow for profit, you can reinvest those monies into improving your infrastructure over time instead of all at once.
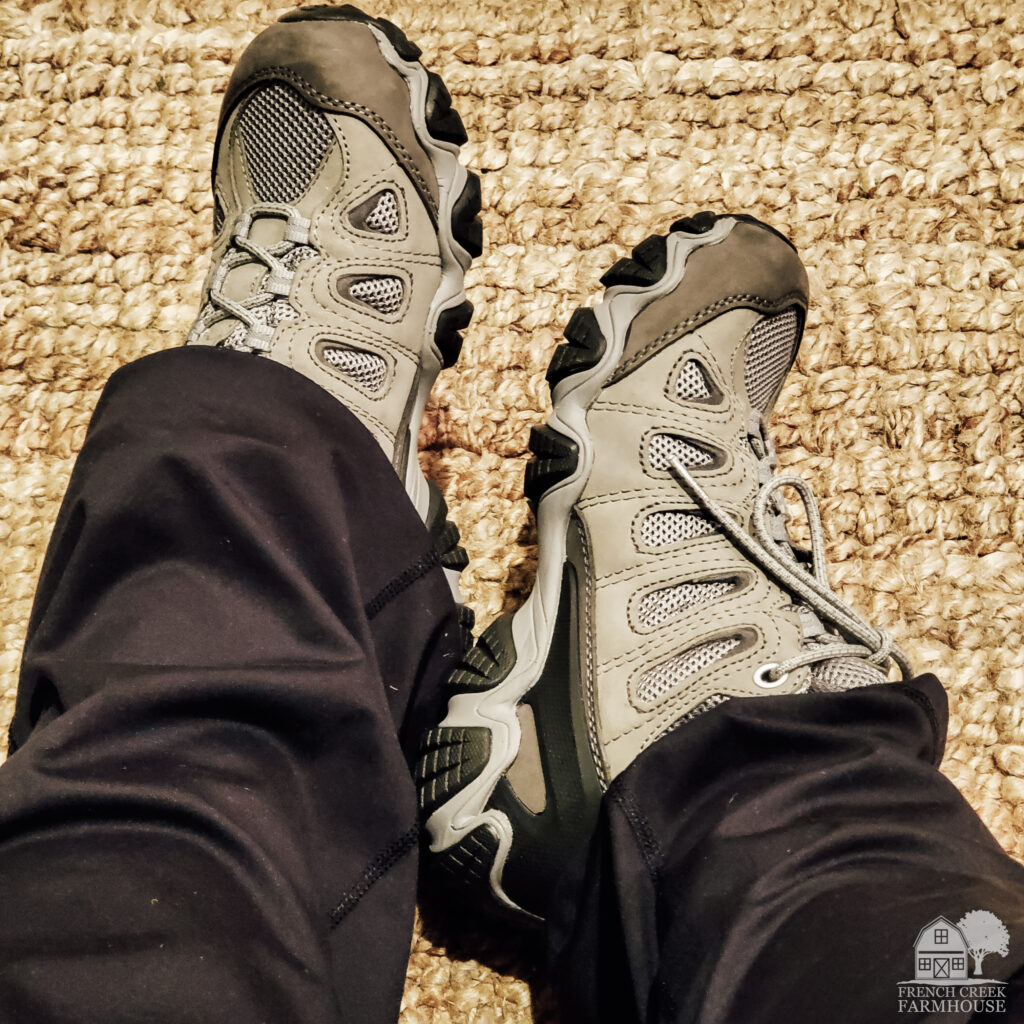
9. Good Shoes
As simple as it sounds, it’s the thing many people overlook. Taking care of your feet will make the work infinitely easier!
What we love
Good shoes are such a simple thing to overlook when you’re thinking about farm equipment, but they make such a huge difference. If your feet are aching, it makes it that much more difficult to get anything done.
This is not a place to try to save money because you will only pay for it with pain and fatigue instead. Invest in the best fitting and highest quality shoe that you can each season. Your body will thank you for it.
For me, that shoe happens to be Oboz Sawtooth II Low Waterproof hiker.
Let me start by saying that I had worn pair after pair of Merrell hikers for around 15 years. But something changed in the design around 2019, and they no longer fit me the way I liked. That’s when an employee at REI introduced me to Oboz.
Oboz stands for “Outside Bozeman”, and the company’s headquarters is in Montana. Every pair of shoes made is hand-built, meaning that every step of the creation process is crafted by people, not machines–a total of 140 specialists working on each pair of shoes.
And for every pair of Oboz sold, the company plants a tree. They have a strong commitment to environmental responsibility and carbon reduction.
Oboz remind me of how Merrell’s used to feel. They’re sturdy and substantial, but also lightweight and flexible. I feel like these shoes fully support and hug my foot in all the right places so that I never experience slipping or friction.
I also love that they’re waterproof, because again, it rains a lot here in the PNW. We work in wet conditions for the majority of the year, in fact.
The Sawtooth II also comes in a mid-height if you want some ankle protection, or a little more help to keep out snow/dirt.
And I do have to say, I’m not gentle on my shoes. These are WORK shoes, and they need to live up to the job. Mud, rocks, snow, you name it–my shoes experience it.
I’ve been impressed with the performance and durability of Oboz, and that’s made me a repeat customer.
Even if your shoes don’t “look” like they need to be replaced, it’s worth investing in a new pair of insoles at least once each season. The body of the shoe might be okay, but the insoles are taking on most of the work, and you need them to give you support. Just consider them a tool of the trade.
They even have thermal insoles that are great to use in the winter to keep your feet a bit warmer. You can swap them out when the weather turns cold, and you’ll notice a difference for sure!
Plus, their insoles are designed to be “cut to size” so that you can put them into any shoe you own (even other brands!) to get a better fit and more support, just like you’ll get from Oboz’s entire line.

10. Notion: Productivity and Organization App
Staying on top of farm chores is made infinitely easier with this do-it-all app!
What we love
One of the challenges we’ve experienced as a growing farm is finding ways to keep track of and communicate with each other about tasks. Not having clear visibility into what work needs to be accomplished, by when, and by whom can create confusion and frustration (at best) or lead to crop failures (at worst).
Now, we handle all of that in one app.
For example, if there’s soil blocking to do, there’s a task for it. That task is (almost always) assigned to Rob and includes details about what size of block, what depth of dibble, how many trays are needed, and when do they need to be done for me to start seeding them.
The tasks can include reminders, so even if someone forgets to check the task calendar in the app, they’ll get a notification before the due date. And team member tagging means that you can tag someone so that they know you’ve added a new task for them, right when you create it.
Everything is automated, and everyone is on the same page. It makes our life and work SO much easier.
Since I hold more of the “farm manager” role for us, I add in tasks quarterly so we have visibility to what’s on the horizon. Then, if incidental or unplanned tasks need to be added, I can do that on-the-go…even while I’m standing in the field.
For example, if I see a problem with our irrigation system while I’m out harvesting, I can create a task immediately and assign it to myself or Rob, or even tag both of us, so that we’re on the same page about what’s happening in every part of our farm. Whoever goes to work on the task can then mark it “in progress” or “complete”, as needed. Nothing gets missed, overlooked, or forgotten!
You can familiarize yourself with the app by creating a free account, however, you’ll need to be on a paid plan to utilize the app with other team members. It is quite affordable, though, and worth every penny for the organizational power it holds!
Sowing the Seeds of Profitability: Making Investments That Pay Dividends
When you’re starting a farm, every investment you make feels big. At least, that’s how it has felt for us.
Particularly when you’re bootstrapping, as we are, an abundance of thought goes into every decision. If we spend our resources in the wrong places, it prevents us from spending it where it’s more needed.
Sometimes, especially when you’re just starting out, it can be hard to know what’s going to be a “good” investment. Things we prioritize are:
- Products or services that create efficiencies and free up our time
- Things that make our work physically easier on our bodies
- Purchases that directly relate to our business plan
It can be reeeally easy to get carried away with purchases that amount to sending your money down a rabbit hole. I think this is especially true for flower farmers. Every flower is beautiful, but trying to grow them all (especially in the beginning) is a recipe for disaster and a quick way to lose a lot of money.
So, despite all of the time I spend dog-earring pages of seed catalogs, I cannot let myself overdo it. (And you wouldn’t believe how many catalogs you’ll start receiving once companies get wind of the fact that you’re a grower!)
That money is better spent on enhancing our irrigation system, or putting new insoles in our shoes. Trust me!
All of the items on this list might not apply to your particular growing situation or goals, but I hope you’ve discovered something valuable from our experiences over the past three years that can help make your upcoming season the best yet.
Grow on, friends!
Ready to dig in and grow something beautiful?
Get my Free Garden journal
Let’s be gardening buddies! Sign up to join our community, and get your free printable PDF Garden Journal. This is so good!

This detailed guide on farm investments is a must-read for anyone starting their own farm. Practical insights and real-life experiences make it invaluable!
So thrilled to hear that this was helpful for you! We love to share the things we wish we’d known when we first started–if someone else can benefit from our learning curve, all the better!