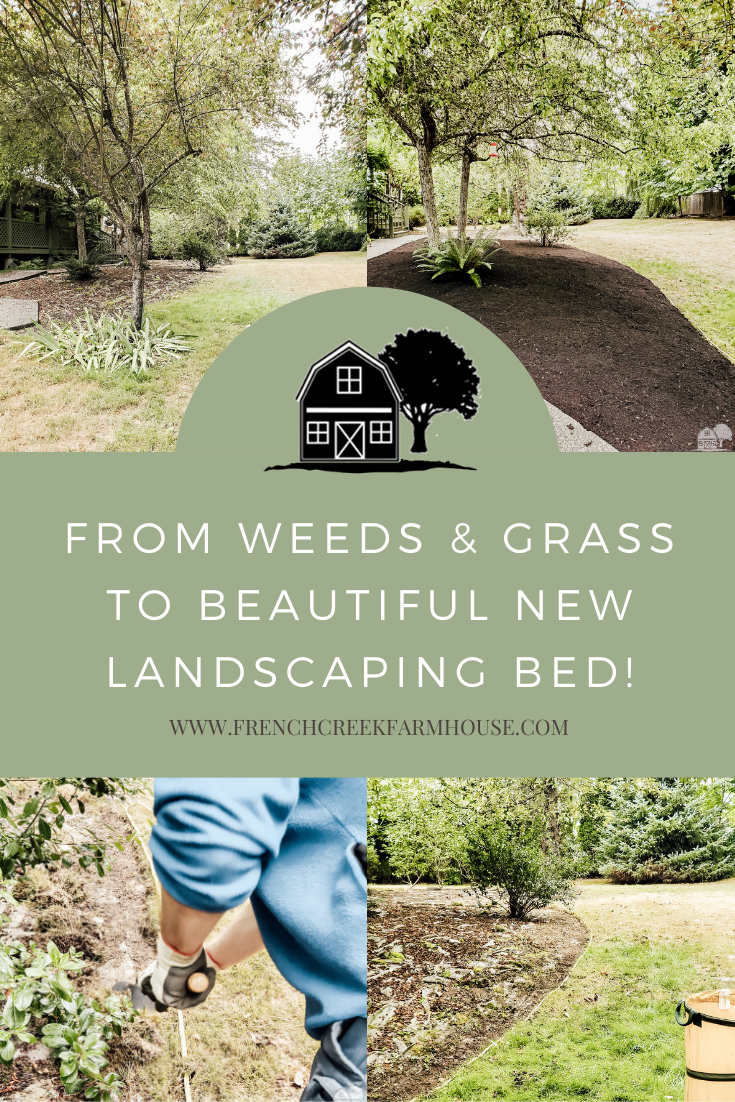
How We Created a New Landscaping Bed
When you take on a fixer-upper home, the interior is usually the first priority. But once things get settled, it’s time to tackle the outdoors and add some curb appeal! Let’s chat about how to create a new landscaping bed where there was grass…or nothing!…before.
Until last year, pretty much all of our energy and budget went into renovation projects for the house itself. We mowed the lawn, managed weeds, and maintained the health of existing plants, but we made no significant changes or improvements to our landscaping.
{ Related Article: First Garden Tour of the Year! }
Although we still have many, many indoor projects we want to complete, we’ve started to re-balance our priorities a bit. Like many folks, I think the pandemic made us stop to re-evaluate what we wanted. Also, just weeks before the pandemic, I graduated from grad school after six looooooong years of working on my PhD.
All of the sudden, we had the opportunity to actually stop and think about how we wanted to spend our time. I was no longer tied to my research and studies. We were both home full time. It made us much more aware of our options.
Of course, getting sick put a crimp in our plans. But as we’ve gotten into a groove of managing my health needs, it brought us back to that same place of figuring out where we wanted to go next.
{ Related Article: Our Two-Year Pandemic Anniversary }
The outdoors just felt good to us, so we looked at the list of projects we’d been building for years, and decided that a good place to start would be creating new landscaping beds.


Disclosure: This is not a sponsored post, and I have received no compensation for sharing anything that follows. Some links within this blog may be affiliate links, and I might earn a commission if you make a purchase through that link. This usually amounts to cents, not dollars, and helps to support the projects featured on this blog. I only recommend products from companies that I have found to be trustworthy. Read my full disclosure here.
Where We Started…
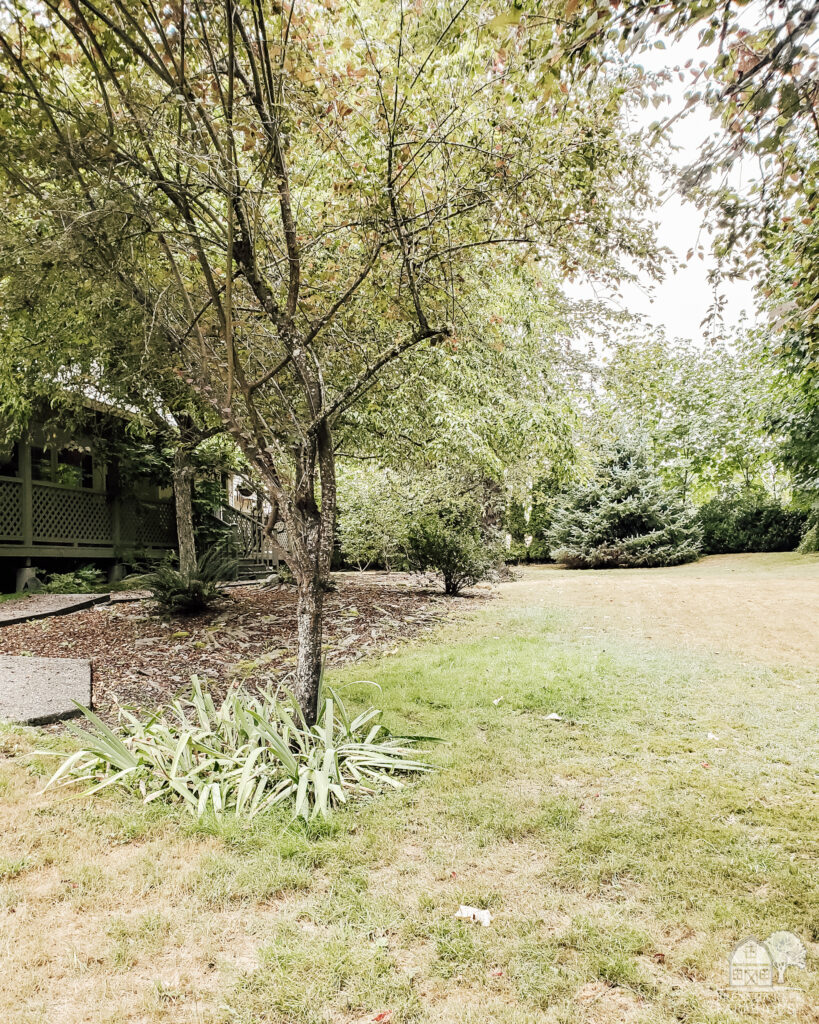
When we purchased our home, it was in sorry shape. You can get the full back story of that HERE. The weeds in front of the house were literally taller than me. There basically was no landscaping. Everything was overgrown and wild at that point.
We started by just cutting everything back to try to get a feel for the space. When we did that, we discovered remnants of past landscaping. There was even an irrigation system…albeit, one that had not been maintained at all. But all those clues gave us some ideas about how to restore our landscaping, and we used that to make plans for what we wanted to someday create.
While ripping out all of the weeds in front of the house, we also found old, tattered landscaping cloth that helped us know where the old beds had been. A quality weed barrier will last for decades, and thank goodness for that! It really helped us in sketching out our plans.
But, at that time, we didn’t do anything in that area. Grass had overgrown much of it, and it wasn’t hurting anything, so we just kept it mowed and added that area to our future to-do list.
What do I mean by “new” landscaping beds?
To us, the area we’re focusing on is a new landscaping bed. While we’ve been here, and for many years before, there has only been grass and weeds. However, between digging and discovering landscaping cloth, plus some photos we’d seen of the house, we knew there had been something here a long time ago.
The funny thing is that the realtor who created the listing for our house had used photos from at least 20 years ago…the landscaping beds were in those photos, but none of that existed when we bought the house. There is only one tree in the photos that remains, but nothing else.
It’s sad, but it also creates a blank slate for us to make it our own!
So, let’s get into the details of exactly how we created a new landscaping bed at the front of our home.
Defining the Boundaries of a New Landscaping Bed
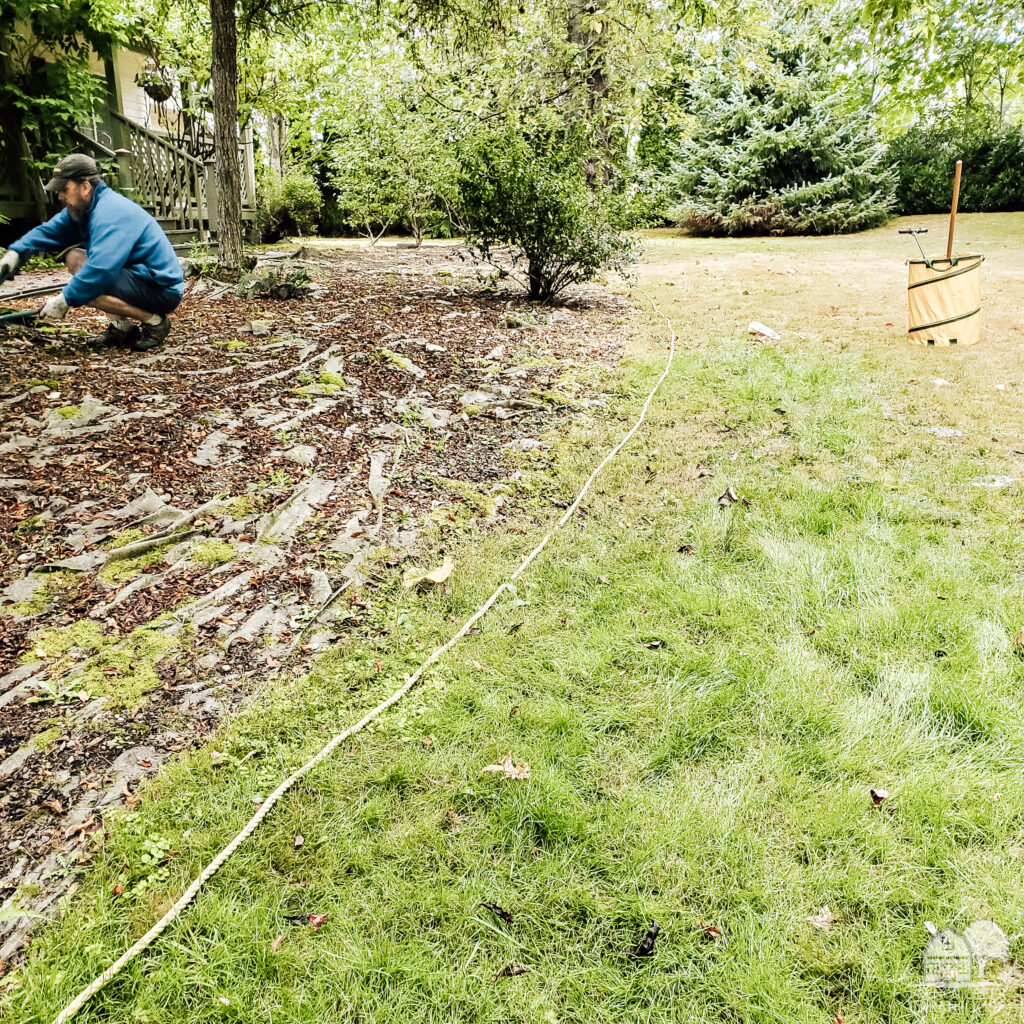
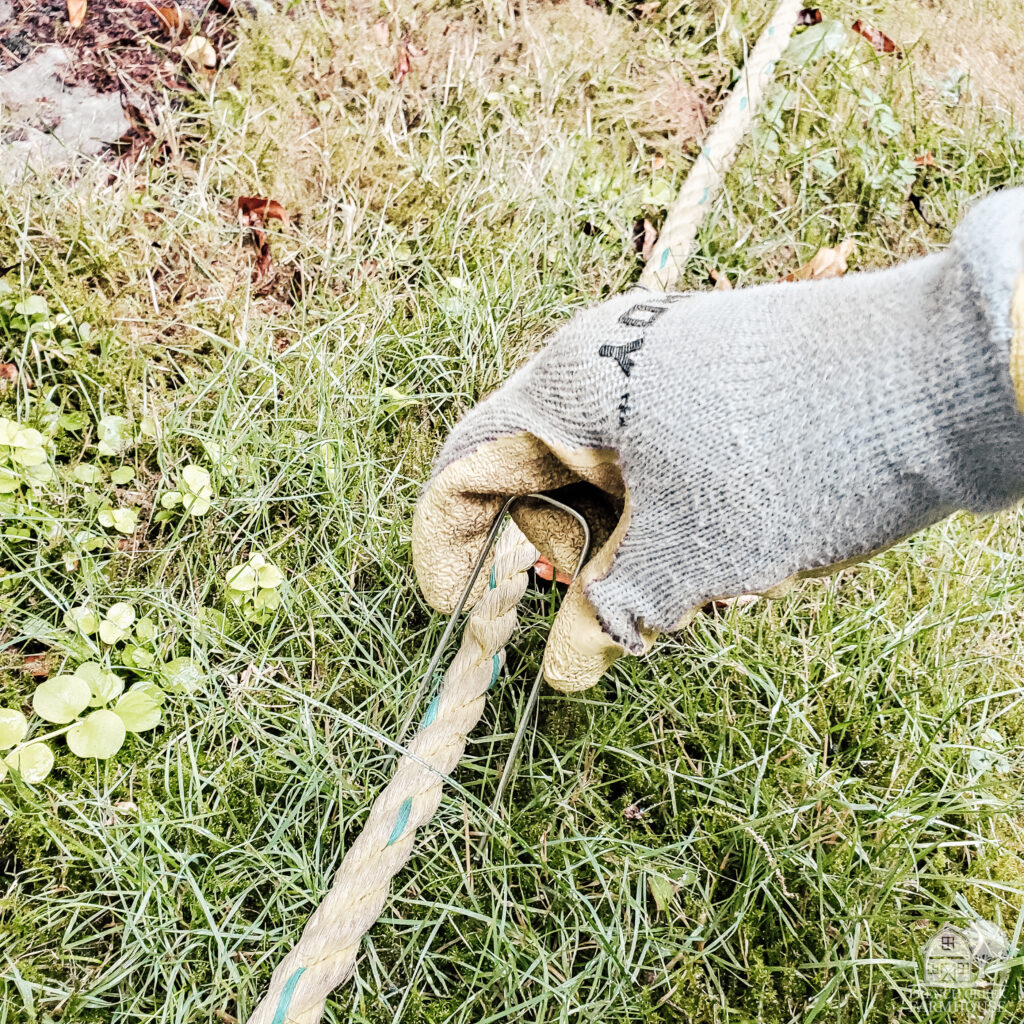
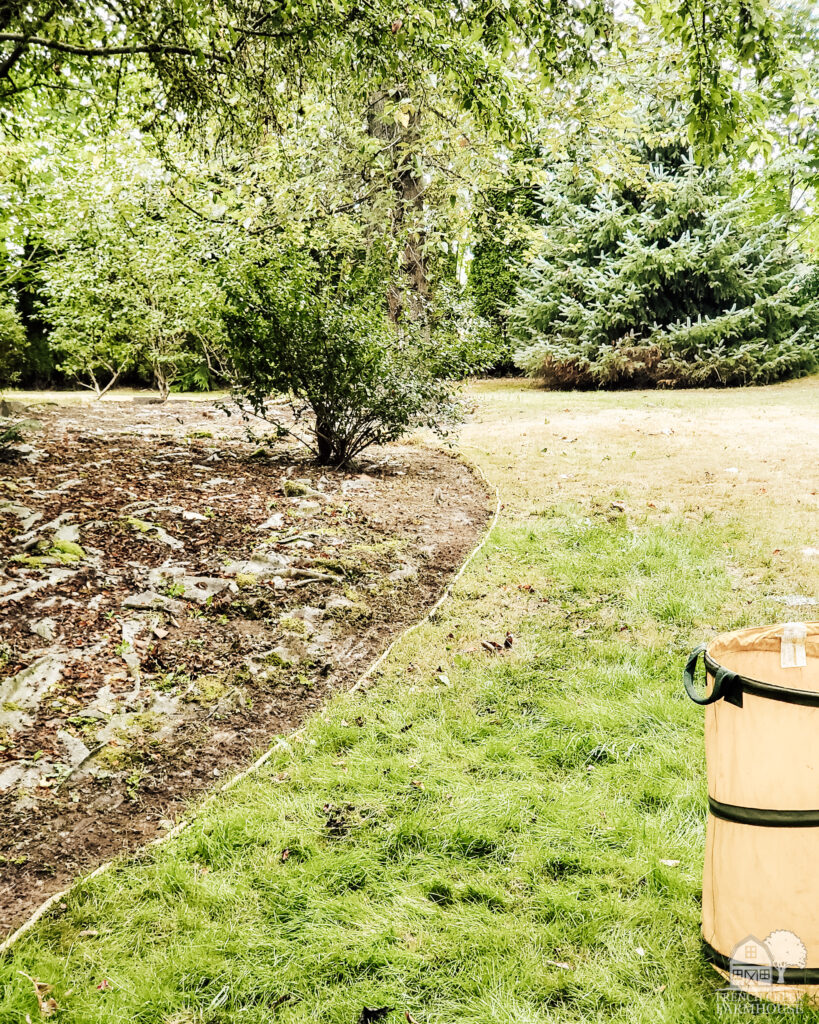
The first step was figuring out exactly where we wanted the edges of the bed to be. To do that, we used a long rope and landscaping pins. You’re effectively “stapling” the rope to the ground in the shape you want.
This method also makes it easy to adjust and make changes before you start cutting. Just pull a pin and reposition the rope…easy!
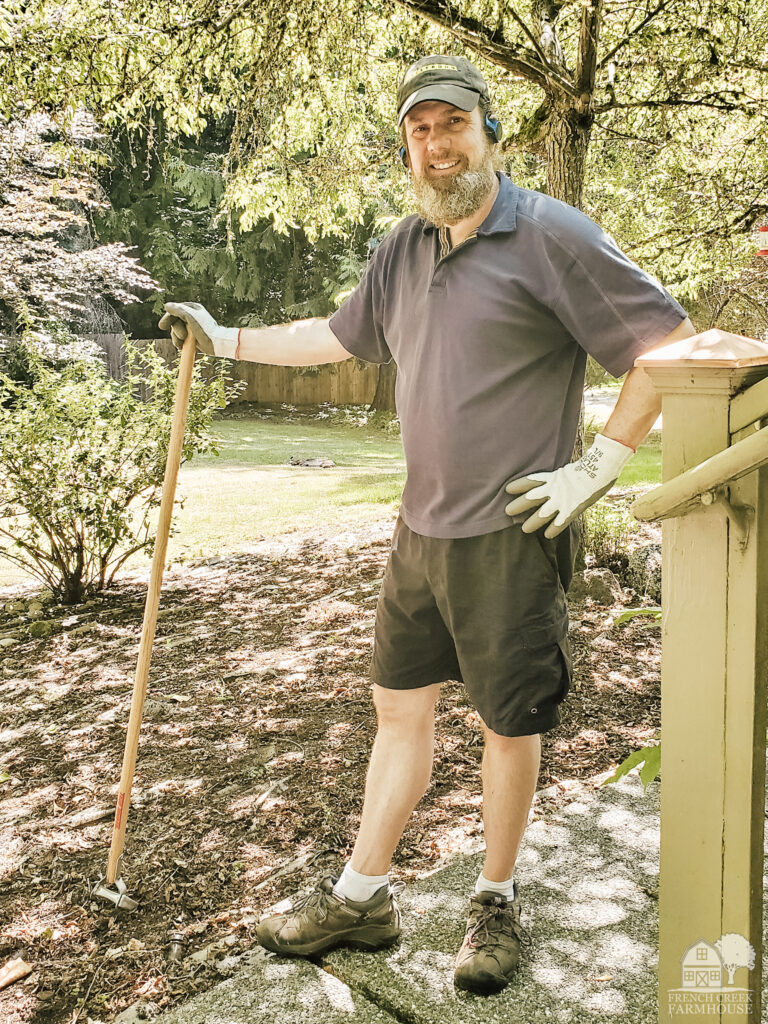
Then, I used our step edger to cut the sod along the line of the rope. This is probably one of my favorite garden tools to use!
It’s so easy to cut a sharp, well-defined line in the grass with a step edger. You can use it for maintenance edging along your driveway or sidewalk, or to cut new landscaping designs.
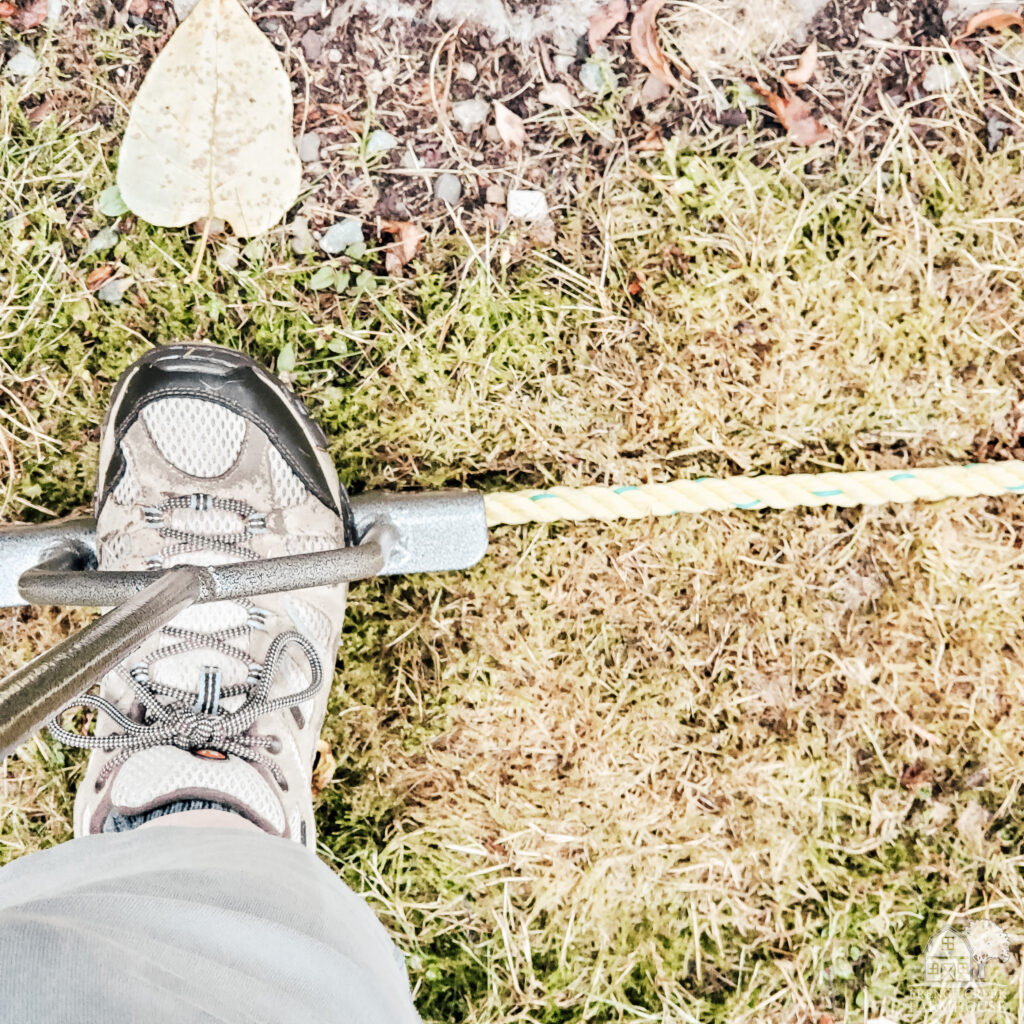
All you do is position the edger where you want it, then step down. There are sharp “teeth” that cut through the sod, and you can rock it side to side, if needed, in tough areas. It’s seriously so easy to use, and this is a must-have tool for every gardener!
Clearing the Garden Bed
Next, we started clearing the area.
Technically, we started the clearing process a bit earlier. Since we’d already had a general idea of where the beds would go, we had laid some tarps on the ground for a couple of weeks to sort of “cook” the vegetation over a significant part of the area we were going to work. Then, Rob used a weeding hoe to remove everything that was on top of the old landscaping cloth.
That definitely gave us a head start.
Also, because we did the project in the middle of the summer, and used the tarp to prep the area, everything was super dry and came up fairly easily. Even the areas where we were breaking new ground, and hadn’t prepped with the tarp, were pretty simple to dig out with a traditional hoe in the dryness of summer.
Along those fresh edges, we simply followed the line I had created with the edge, and the hoe easily lifted out the sod in a perfect line.
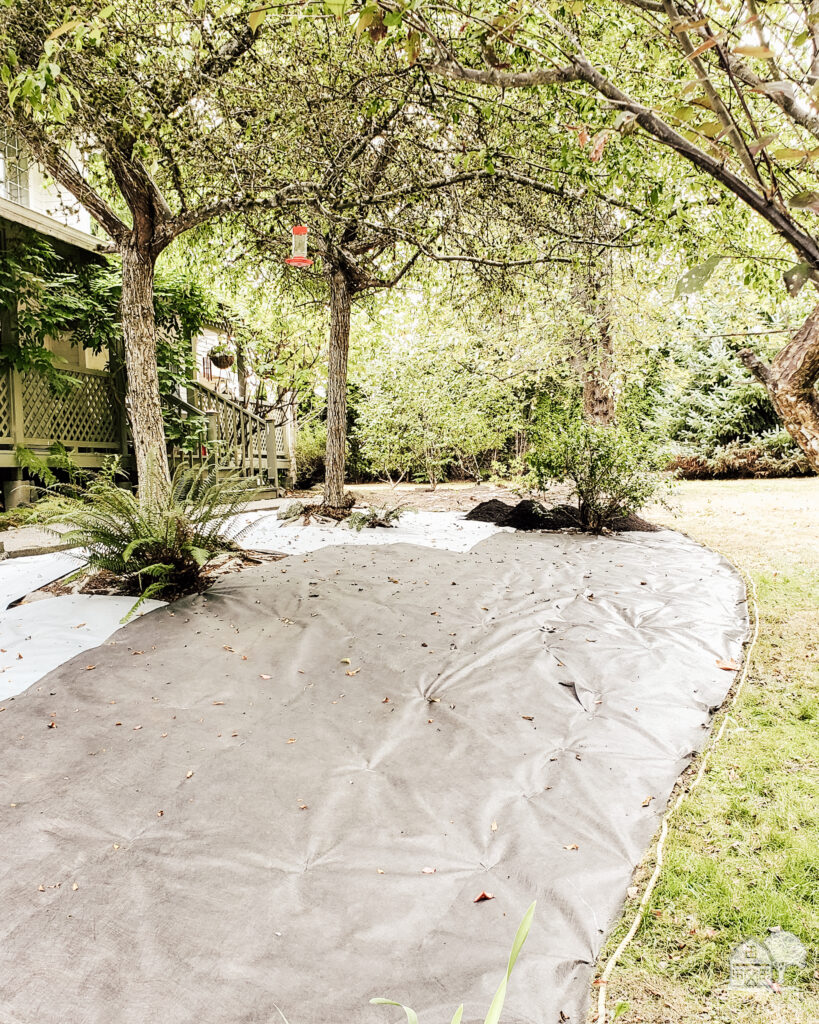
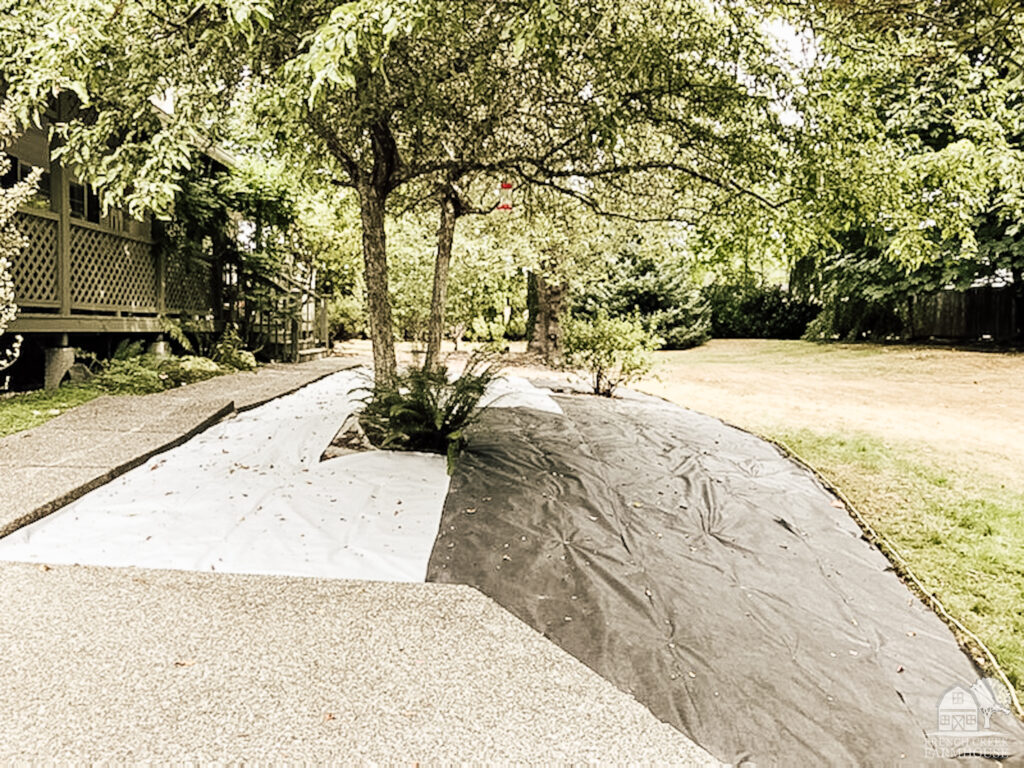
Laying Landscape Fabric
Adding weed barrier fabric was at the top of our list since we knew how bad this area could get. I always like this part because it’s like gift-wrapping the earth.
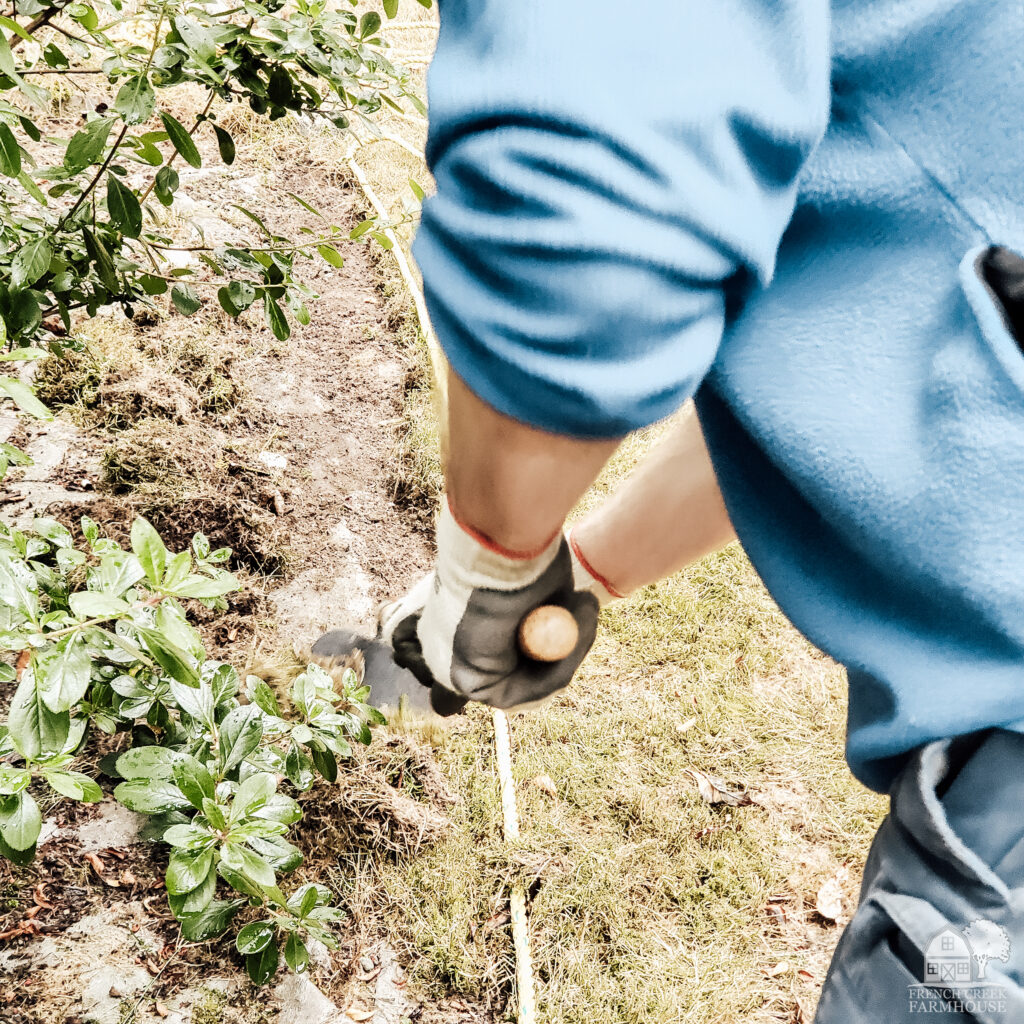
All you do is roll out the fabric, and use the landscaping pins to staple it in place. You need to make sure to overlap the fabric by a minimum of 8″ on each new row so that the weeds don’t grow between the gaps.
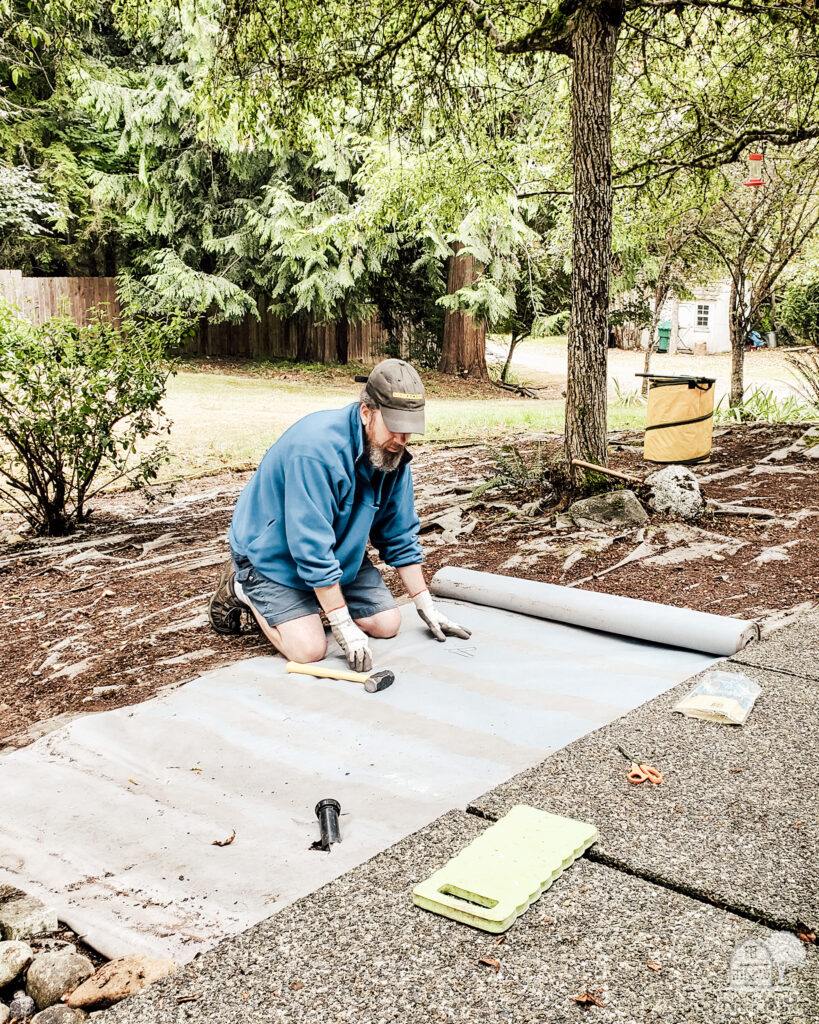
You’ll notice two different colors of fabric in our bed. That’s just because we had a leftover roll we wanted to finish, and it happened to be gray instead of black.
Why You Should…or Shouldn’t…Use Landscaping Fabric
There are pros and cons to using landscaping fabric. The obvious benefit is weed control, and that’s exactly what we were going for in this area.
However, if you are planning to heavily plant an area–especially with annuals–the landscaping fabric is only going to get in your way. You’ll have to cut a hole in it for each new plant, and that can be a hassle if you’re doing a lot of planting. In that case, you probably want to just remove the weeds and then use a thick layer of mulch to keep them at bay.
We decided to use landscaping fabric in this particular bed because of how we envision planting this area in the future. We think we’ll have some large ferns, maybe a few boxwoods or flowering shrubs, and some intentionally-placed decorative rocks. Perhaps also a fountain for the birds to enjoy.
At any rate, we’re thinking about larger, low-maintenance choices with more space between each, and we don’t want to constantly be concerned with weeding the area.
In our cut flower garden, however, we just went straight for the mulch to help manage weeds and have no landscaping cloth in that area. We simple need to plant and replant that area too often to make the cloth worthwhile in a cut flower bed.
But it’s great in this new landscaping bed!
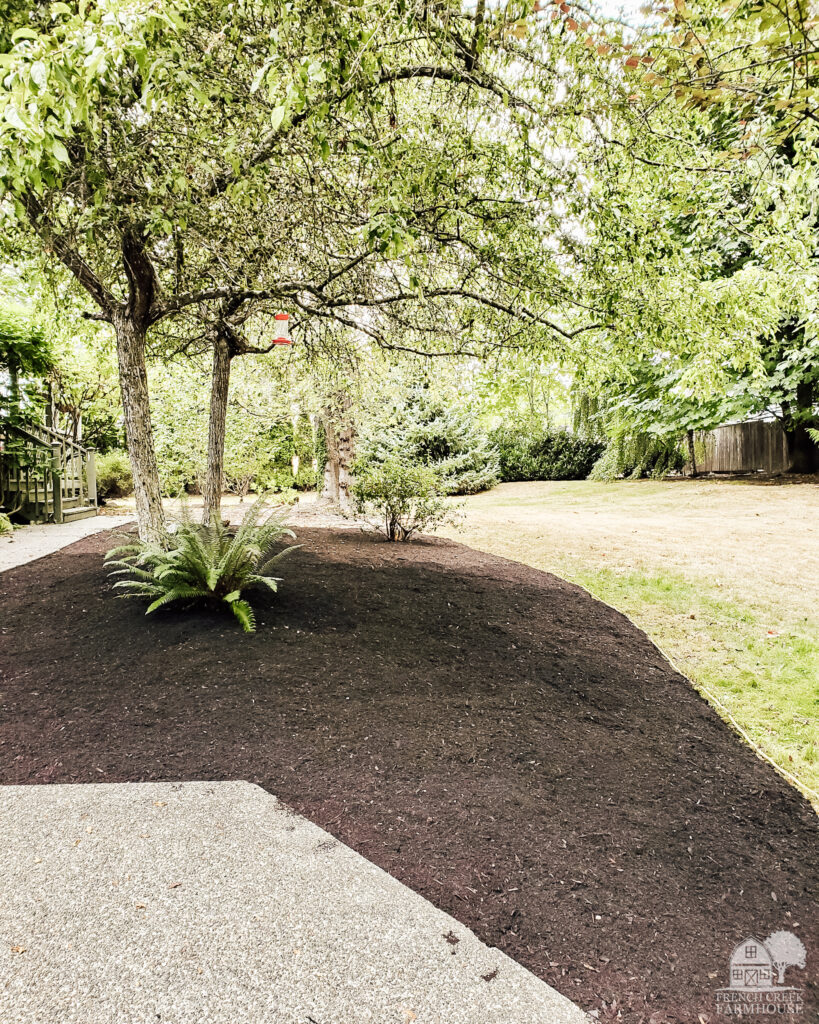
Adding Bark to a New Landscaping Bed
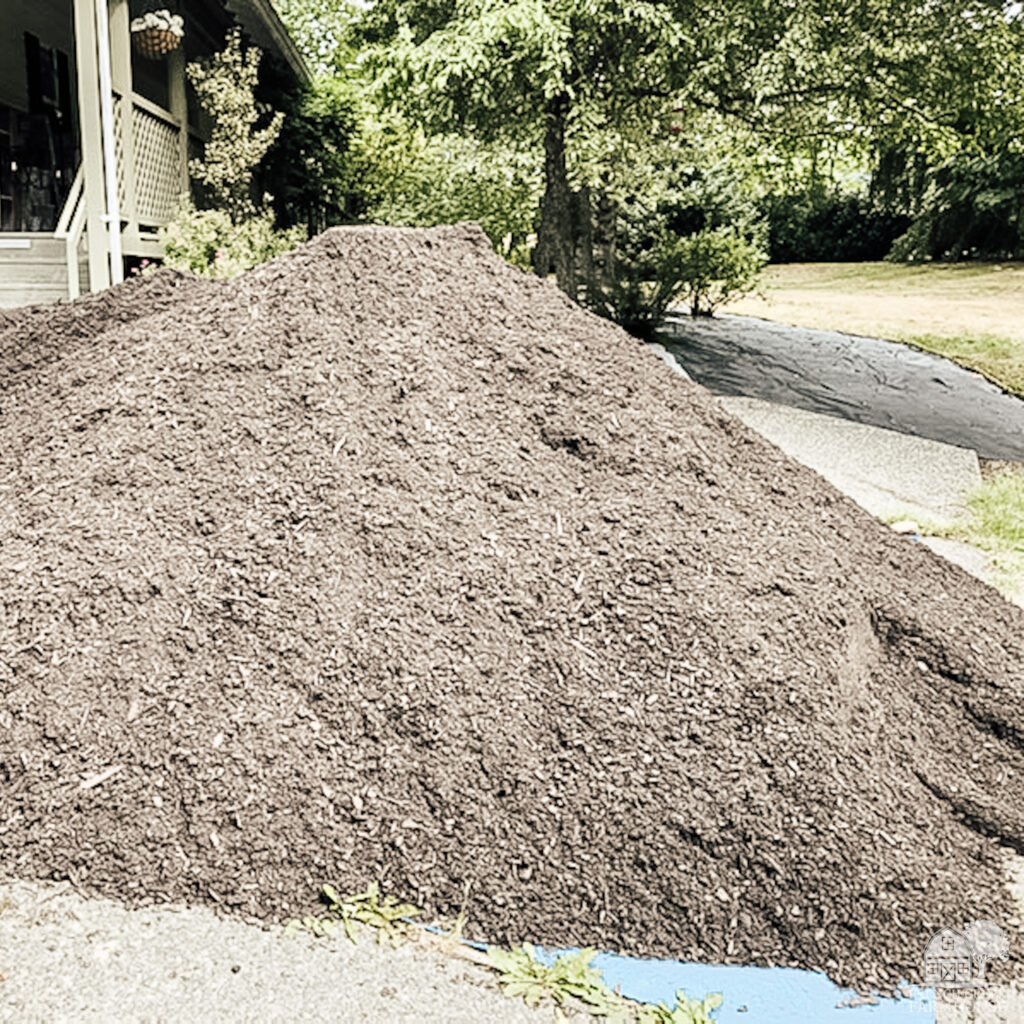
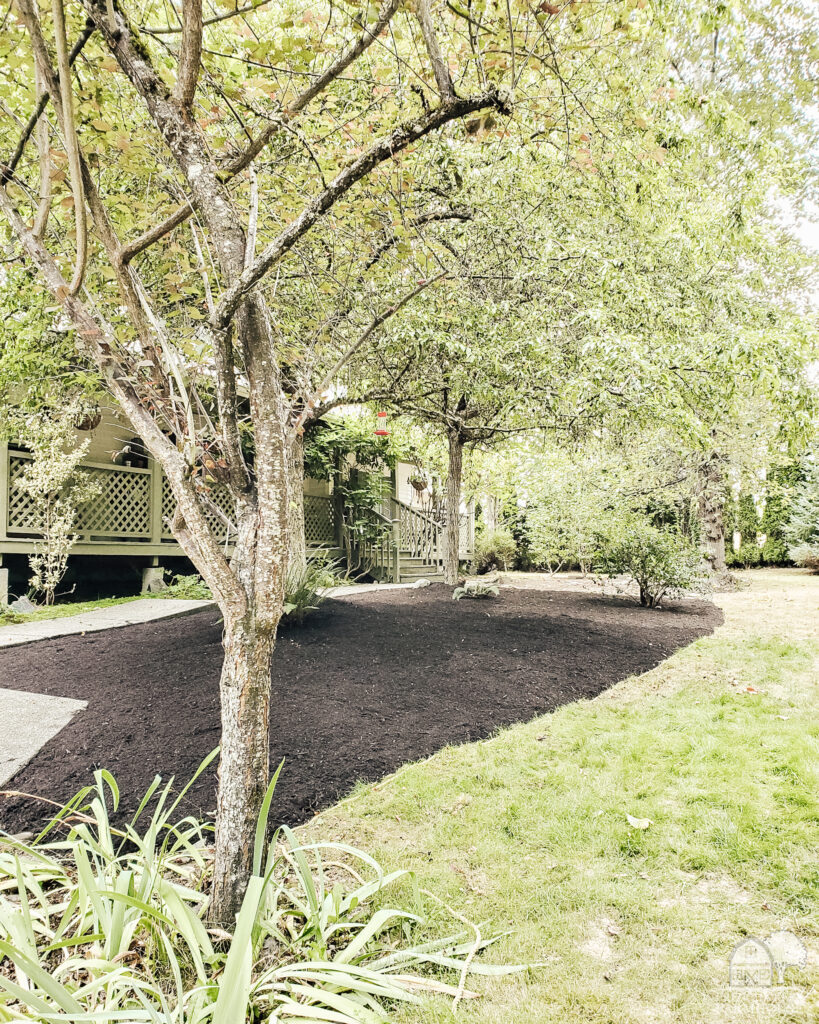
After the landscaping fabric was in place, we added 4″ of fine black bark mulch.
Wait…did she say “bark mulch”? Aren’t those two different things?
Okay, so, there are bark chips, and there is bark mulch. Bark mulch is exactly what it sounds like: mulch made from bark. The nice thing about it is that it helps retain moisture, and you can find it in many colors. The black really makes green plants pop in your landscaping, and it’s my favorite.
The downside is that the color does fade, and you have to reapply it every other year (if not every year). You also want to make sure you know how it was made since some could have toxic chemicals from recycled wood that can harm your plants.
We have spread a LOT of mulch, and dirt, and compost together over the years. We have a pretty good system down. Rob wheels it over and dumps it in piles while I spread it out with a rake. We completed the entire area in less than 2 hours.
Don’t forget to lay down a tarp on your driveway before delivery. If you don’t, it’s quite a mess to clean up and can stain your concrete. We ordered 10 yards of mulch, and used a 12×16 tarp.
What’s next?
We haven’t planted this area quite yet, and that’s because we removed some trees a few weeks after finishing this area. With those trees gone, we need to re-do our shade mapping in this part of the yard and see which areas will get the most/least amount of sun without those trees casting shade this summer.
This planning pause is all about personal preference, but to me, plants can be REALLY expensive. I never like to just throw something in the ground and hope for the best. I prefer to think it out and make sure I’m planting varieties where they will flourish. Otherwise, you might be just wasting your money and time.
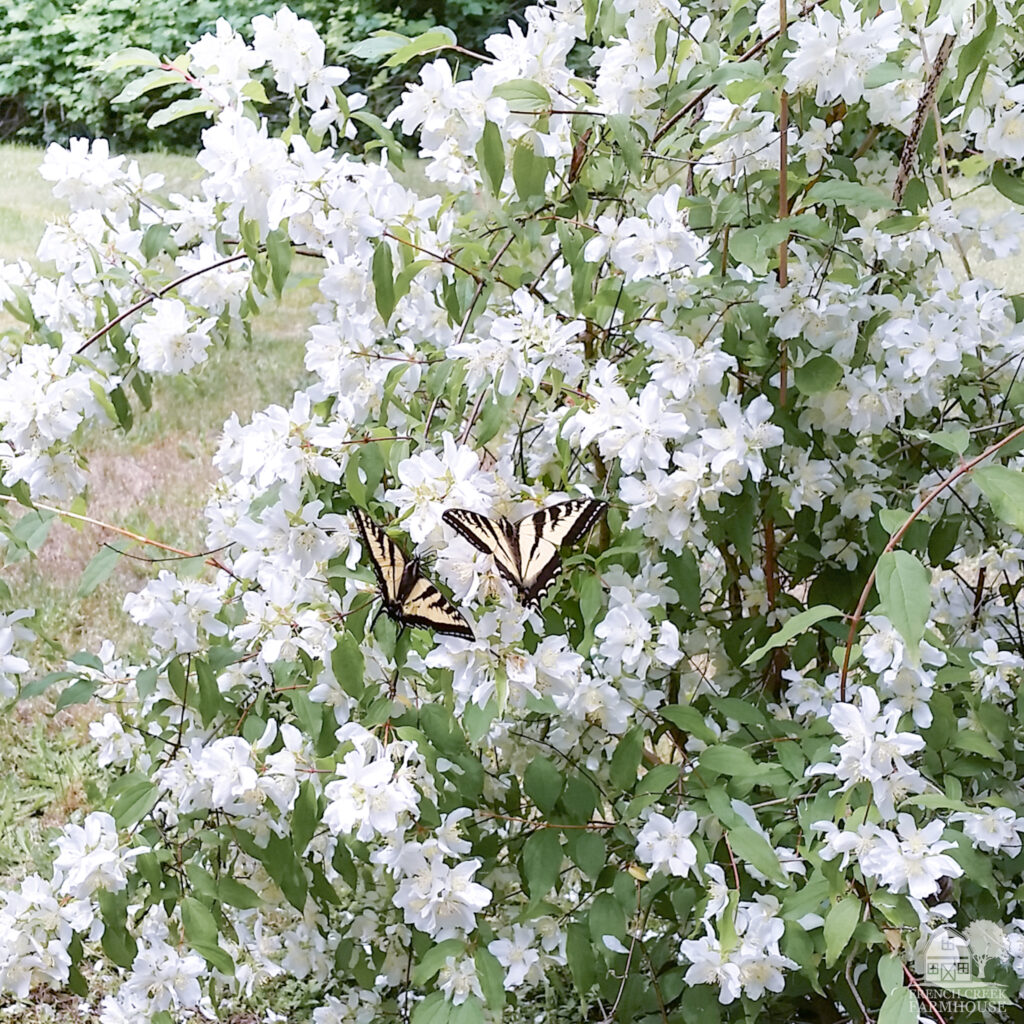
Case in point…when we bought our house, we found two Sweet Mock Orange (philadelphus) plants hanging out in the shade of our front porch. That made no sense because philadelphus is a sun lover, and they were both nearly dead. Shame on whomever planted them there and neglected them!
But, I dug them out and moved them to the other side of the house. They are now reaching heights of almost 10′ tall and thriving! A little bit of pre-planning would have made all the difference, and that’s just how I prefer to maximize our budget and keep our garden happy.
I hope this project has inspired you to create your own new landscaping bed. It’s really a very simple project that can completely transform the curb appeal of your home!
Stay tuned for updates on this area and more of our fixer-upper projects. Be sure to follow along on Facebook or Instagram–and even better, sign up to be a virtual pen pal, and keep in touch by email!

Do you love hunting for vintage treasures as much as I do?
Get my free vintage & junk hunting journal
Let’s be email pen pals! Sign up to join our community, and get your free printable PDF Vintage Hunting Journal. This is so good!