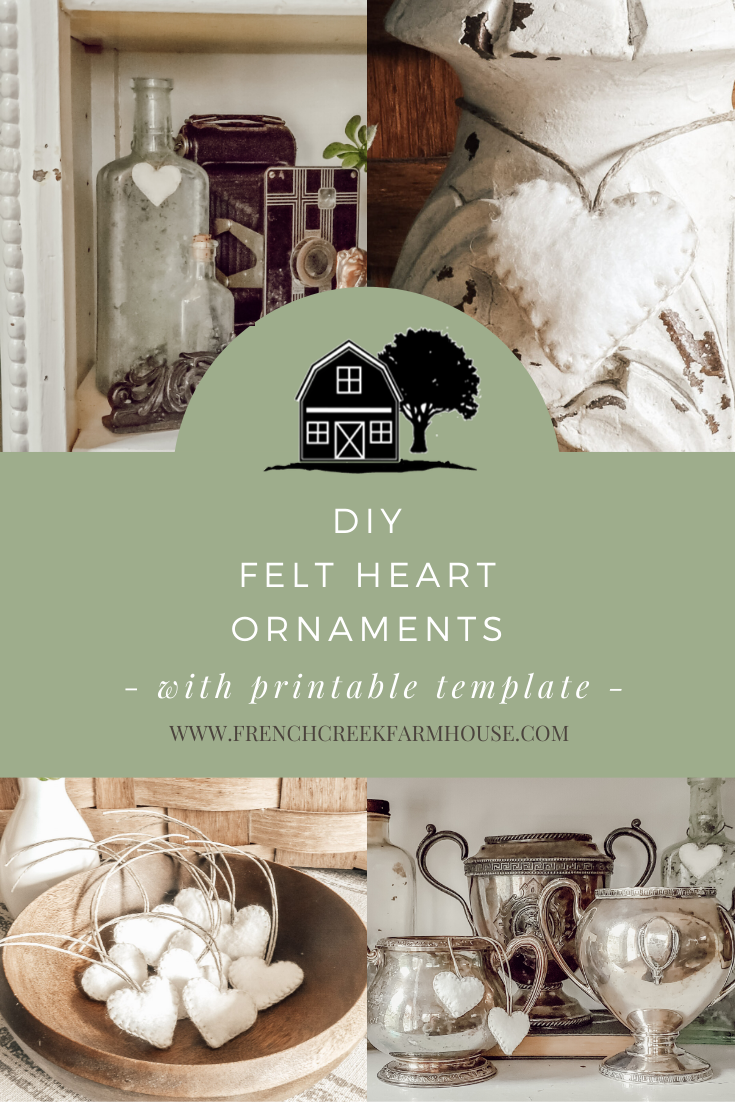
DIY Felt Hearts for Valentine’s Day
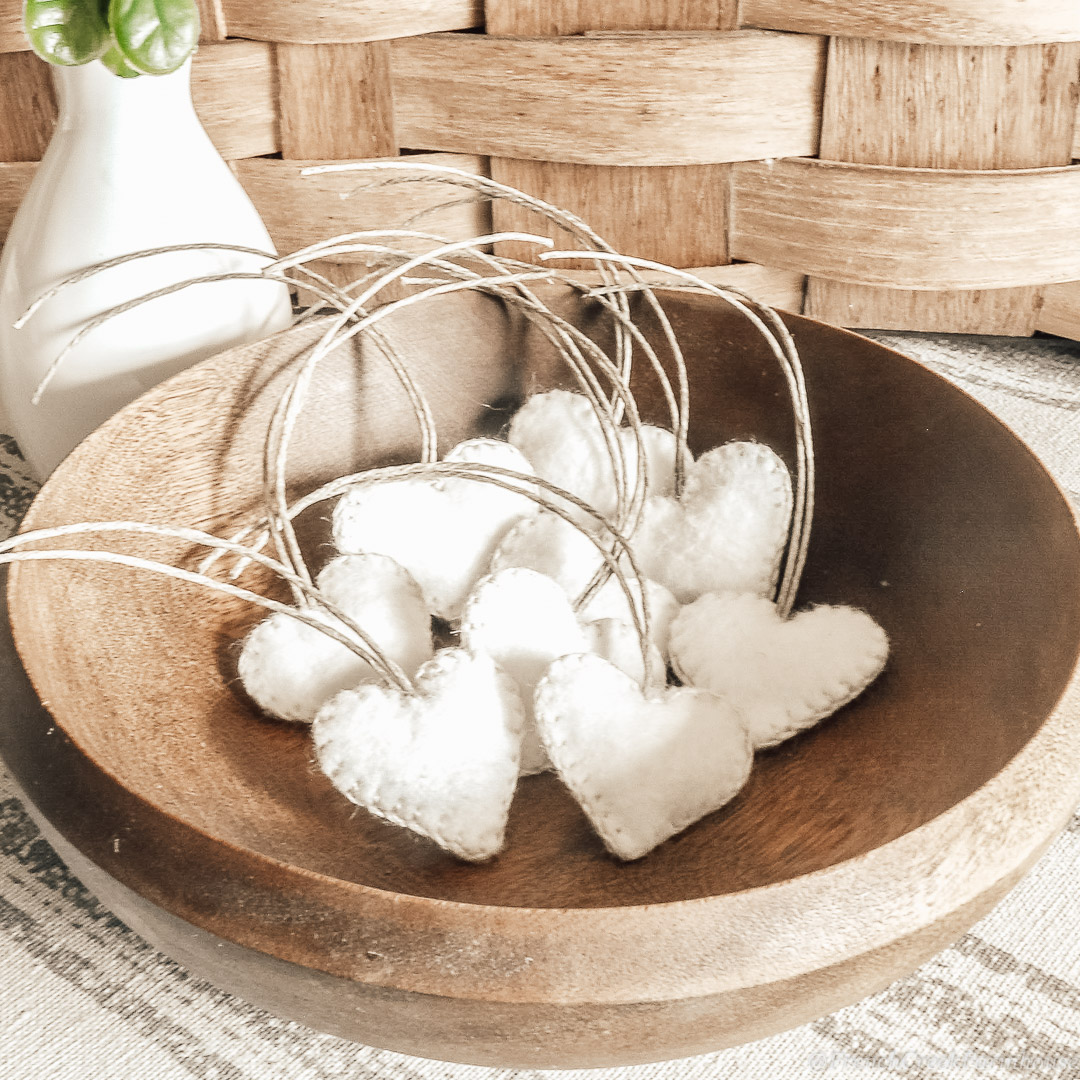
With Valentine’s Day just around the corner, this easy craft project is perfect for decorating around your home or gifting to the special friends in your life. Truly, these little DIY felt hearts are terrific for anytime of the year, but they’re especially fitting for the season of love.
They’re also such an simple project. I crafted a whole bowl of them while we watched a movie one evening, so they would be a great classroom gift for your littles to personalize their Valentine’s or teacher’s gifts, too!
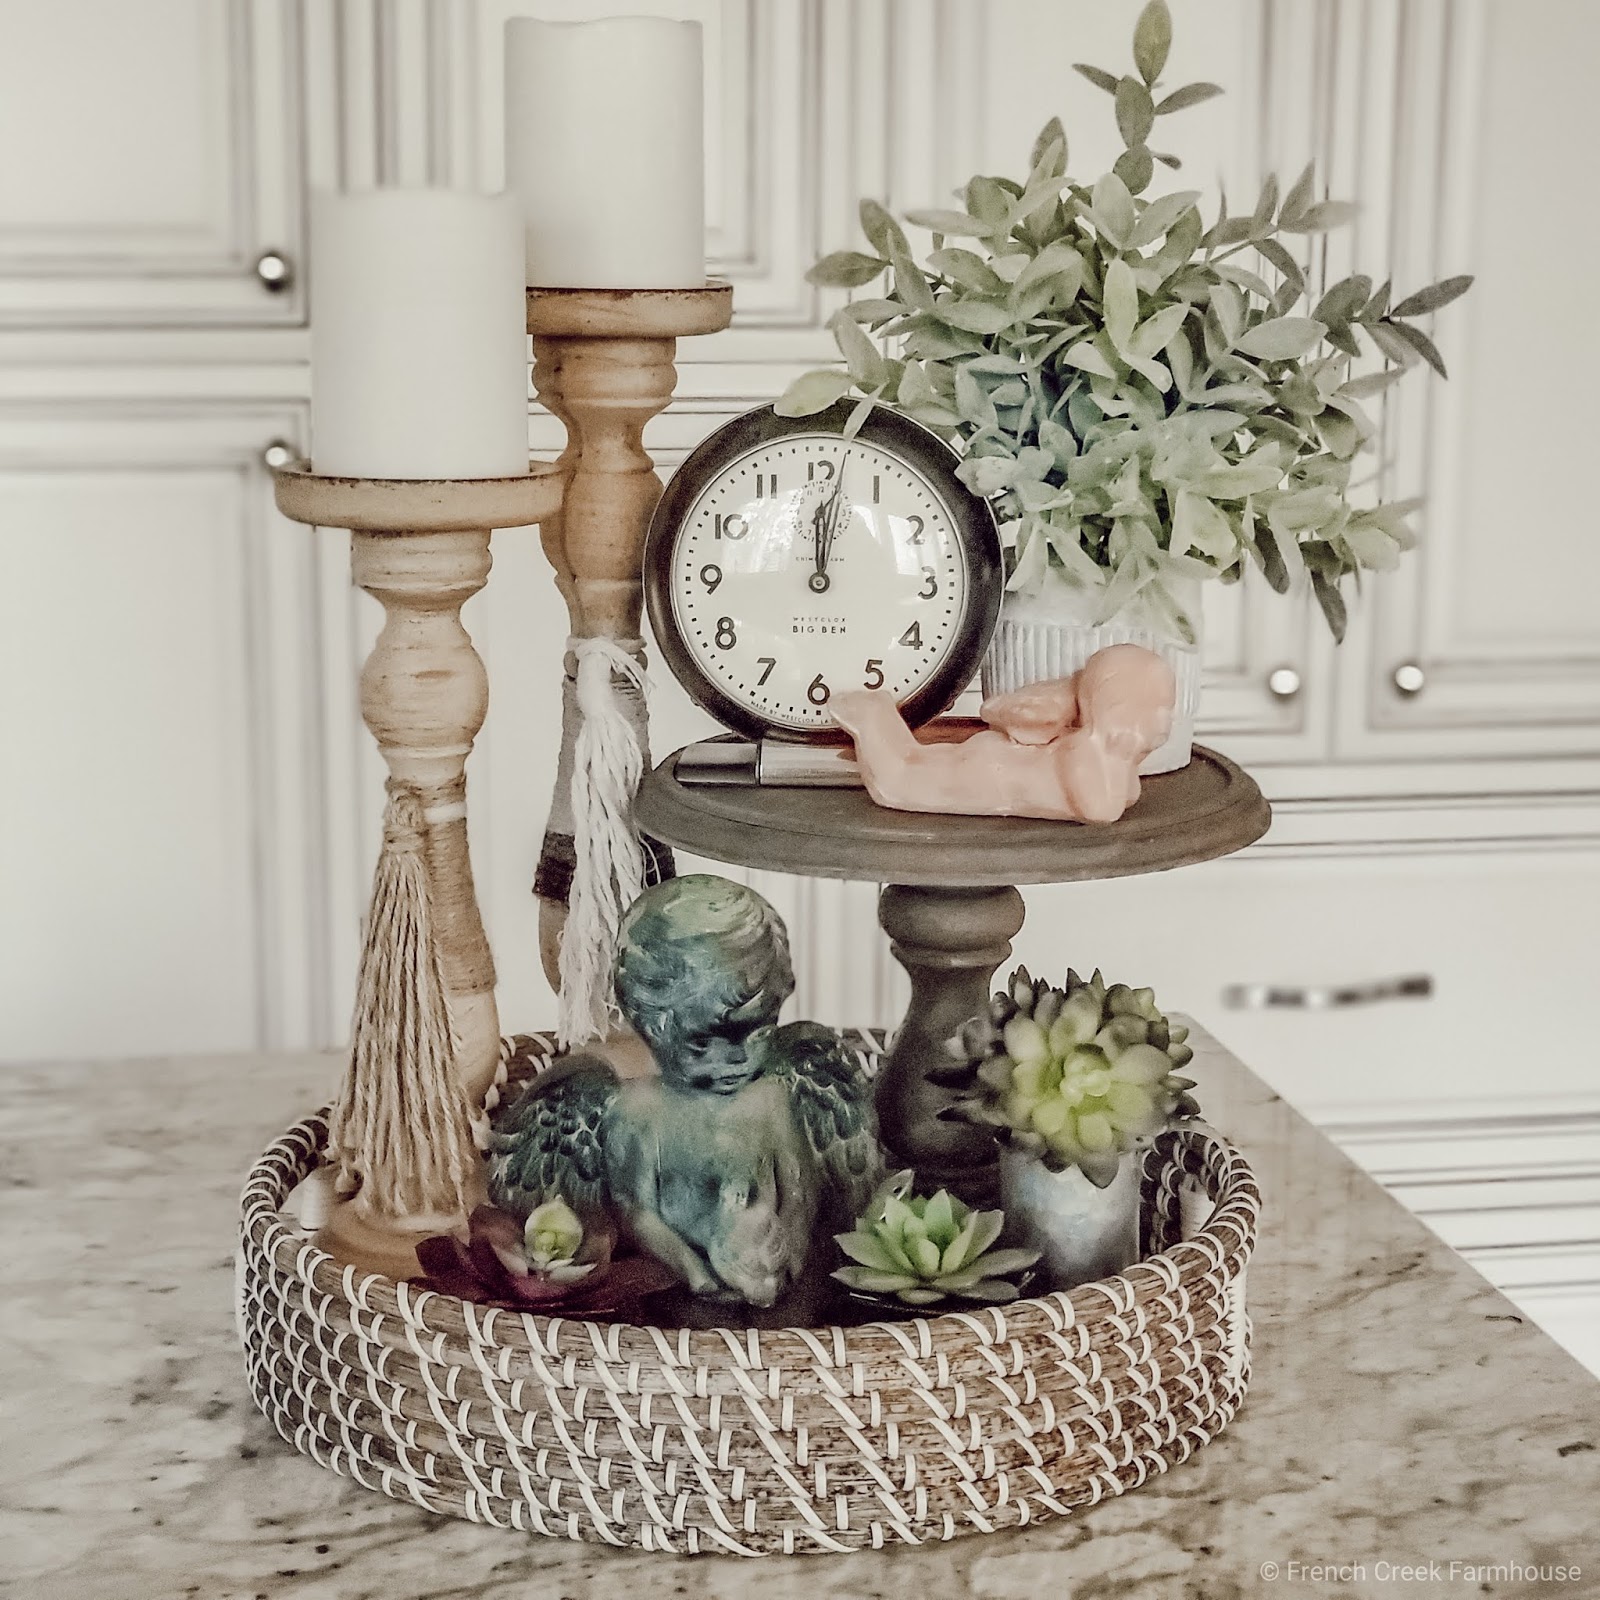
While this tutorial shows how to make these felt hearts in small ornament size, you could adjust the size of your pattern to make a cute plushie accessory for a tiered tray, or to tuck into your shelf decor, as well.
{Related: Valentine’s Day Tiered Tray Styling}
Another option is to string several felt hearts together to form a garland. This is the next project on my own to-do list for our Valentine’s decor!
{Related: Dictionary Page Heart Garland}
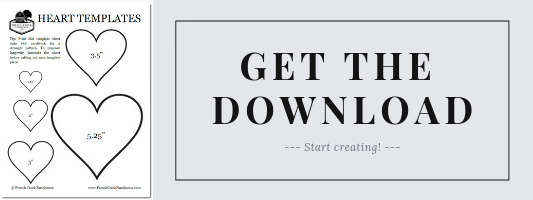
The steps are the same no matter the size of the felt heart you make, and when you download my printable pattern, I’ve included 5 different options within the template for you to choose the best one for your project.
For this project, I chose to craft my hearts from unbleached, natural felt, and I used tone-on-tone embroidery floss for a nice and neutral farmhouse aesthetic.
You could just as easily choose red felt with white thread, pink felt with red thread, or any number of other options to craft the perfect hearts for your decor style.
While you could use a fabric other than felt, this project is made with a blanket stitch to finish the edges, which works well with thick fabrics that won’t fray. Felt is perfect for this craft!
{Related: How to Sew a Blanket Stitch}
Let’s get on with the tutorial!

Disclosure: This is not a sponsored post, and I have received no compensation for sharing anything that follows. Some links within this blog may be affiliate links, and I might earn a commission if you make a purchase through that link. This usually amounts to cents, not dollars, and helps to support the projects featured on this blog. I only recommend products from companies that I have found to be trustworthy. Read my full disclosure here.
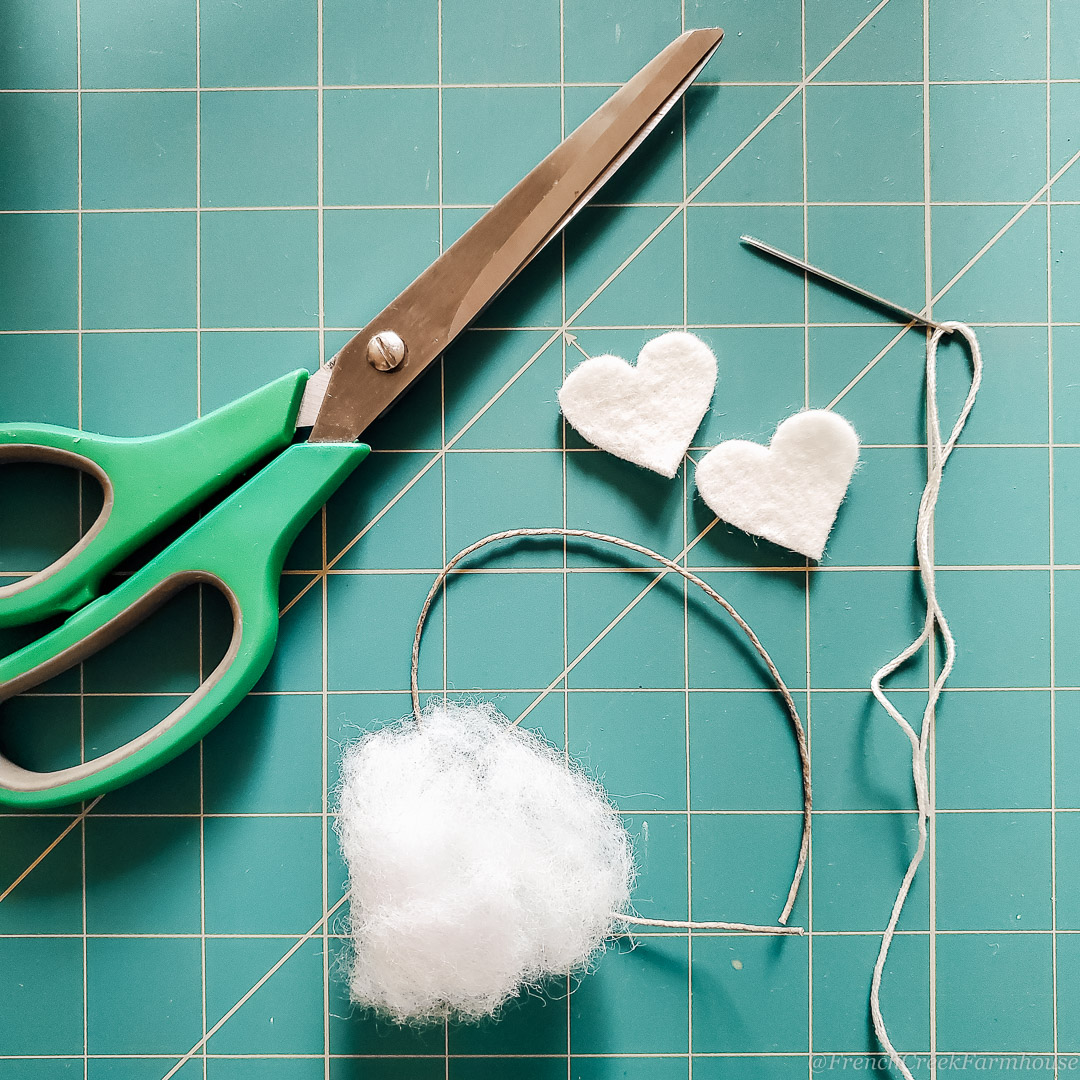
Supplies
- Thick, non-fraying fabric, like felt
- Embroidery floss
(For most projects, I prefer floss that is the same color as my fabric) - Embroidery needle (This is different from a regular sewing needle because it has a longer eye for threading larger materials)
- At least a 12″ length of Jute or hemp cord
- Poly-fil
- Scissors
- Heart Template (free printable you can download here)

Instructions
1. Gather all of your supplies, including my printable Heart Template. Select the size of heart you would like to create. For this tutorial, I’m making my ornaments using the smallest 1¼” template.
2. Using a blanket stitch, begin sewing from the rounded edge of the heart. After making dozens of these hearts, I have found this to be the easiest place to start and stop your stitching with this size of heart, as well as to accommodate adding the batting, but you can adjust as you like.
If you’ve never used a blanket stitch, my tutorial { here } will walk you through everything you need to know.
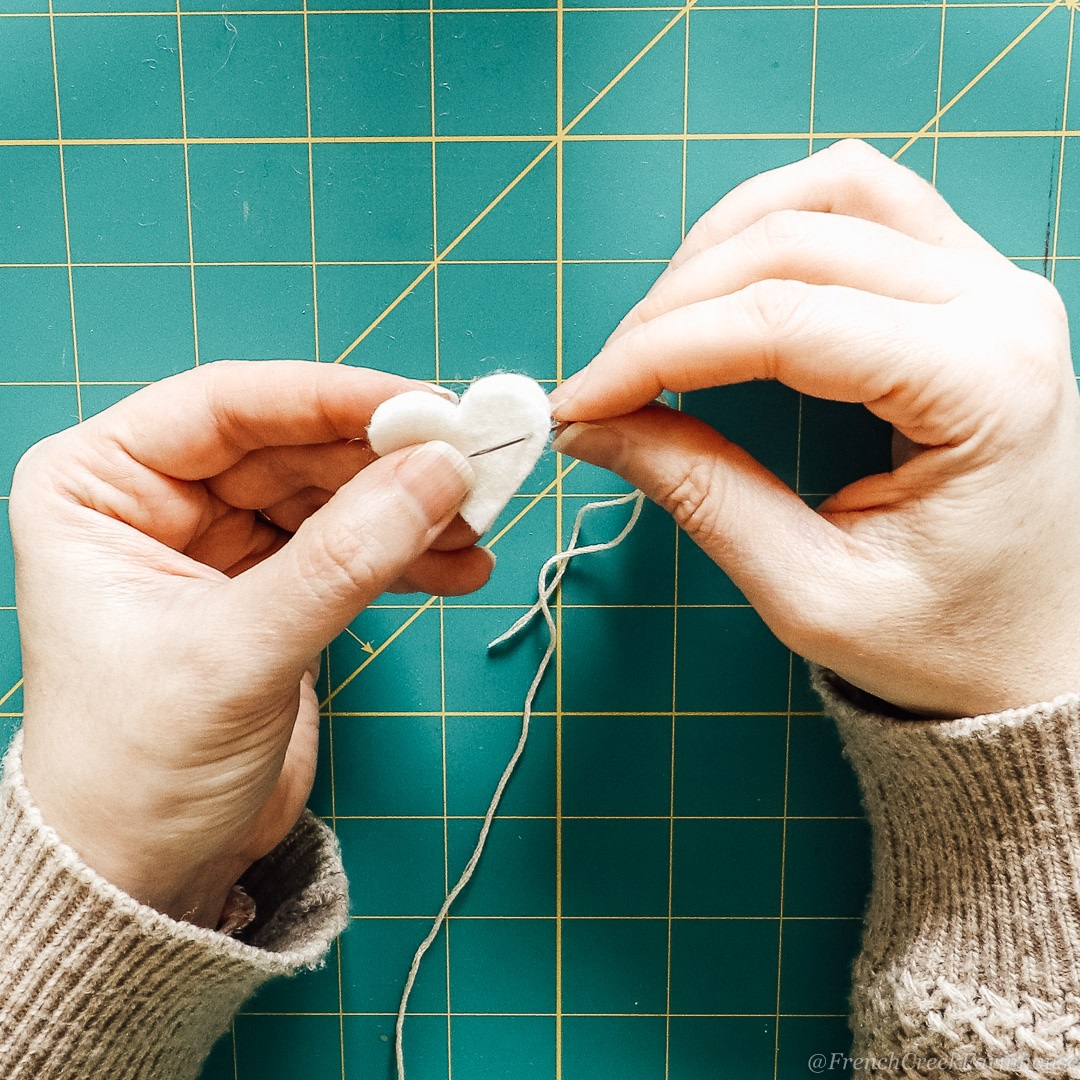
3. Use a stitch length that plans for your stitches to align with the bottom point of the heart as you turn the corner. You will effectively be making three stitches through the same hole in the fabric to make that turn.
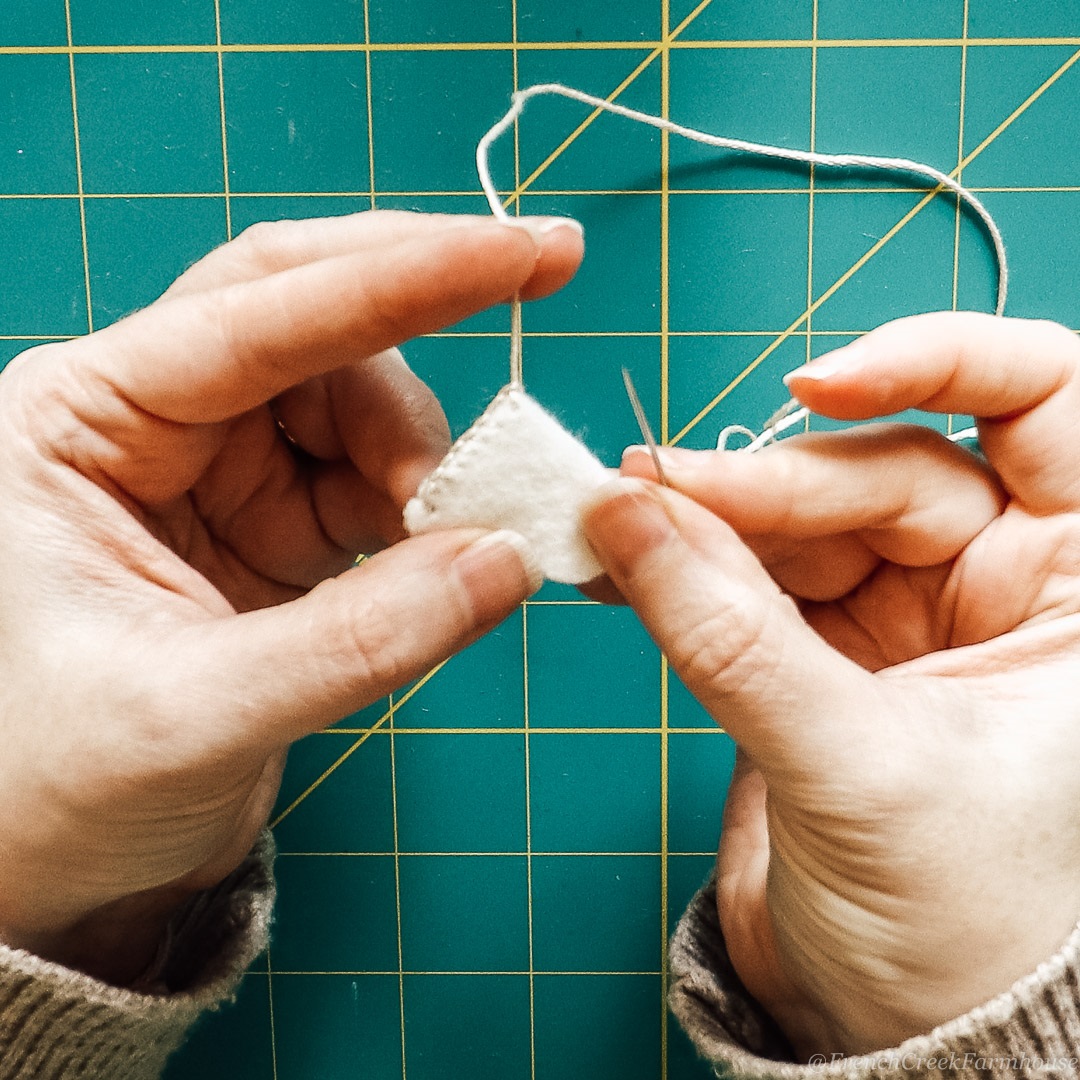
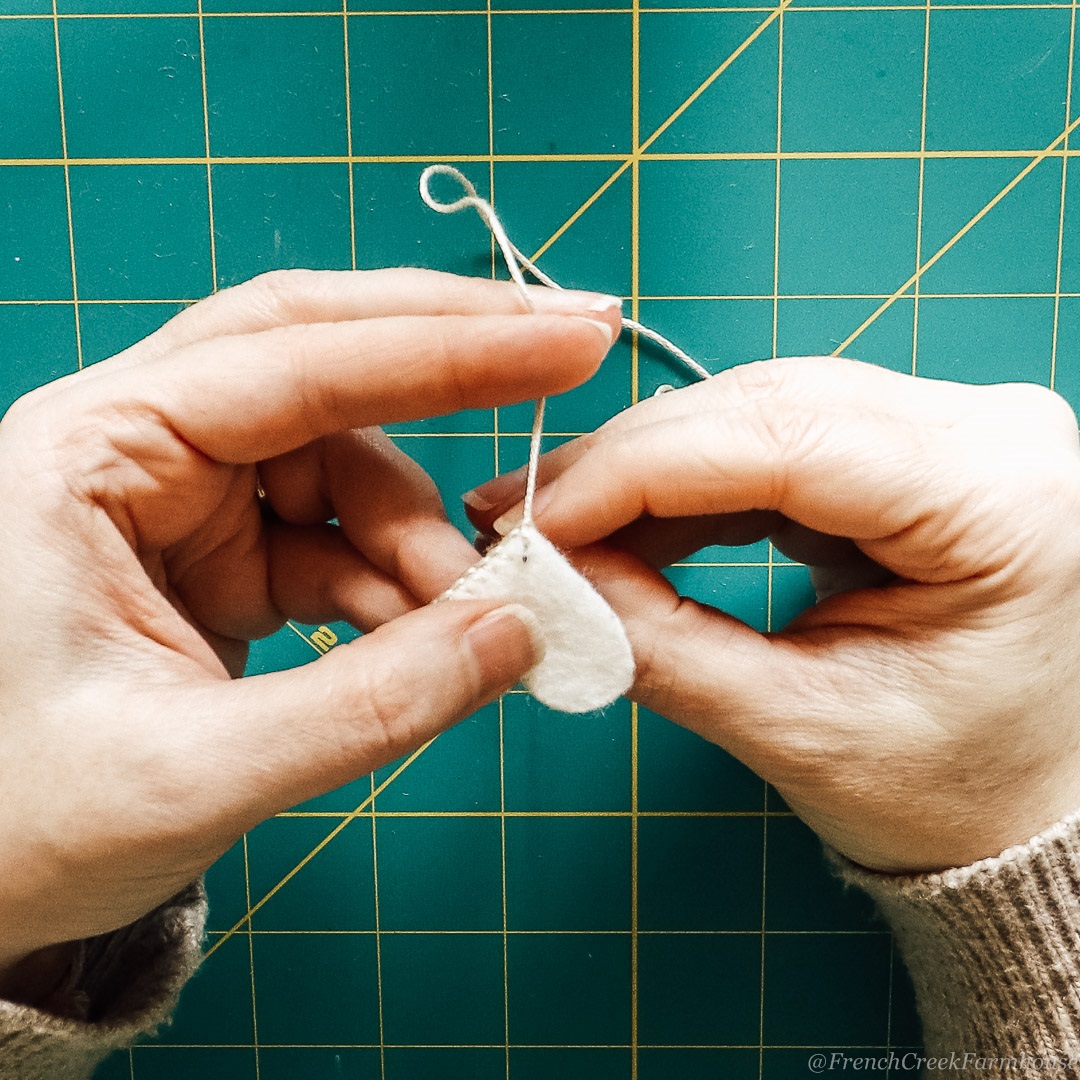
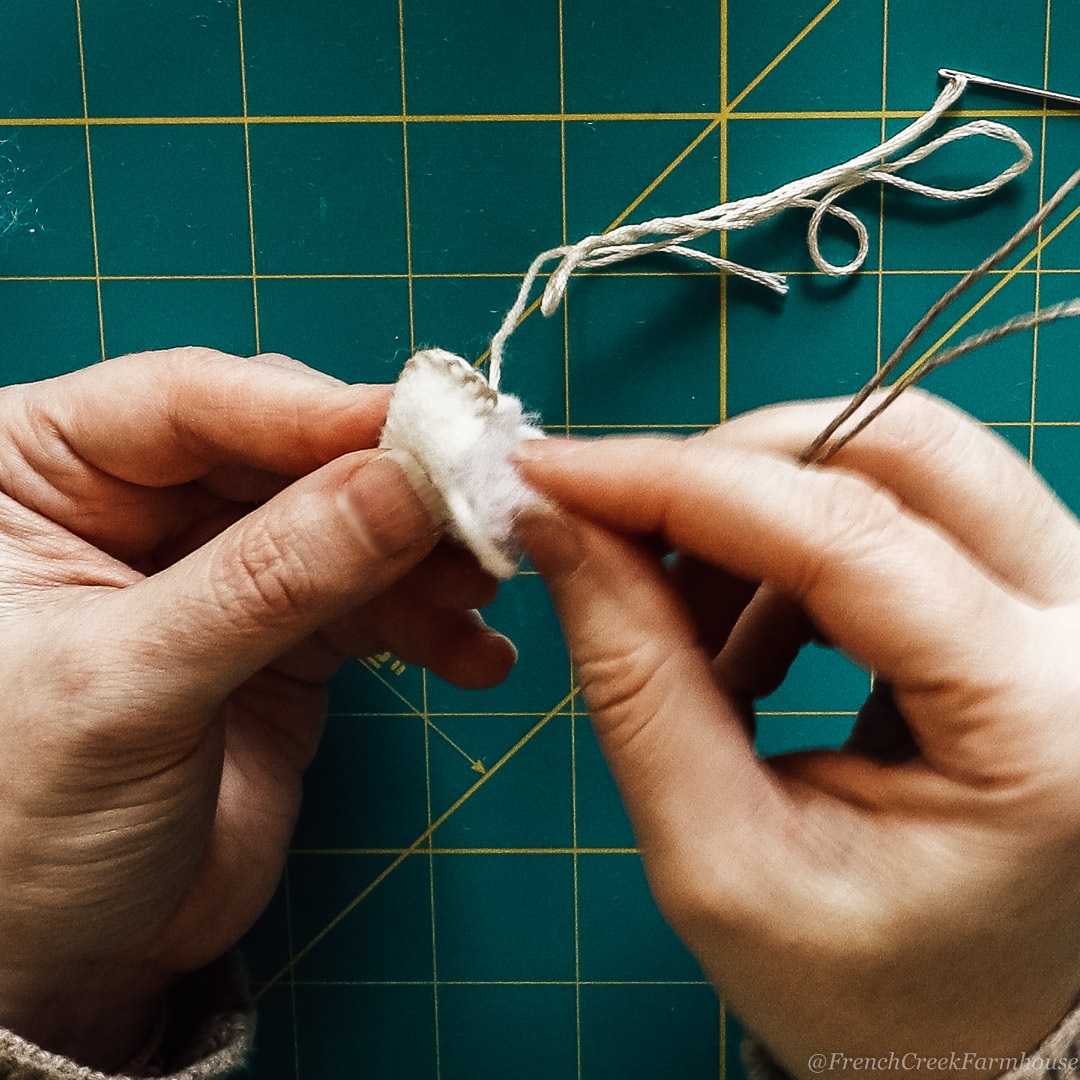
4. About 1-2 stitches before you reach the valley of the heart, you’ll stop sewing to insert the jute cord that will function as the ornament hanger. Your heart will look like a little pocket now.
5. Make a knot at the middle of your jute cord. I prefer to fold my cord in half to tie the knot so that the tail ends stay close together in the finished product.

6. Wrap the knot with a pinch of batting. Use just enough batting to cover the knot, but not so much that it makes it difficult to close up the fabric.
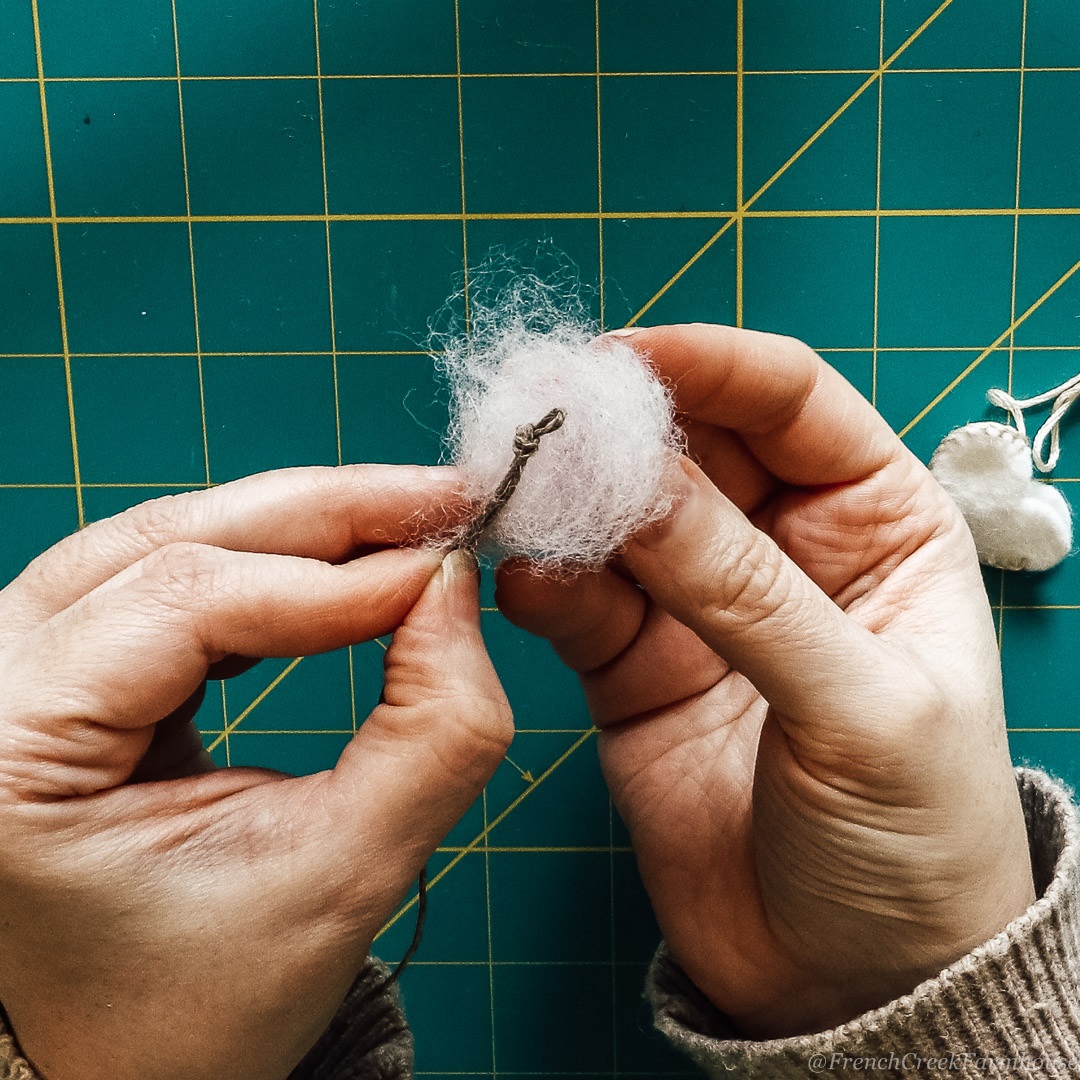
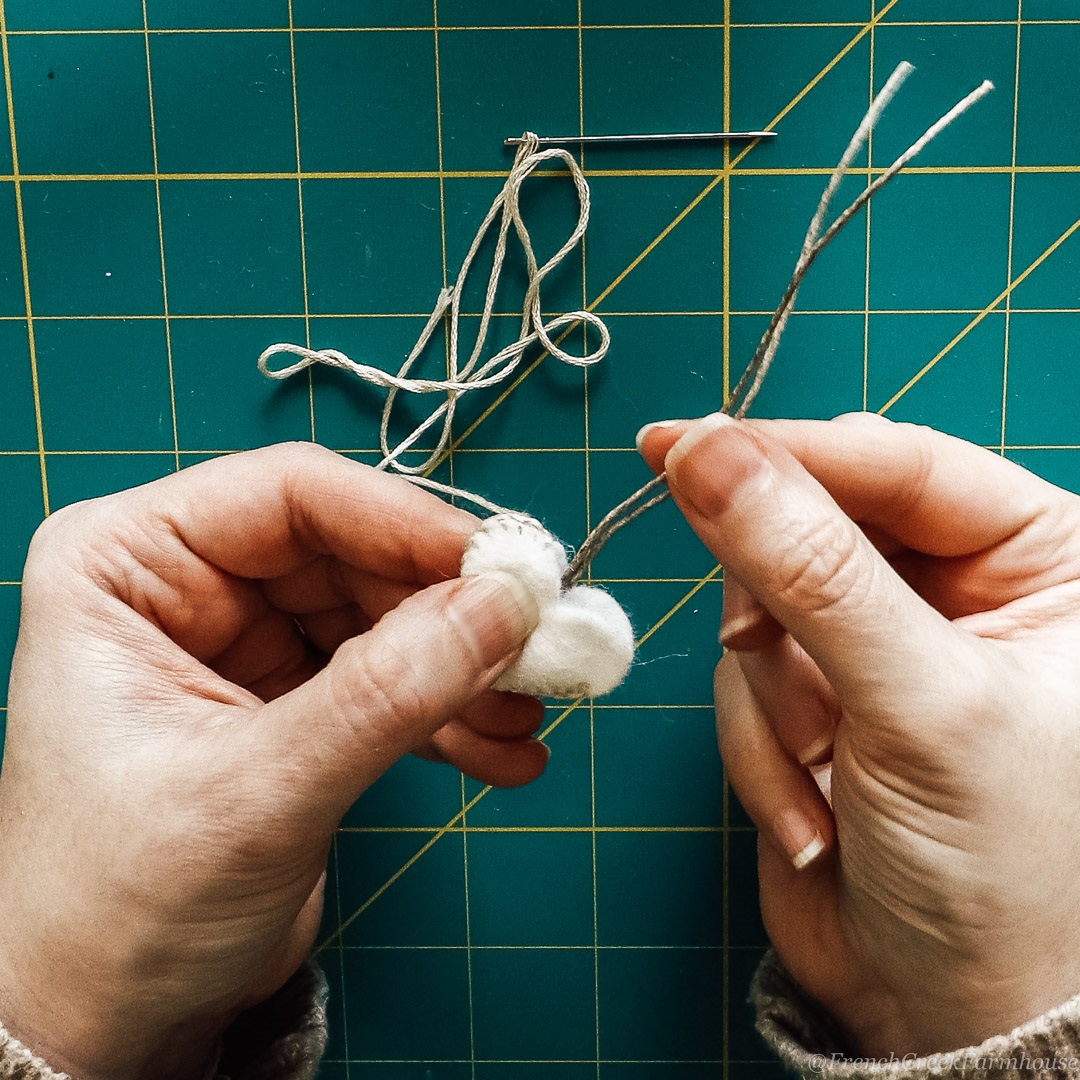
7. Stuff the batting-wrapped cord knot into the heart. You might find it helpful to use the tip of a pencil or small tool to squish the batting into place.
8. Keep the jute cord ends aligned with the valley point of the heart, and sew the next stitches to lock it into place.
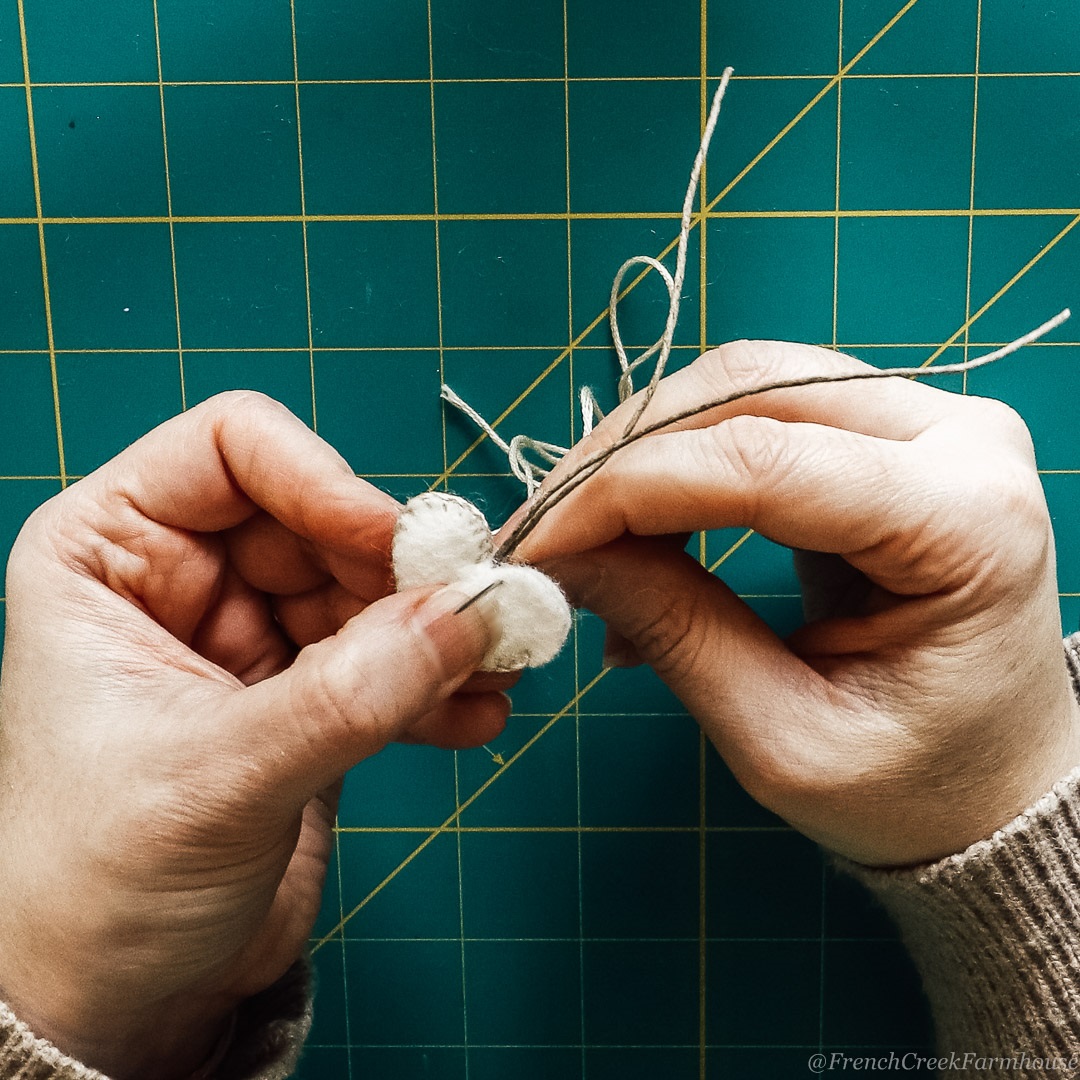
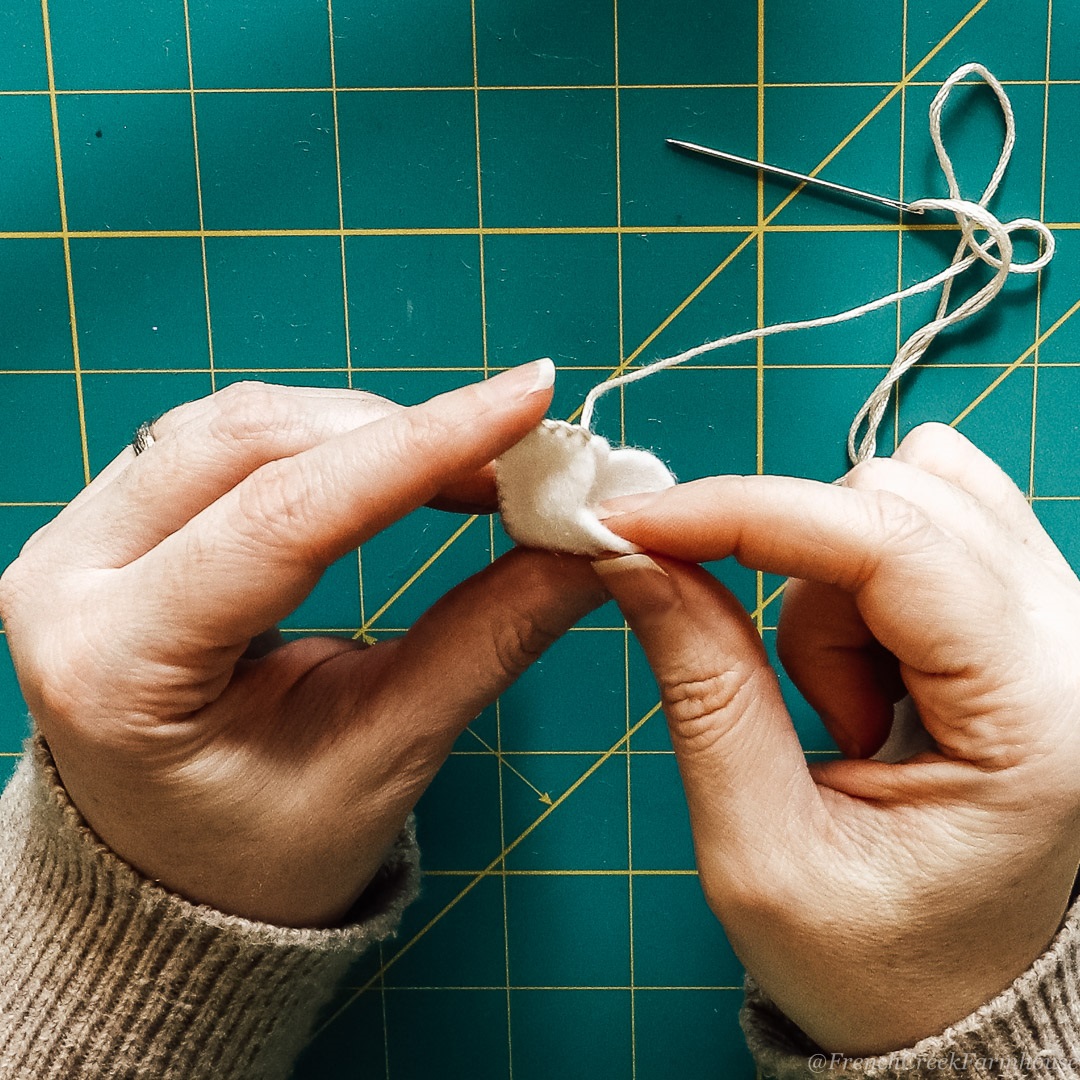
9. Finish stitching, and prepare to love your felt heart ornament!
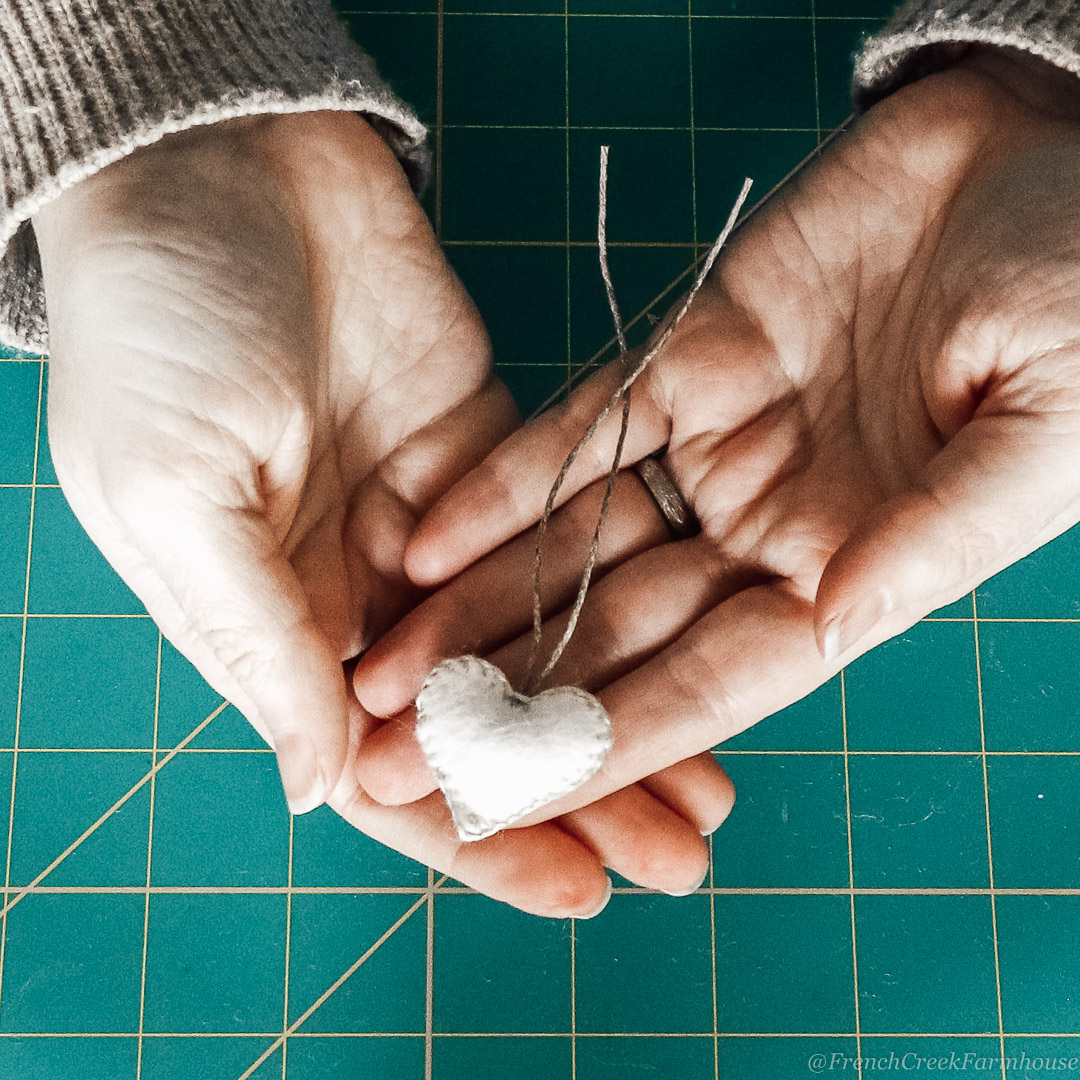
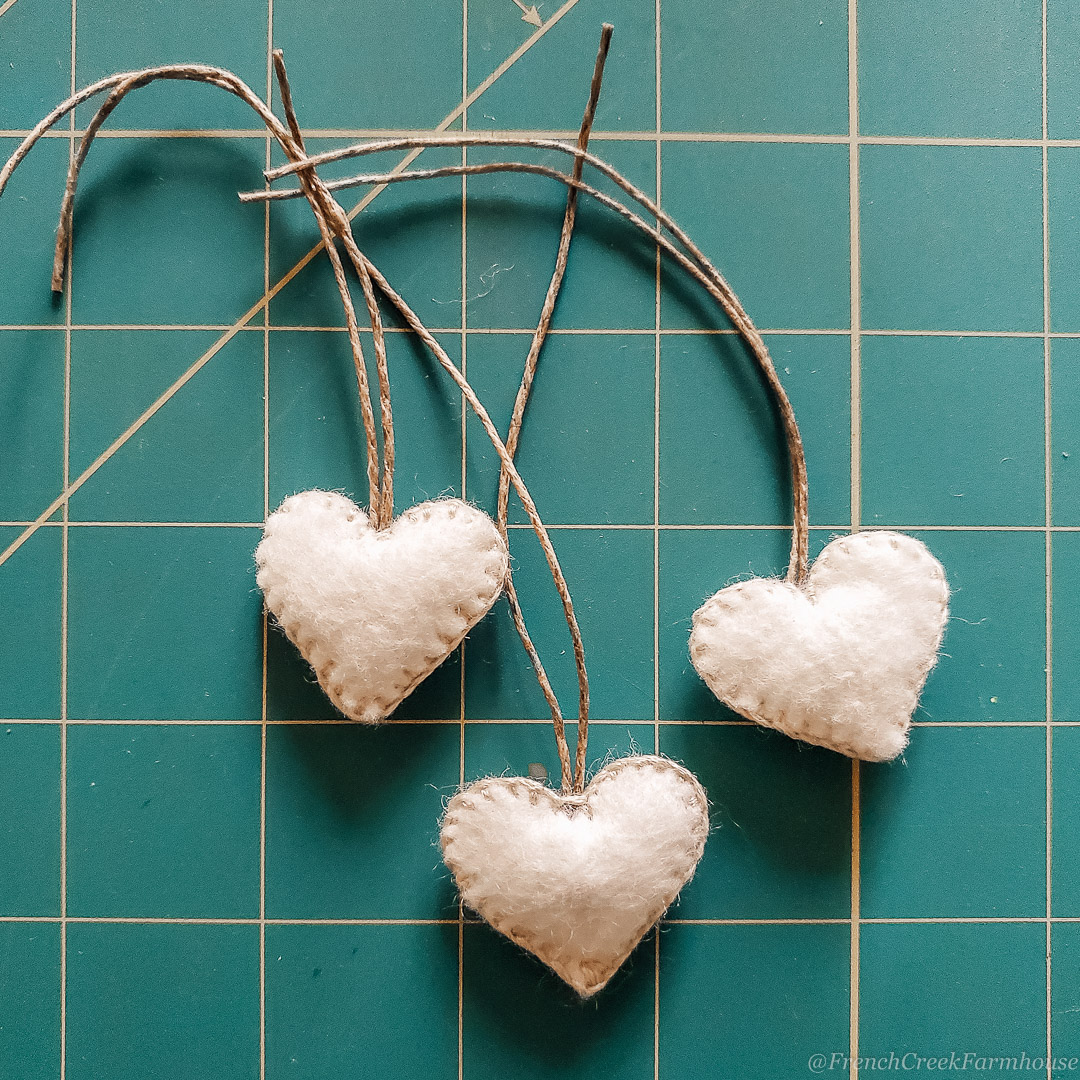
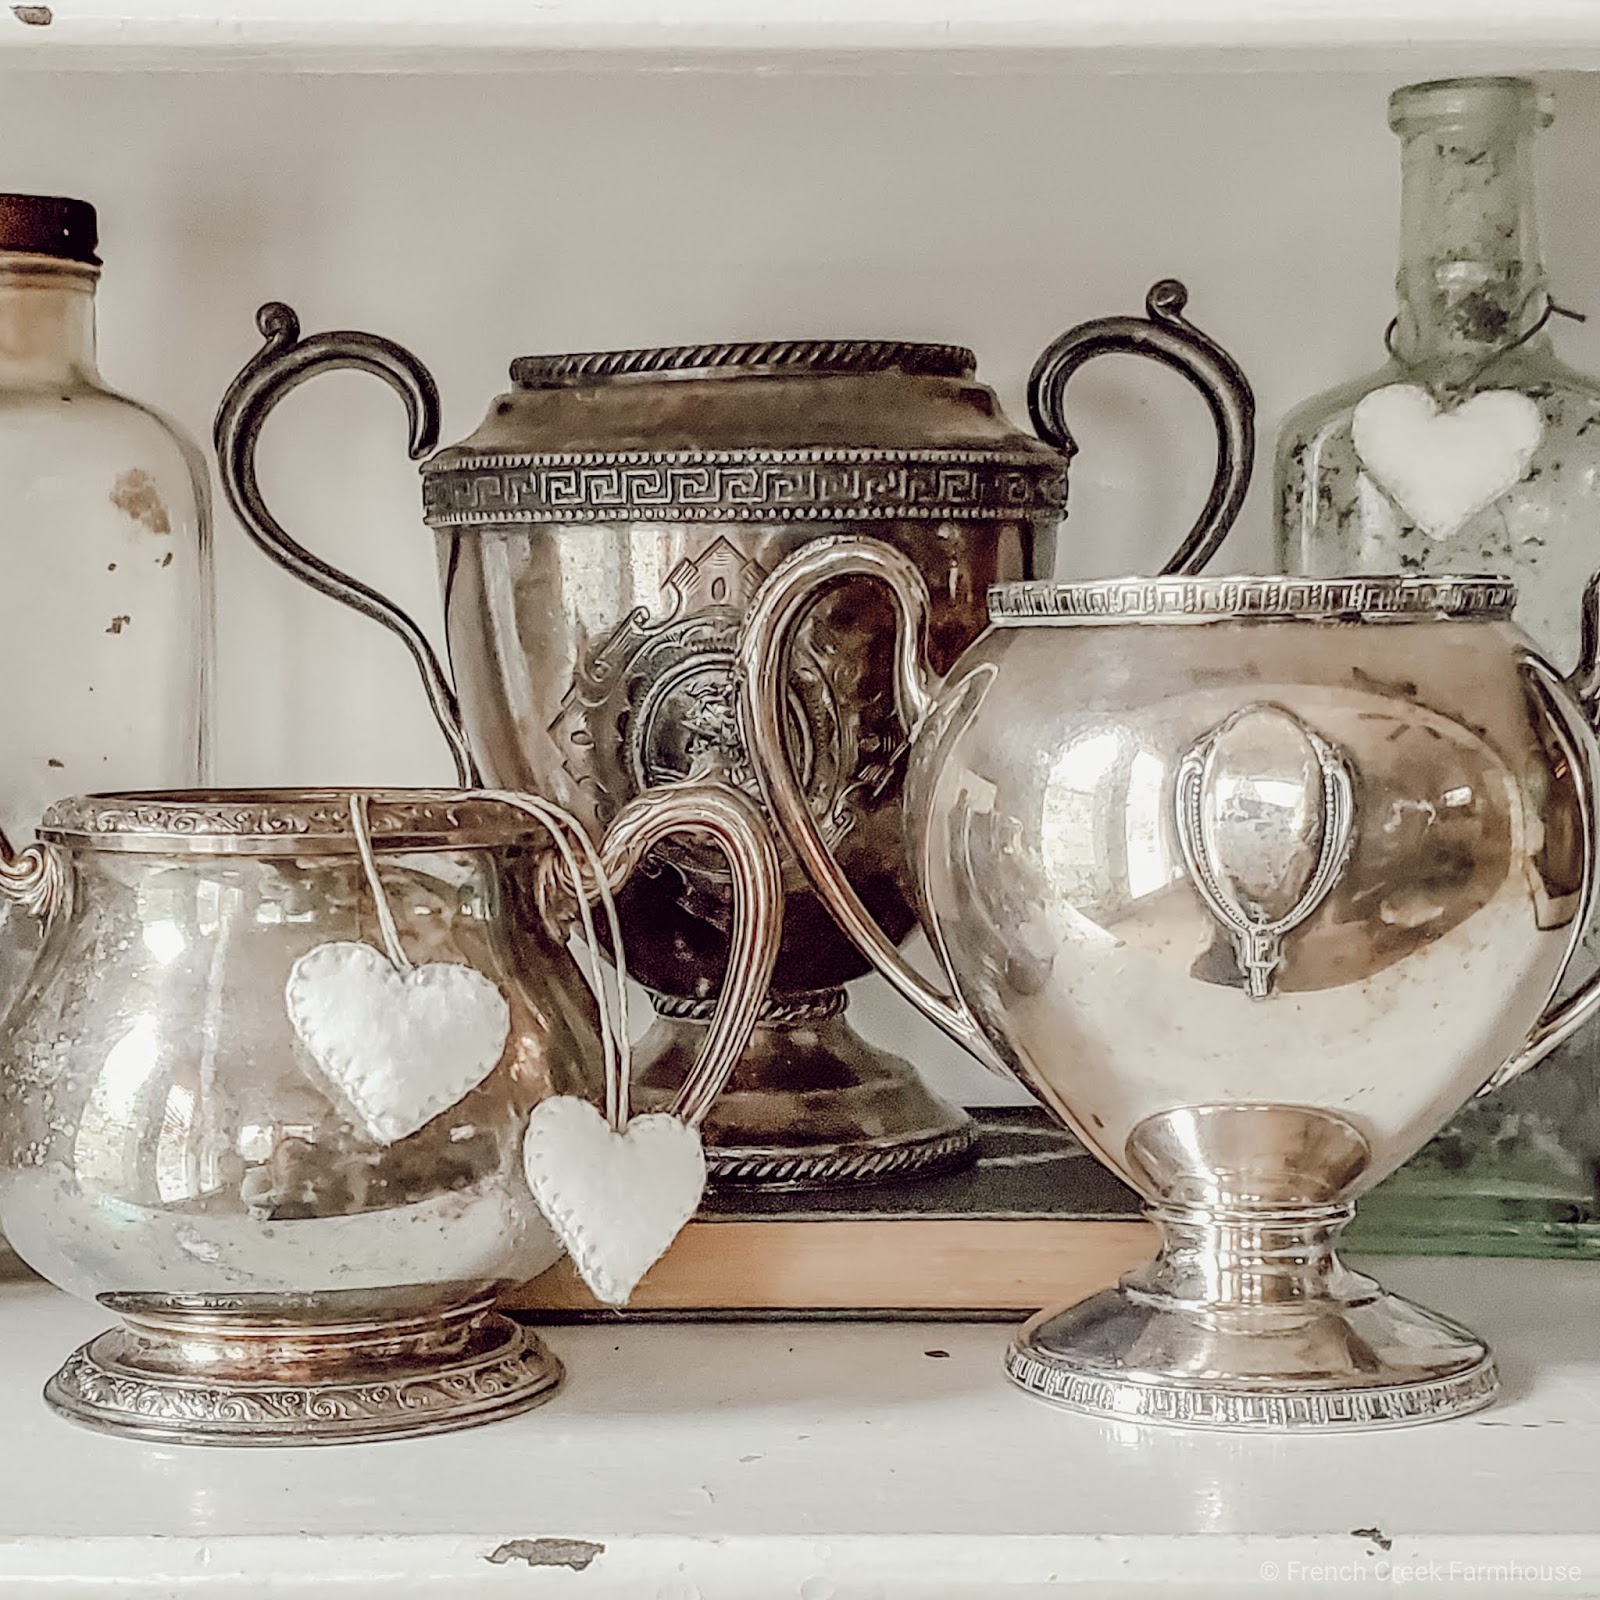
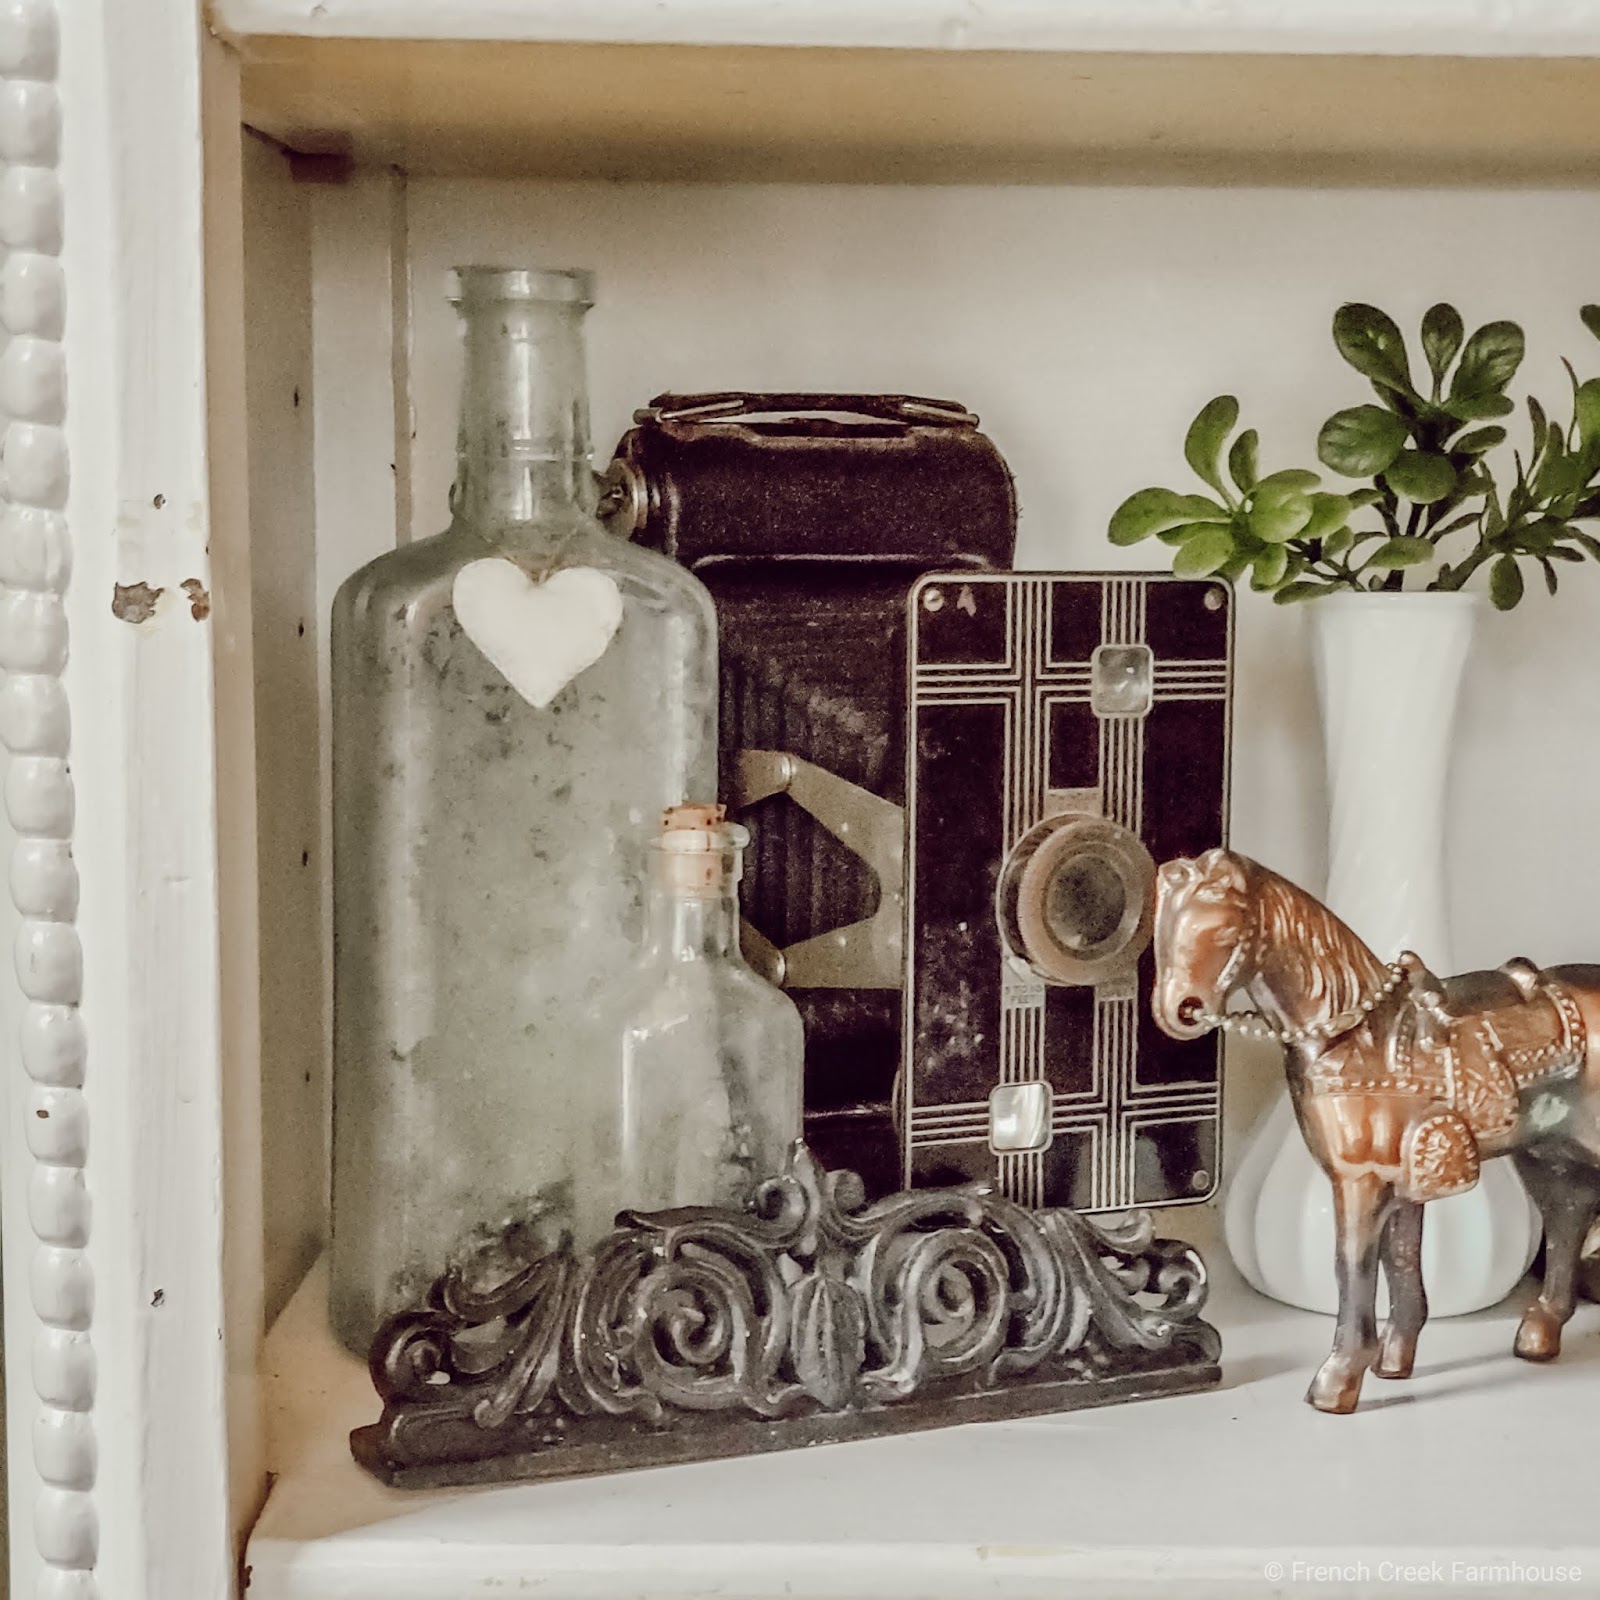
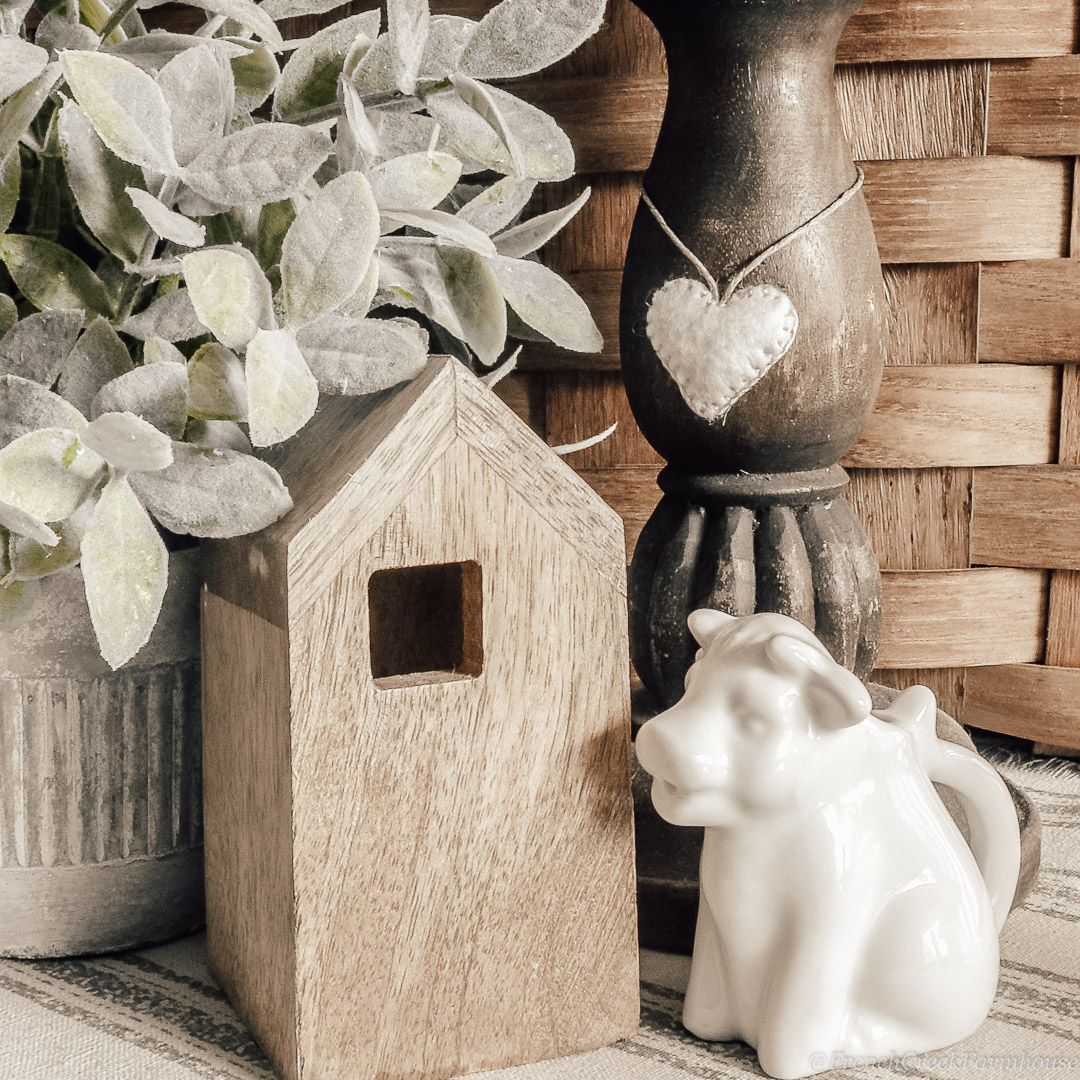
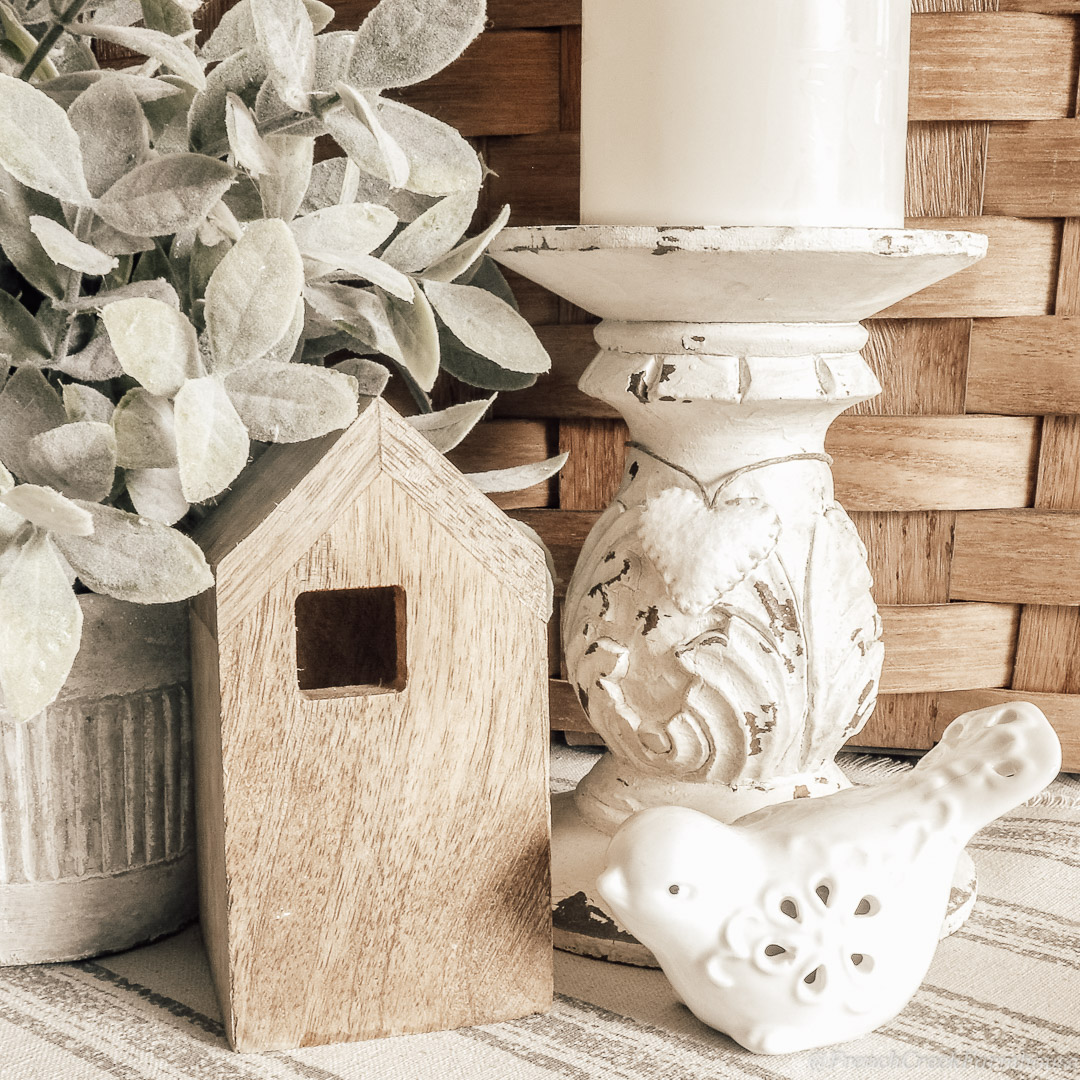
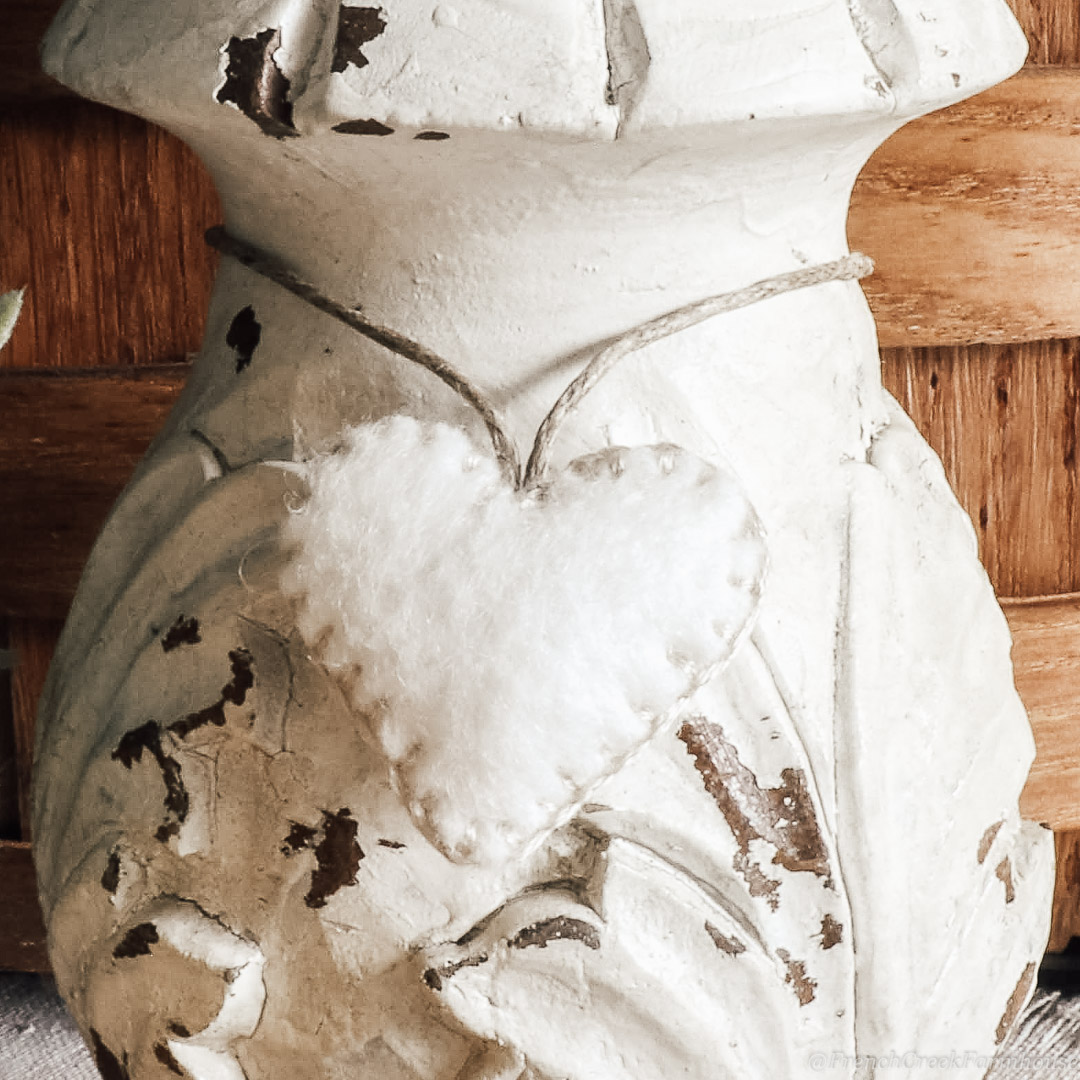
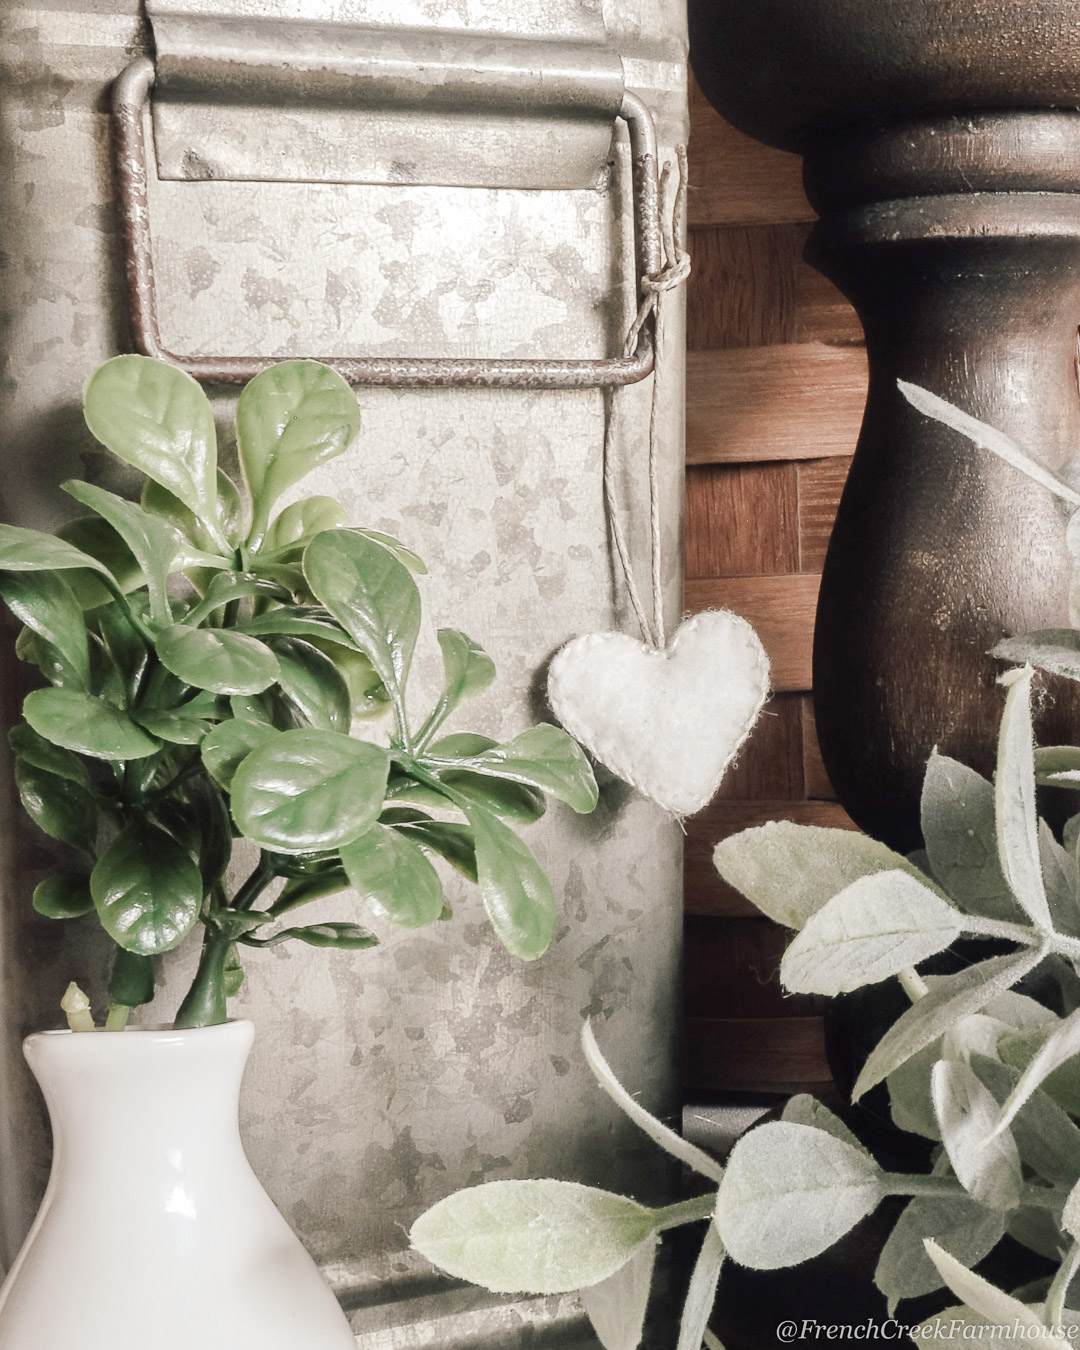
These ornaments are the perfect size to tie around a candlestick, or dangle from a handle. You could even add one to your rear view mirror to make traffic more bearable!
I’d love to hear about what you create! Be sure to tag me on Instagram or Facebook with your project photos, and if you love this craft, please Pin and share this post with others!

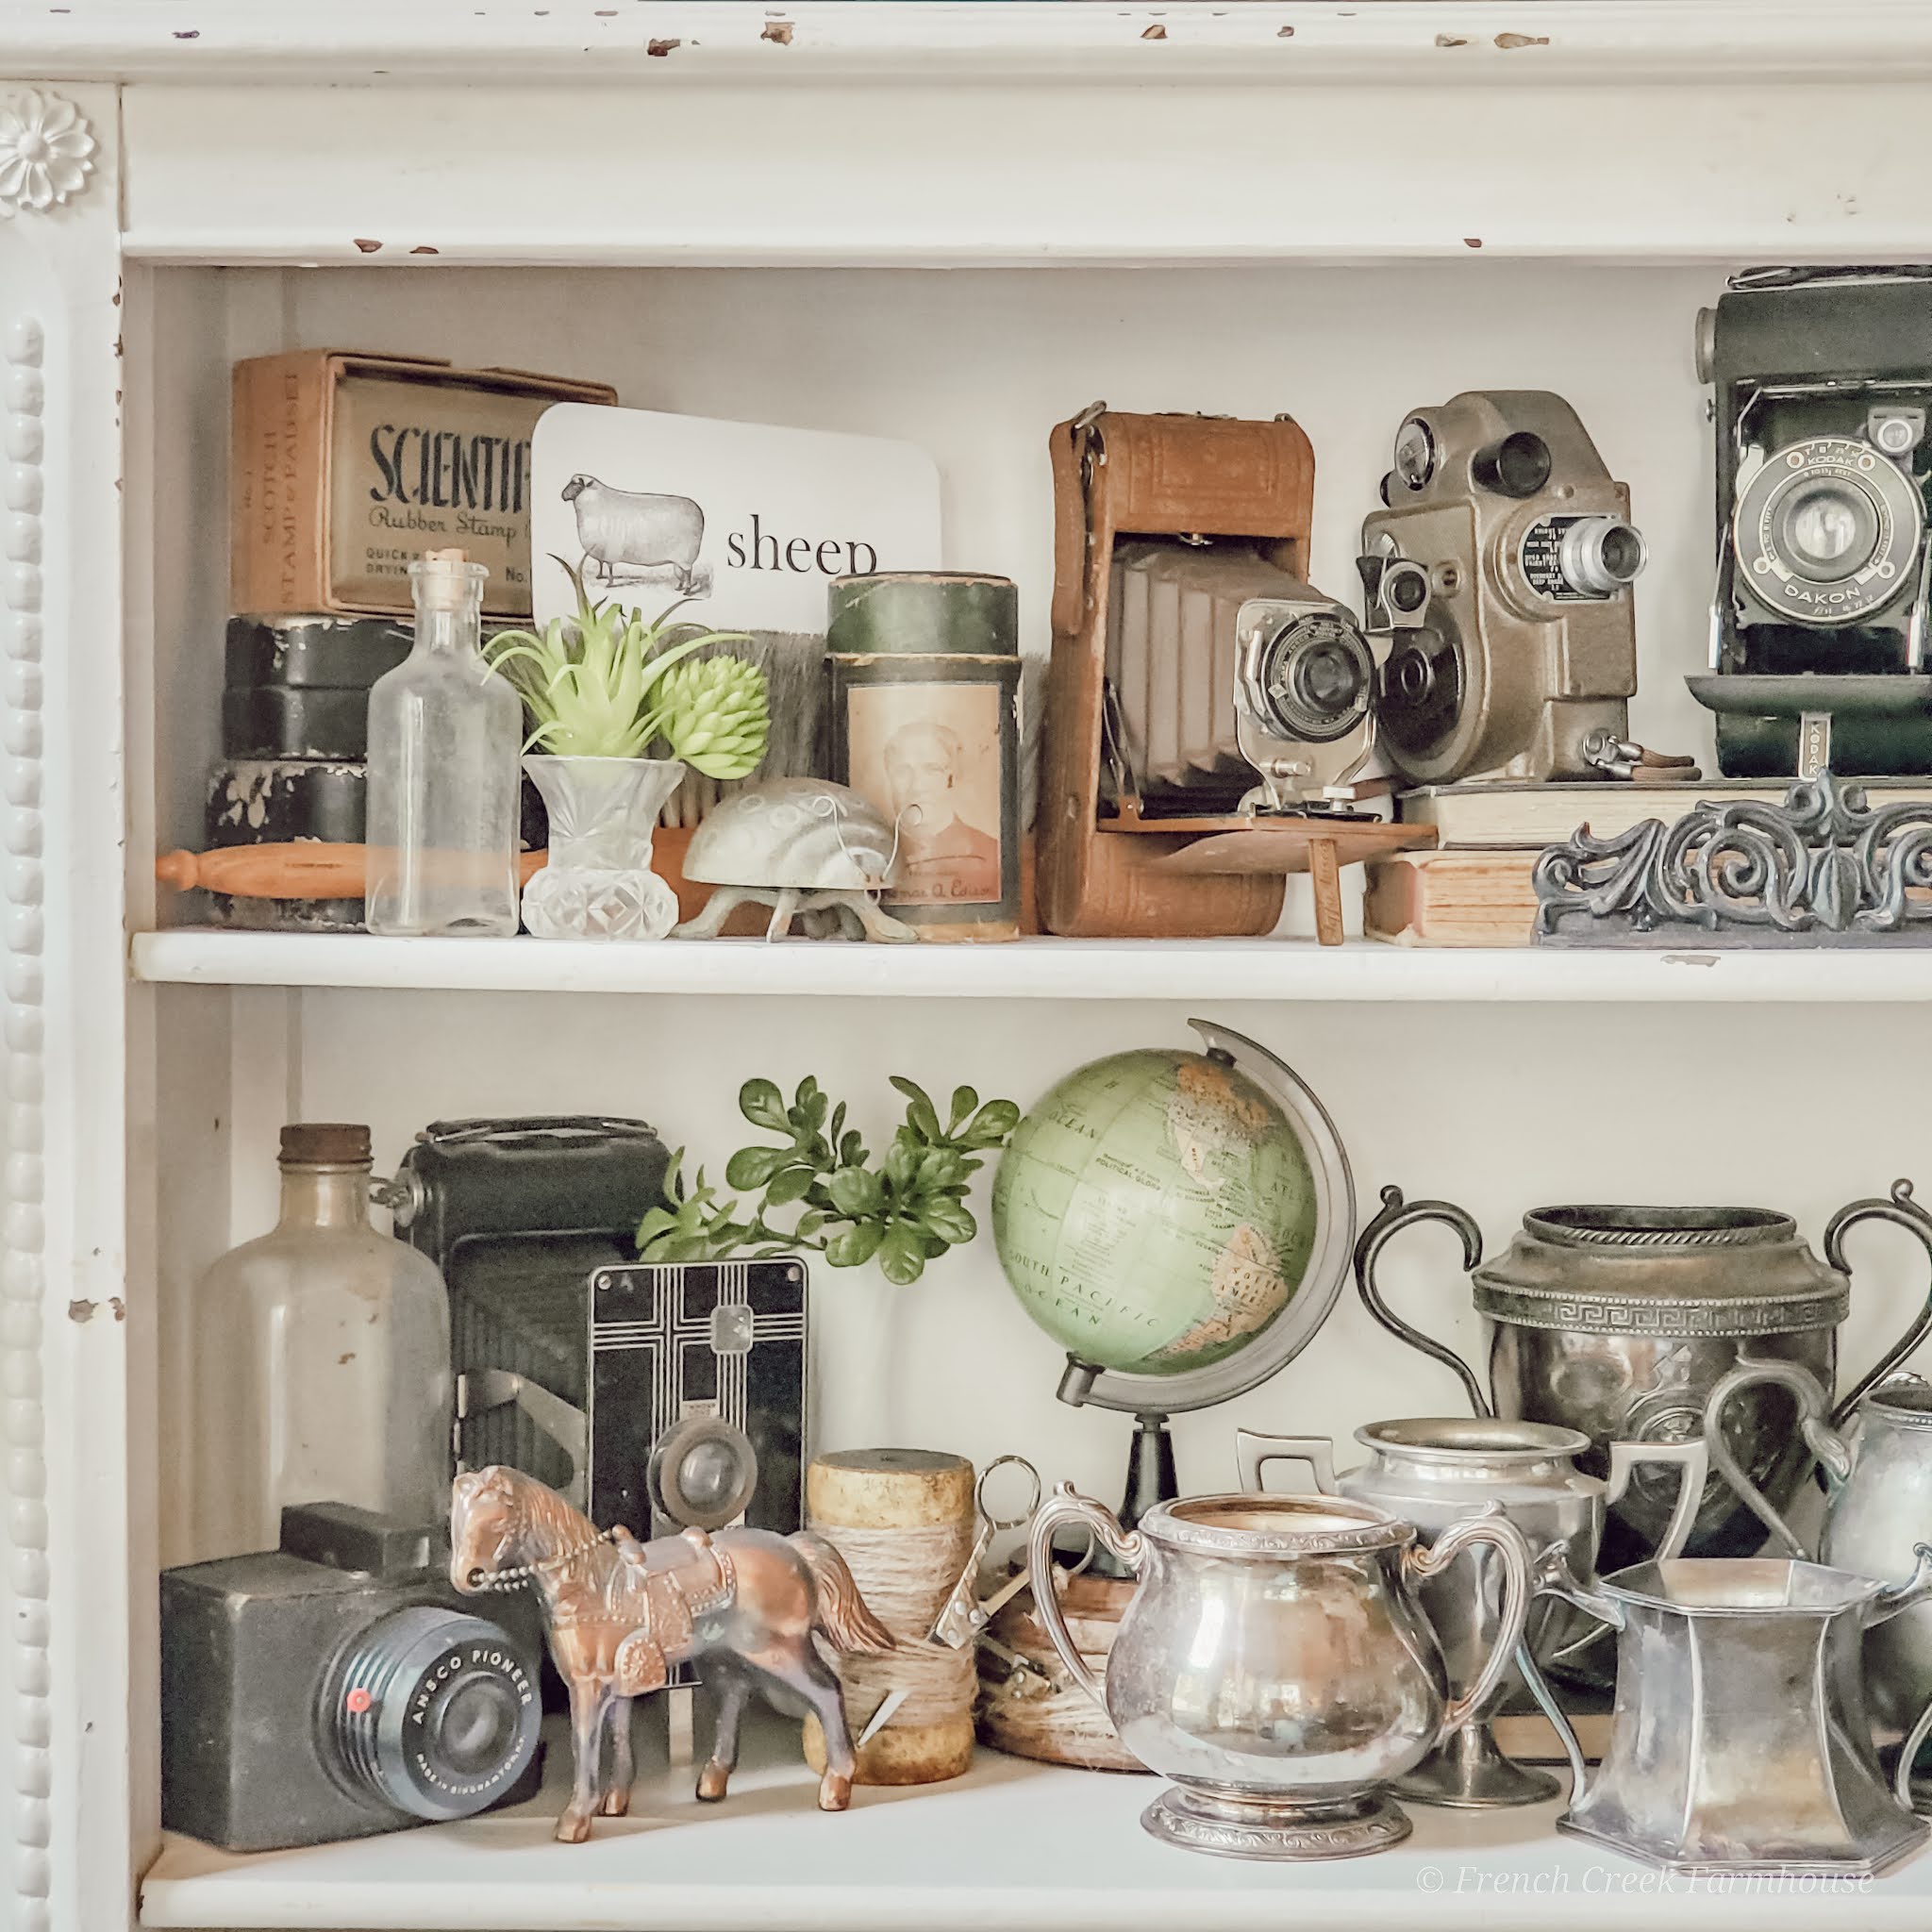
Thank you for sharing this great Valentine's Day craft. I love your silver. I collect silver too – and I am now inspired to clean my silver so I can use it in my decor.
I am definitely vintage obsessed! Haha! Glad you loved it! xo
Kristi,
OMG, I love these hearts and thanks for the download. I can't wait to make some.
Hugs,
Bev
You are so very welcome! I can't wait to see them when you're done, Bev!! xo
These are really beautiful, perfect for Valentines day but also all year round! I love your super clear tutorial too (I do love a good photo heavy tutorial!) Thanks for sharing with us at Handmade Monday. I've sent you an invite to join our group Pinterest board (no obligation, just that you are welcome to join that if you'd like to !)
How sweet of you! I'll go check it out! xo
I love these!
Thank you for sharing at The Really Crafty Link Party this week. Pinned.
Thank you so much for stopping by, Theresa! xo
These don't JUST have to be for Valentine's Day! Great for a girl's room, or a nursery… or even for just a country/farmhouse touch (especially in the neutral)! Love!
It's amazing how good looking something so simple can be – the heart symbol and the texture of the felt evokes such a good feeling 🙂 Happy Valentines Day!
Fantastic crafts:-) Love all your silver collection:-)
These are so cute. You've got me thinking about how I can make bunnies for Spring. I need to try the blanket stitch. It looks so pretty.
Oh these are super adorable. I love that you used white felt as well for a very refined country appeal! Although I am sure these are just as cute in other colors. Thanks for sharing and linking up.
Shelbee
http://www.shelbeeontheedge.com