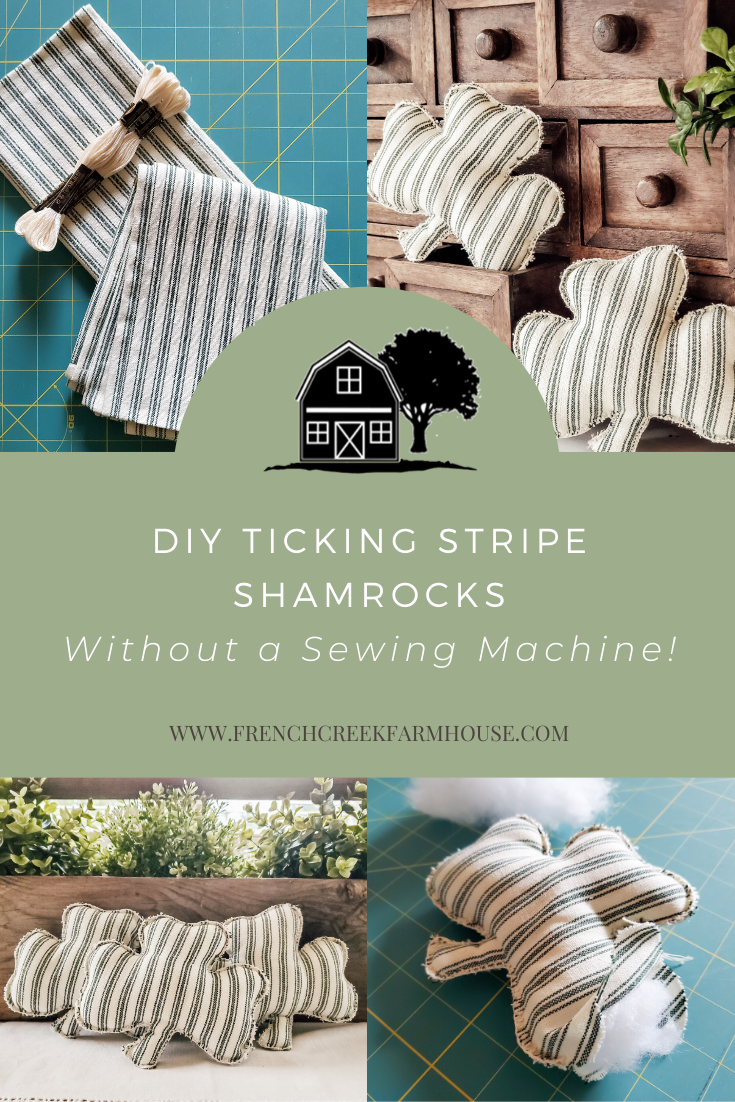
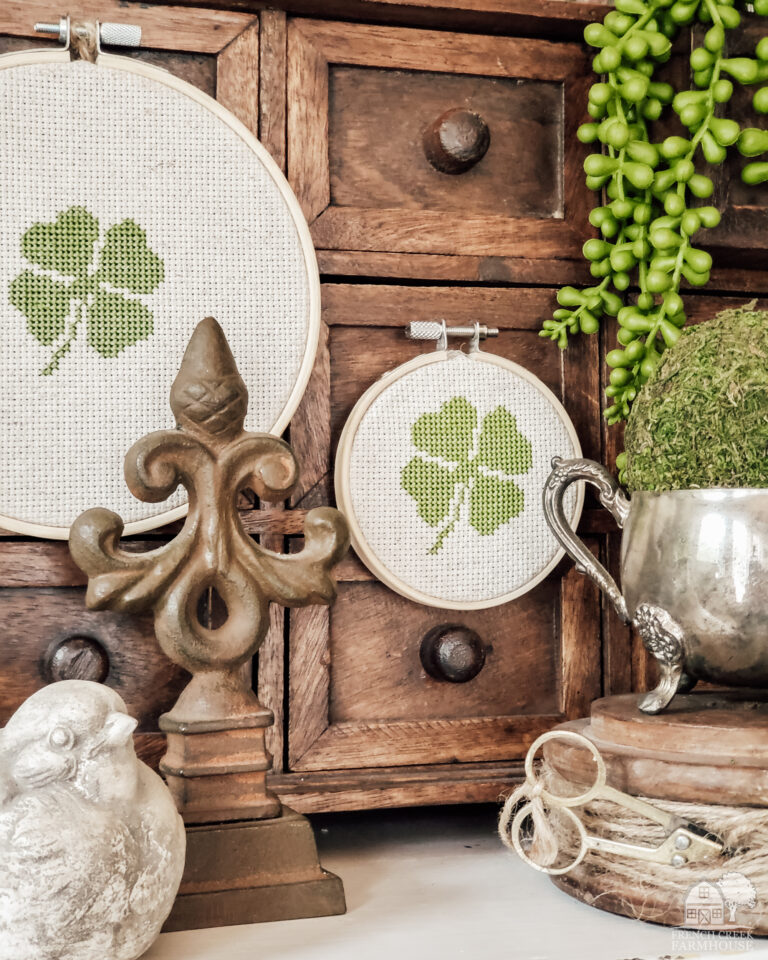
DIY Farm Chic Shamrocks
When I was a kid, my version of holiday decor consisted of whatever I could cut from construction paper and tape to the wall or window. Thankfully, my tastes have changed, but I still love to add celebratory touches to our home. This year, for St. Patrick’s Day, I decided to create some shabby, farmhouse-style shamrocks to decorate around the house.
Have you ever wondered what the difference is between a clover and a shamrock? Wanting to use the right term, I did some homework.
Clover is the common name for three-leaf plants in the Trifolium family (trifolium literally means “three leaves”).
The story goes that St. Patrick, who was a Christian missionary and
later a priest, taught about the Holy Trinity throughout Ireland using a shamrock.
Shamrock is a Gaelic word that means “little clover”. No one is quite sure which variety of clover that might be, but one thing is clear: Shamrocks are three-leaf clovers.
The “lucky” four-leaf clover is a genetic mutation of a three-leaf clover, but it is not a shamrock because shamrocks only have three leaves. This mutation occurs about once for every 10,000 clovers, so it really is quite lucky to find one!
In short…all shamrocks are clovers, but not all clovers are shamrocks!
Recently, I shared a tutorial for how to sew a blanket stitch. It’s one of the stitches I use quite often for quick DIY craft projects.
{Related: How to Sew a Blanket Stitch}
Today’s project uses the blanket stitch, and it’s a craft you can complete without a sewing machine in just a short time!
I’ve also included a downloadable template that’s helpful for any craft where you want to incorporate a few clovers.
{Related: DIY Felt Heart Ornaments}
These darling clovers aren’t just for St. Patrick’s Day. They also make a thoughtful handmade gift for anyone in your life who needs a little luck!

Disclosure: This is not a sponsored post, and I have received no compensation for sharing anything that follows. Some links within this blog may be affiliate links, and I might earn a commission if you make a purchase through that link. This usually amounts to cents, not dollars, and helps to support the projects featured on this blog. I only recommend products from companies that I have found to be trustworthy. Read my full disclosure here.
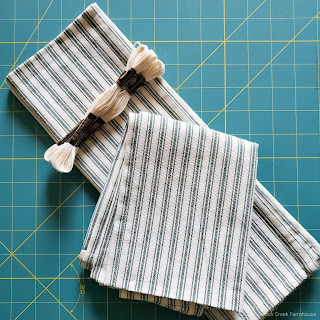
Supplies
- Ticking stripe fabric (this is a great one)
- Embroidery floss
(For most projects, I prefer floss that is the same color as my fabric) - Embroidery needle (This is different from a regular sewing needle because it has a longer eye for threading larger materials)
- Poly-fil
- Scissors
- Clover Template (free printable you can download here)
Instructions
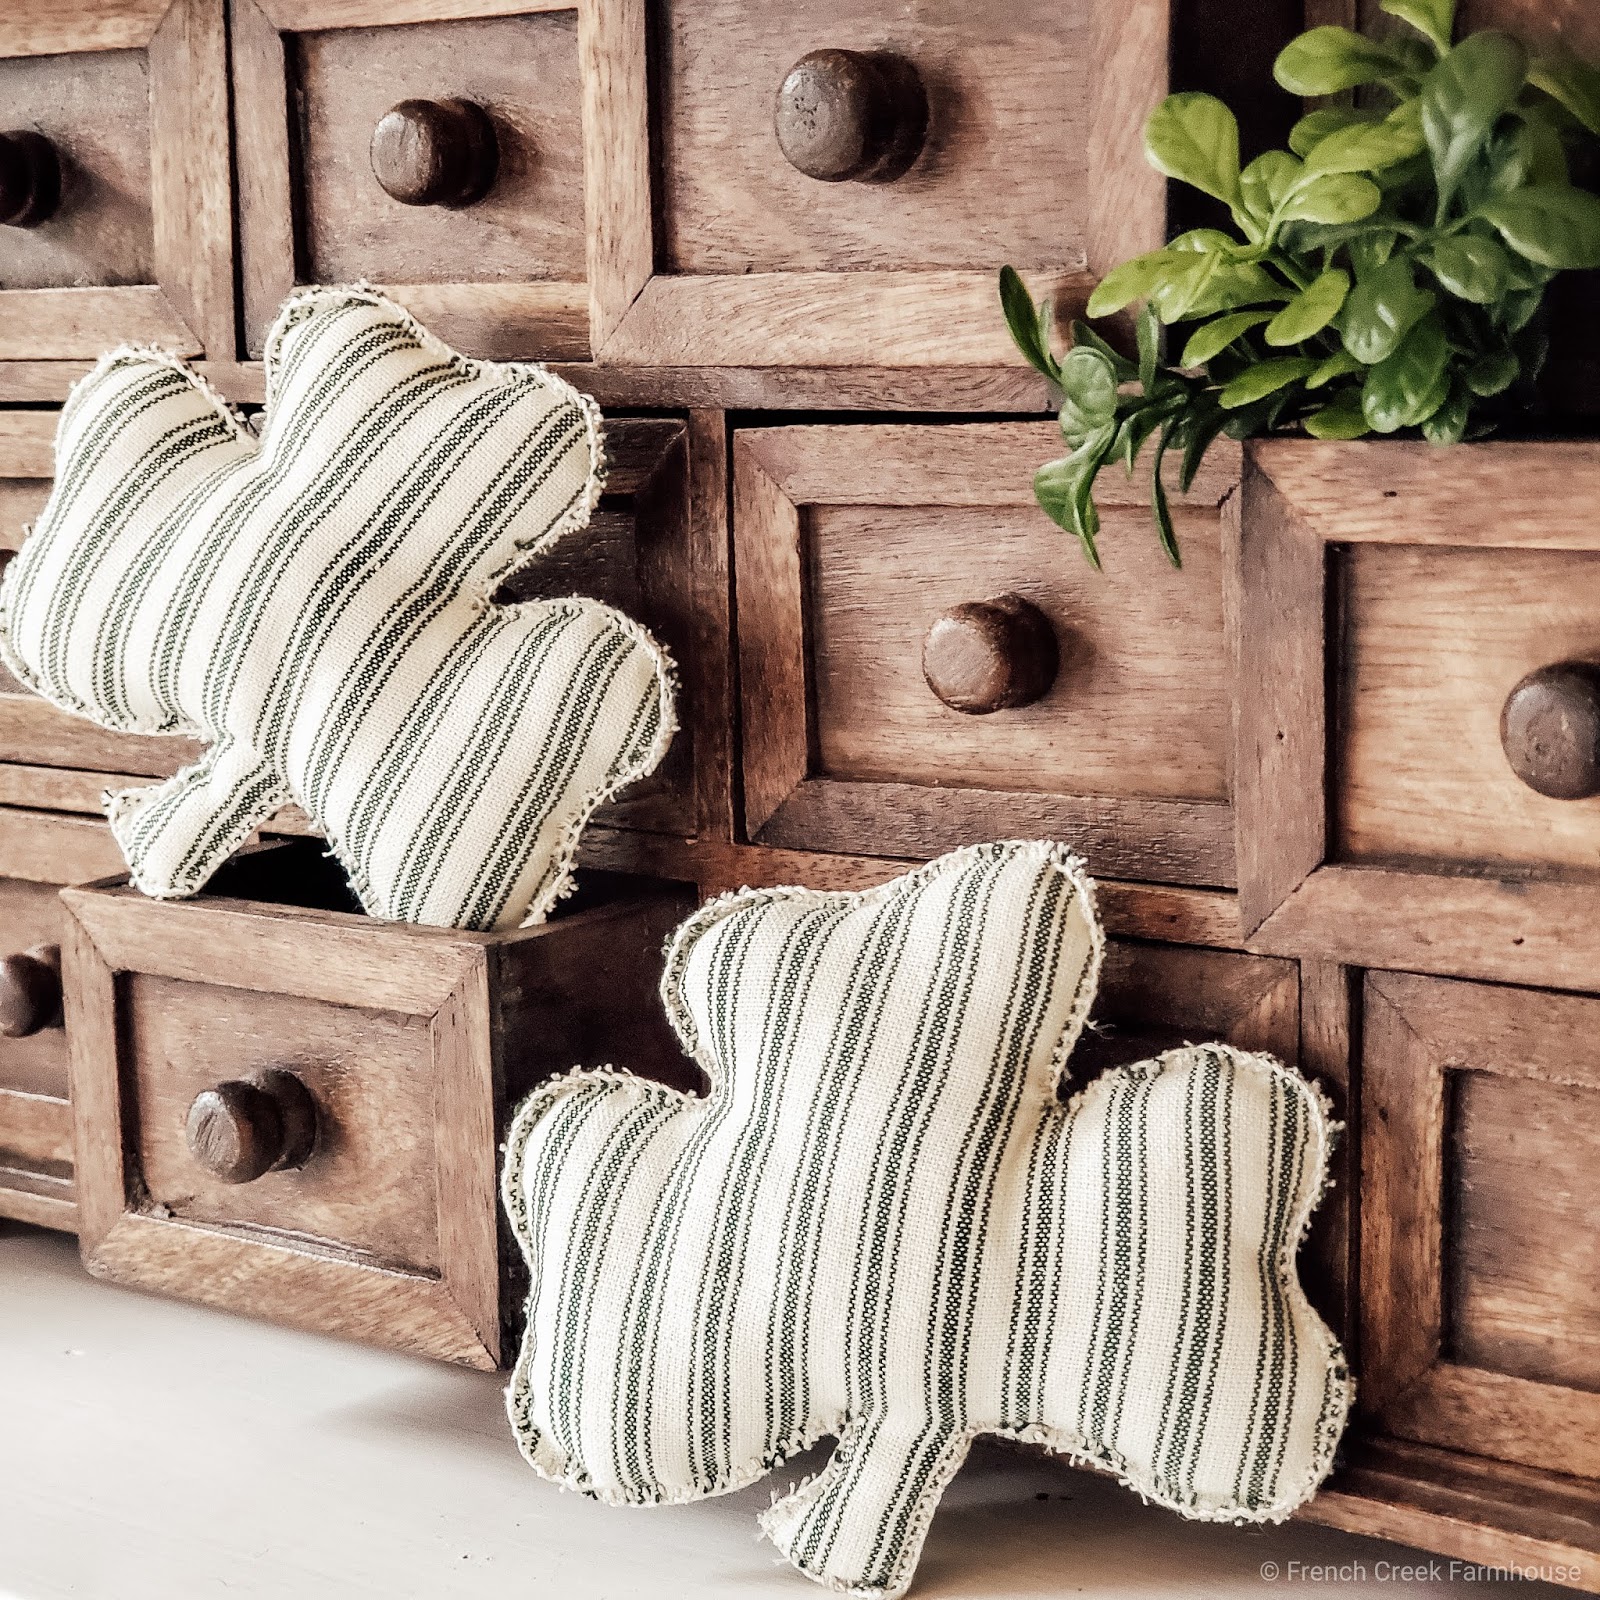
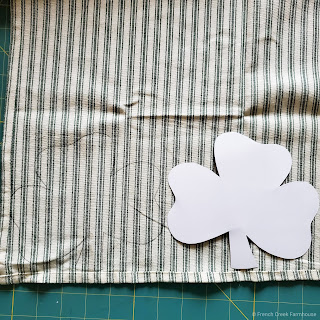
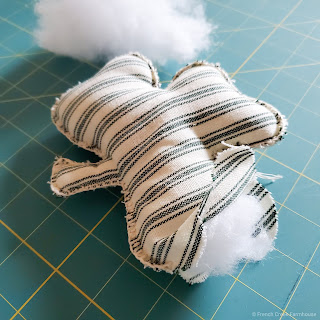
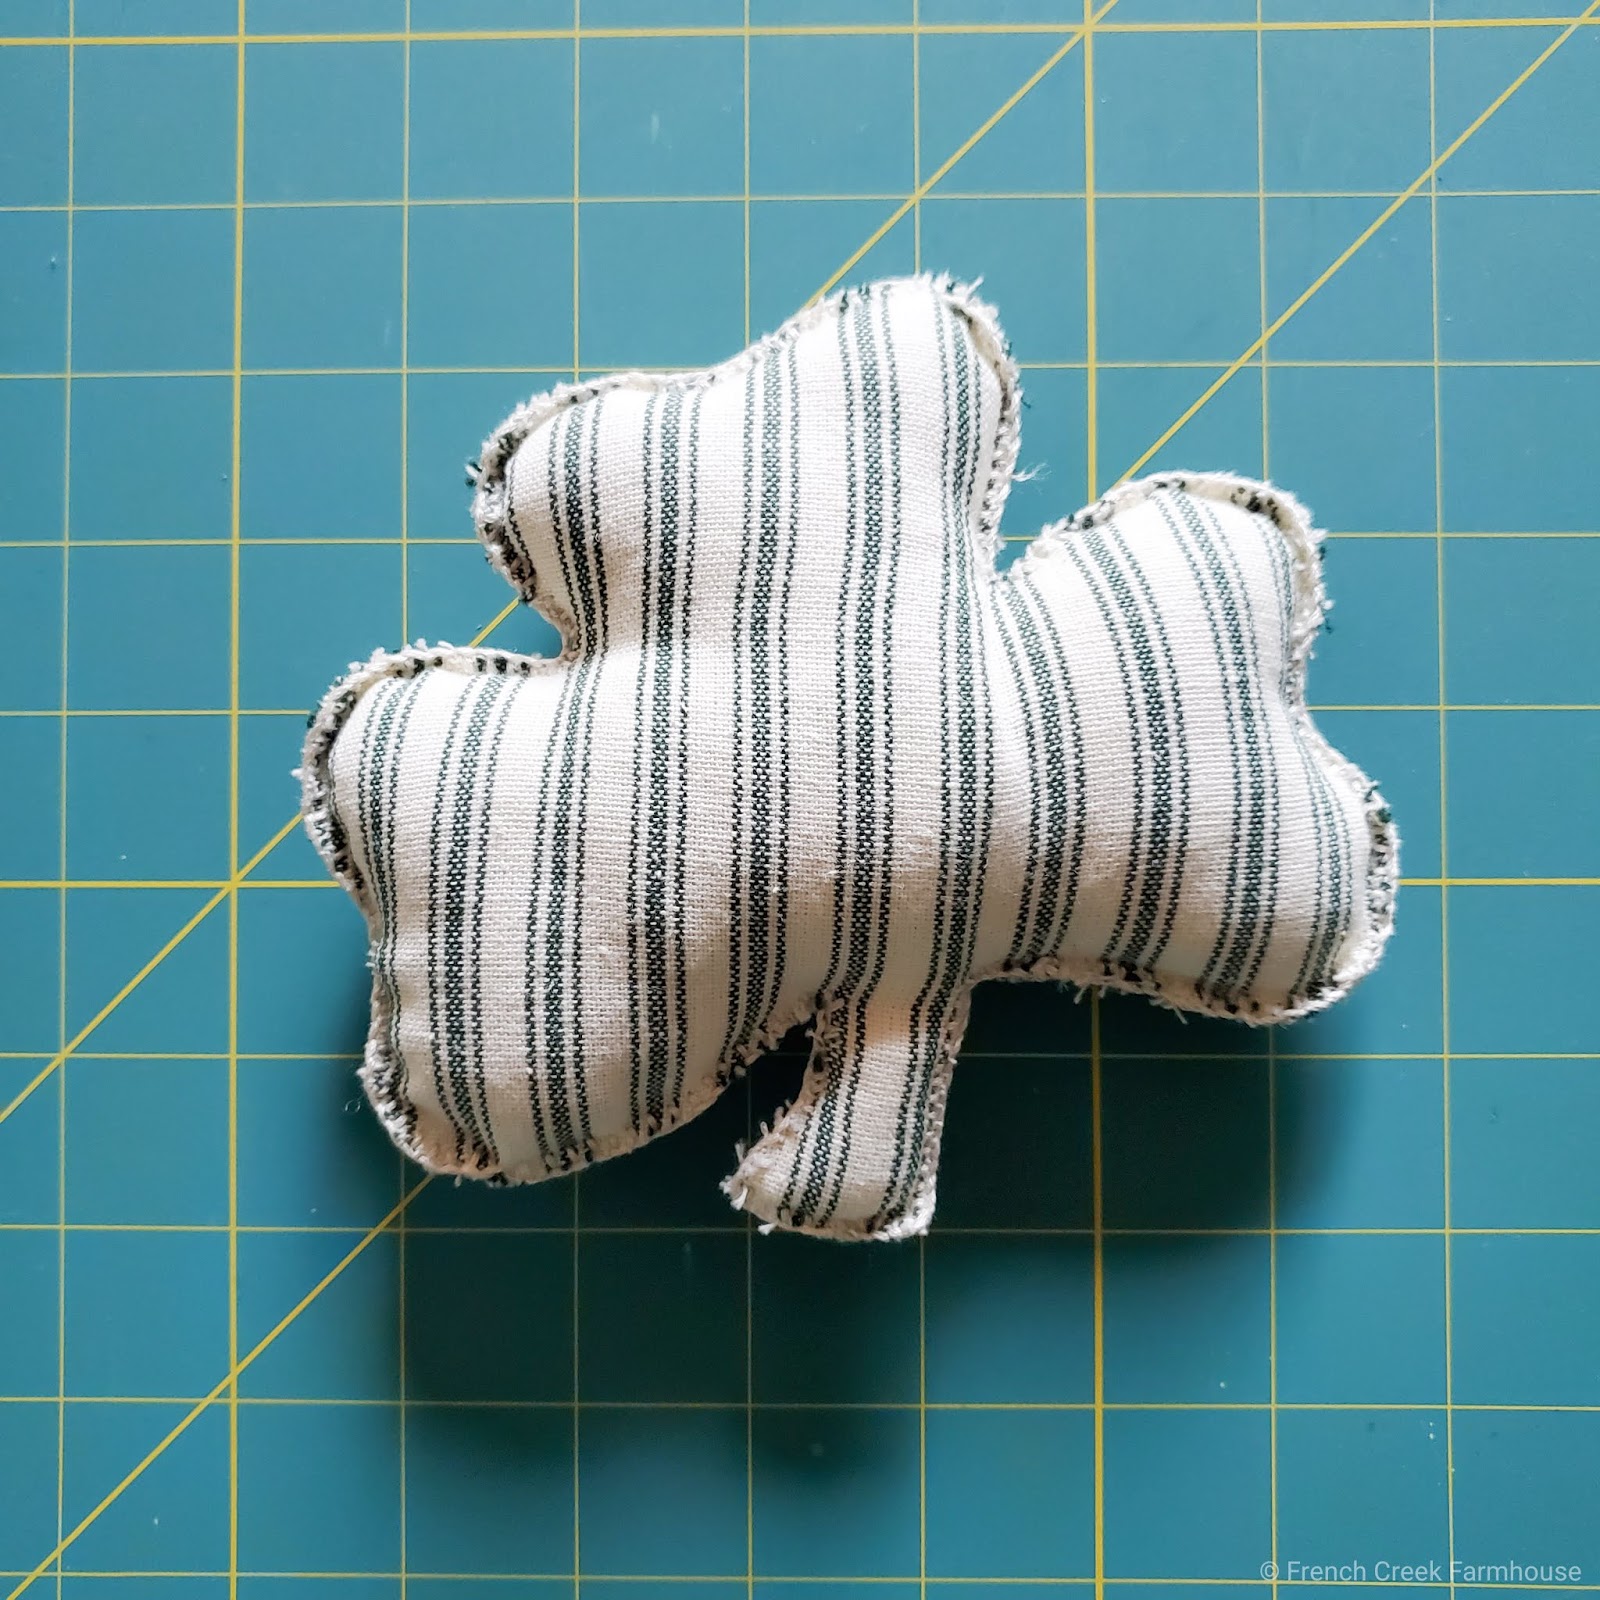
1. Gather all of your supplies, including the printable clover template (here). I made my clovers on a whim one afternoon and used some ticking stripe tea towels that I had picked up from our local craft store. The fabric was not as thick as I would normally suggest for a project using a blanket stitch, but it worked fine.
2. Trace one shamrock onto your fabric. You can use a pencil (like I did) or a dressmaker’s pencil. For this project, I used the 6.5″ size template.
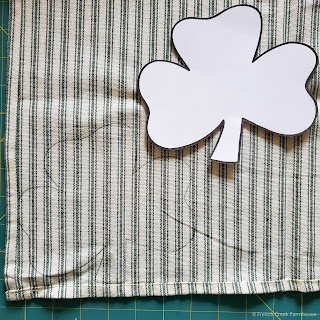
3. Trace a second shamrock that’s a mirror image of the first. I wanted my ticking stripes to line up, but it’s really not a requirement.If you’re going for the same thing, be mindful of where you place your template on your fabric.
4. Place your fabric together with right sides facing out, and use the blanket stitch to sew around the entire clover, leaving one leaf open to stuff with batting. If the blanket stitch is new for you, this tutorial will walk you through each step.
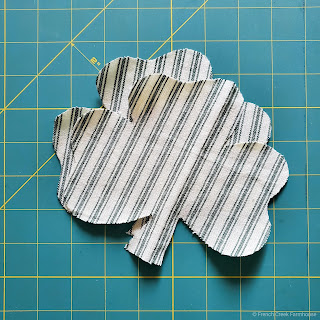
5. After stuffing the shamrock to desired fluffiness, sew the last leaf closed.
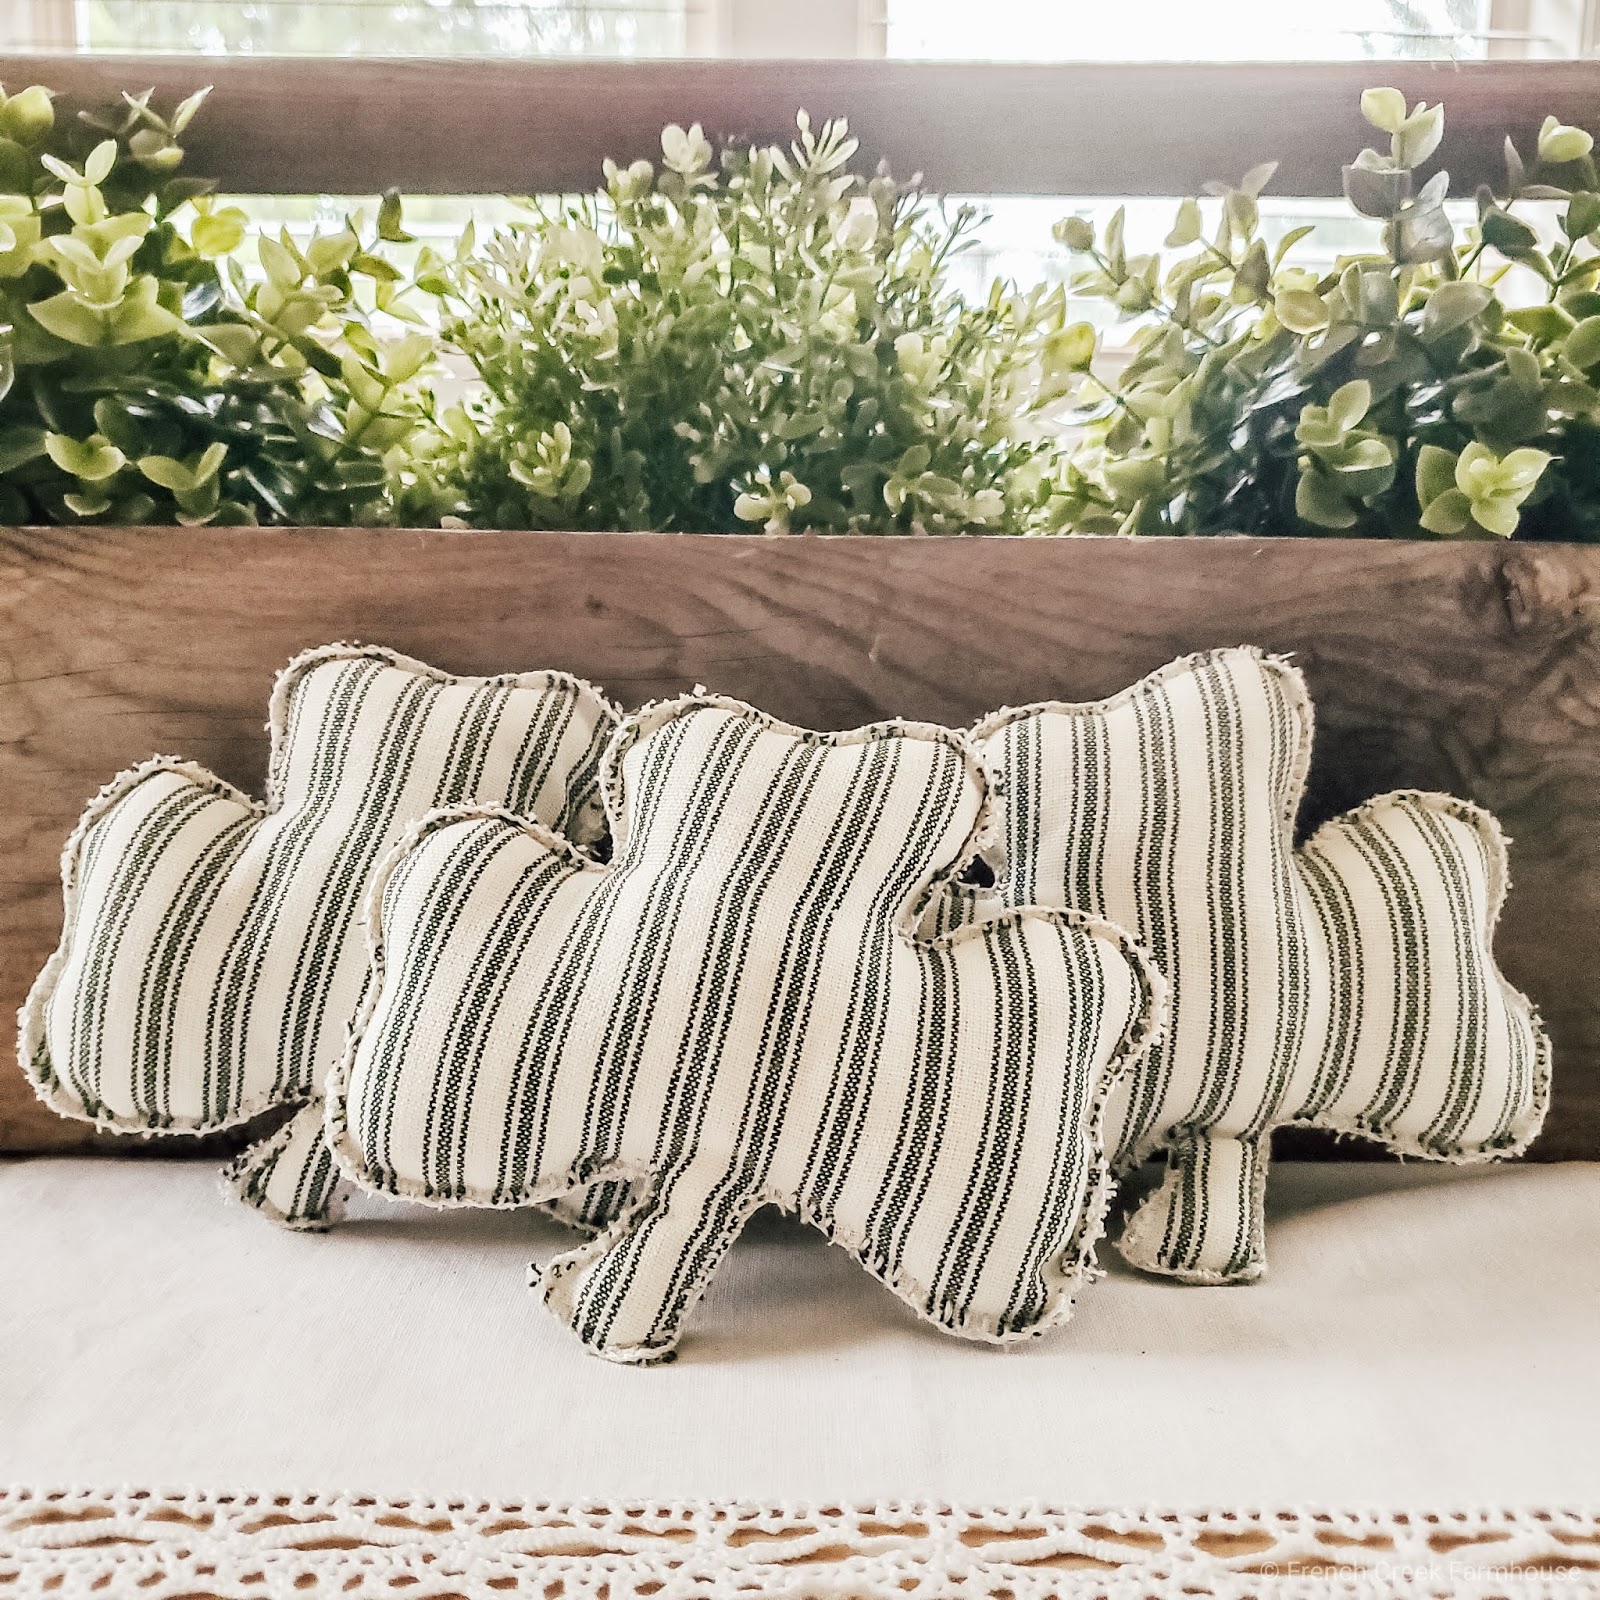
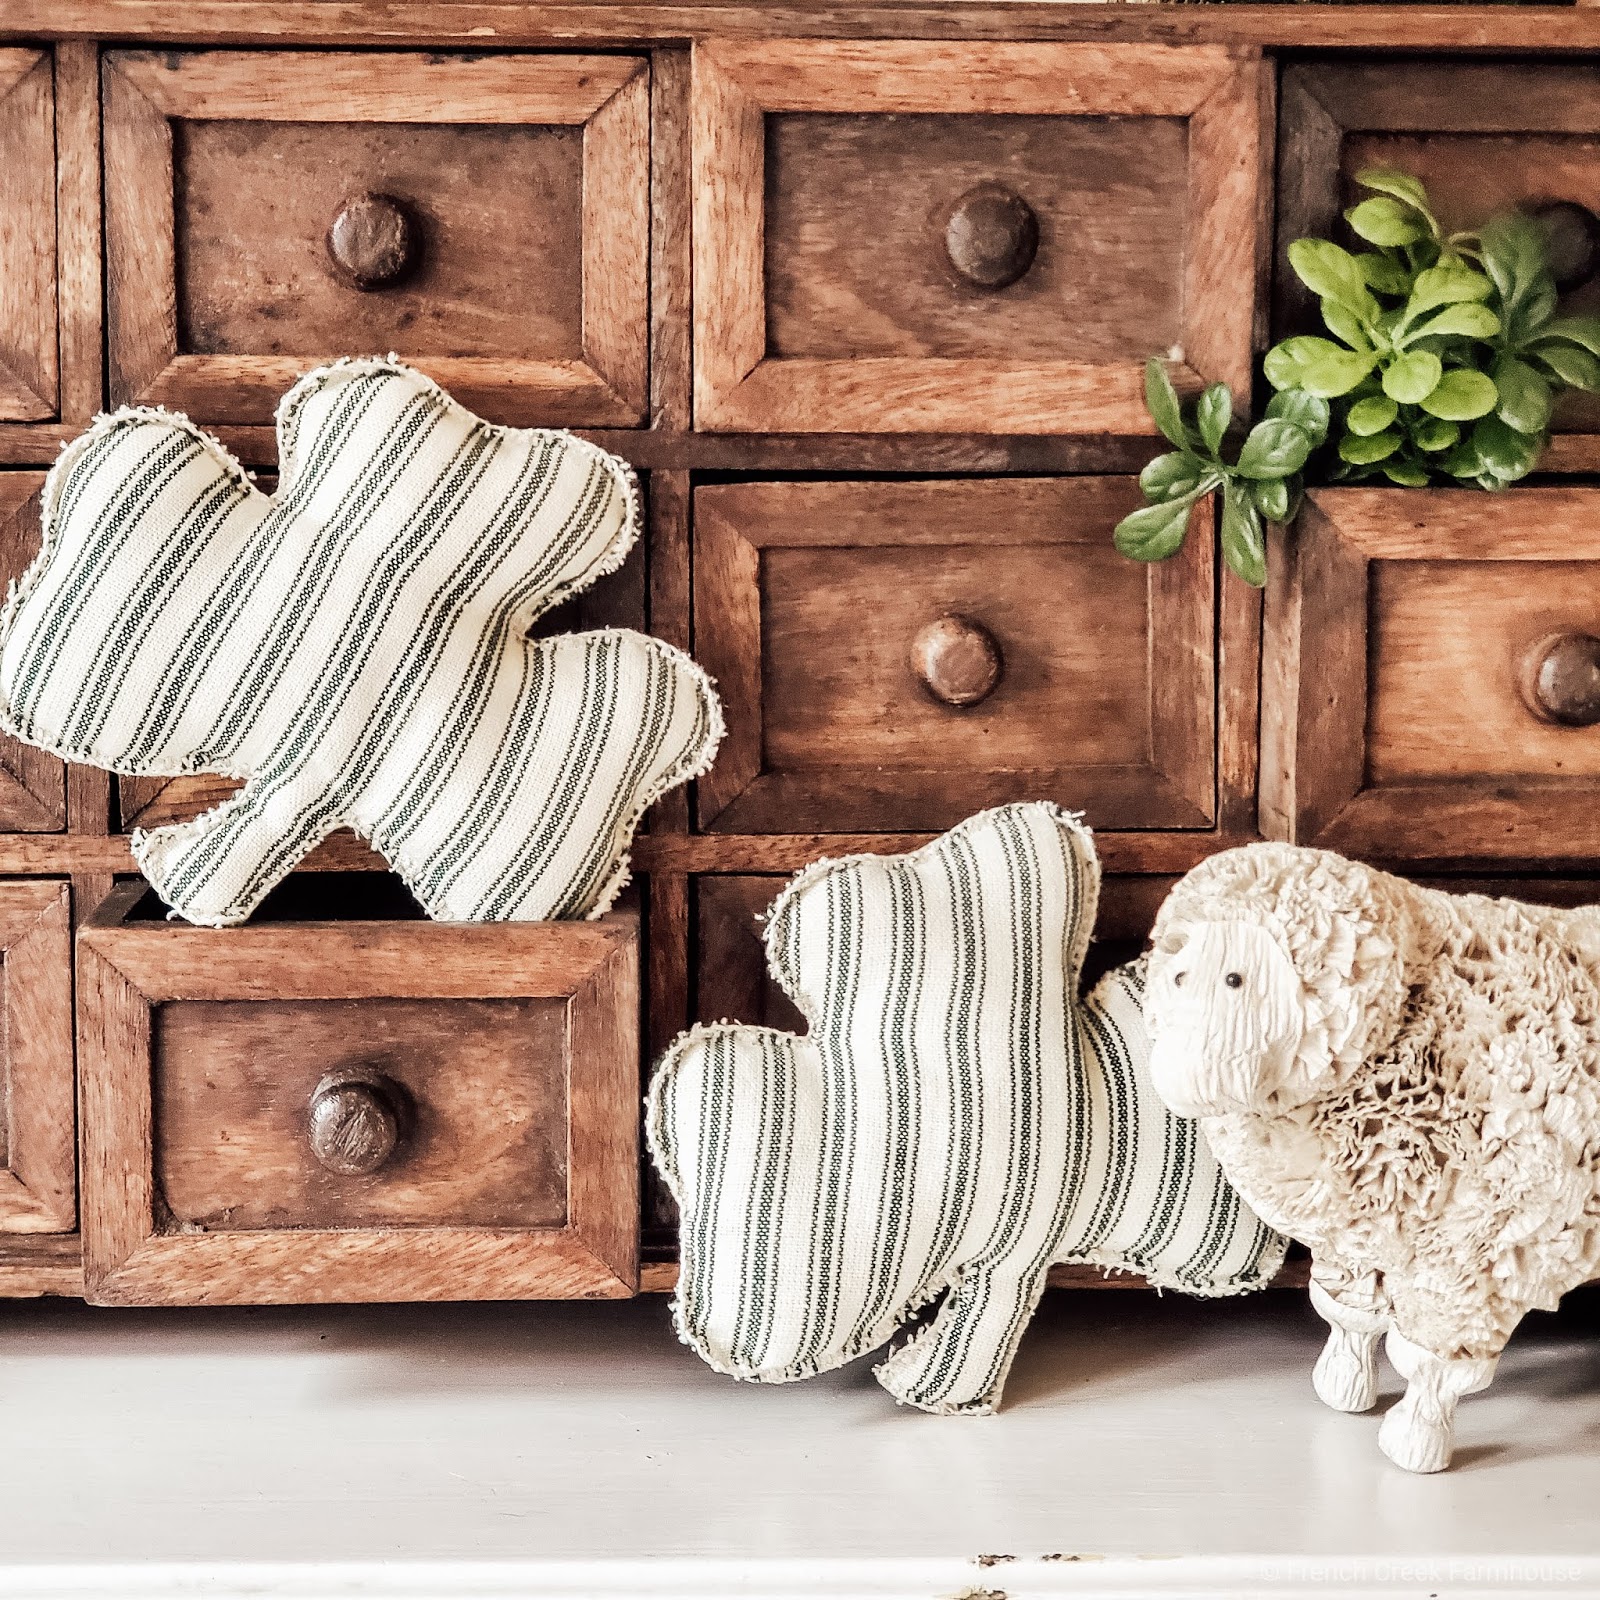
These shamrocks are so easy to make, and they really are darling tucked in as seasonal decor or within a tiered tray. The possibilities are endless!
{Related: How to Style a Tiered Tray}
You might also like to make several clovers to string together and form a garland. Or, attach a ribbon to the top and make ornaments to hang.
Using the pattern, you can vary the size of your shamrocks for a number of easy DIY projects, and this is a great craft to teach children the basics of hand-stitching.
I would love to see what you make! Be sure to tag me in your photos on Instagram or Facebook, and don’t forget to pin this project so you can find it later!


Your shamrocks are adorable! I loved reading about the difference in shamrocks and clovers. I'm apparently quite lucky because I can find a 4 leaf clover usually on demand lol. A useless talent of mine.
That's amazing! What good luck you are!!
I love everything about these shamrocks! Pinned for next year!
Pamela ~ DIY Vibes
Thank you, Pamela! xo
Love these shamrocks. Congratulations, you are being featured at Over The Moon Party. I hope you stop by. https://www.eclecticredbarn.com/2021/03/over-moon-party.html
Hugs,
Bev
Oh my goodness, what an honor! Thank you so much, Bev! xo
What darling little shamrocks! Perfect for adding a little bit o' luck to your decor! I'd like to feature your post at Tuesdays with a Twist. Pinning and sharing on Facebook -Marci @ Stone Cottage Adventures
Wow, Marci–thank you! You are so kind!!
Those are super cute! I am going to whip a few of these up!
Yay! Can't wait to see them, Candice!
St. Patrick used the shamrock to teach the people about the Holy Trinity. Father, Son and Holy Spirit. 3 different parts, yet one. I also like that each part of the clover looks like a heart. Have a great St. Patrick’s Day!