Laundry Room – Week Four: Doubt and the Utility Sink
Four weeks into an eight week renovation means that we’re officially smack dab in the middle of the project. This week, I started tackling our utility sink. And, as always happens at the mid-point of a project, some doubts started to “sink” in. See what I did there?
If you’ve missed previous posts, we’re completing our laundry/mudroom renovation as part of the Spring 2021 One Room Challenge. In partnership with Better Homes & Gardens, the ORC is a celebration of creativity that brings together designers as they make over one room in eight weeks. Each week, you’ll get to see the progress
and watch the project unfold.
In case you’re just now joining us for this renovation, you can catch up on the past few weeks here:
If you’ve come over from the ORC participants’ page and we’re meeting for the first time–welcome! This short video will introduce you to our family’s story and how we came to live in this fixer-upper farmhouse in rural Snohomish, Washington. You’ll also get to see the state of the mudroom when we first got the keys!
Disclosure: This is not a sponsored post, and I have received no compensation for sharing anything that follows. Some links within this blog may be affiliate
links, and I might earn a commission if you make a purchase through that link. This usually amounts to cents, not dollars, and helps to support the projects featured on this blog. I only recommend products from companies that I have found to be trustworthy. Read my full disclosure here.
THIS WEEK: THE UTILITY SINK
Like with most things, our utility sink came with pros and cons. For starters, it’s great that one already existed! I certainly would not have wanted to deal with plumbing in a new one, so that was a nice bonus.
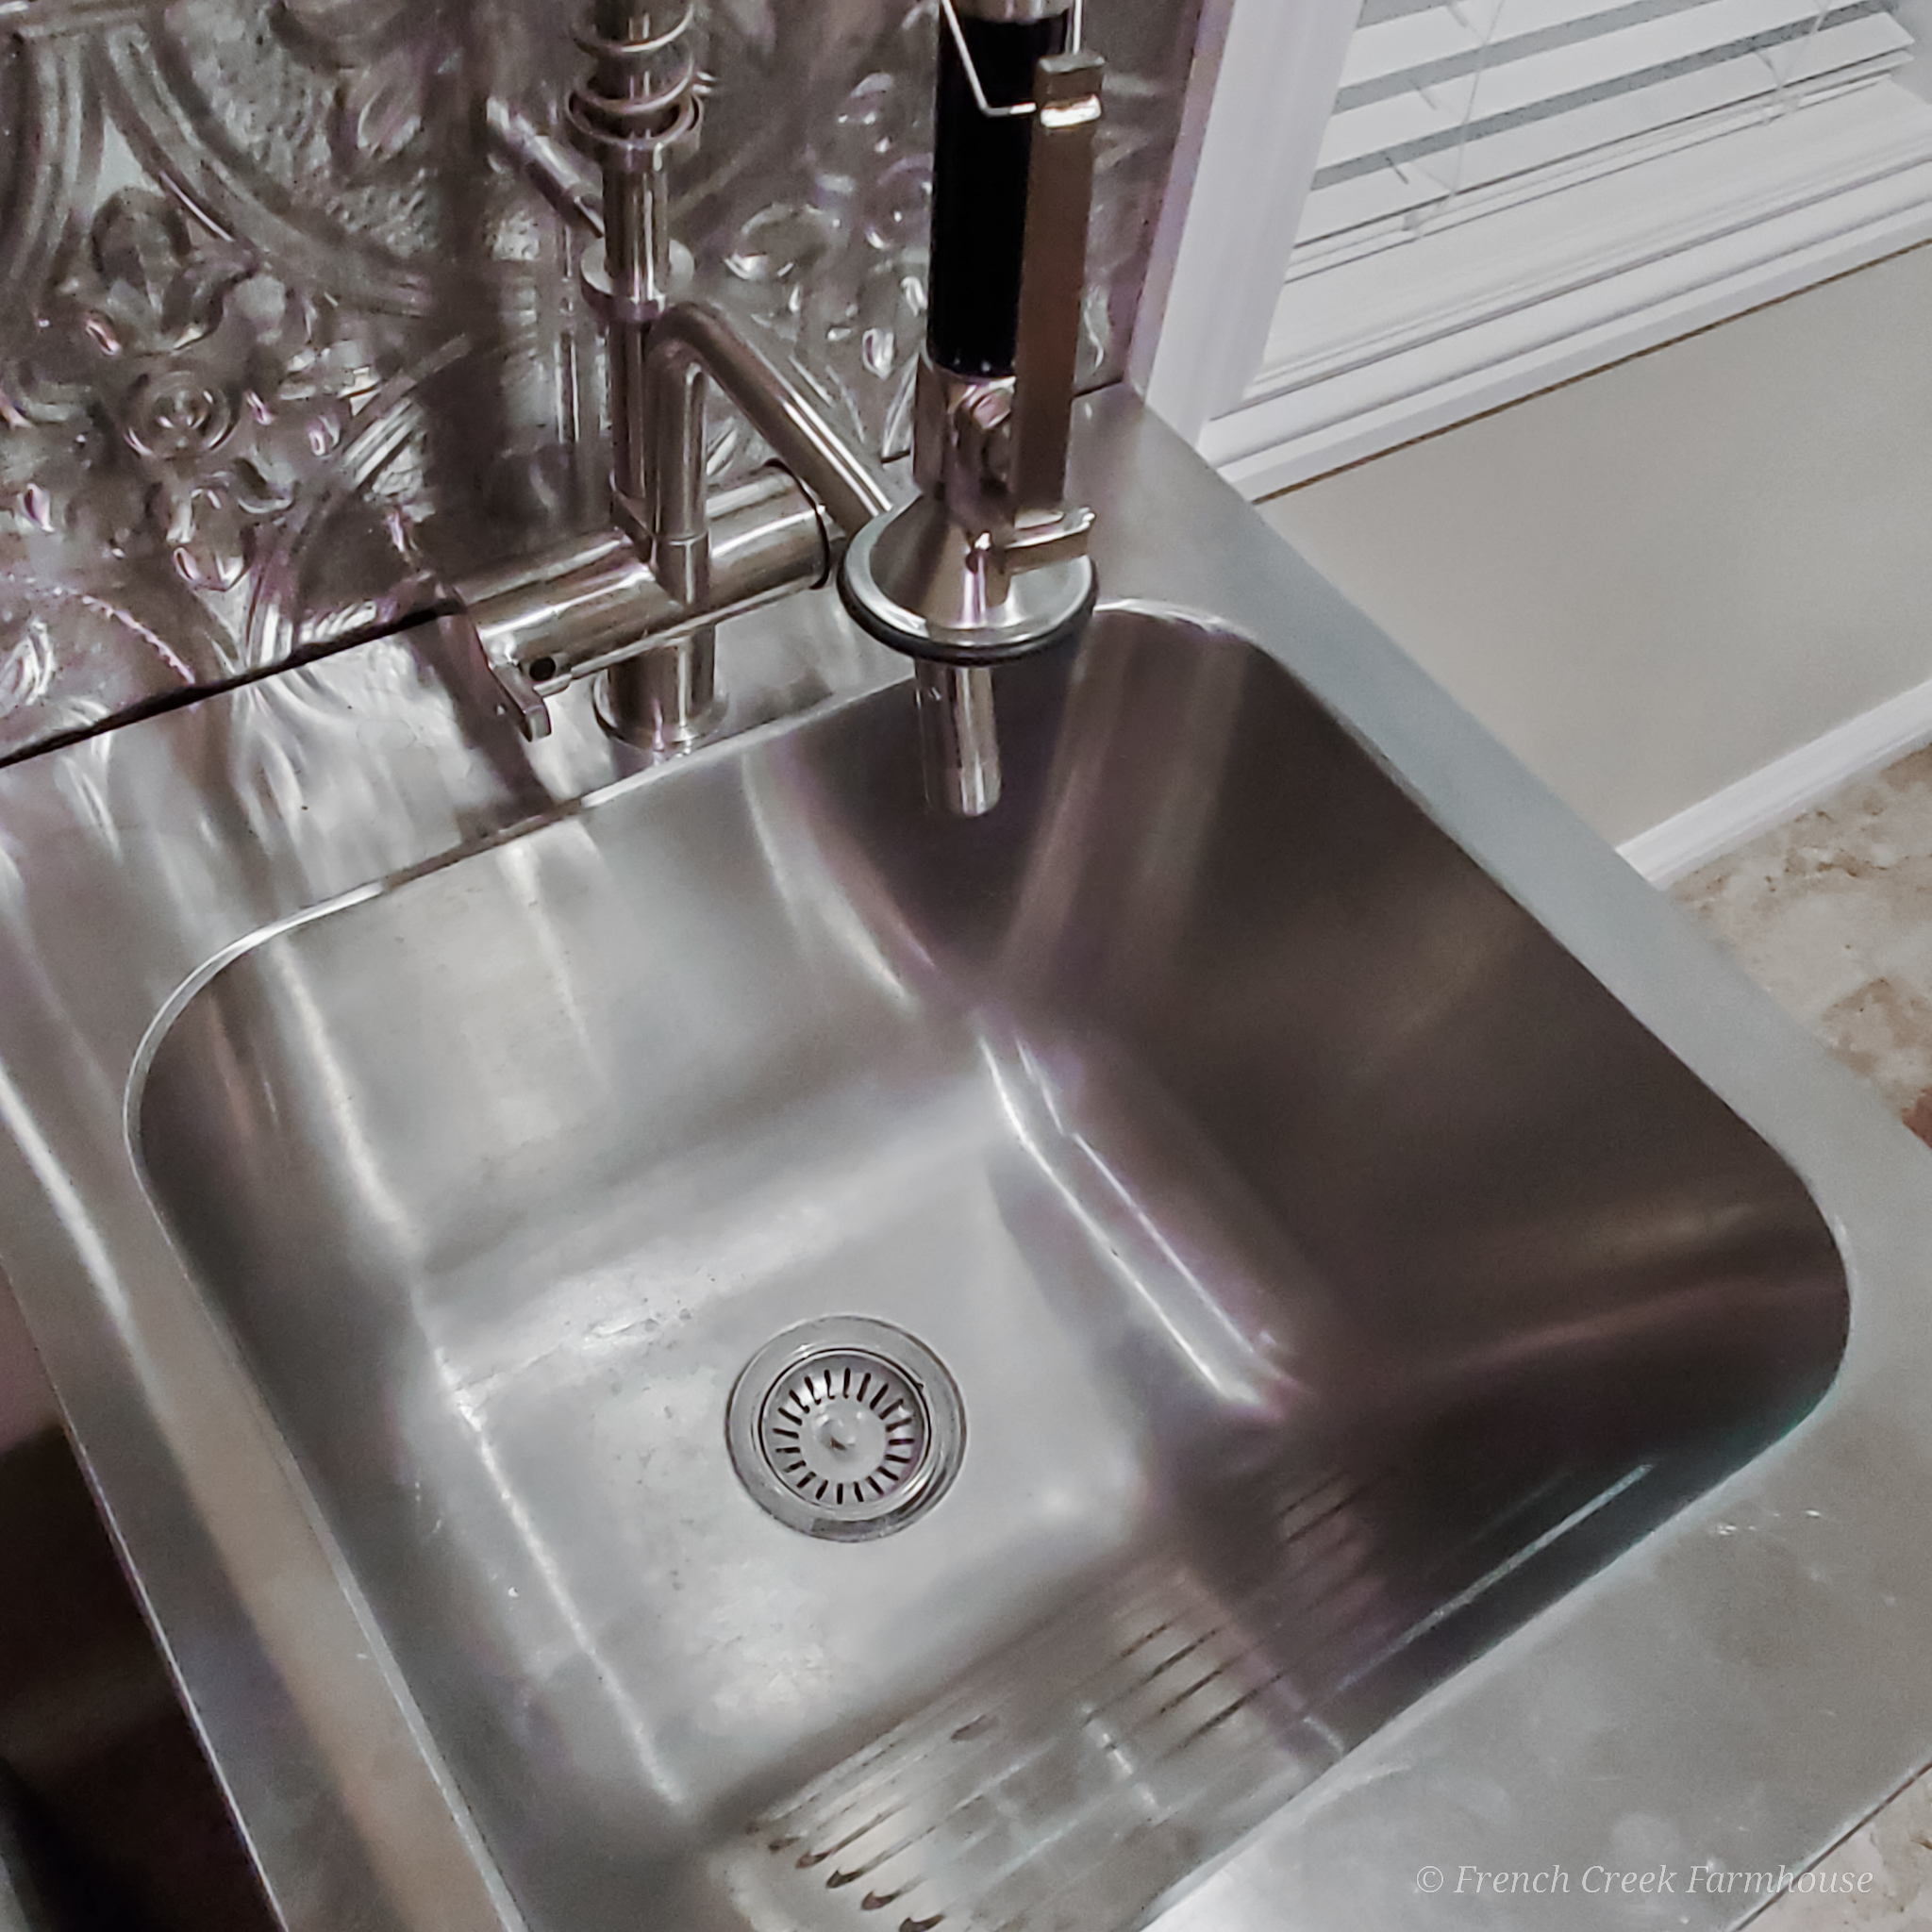
Also, the sink basin and faucet (similar to this one) are high quality…although seriously stained. One of the things that’s important to consider in any fixer-upper undertaking are the bones. If the foundation items are good, you can do quite a lot with the dressings.
I especially like that the basin is super deep, and it has a built-in angled washboard for hand-washing delicate items, as well.
The eye sore, however, has always been the cabinet.
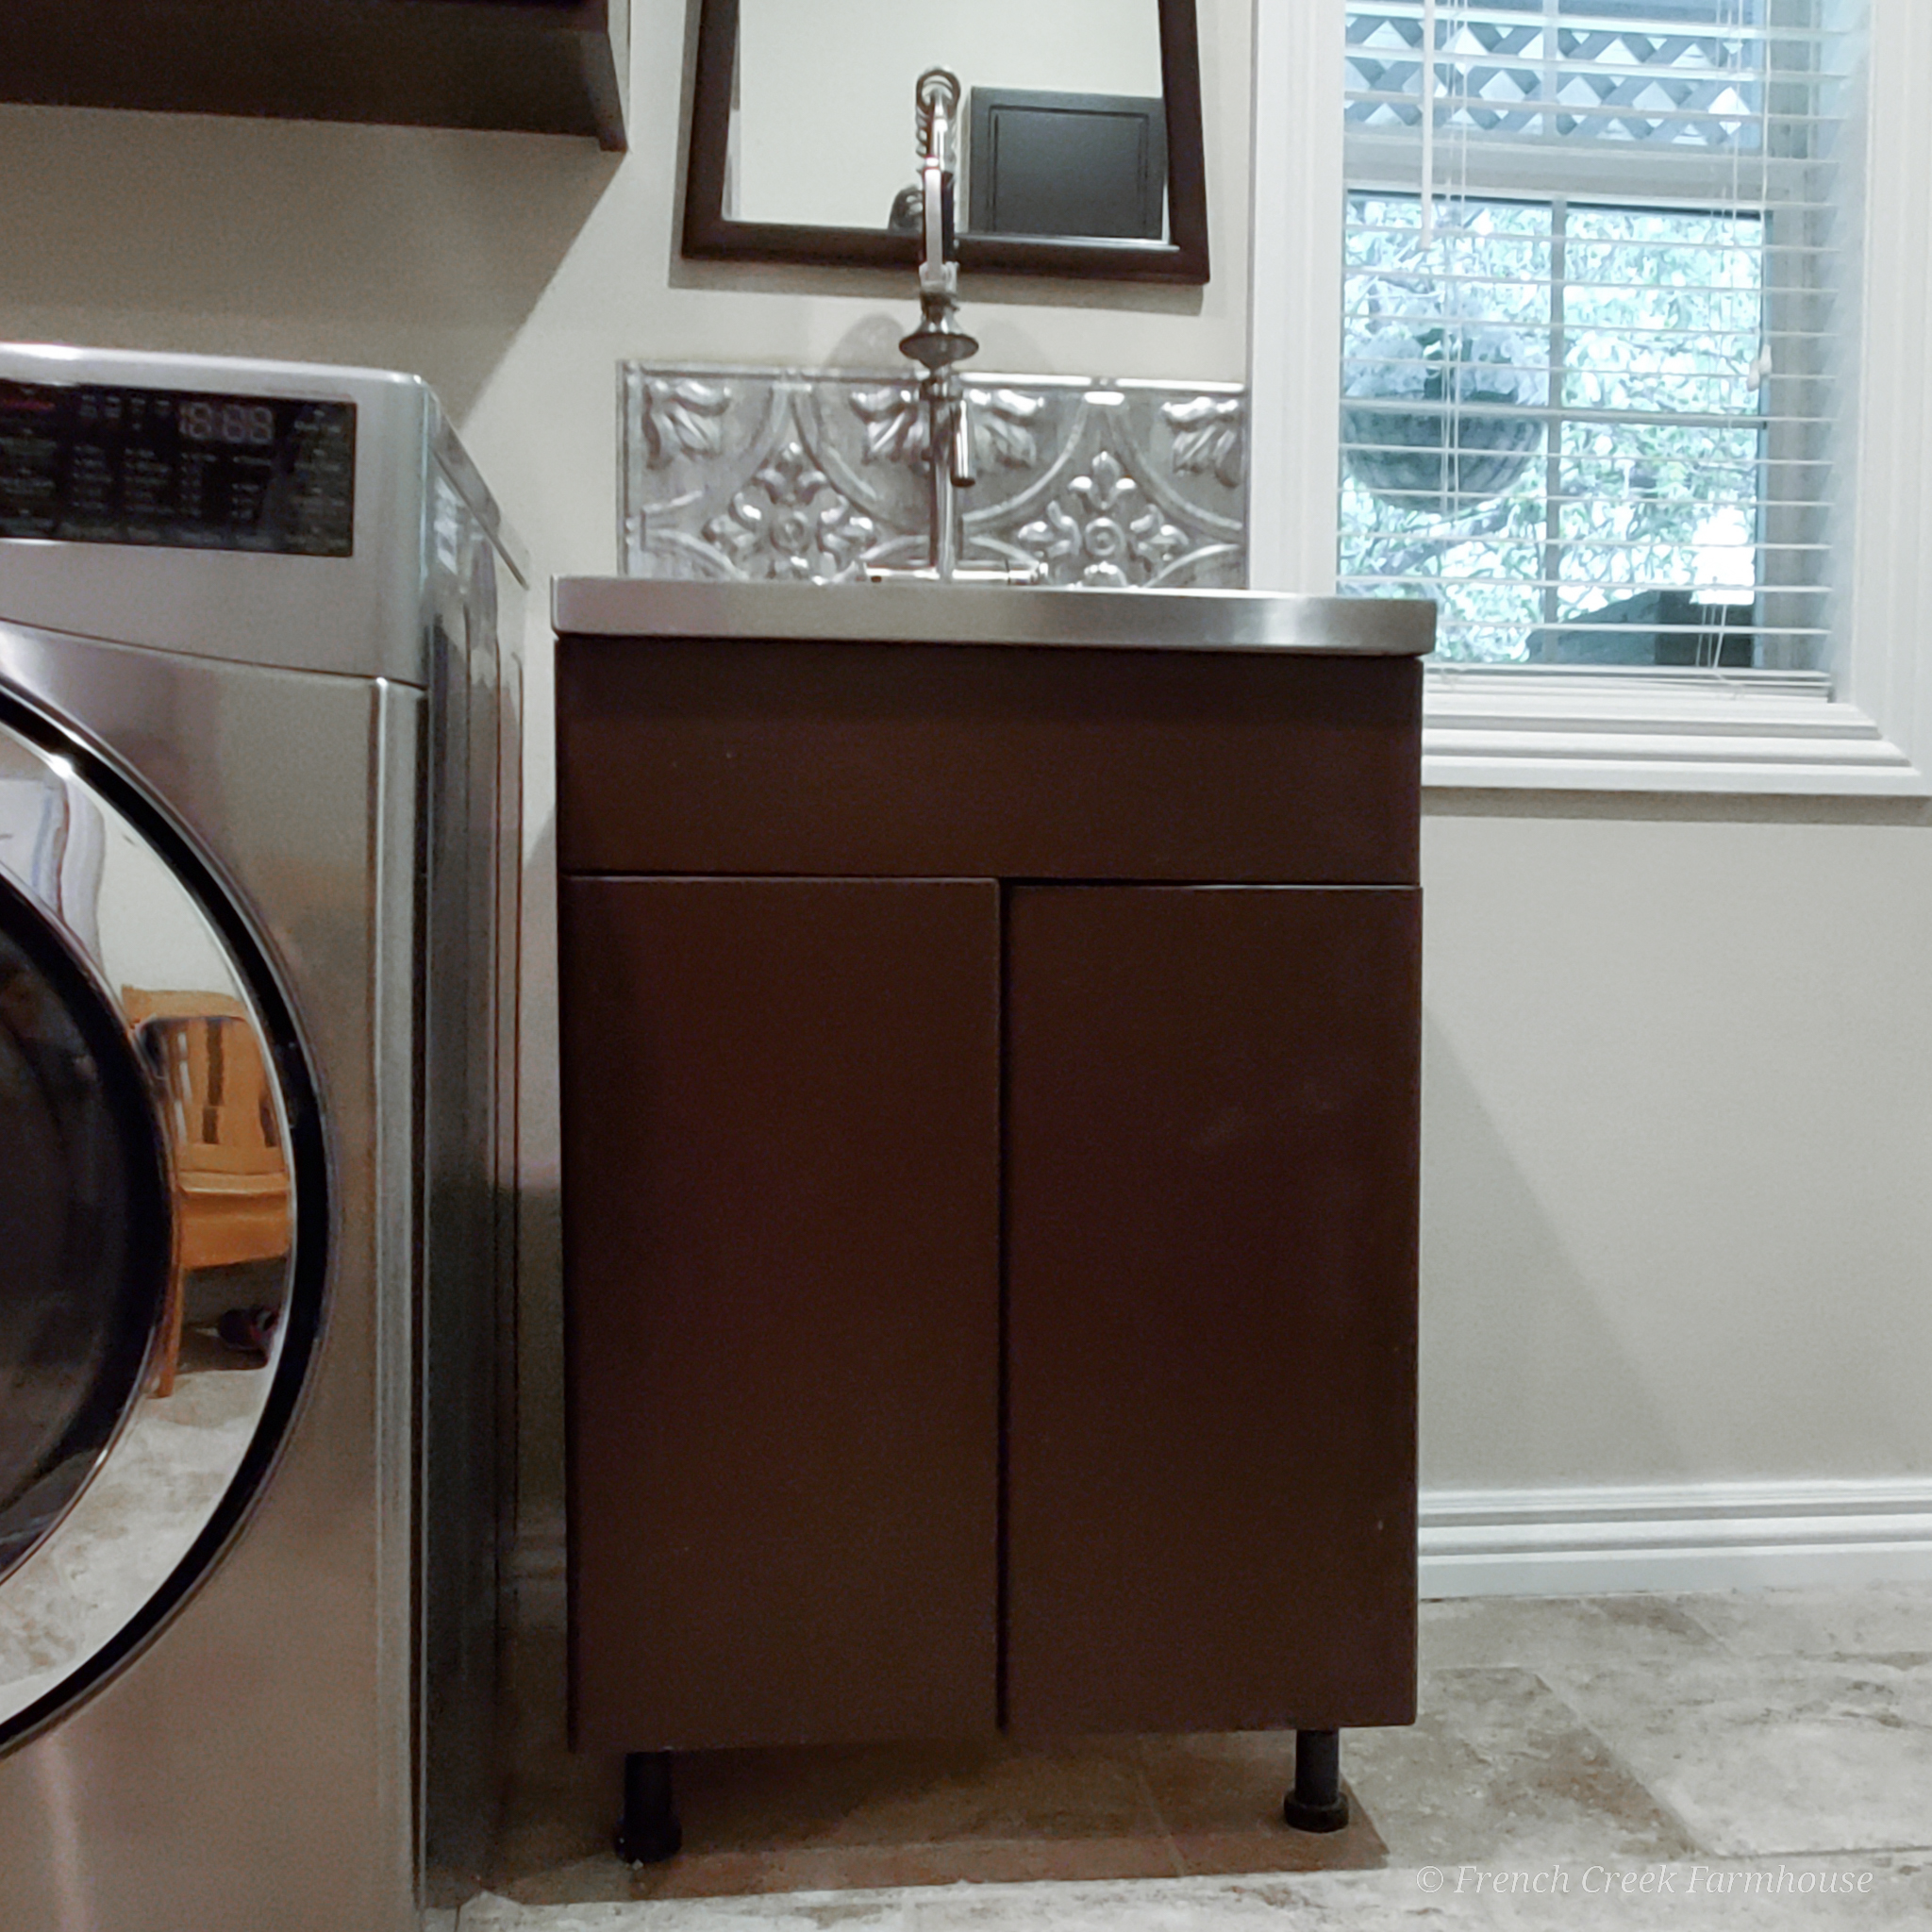
It’s confusing to me because it doesn’t match any of the other styles of cabinets in the room–nor in the entire house. It’s almost like someone got a good deal on it at some point, and decided to just throw it into the room. Very weird.
The cabinet has a kind of modern-looking design. Or, at least, it probably looked modern thirty years ago. The pressboard doors are rounded and sort of futuristic looking–absolutely nothing like what should exist in a farmhouse, and totally different from the (painted) wood cabinets in the room.
And, it sits on legs instead of flush to the floor with a toe kick. Also odd since there are no other cabinets in our house like that.
But, I had a plan to upcycle it into something much better!
THE DESIGN PLAN
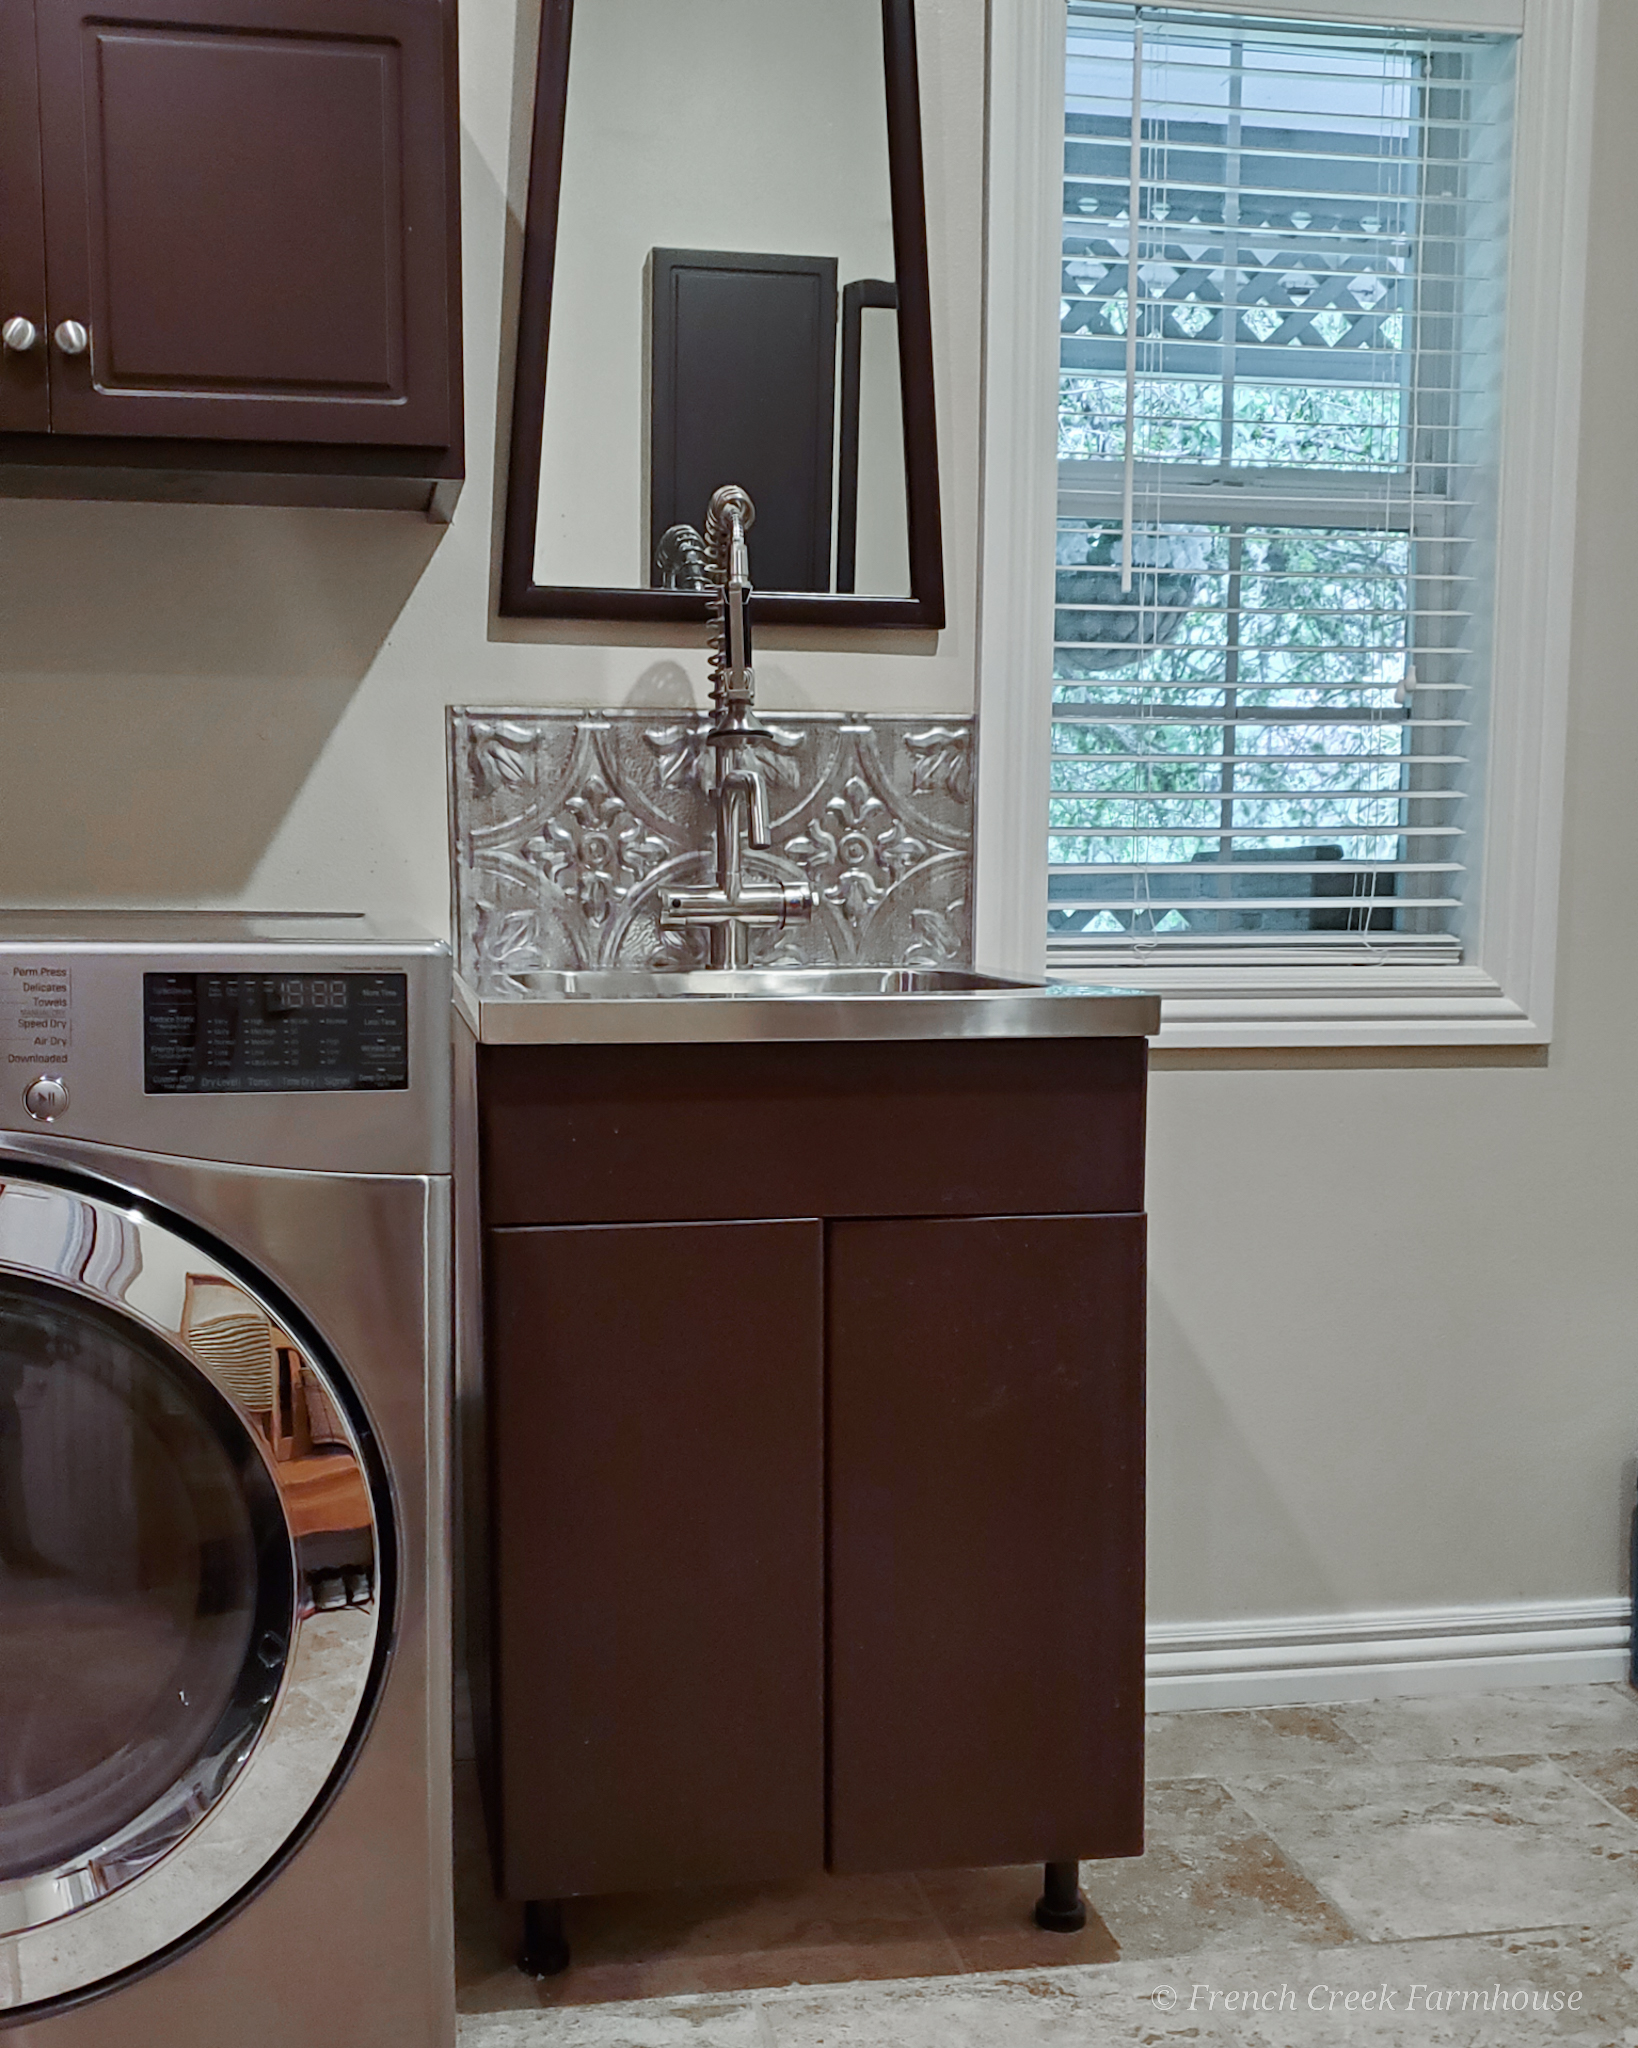
Remember how I talked about the importance of good bones in a fixer-upper project? Well, the positive about the utility sink and cabinet was that they’re in great shape. Other than being dirty, both are in pristine condition.
Since we’re completing this renovation on a tight budget, putting in new cabinetry was definitely not on the list. Instead, I decided I would make-over what we had until we, someday, can afford to do something custom in this room.
This is our mudroom/laundry room, after all. It’s not the place where I want to allocate a lot of funds considering that we are literally renovating the entire house–one room at a time.
I decided that I would:
- clean up the sink,
- paint the cabinet and add a decorative onlay,
- remove the doors and replace with a farmhouse chic fabric skirt, and,
- update the backsplash.
THIS WEEK’S PROGRESS…AND DOUBTS
Mid-project is always such an interesting time. At this point, you’re too far into a project to quit (without your house looking worse than when you started), but you’re also starting to question some things.
I can’t remember a renovation project where I didn’t experience this, so I think it just comes with the territory of DIYing.
For me, it was all about the paint this week.
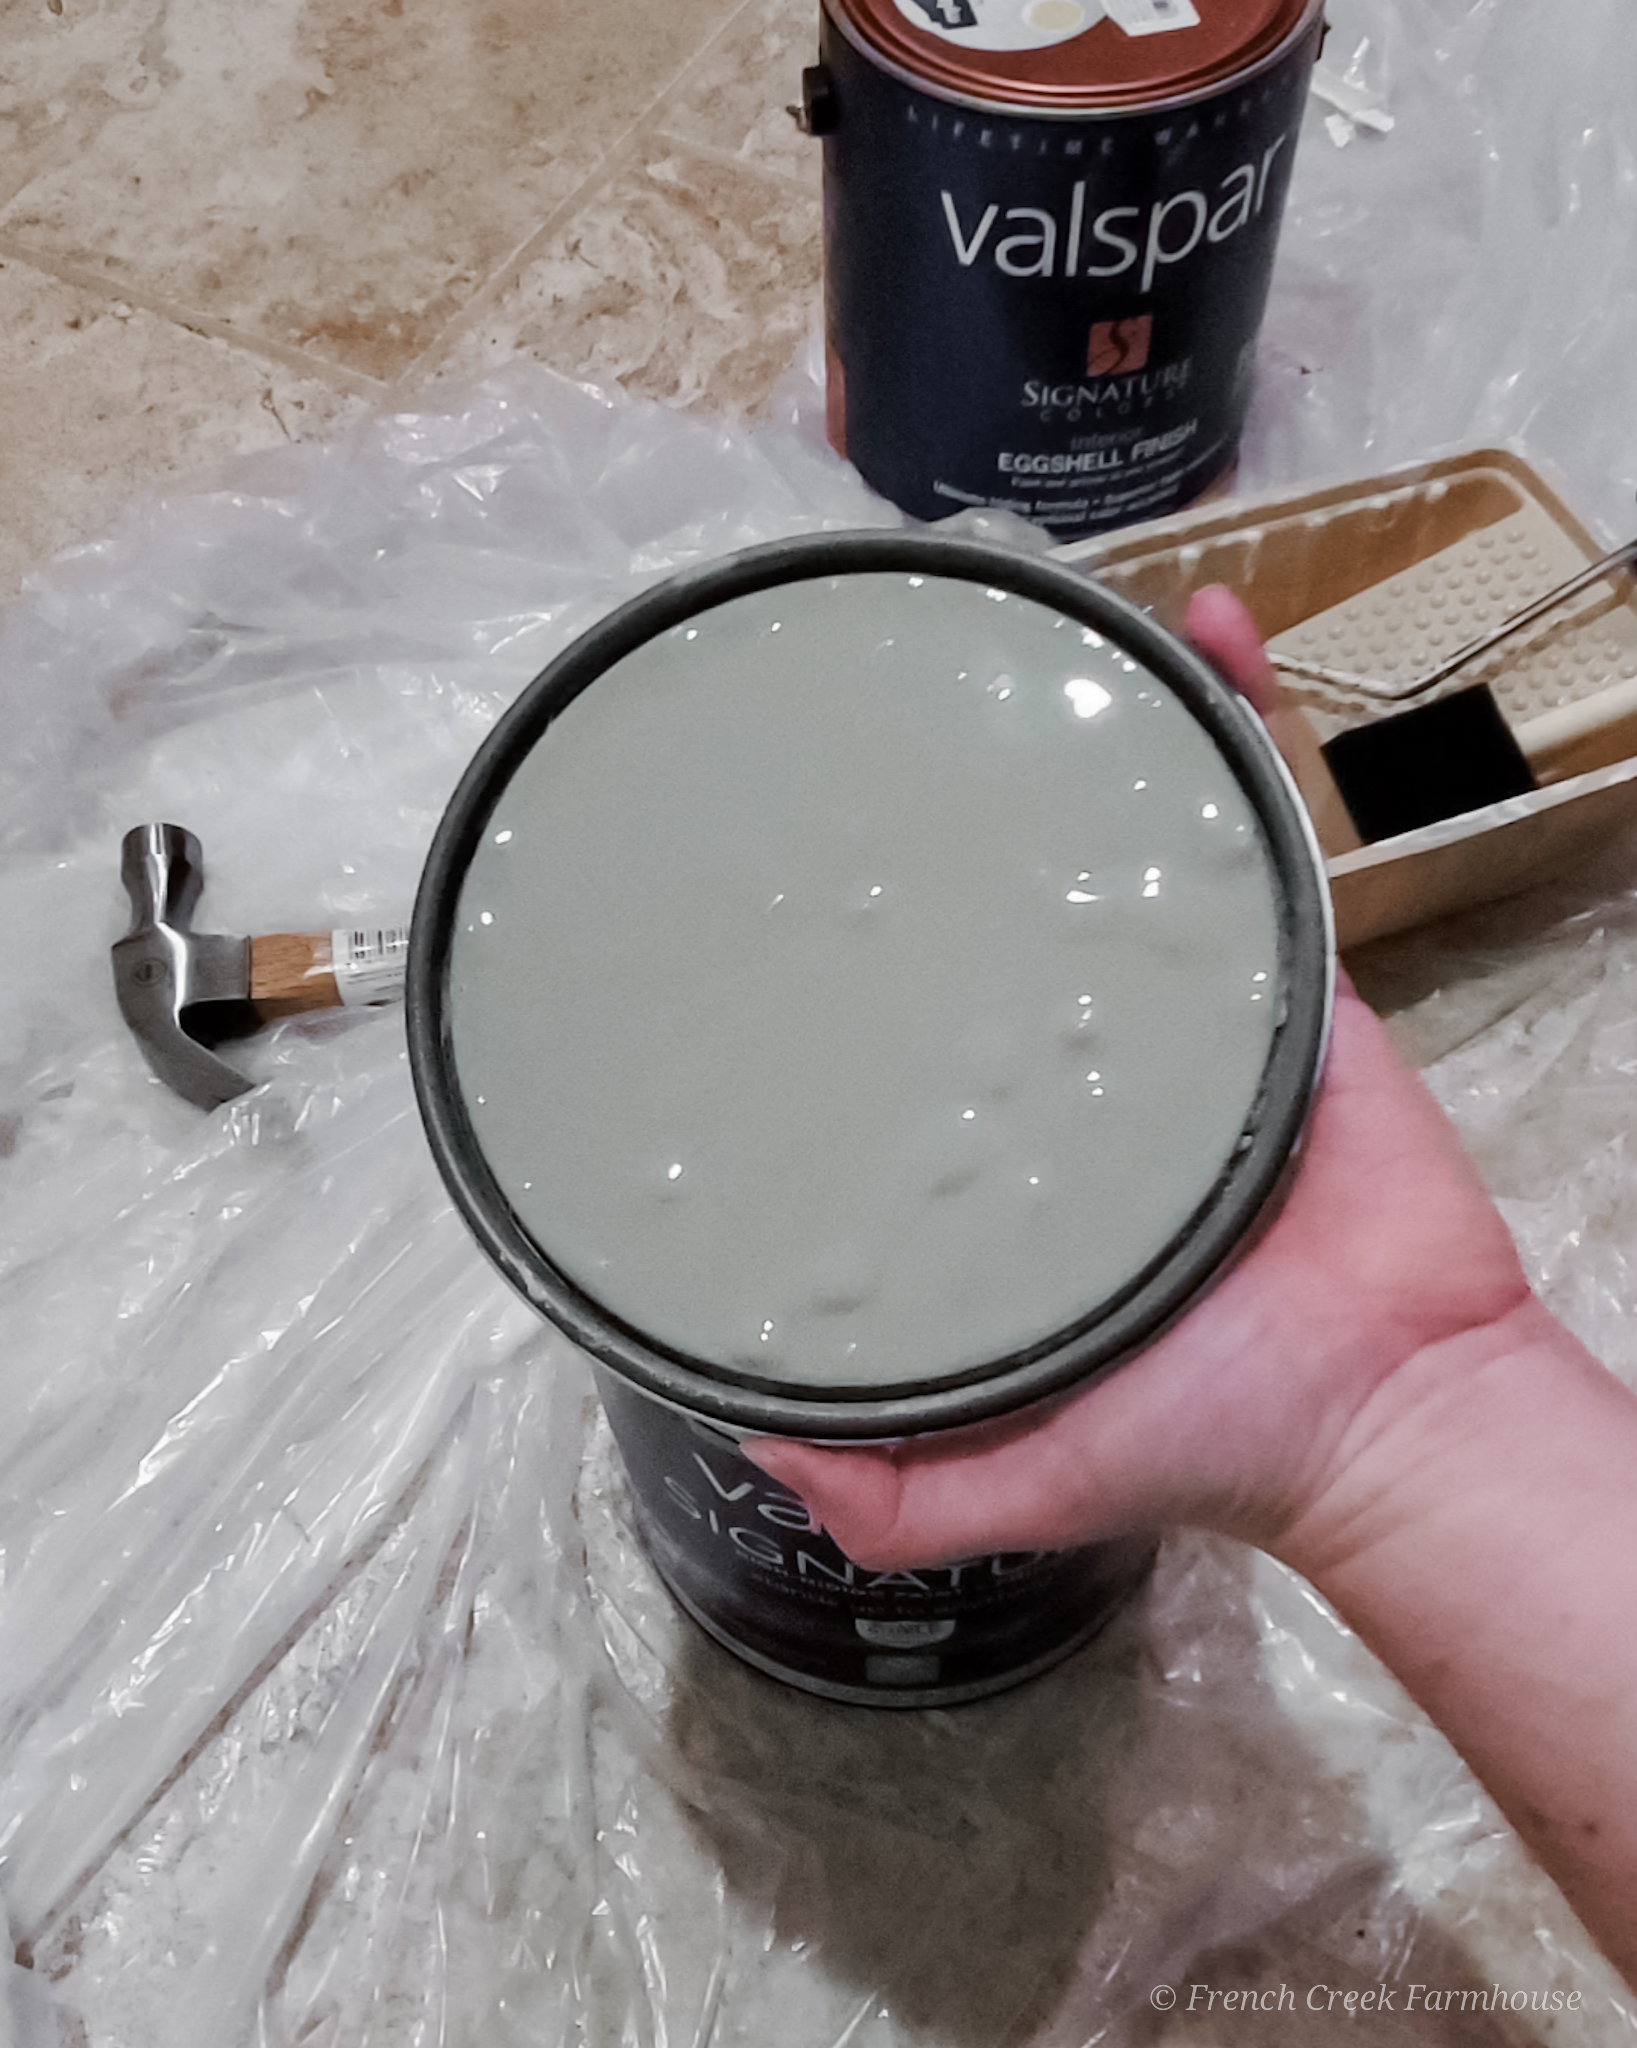
When I decided on the paint color for the cabinets, I already had some doubts. In fact, I even mentioned it during Week One when I talked about the design.
This is one of the big secrets that interior decorators don’t talk about!
We find paint colors that we love through lots of trial and error–and then we’re devoutly loyal to them. We know what to expect of those colors. We know what they look like in different types of light, different sheens of paint, and different surfaces.
Once a color gets added to our palette, you’ll usually see it used over and over again because it’s reliable.
So that means, choosing a brand new paint color is nerve-wracking.
I did all of the research on my color. I painted large swatches that I could move around the room and test against different light in varying parts of the room. I do this with every project, but it’s especially important with a color you’ve never used before.
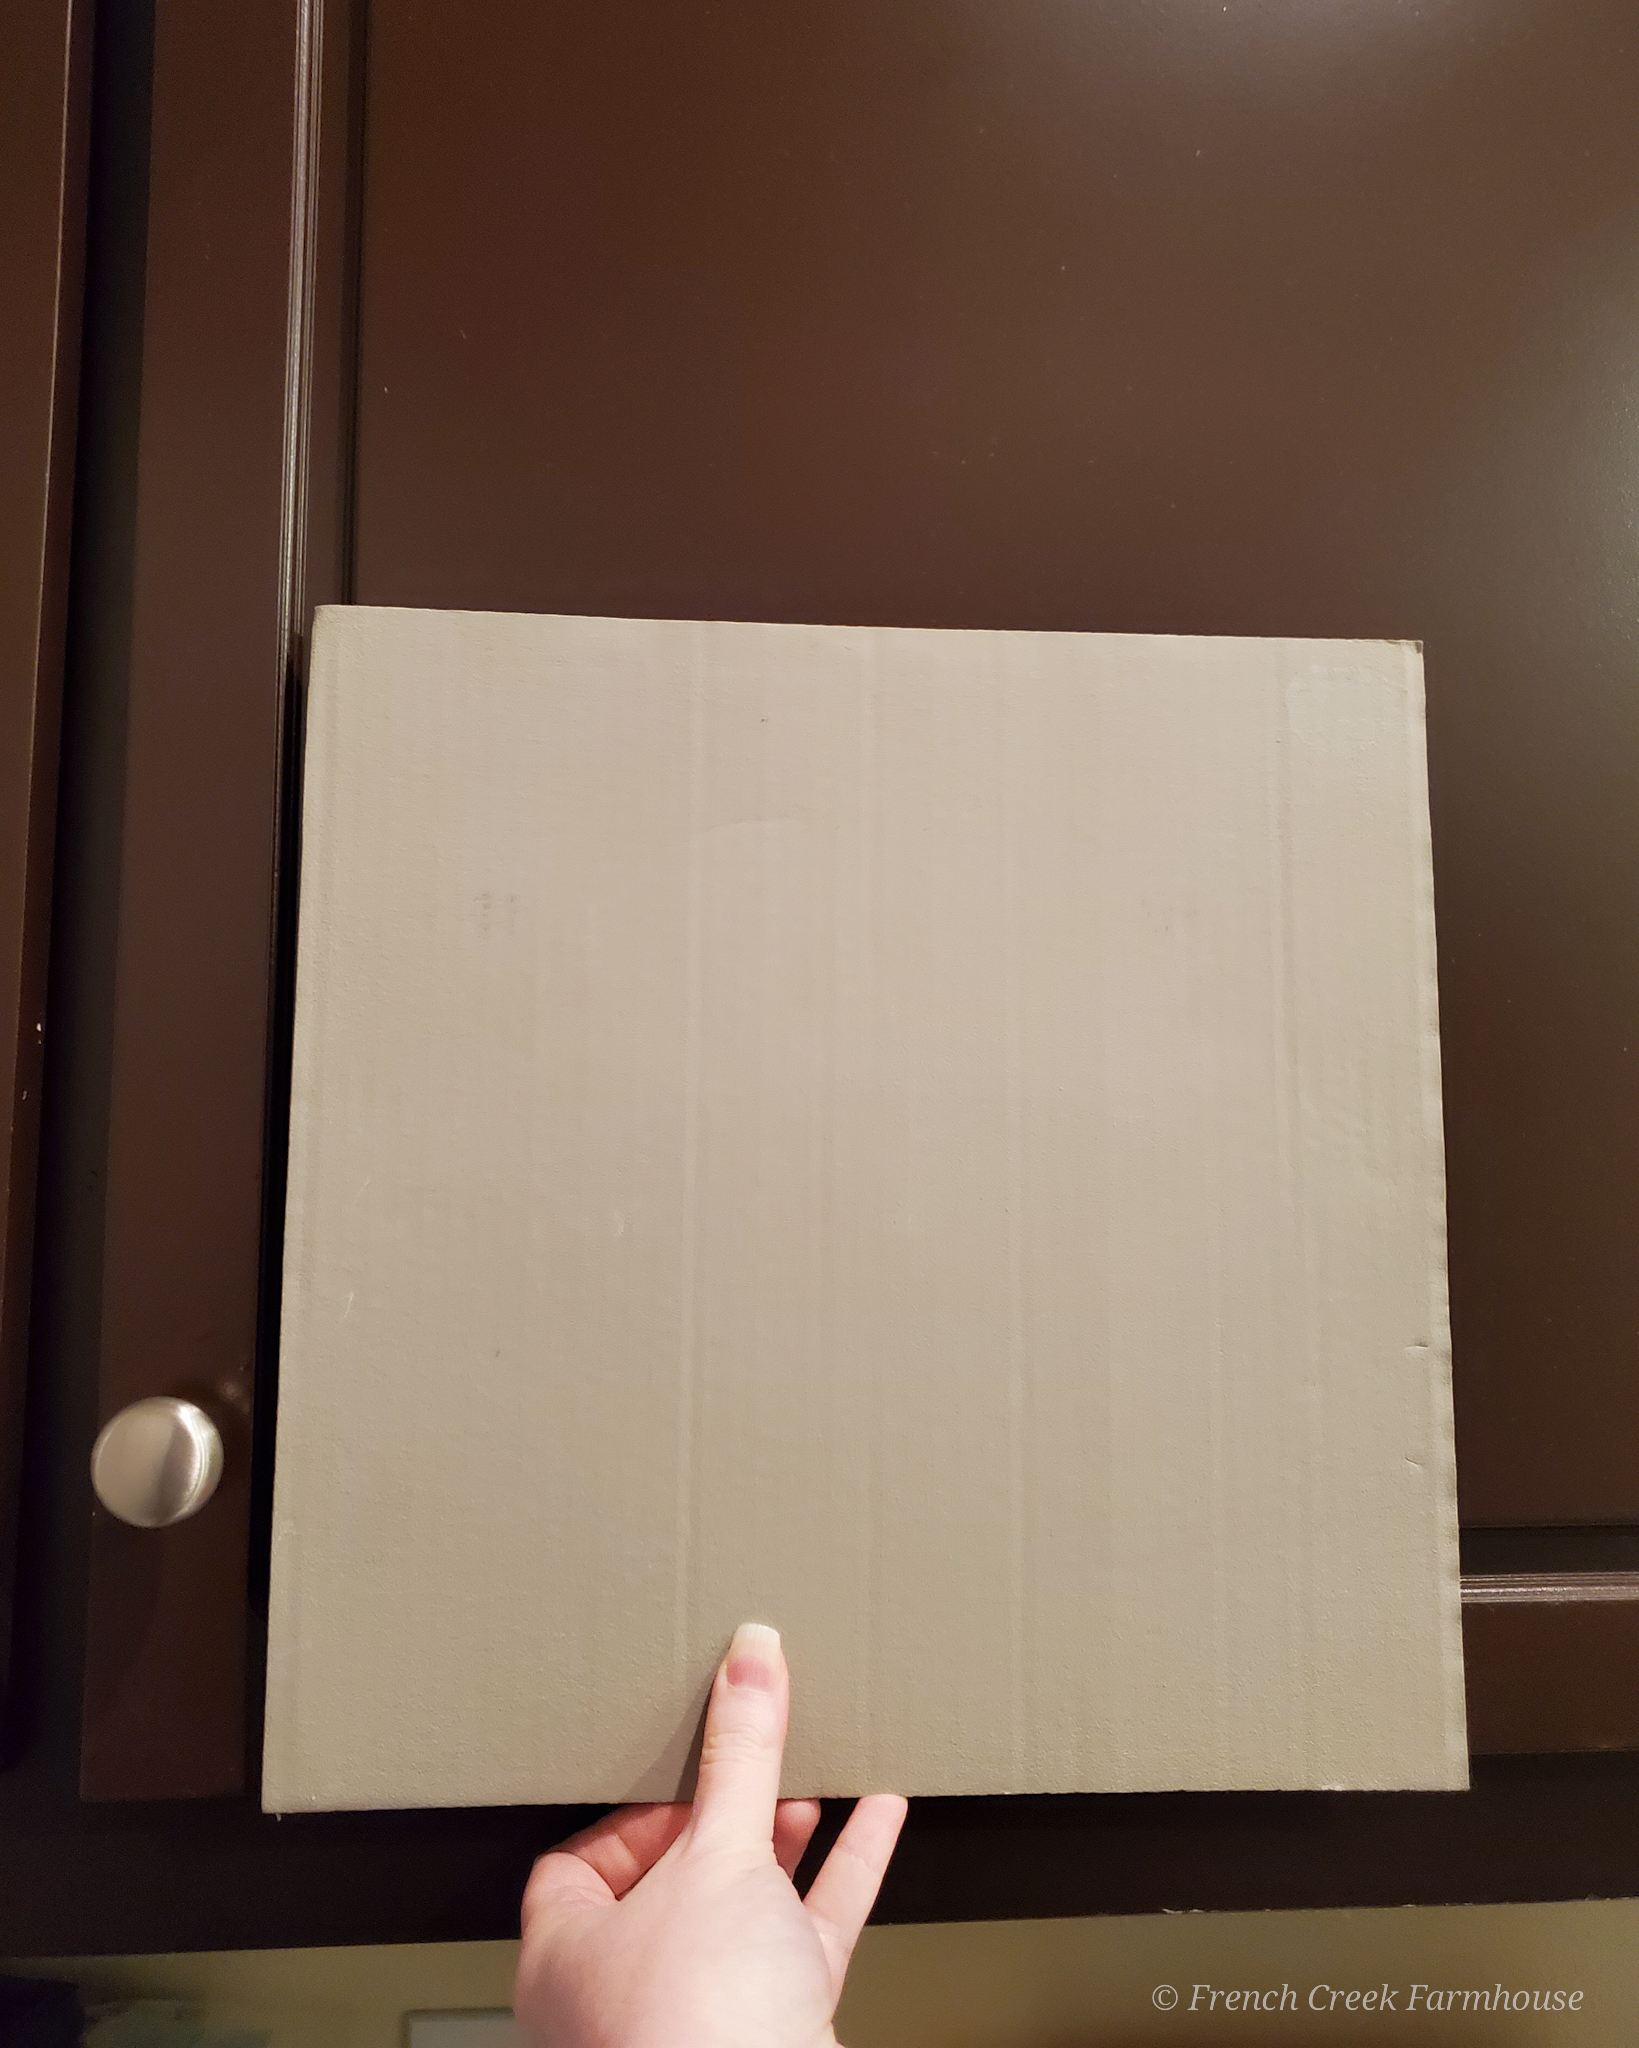
My concern with the color I chose is that it would either look exactly like I envisioned it, or it would be very blah. And I’d already noticed that the light bulbs we currently have in the room cast an orange glow that makes the color look very different than it does in natural light.
That’s the reason I decided to start with the utility sink cabinet instead of the rest of the cabinets in the room. If I totally hated it, it would be easier to fix!
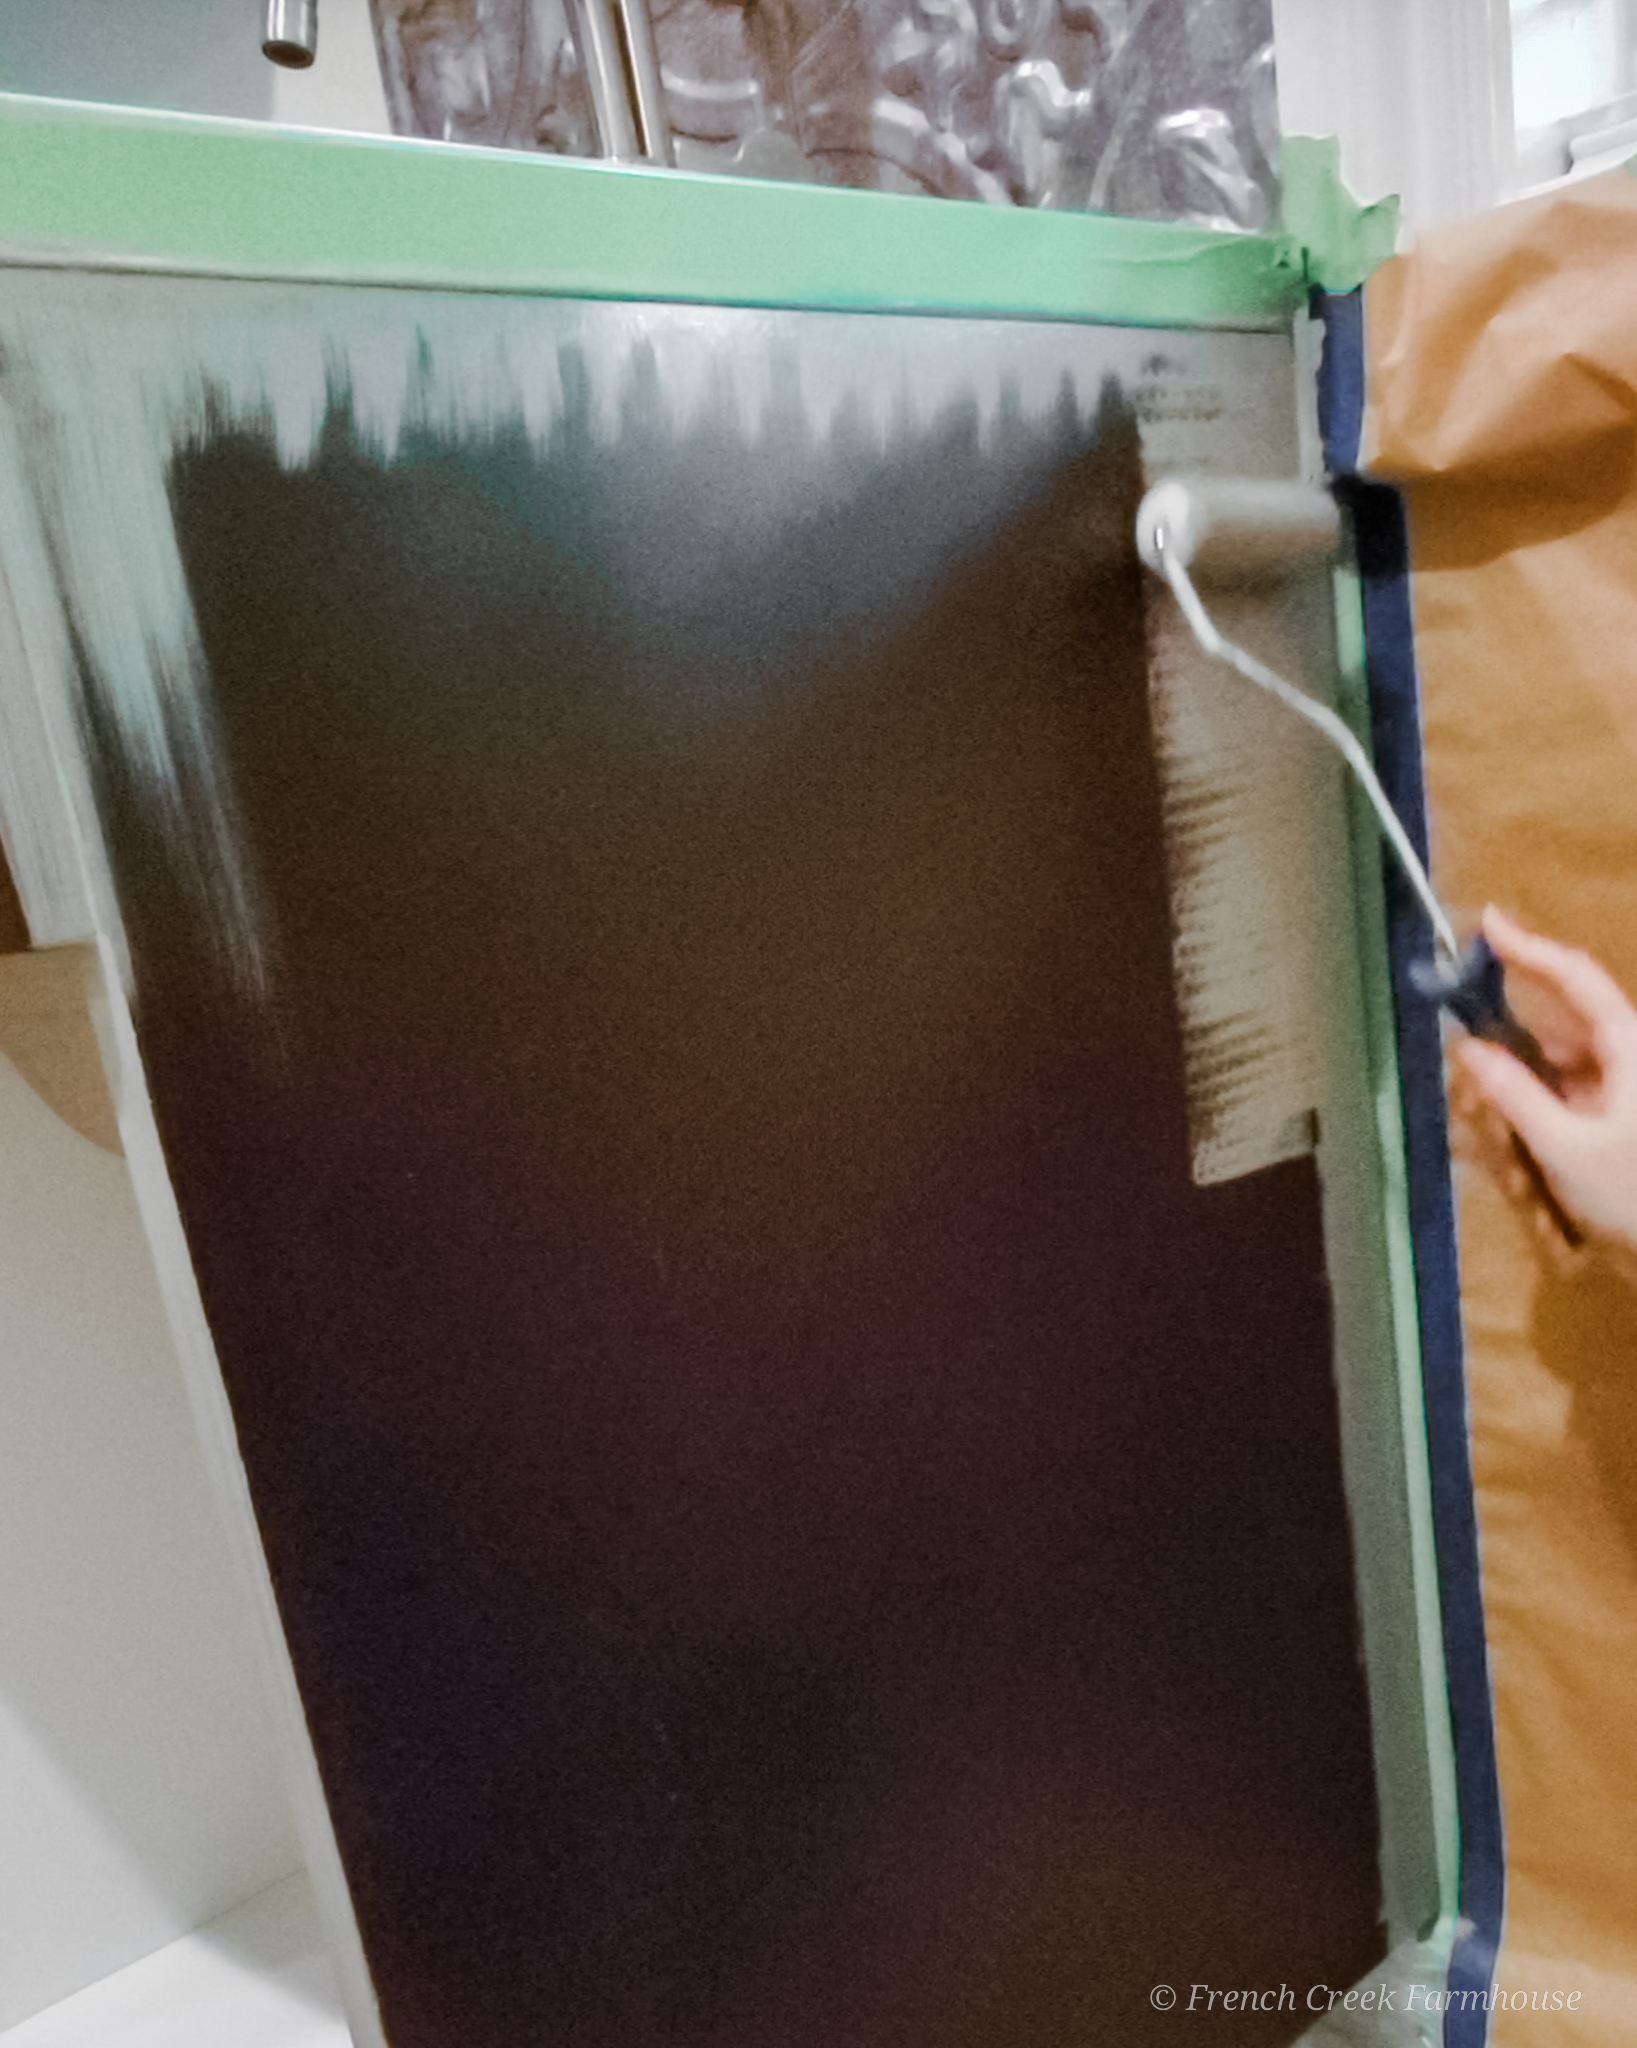
After one coat of paint, I literally got heartburn. I’m not even being facetious–I had to pop a famotidine because it was that bad.
I texted this picture of the cabinet to my sister with a note saying, in short, oh no–what have I done?!
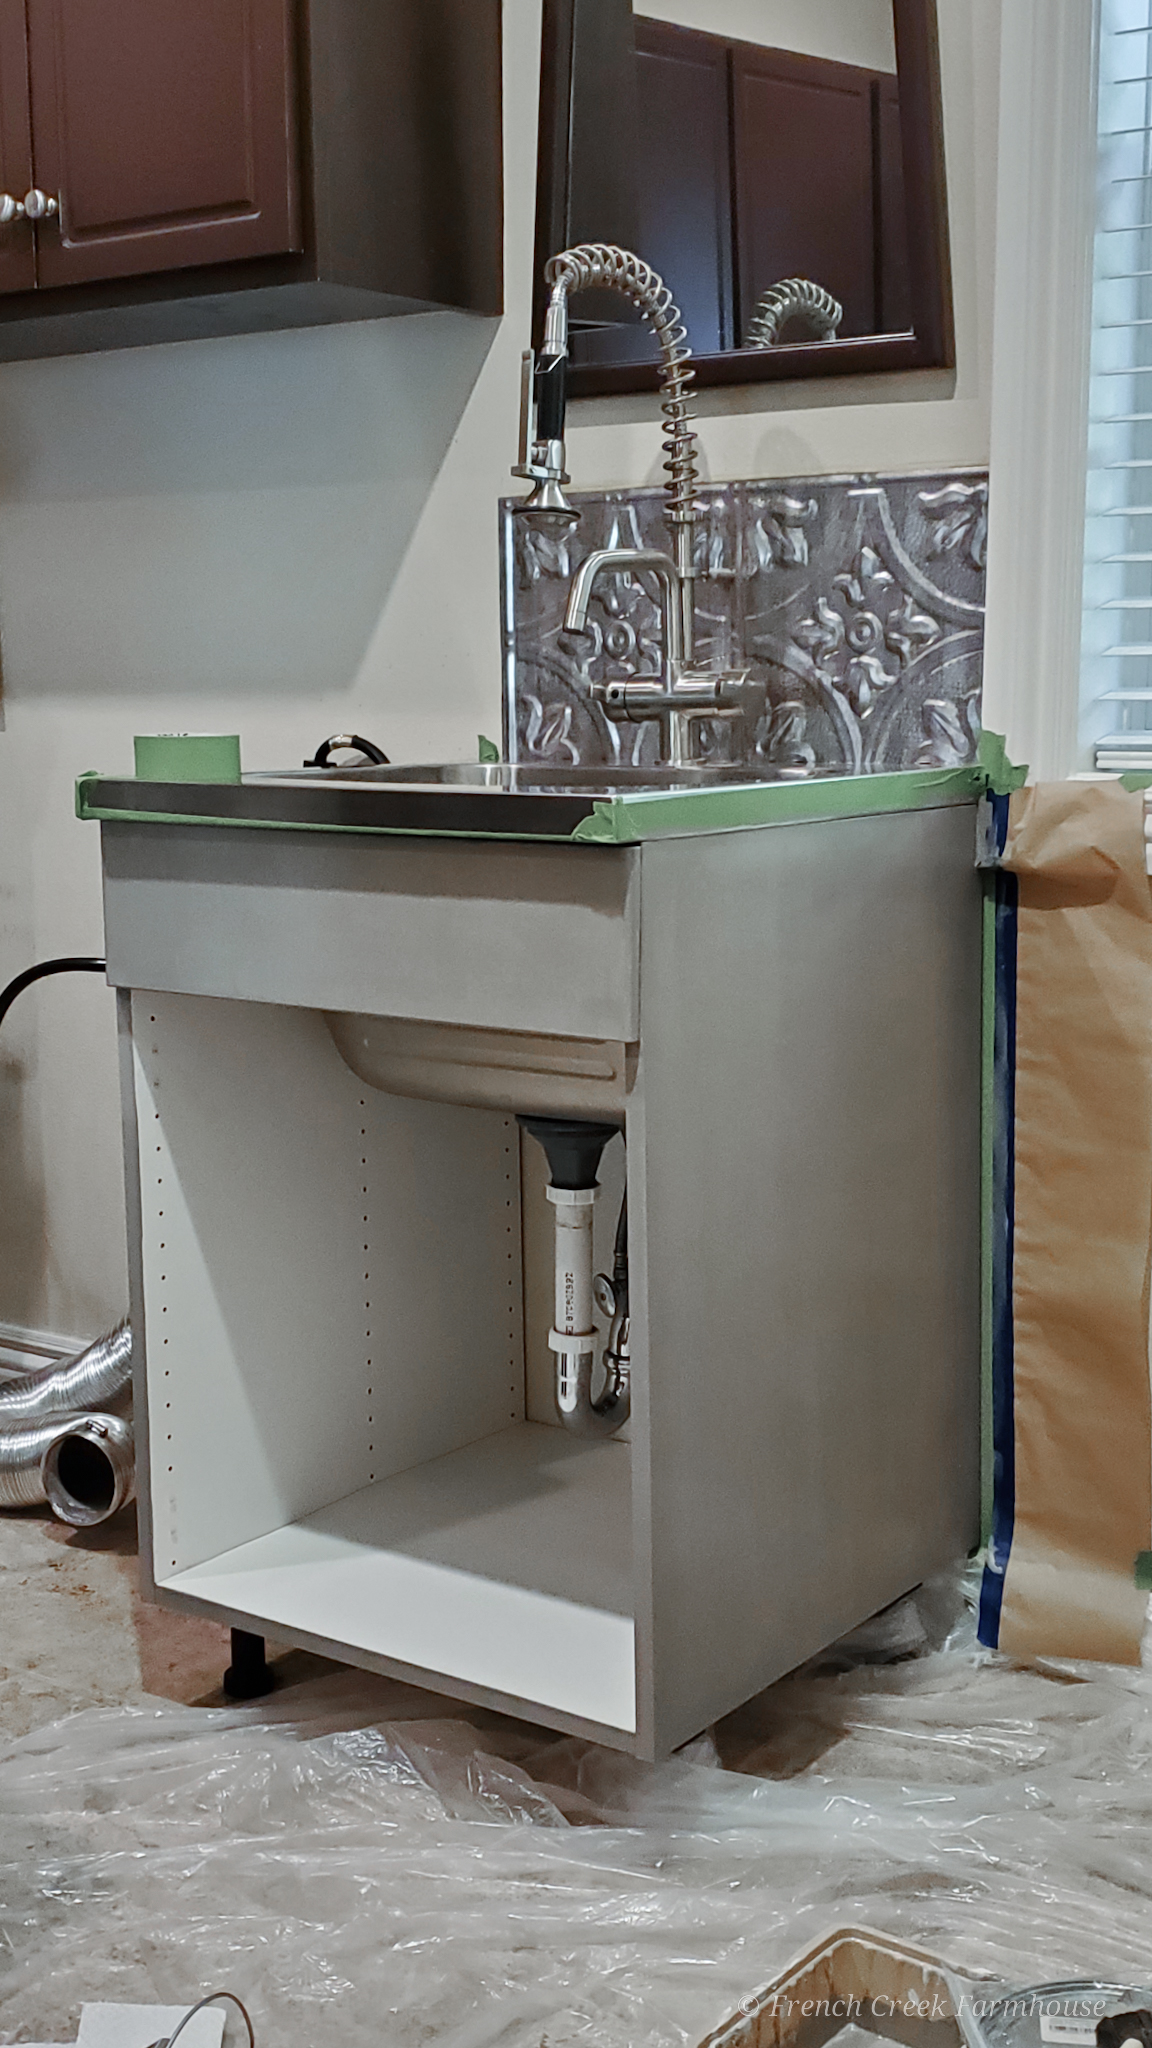
The first coat of paint almost always makes me feel like this, no matter what I’m painting. Because it’s not fully opaque yet, there’s no real depth to the color. Plus, it hasn’t dried. That makes it very hard to judge what it’s eventually going to look like.
You can see in that photo how streaky and see-through the paint still is because there’s only one (not yet dry) coat on the cabinet.
So, my rule for myself is to charge ahead, apply 2-3 coats, give myself time to look at it during varying times of day…then, and only then, make a decision about how I feel.
Since the original cabinet was painted a very dark shade of brown, and the color I chose was significantly lighter, that first coat really didn’t give me a great idea of what it would look like. Too much of the original color was coming through, so I tried hard to suspend judgment.
This is, not coincidentally, the point when I took the antacid.
After the second coat, I was definitely feeling hopeful. This picture was taken while the second coat was still wet, so it’s still not showing all of its potential…but, being more opaque at this point, I could start to get a feel for the depth.
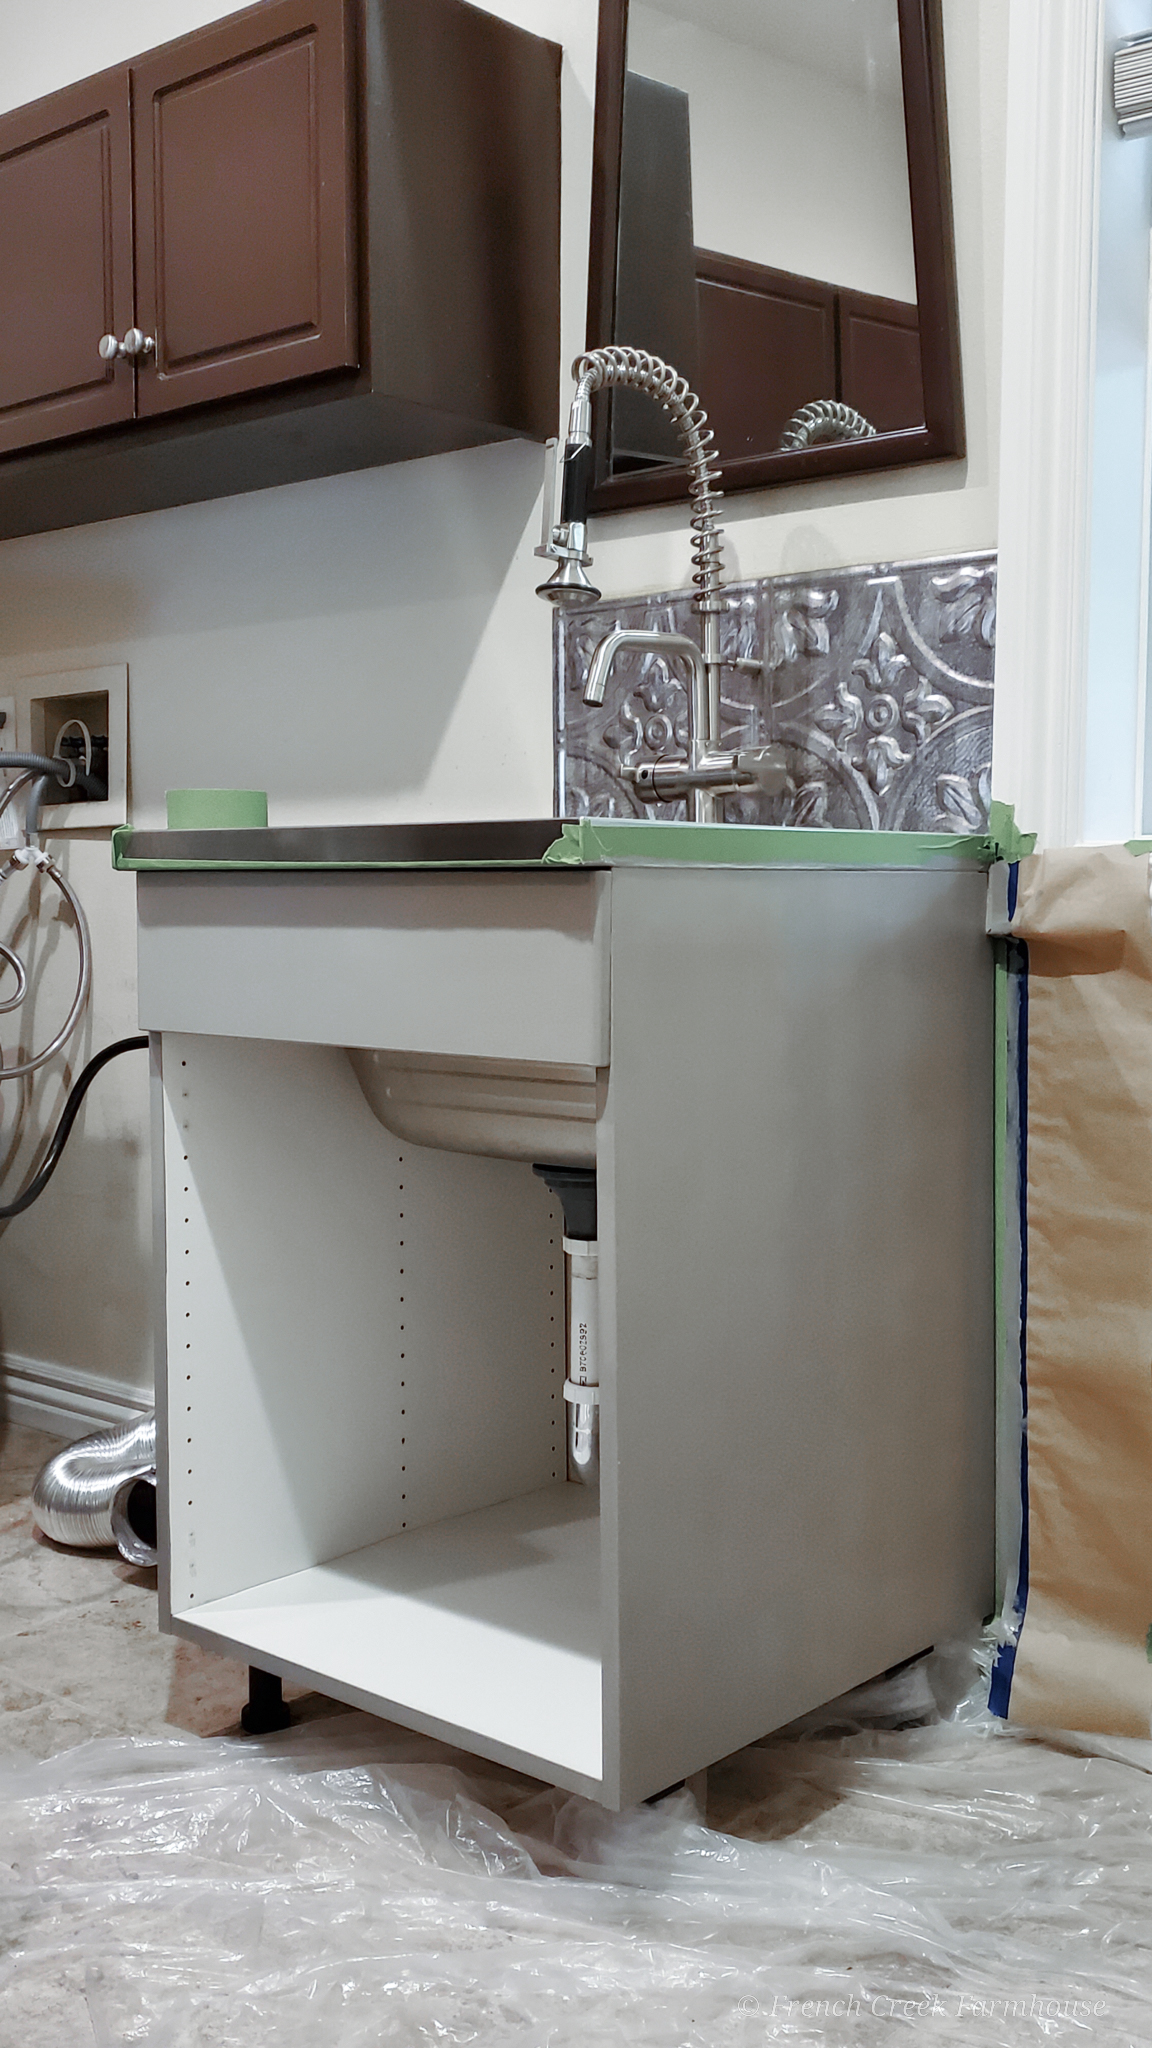
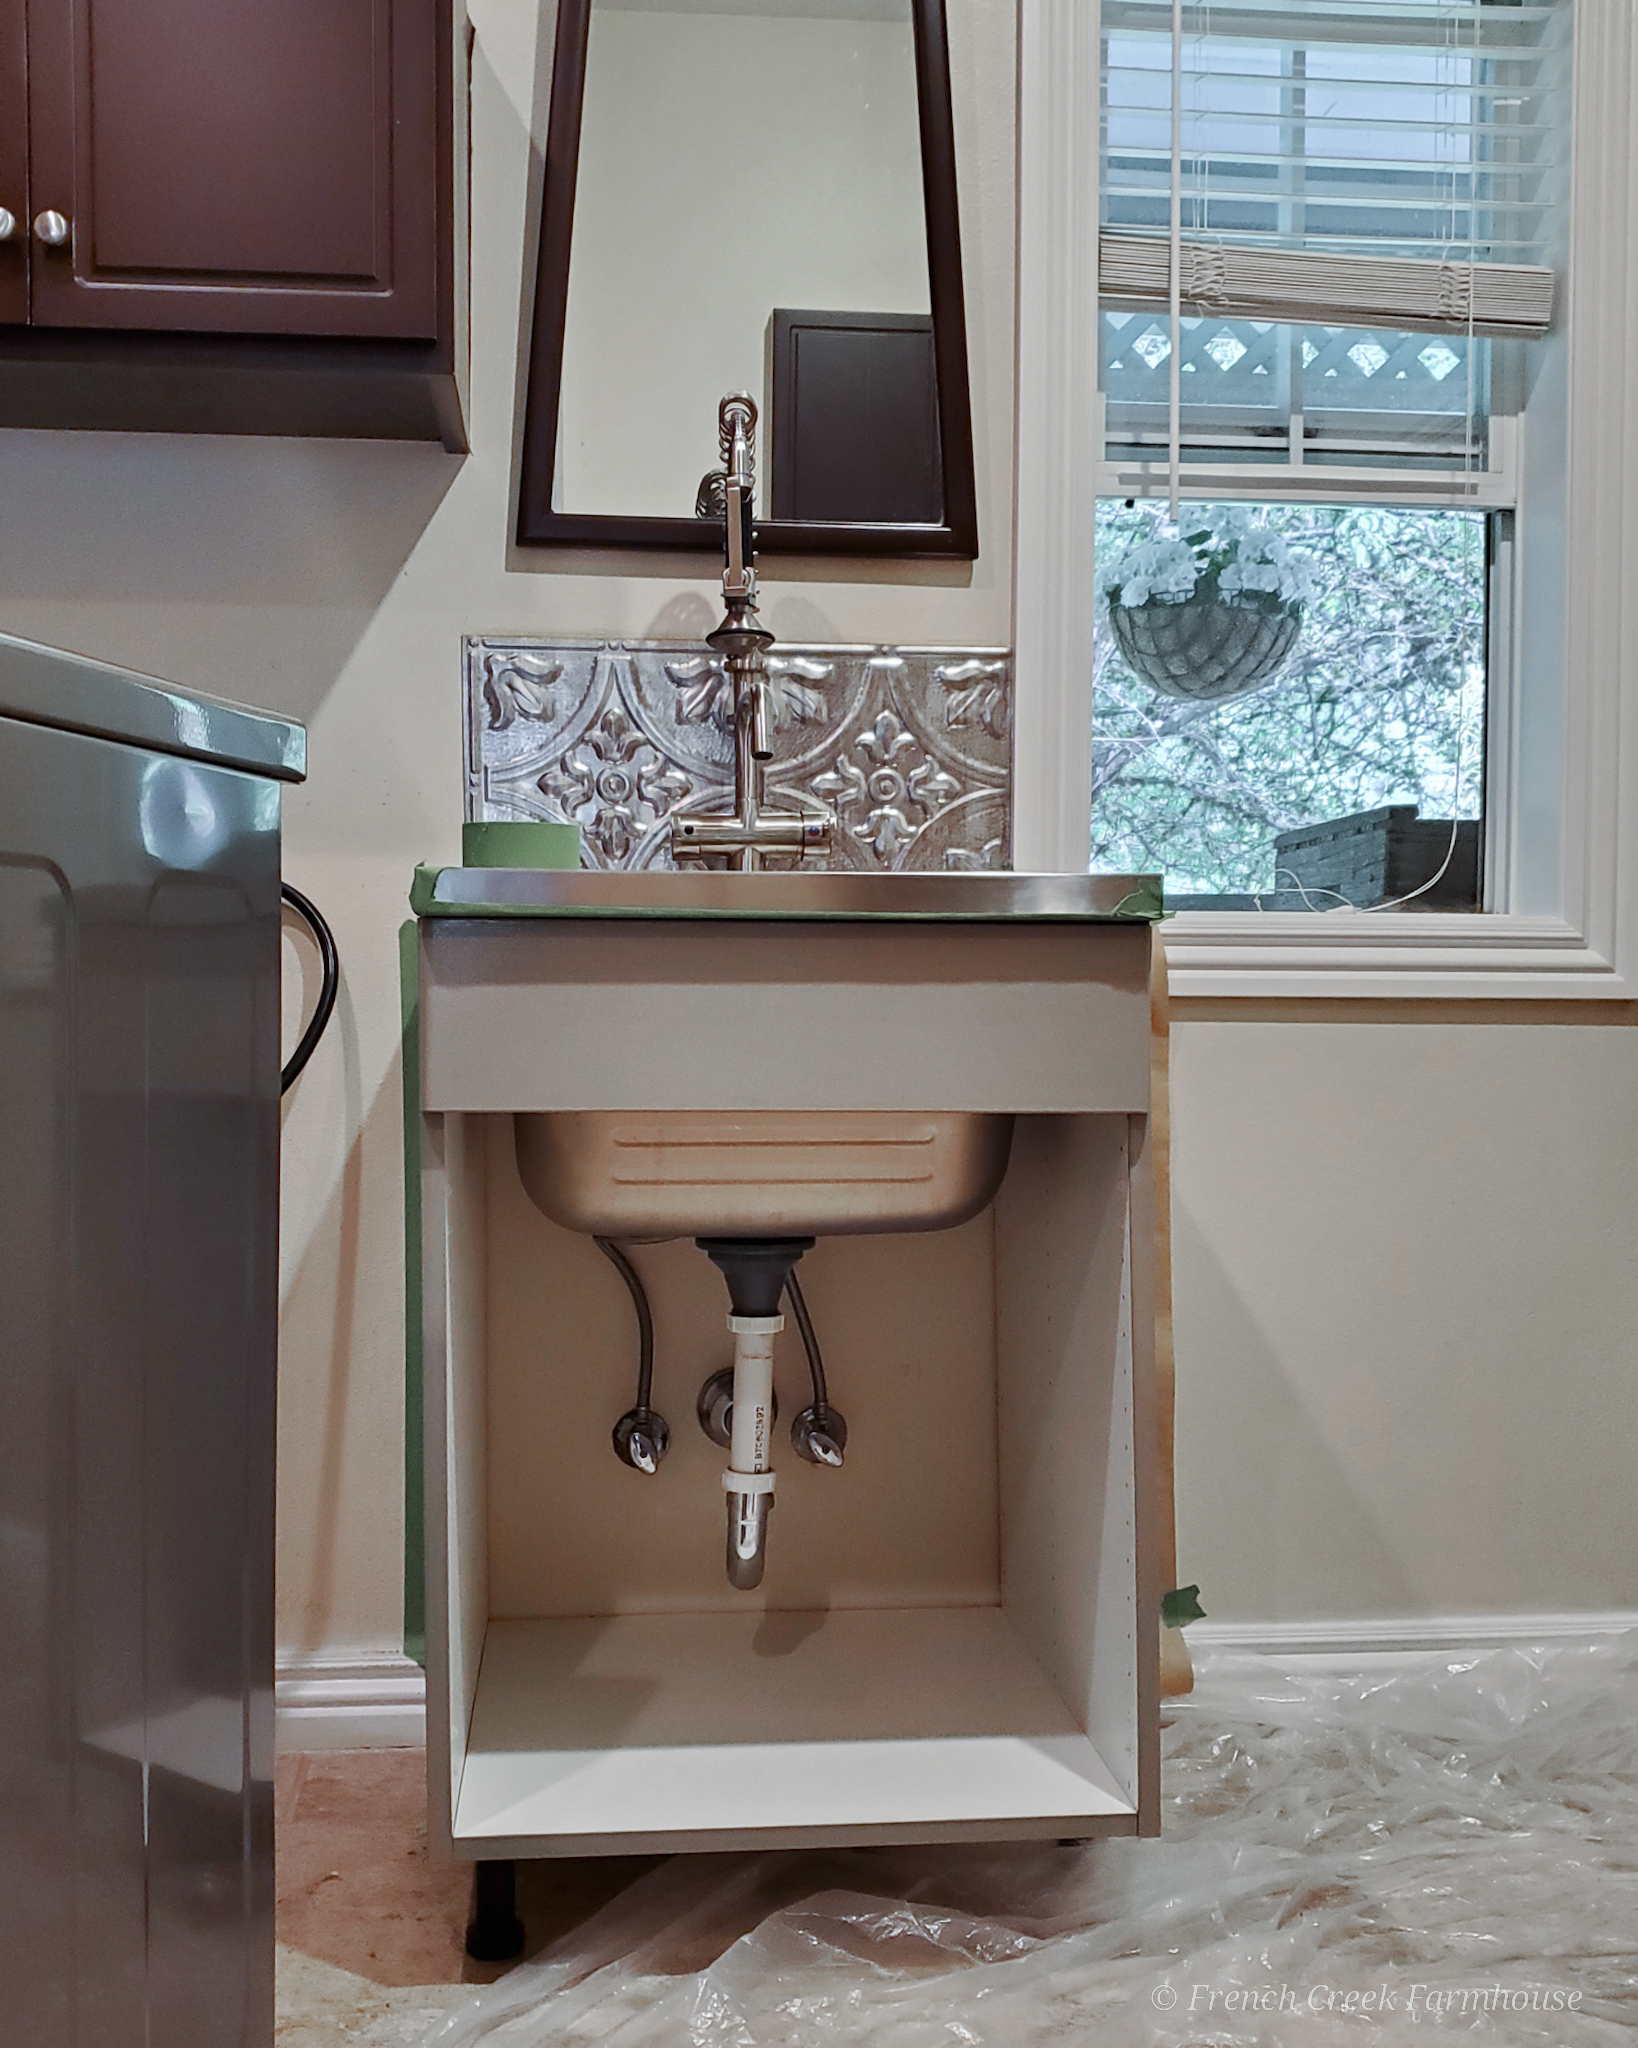
By the third coat, I started to like what I was seeing (although, I do think I might need to get new light bulbs still). The color was completely opaque at this point, and I was getting the feeling I had hoped for in my original vision.
I like this view because it captures some of the cabinets I haven’t painted yet for a comparison of the colors:
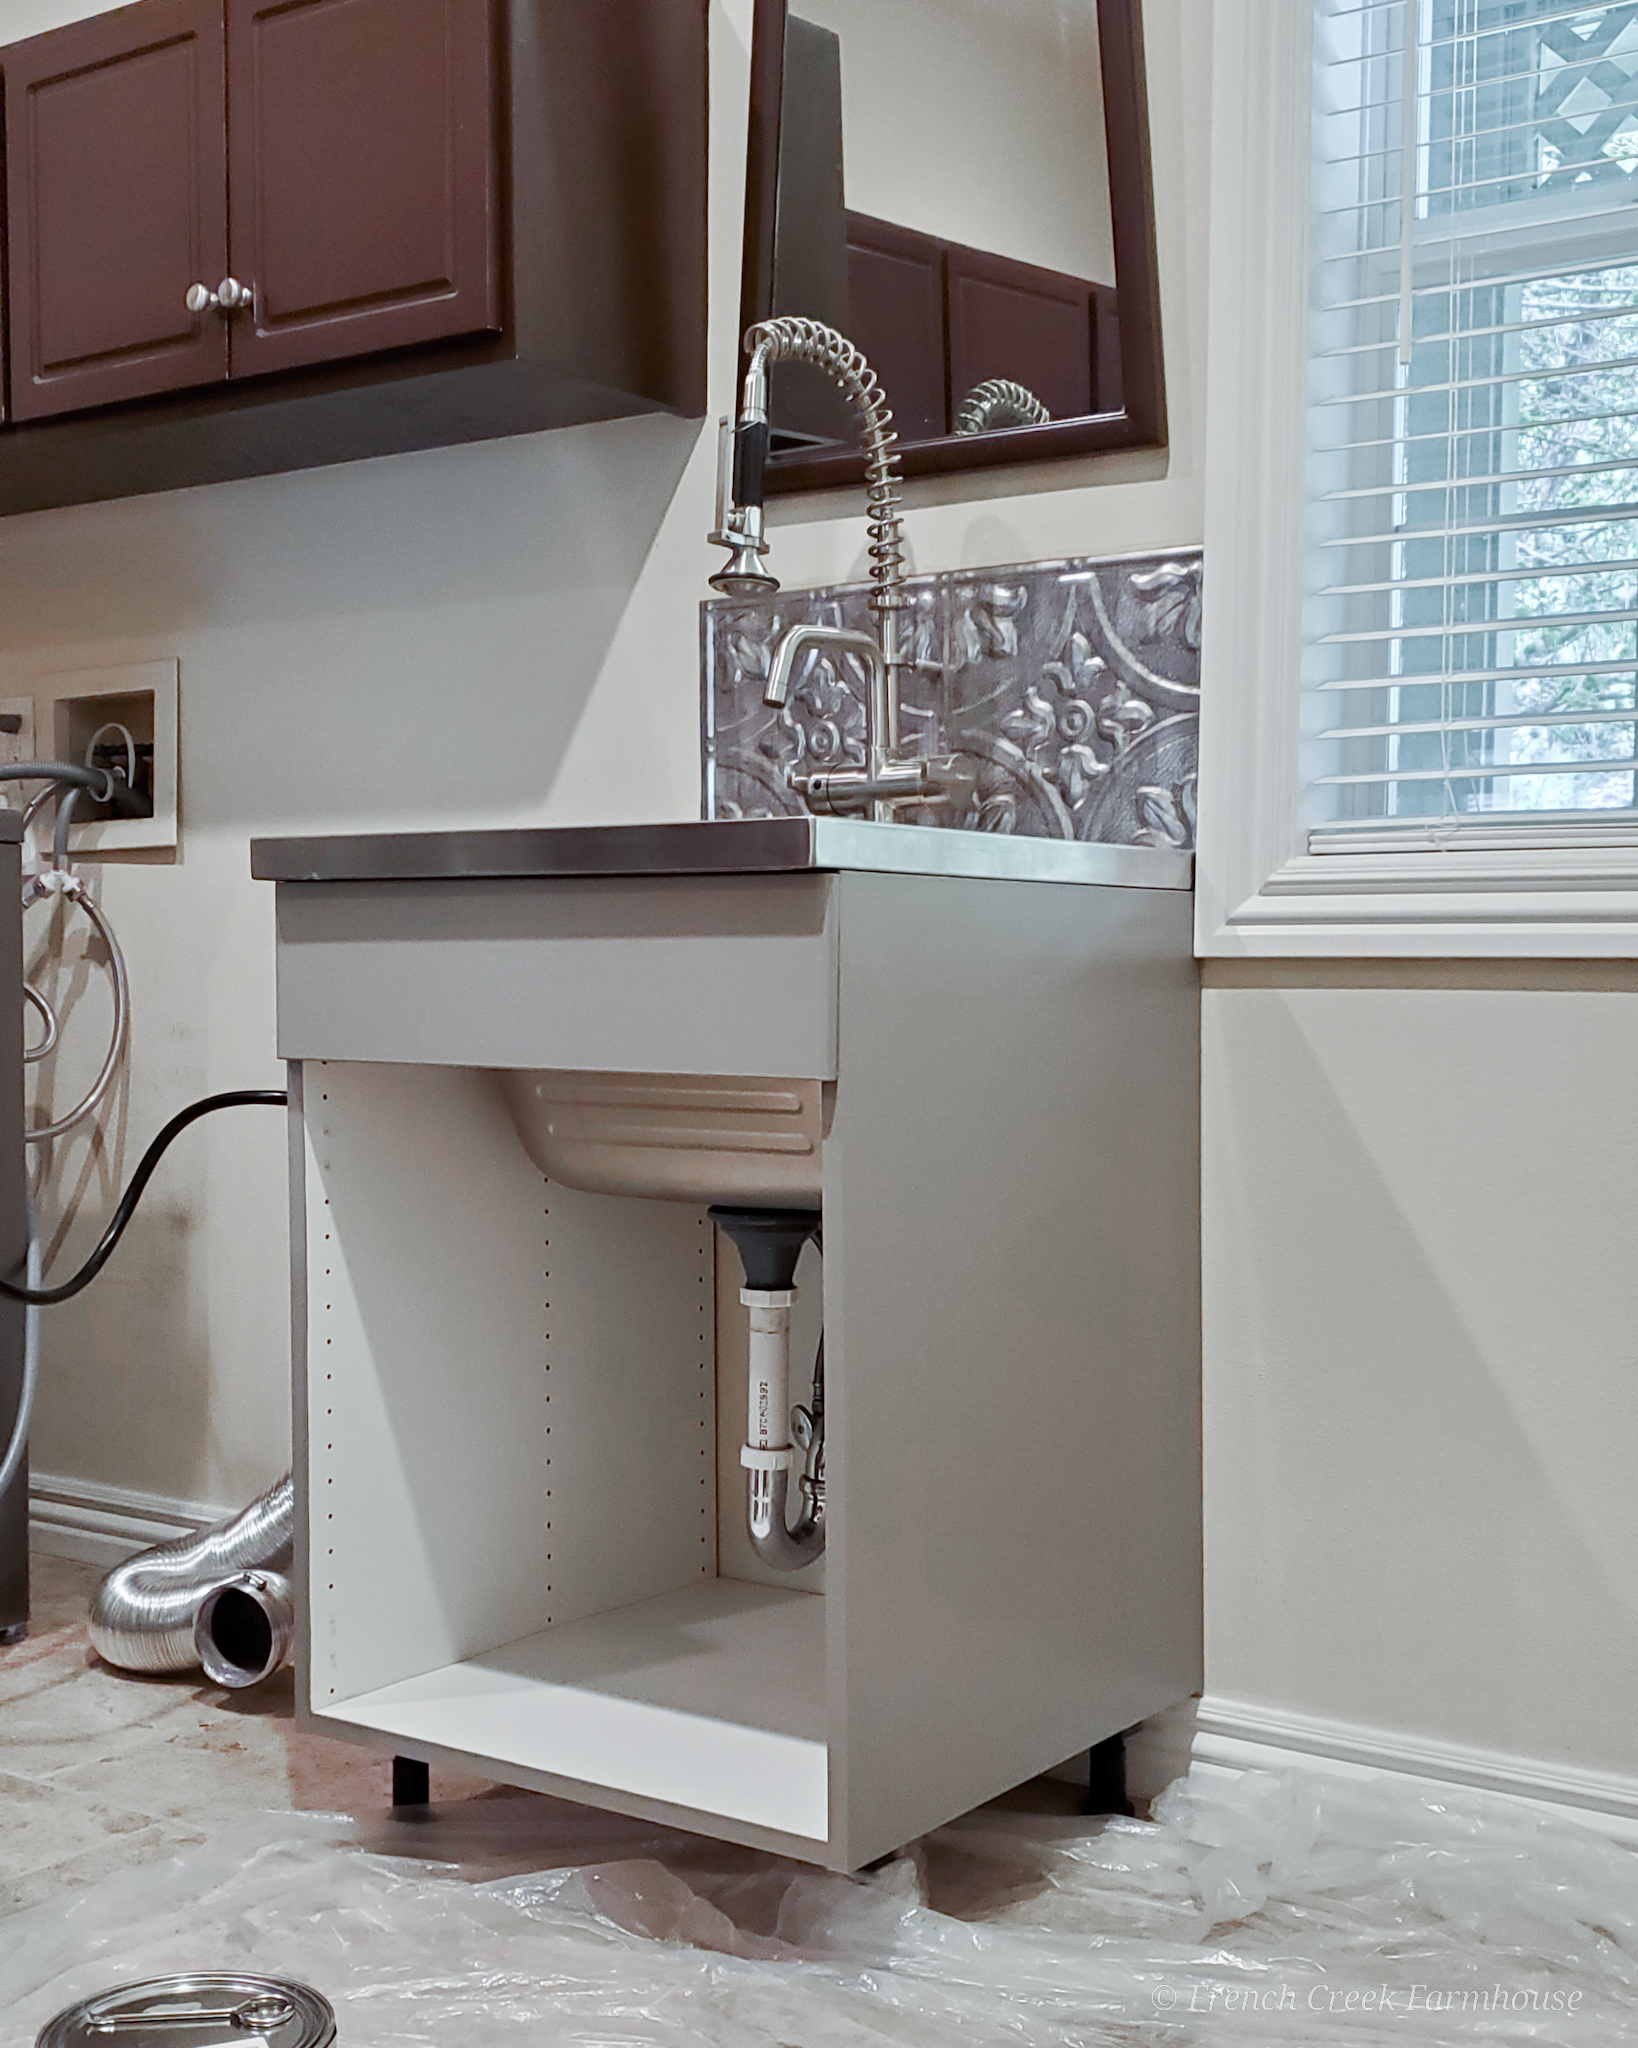
I’m feeling less afraid to paint the rest of the cabinets now.
I mean, not zero fear…but less fear. And that’ll work for now!
The beautiful thing about paint is that it’s only paint. You can always repaint something to a color you like better, and the cost of making a mistake is relatively low.
Coming up on the One Room Challenge, we’re getting closer to the full reveal. I’m so excited to see this room coming together, and I can’t wait to be able to share the finished design. Stay tuned!

