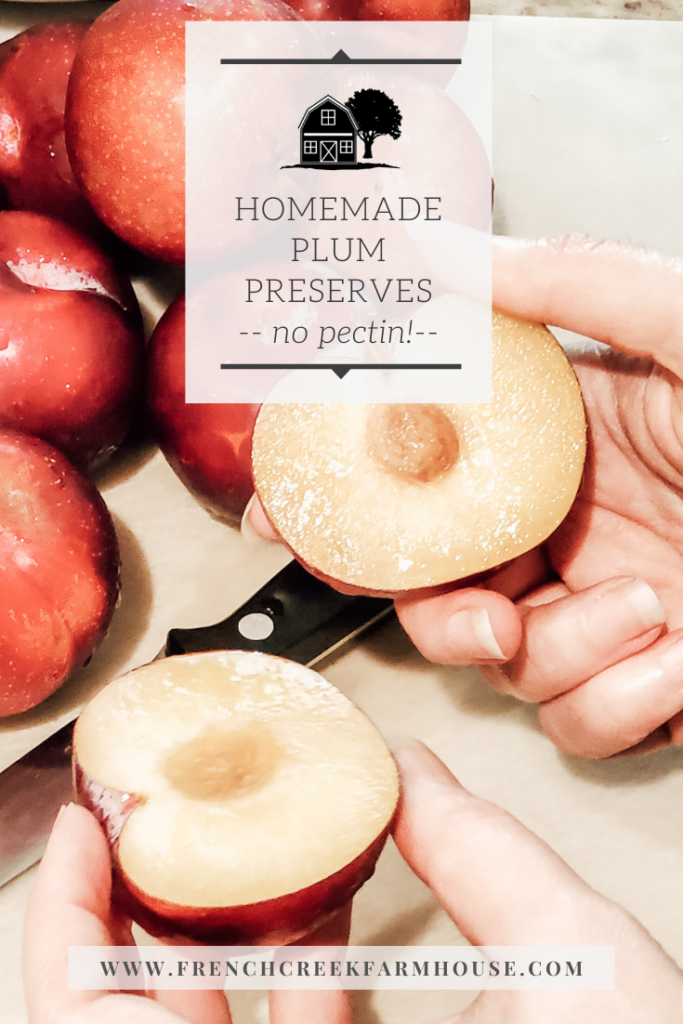
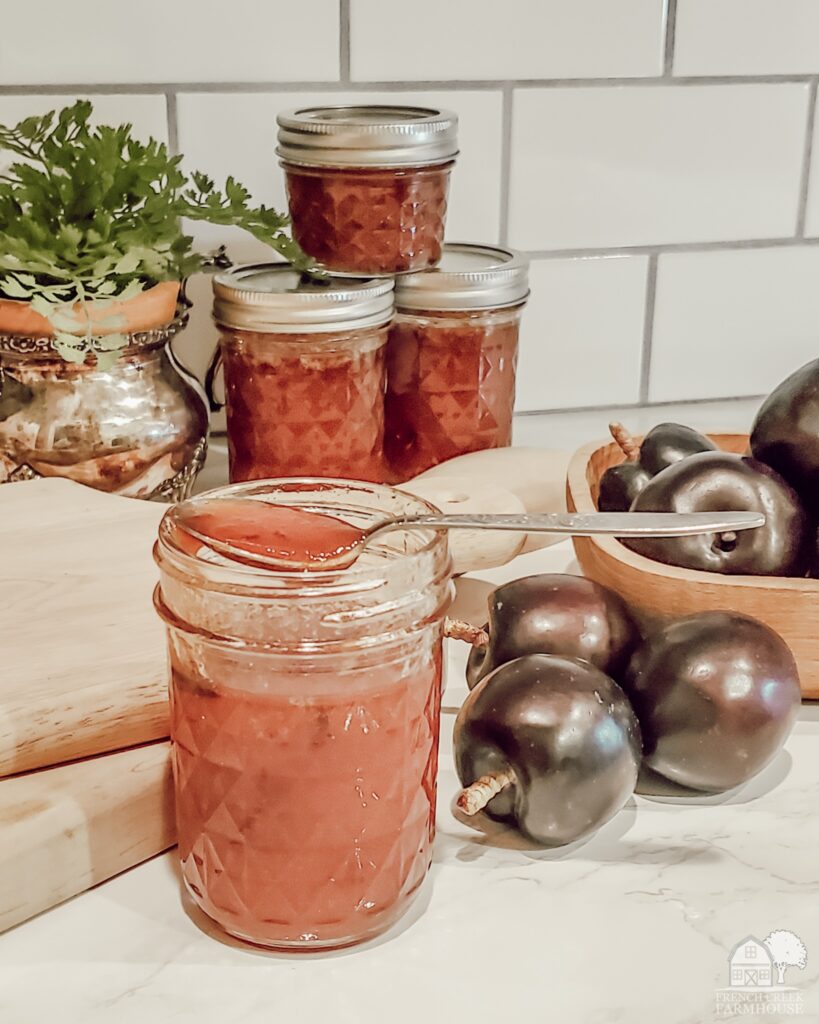
Plum Preserves: A Heritage Recipe
One of my favorite early fall activities is preserving foods that we grew and harvested ourselves. And, plum preserves are at the top of my list!
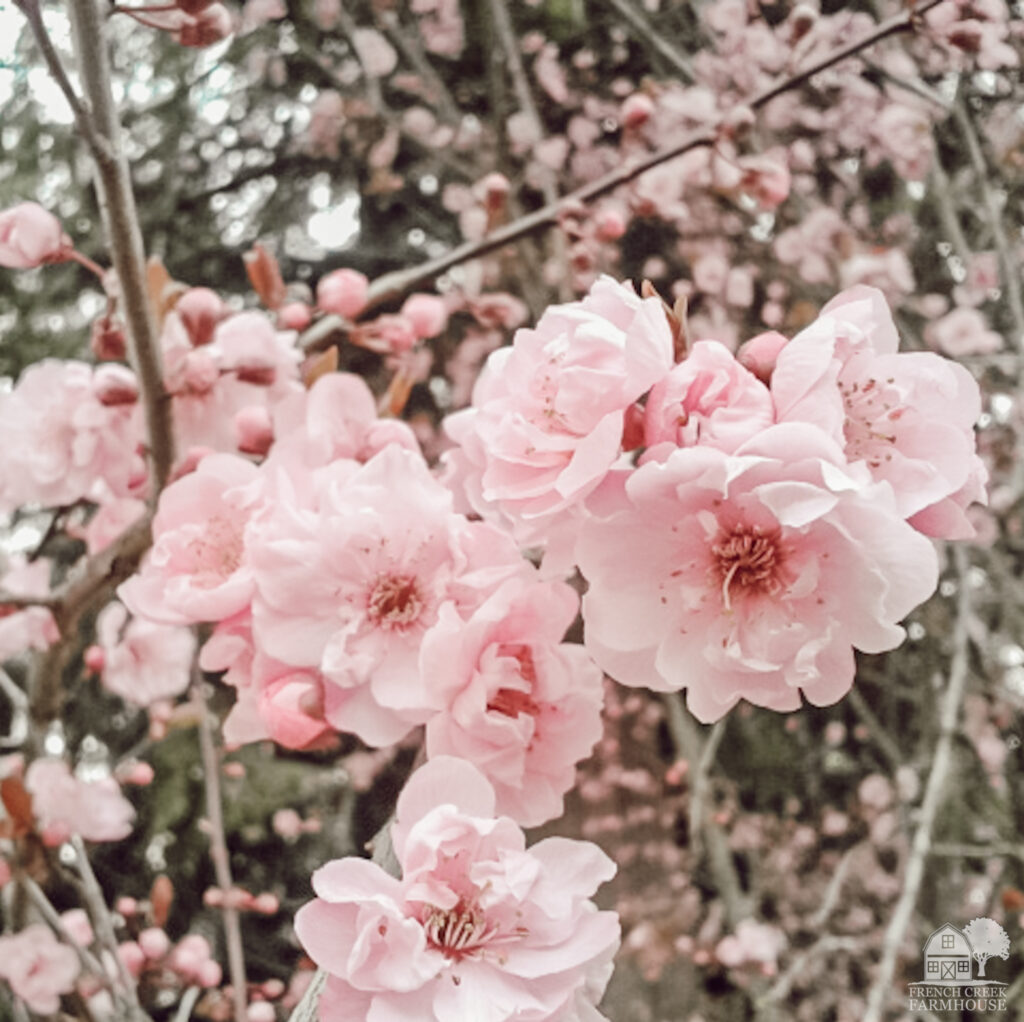
This year, our plum trees truly delivered. We had a beautiful display of blooms in the spring, and then the pollinators did their job to help produce some amazing fruit.
Before the birds got to them, I wanted to make sure I canned as many as possible to enjoy all winter long. Fortunately, I have a big box full of recipes from my grandmother and great-grandmother, and they never fail to give me great ideas!
But do you know the difference between preserves, jams, and jellies? The history and meaning behind our homesteading activities is always so interesting to me.
Preserving fruit is certainly a heritage homesteading activity, and one that goes back many generations of our family trees. Through careful planning and preparation, preserving allows us to enjoy our harvests for several months after the growing season ends.
{ Related: How We Prep and Preserve Food All Year }
But, what’s the difference between jam and jelly? And, what are preserves??
Jams, Jellies, and Preserves, Oh My!
When it comes to the difference between jams, jellies, and preserves, it’s all about the amount of fruit in the finished product. Here’s a simple breakdown…
Jelly: Jelly is made from clear fruit juice and sugar. It does not contain any fruit in the finished product. The juice is usually extracted by cooking down the mashed fruit and then straining out the pulp until only the juice remains. Because there’s no fruit in jelly, it’s generally made with the addition of pectin in order for it to set up properly. Jelly is also the smoothest finished product, and it’s usually spread with a knife.
Jam: Unlike jelly, jam does contain fruit. However, the fruit is mashed or pureed to make it somewhat smooth. It might even contain seeds (think: Strawberry Jam). The fruit is cooked with sugar, just like jelly, but the finished product is less smooth and has a texture that’s more spoonable. To be technically accurate, jams only contain one kind of fruit. If you add other fruits (like mixed berries, for example) or nuts, you have conserves. Jams made with citrus fruits (often including bits of the peel) are called marmalade.
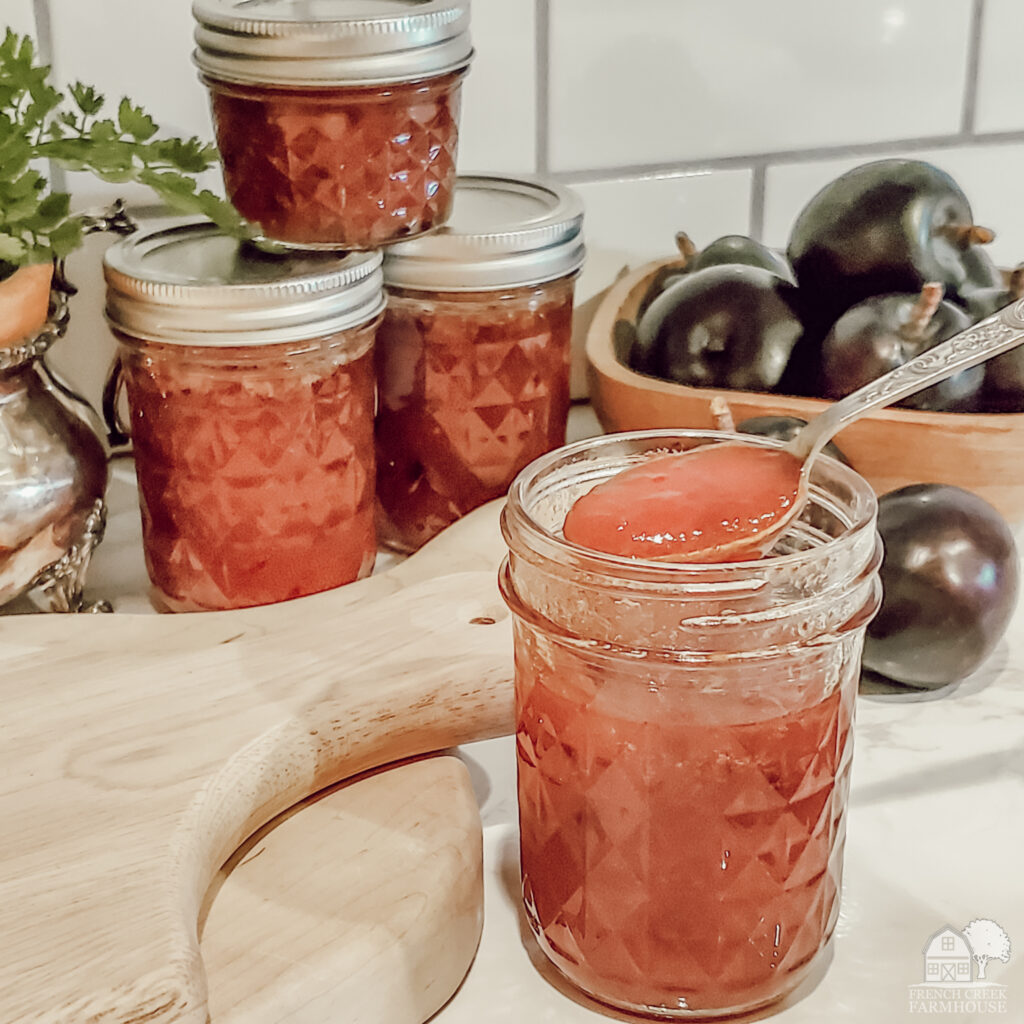
Preserves: On the other end of the spectrum from jelly, you’ll find preserves. Preserves contain the most fruit, with chunks of fruit still present in the finished product. Depending on how it’s cooked, the texture might be more syrupy, or jammy, but always with bits of fruit. Because preserves are made with whole fruit, they often do not require the addition of pectin. That’s because there’s already enough natural pectin in the fruit itself.
Now, there are two others to add to this list that sort of fit “in between” these categories: chutney and fruit butter.
Chutney and Fruit Butter
Chutney contains both whole and mashed fruit, which puts them somewhere in the middle of jams and preserves. However, they’re also made with much less sugar, and generally have more savory flavors with the addition of chilies, onions, spices, and vinegar.
Fruit butter is similar to preserves, in that it contains a lot of fruit and usually much less sugar. But unlike preserves, you cook fruit butters very, very slowly until it’s wonderfully smooth. The texture is more creamy and less jelly-like. I like to use my slow cooker and let it cook all day. The house smells wonderful!


Disclosure: This is not a sponsored post, and I have received no compensation for sharing anything that follows. Some links within this blog may be affiliate links, and I might earn a commission if you make a purchase through that link. This usually amounts to cents, not dollars, and helps to support the projects featured on this blog. I only recommend products from companies that I have found to be trustworthy. Read my full disclosure here.
How to Make Plum Preserves
Before we get into the recipe steps, there are a few things to know about making plum preserves.
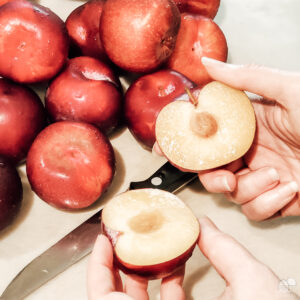
For starters, you’ll get the best results from very ripe fruit. How do you know when plums are ready to harvest? Easy–they will nearly fall off the tree when you gently tug them. In fact, they might even literally fall of the tree! They also feel a bit like a full water balloon when they are perfectly ripe.
In case you’re wondering, yes, you can make plum preserves from store-bought plums. They probably won’t be as ripe, but it can be done! Also, unripe fruit has higher levels of pectin. This means that your fruit will gel more easily, so be careful not to overcook it.
Your fruit will cook faster if you cut it into smaller pieces, which can be helpful if you pick your plums before they are ripe (or if you use store-bought plums). I only quartered my plums because they were quite ripe already.
10 Ways to Serve Plum Preserves
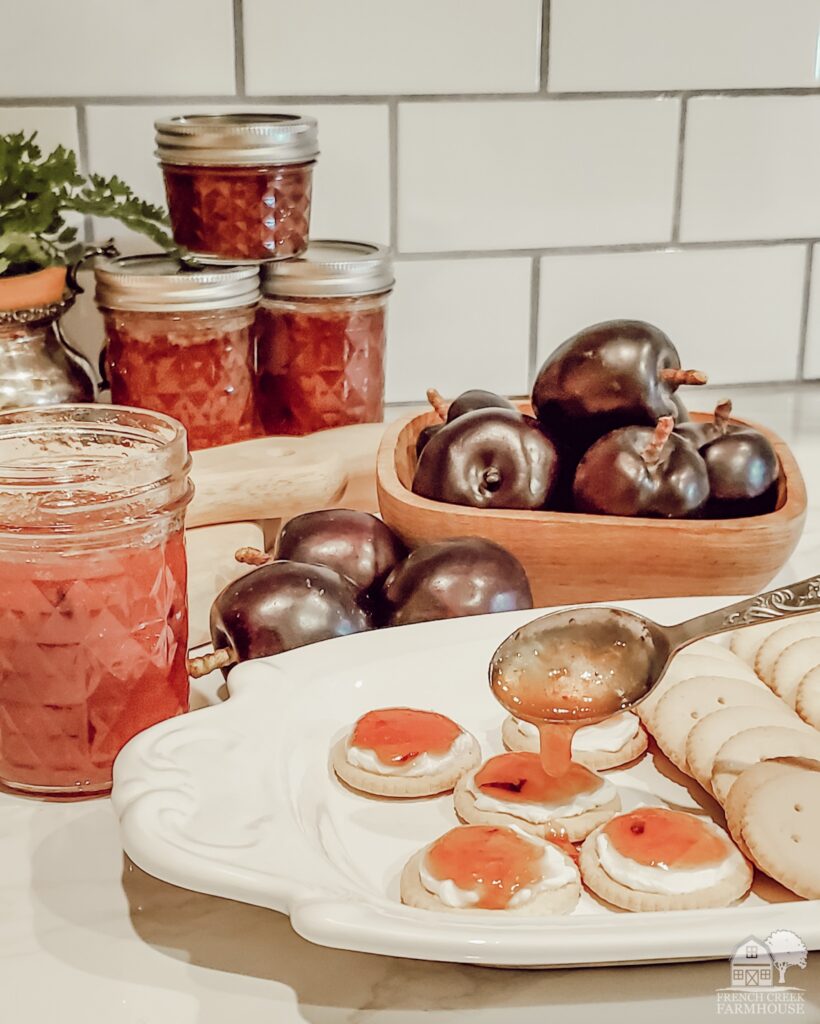
Be sure to make a lot of these plum preserves because there are so many ways to enjoy them all year long! Try a few of these ideas:
- Spread preserves on any toasted bread–gotta love a classic!
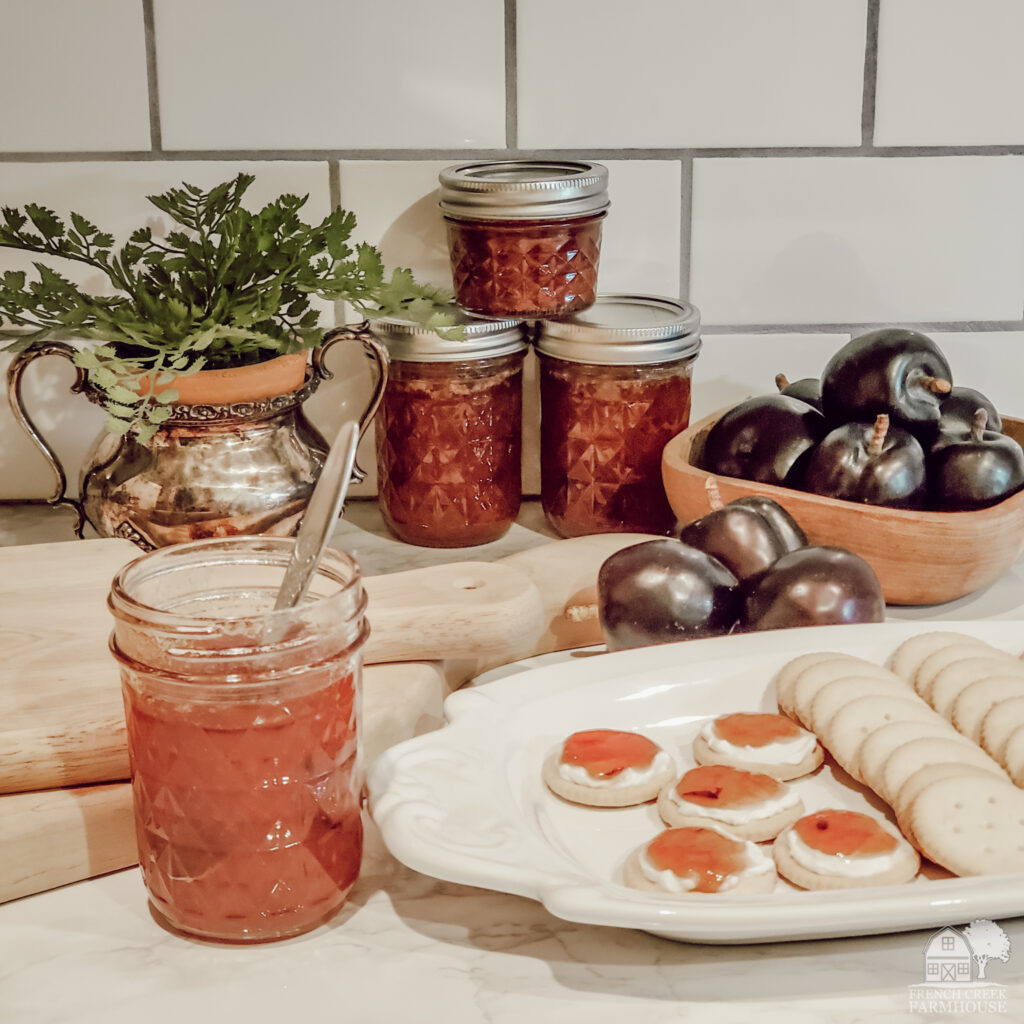
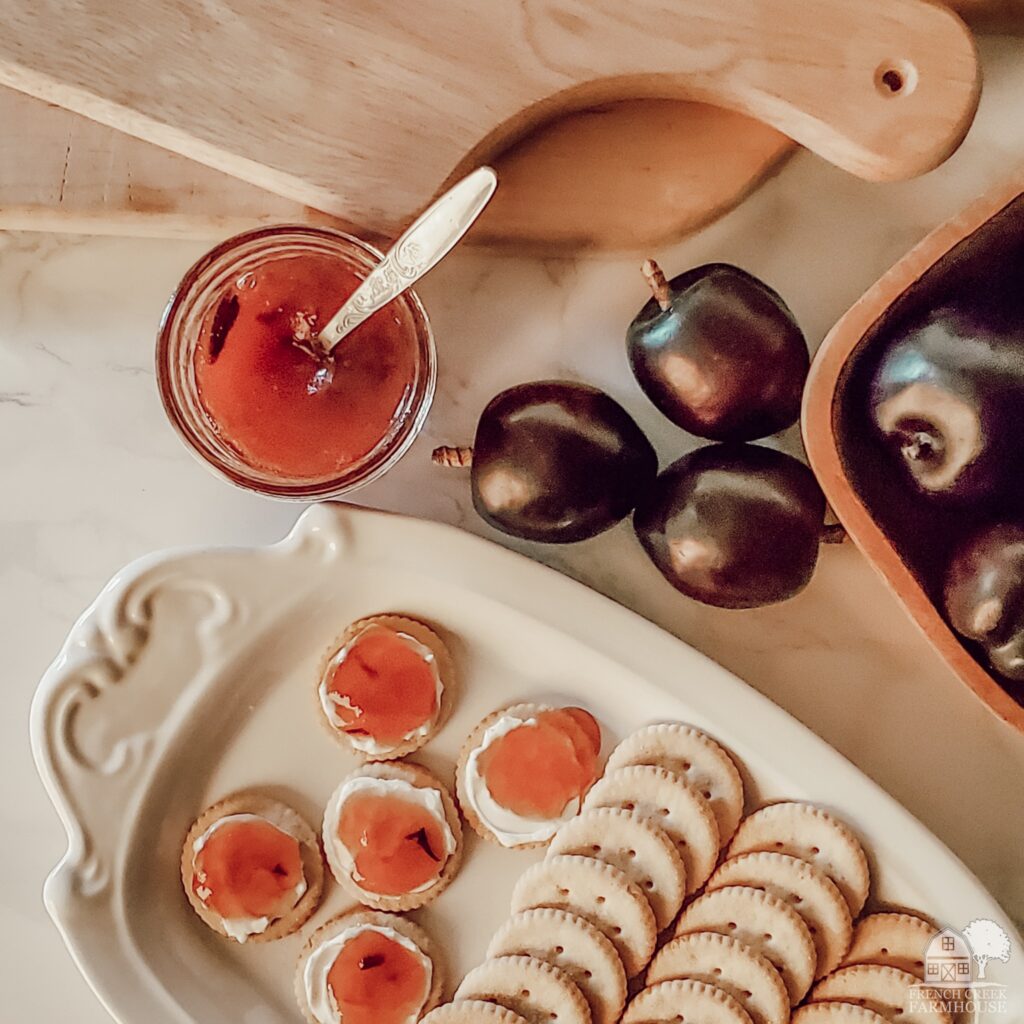
- Top crackers with any soft cheese and a dollop of preserves.
- Drizzle preserves over ice cream.
- Add preserves to plain yogurt for a sweet treat.
- Smear bread with preserves before making grilled cheese sandwiches!
- Use preserves atop waffles, pancakes, or french toast.
- Make an indentation in the top of sugar cookies and fill with a drop of preserves.
- Mix with BBQ sauce and simmer plant-based meatballs in the slow cooker–perfect tapas!
- Use preserves as a glaze for any grilled protein.
- Mix preserves with chili peppers, then pour over cream cheese and serve with crackers for a sweet & spicy appetizer.
Basic Canning Equipment You’ll Need
The canning equipment you’ll need to make this recipe will also set you up to preserve almost any other type of food you like! These are the exact items I use:
- 5-8 half-pint jars, sanitized and hot
- Lids and bands
- Boiling water canner with rack
- Food scale
- Jar funnel
- Jar lifter
- Lid wand
- Hot pads
- Labels and pen
- Optional: Immersion blender

Plum Preserves
Ingredients
- 2.5 lbs Plums pitted and sliced
- 4 cups Sugar
- 1 cup Water
Instructions
- Slice plums in half to expose the pit.
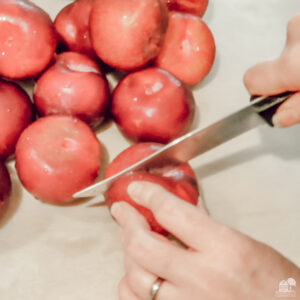

- Carefully remove the pits, then chop plums.
- Optional: If you need time to sanitize your jars, I like to let my fruit sit in the sugar for a bit. Otherwise, skip to the next step.
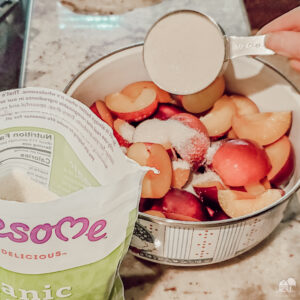
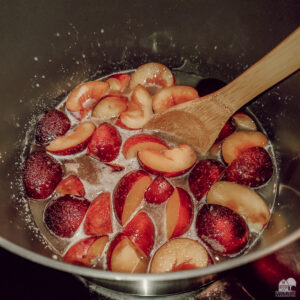
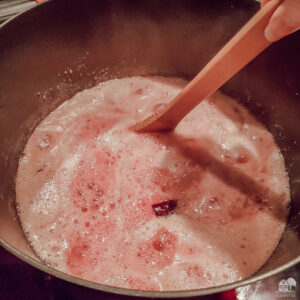
- Combine all ingredients into a large pot, and slowly bring to a boil. Stir constantly.
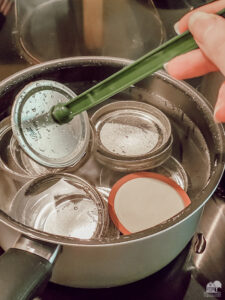
- While the plums are cooking, prepare the lids in a warm (not hot) water bath. Lids should reach 180°F for 10 minutes before use.
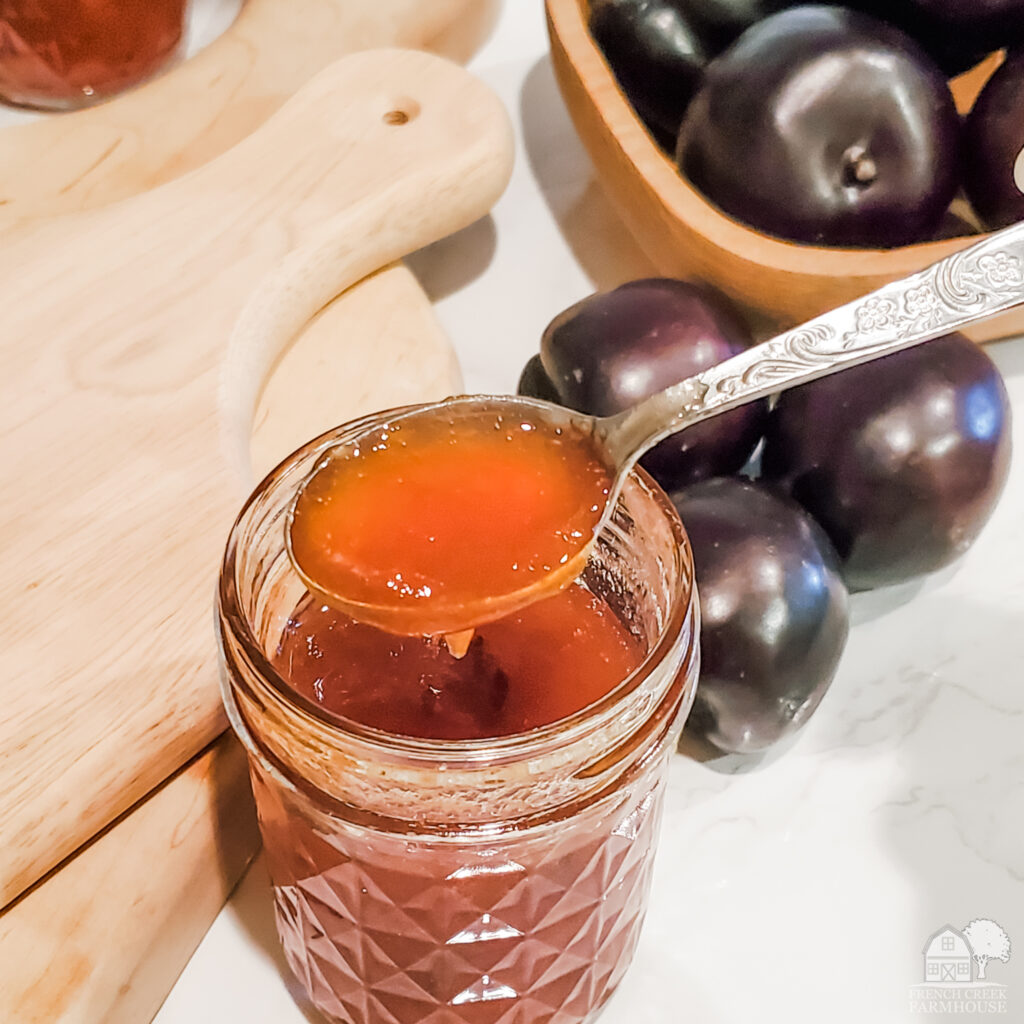
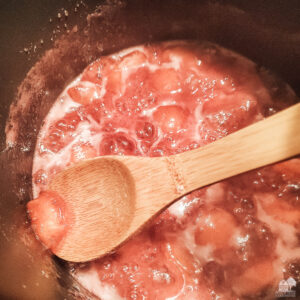
- Once sugar is dissolved, cook the plums rapidly until just before the gelling point. This will take approximately 20-30 minutes. Continue stirring to prevent the plums from sticking and burning.
- The fruit will break down significantly during this cooking time. I quartered my plums, and ended up with bite-sized pieces after boiling.
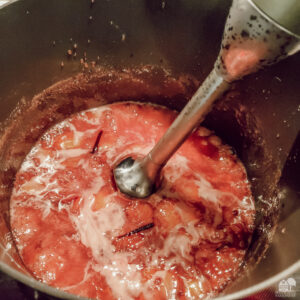
- Optional: If you prefer even smaller chunks of fruit than what you end up with after cooking the necessary time, you may want to process the plums with an immersion blender.
- Remove from heat, and immediately spoon the preserves into the hot jars.
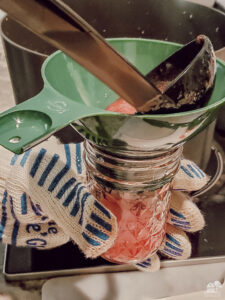

- Leave 1/4 inch headspace, and add lid and band. Process jars in a boiling water bath for 15 minutes, then carefully remove jars and place on a towel. Leave jars undisturbed for 24 hours.
- After 24 hours, confirm the seal of the lid by pressing the middle to make sure it does not pop. Adjust bands, add labels, and store for future use.
Notes
- When properly canned, your jars can be stored safely (in a cool, dark place between 50-70°F) for up to one year
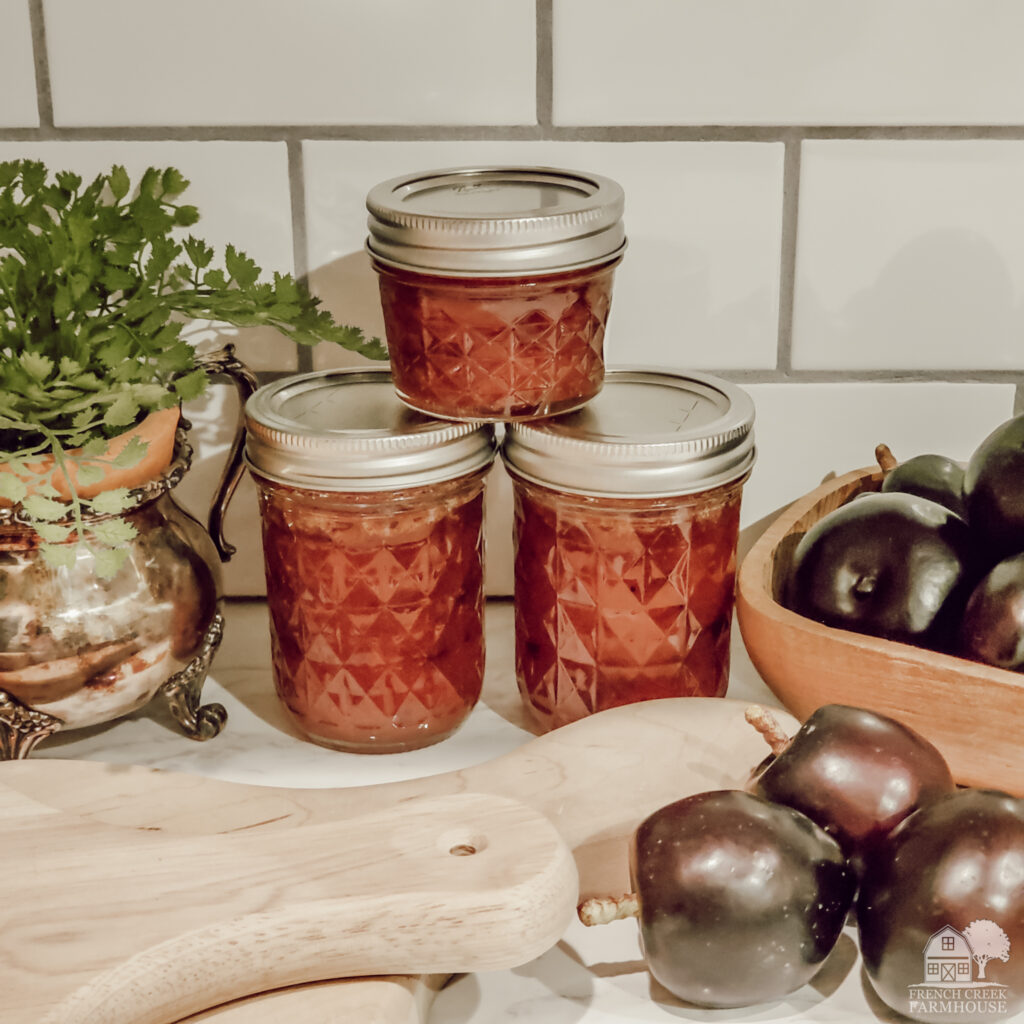
- This recipe usually yields about 6 half-pints for me, but make sure to have a few extra jars/lids ready–just in case.
- The actual cooking time will vary based on many factors including the size of your pot, intensity of flame, elevation, and humidity levels on the day you prepare the recipe. Always perform a gelling test to make sure your preserves are ready for canning.
- Never double the recipe–this will prevent the preserves from properly gelling.
- Make sure to weigh your plums after pitting for an accurate measurement.
- Use organic sugar to ensure your preserves are vegan. This is my favorite.
Looking for some delicious and easy ideas for dinner?
Get my free grain bowl recipe guide
Let’s be email pen pals! Sign up to join our community, and get your free printable PDF Grain Bowl Recipe Guide. This is so good!
Those plum preserves look delicious! I actually did not know the difference between jam and preserves. Preserves sounds so vintage.
I wish we had plums! My sister in law, up on Idaho, got a ton this year! Your recipe looks really good.
God bless!
Laurie
Ridge Haven Homestead
If you’d like to share it further, please come by the Homestead Blog Hop and share with our readers! I believe they would love it. I can’t link here, but just stop by my page and you can find the hop in the categories!
It was certainly a good year for plums in the PNW…in fact, all of our fruit trees did amazing with the hot, dry weather. It was quite a harvest! You can definitely make this recipe with store-bought plums too…super yummy!
I haven’t tasted plum preserves, but they look amazing! Thanks for sharing at Vintage Charm–pinned!
Ooooo, they’re so yummy! Definitely make up a batch…they take very little time, and make great gifts for friends and neighbors!
Does it matter which type of plums to use? Our local market has some early golden ones ready.
Hi Sarah,
Early Golden Plums will certainly work for preserves, and you can technically use any type of plum that you like. What you will need to watch is the gelling. Different fruits will have varying levels of natural pectin that will impact the time it takes to reach “done” when you’re cooking.
I am in Turkey for the summer and used the plums here – and since they are so sweet, I even cut the sugar to 1.5 cups.. Delicious!
Wonderful to hear that you enjoyed the recipe, Cagla! 🥰