Refinishing Rescued Furniture
Refinishing and restoring furniture has been my hobby for many years. Truth be told, a couple of decades, even! I love bringing life back to a piece that has been neglected and forgotten. And, every once in a while, I end up tackling a piece of furniture that was forced to endure a very poor attempt at refinishing by its previous owner. I lovingly refer to these projects as “rescues”, and this is one such tale of redemption.
If you’re new to refinishing furniture, rescues might not be the best place to start. My definition of a rescue is a piece of furniture that someone else attempted to refinish, but, sadly, did an inadequate job. To be quite honest, they are an unpredictable challenge that carry a good deal of risk. Choosing a rescue to take on for a project piece is a lot like buying a house.
When you buy a home, it is incredibly advisable to get a home inspection. A trained and licensed home inspector is able to spot things that the average person might miss and also to assess the condition of a home before you make the purchase.
It would be great to have a furniture inspector on hand when selecting pieces for refinishing, but the fact is, that’s simply a skill you gain through experience. And when you decide to take on a rescue, there might be obvious flaws that you spot right away (a poor paint job, hardware that doesn’t match the period of the furniture, etc), but there might also be hidden defects that you don’t fully know until you start to work on the piece.
This is what makes them risky.
It’s also what makes them such a fun challenge!
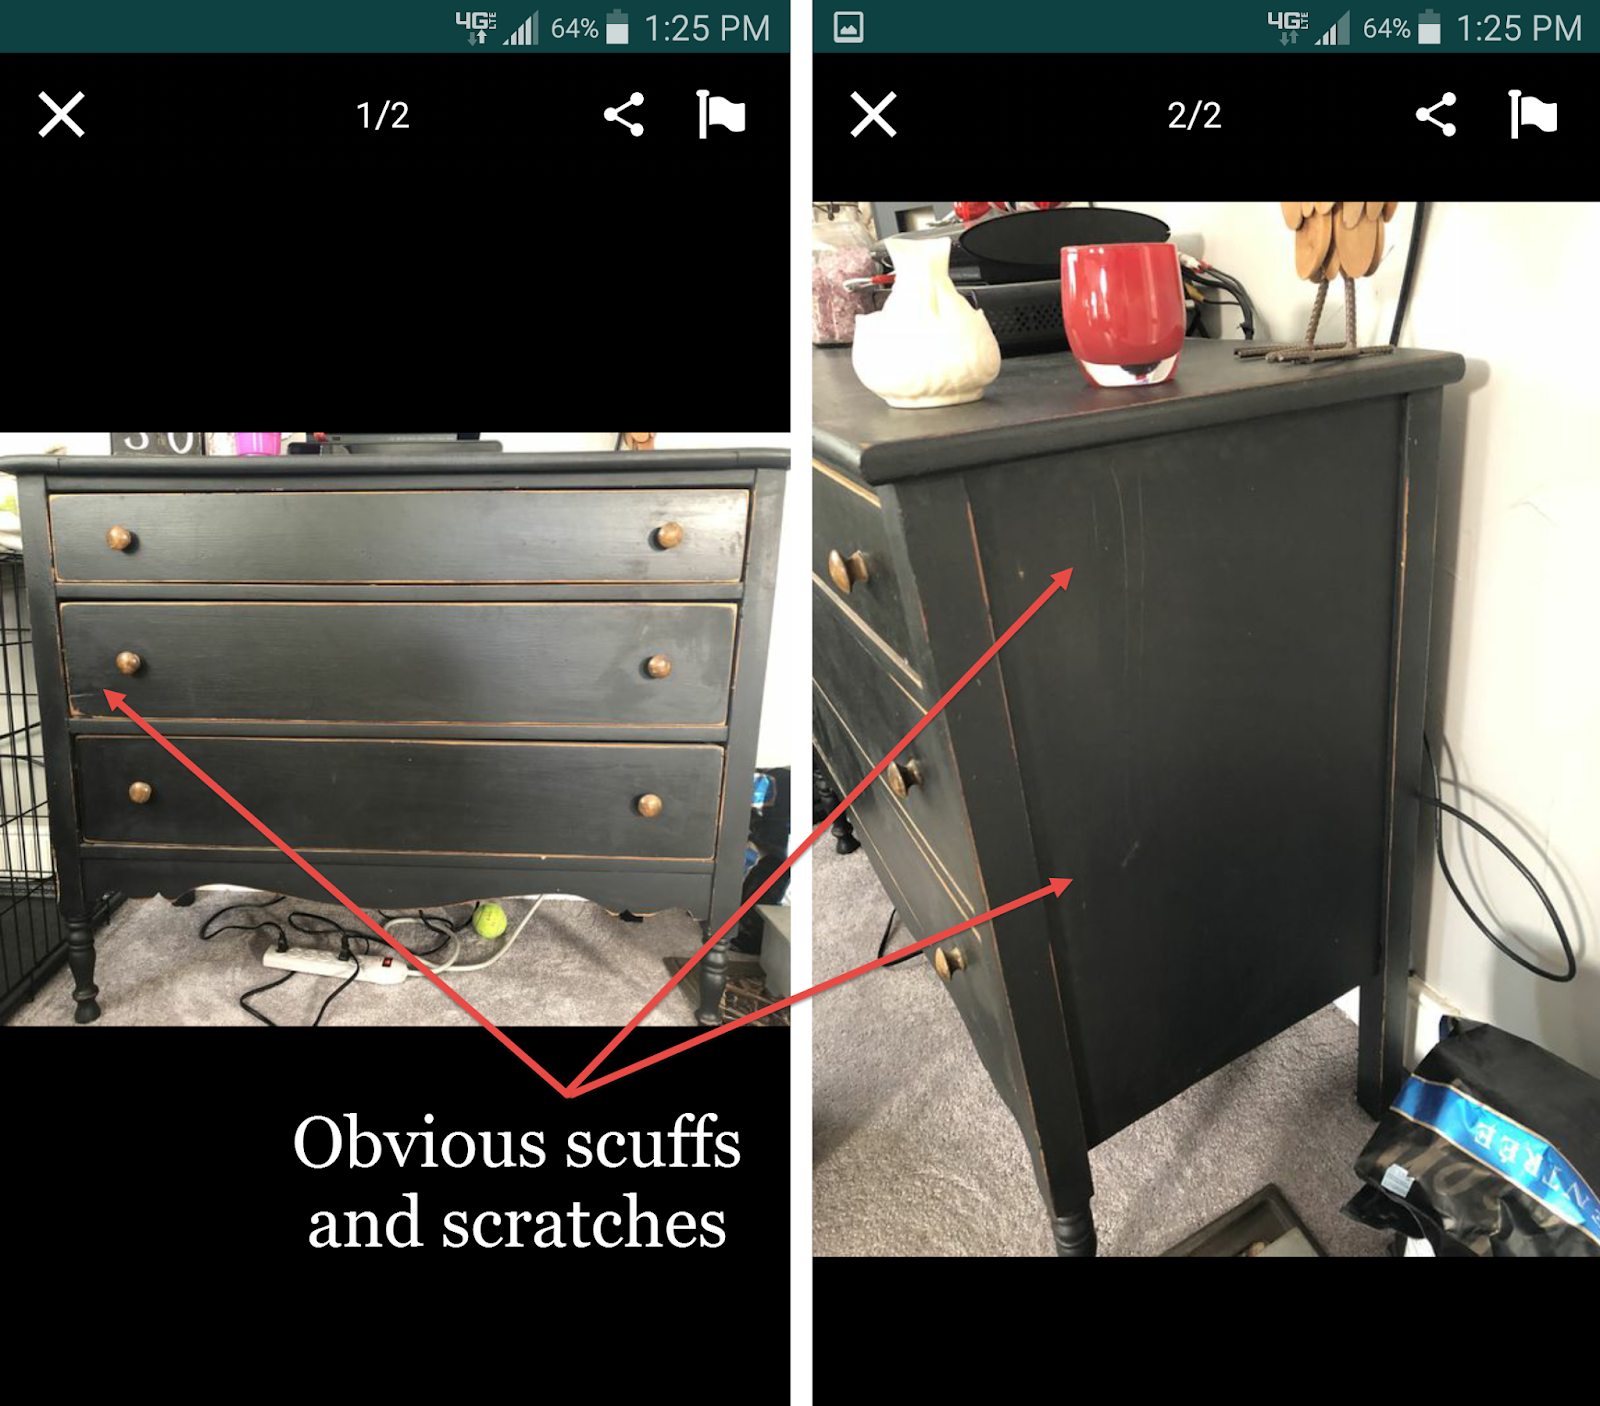
Last month, I stumbled across this dresser in an ad online, and it had so many qualities that I loved. Turned legs, curvy details, and an appealing paint job for the upcoming fall decor changeover. However, I could tell from the photos that the paint had blemishes, so I knew that it was going to be a rescue–and I needed to assess just how much I might be taking on.
I went through my usual checklist of questions:
- Do all of the drawers work properly? Yes, everything slides smoothly.
- Does all of the hardware match? Yep.
- Is the piece sturdy? Very solid–not even the slightest wobble.
- Any damage or other problems? No, everything is perfect. Just some scratches in the paint.
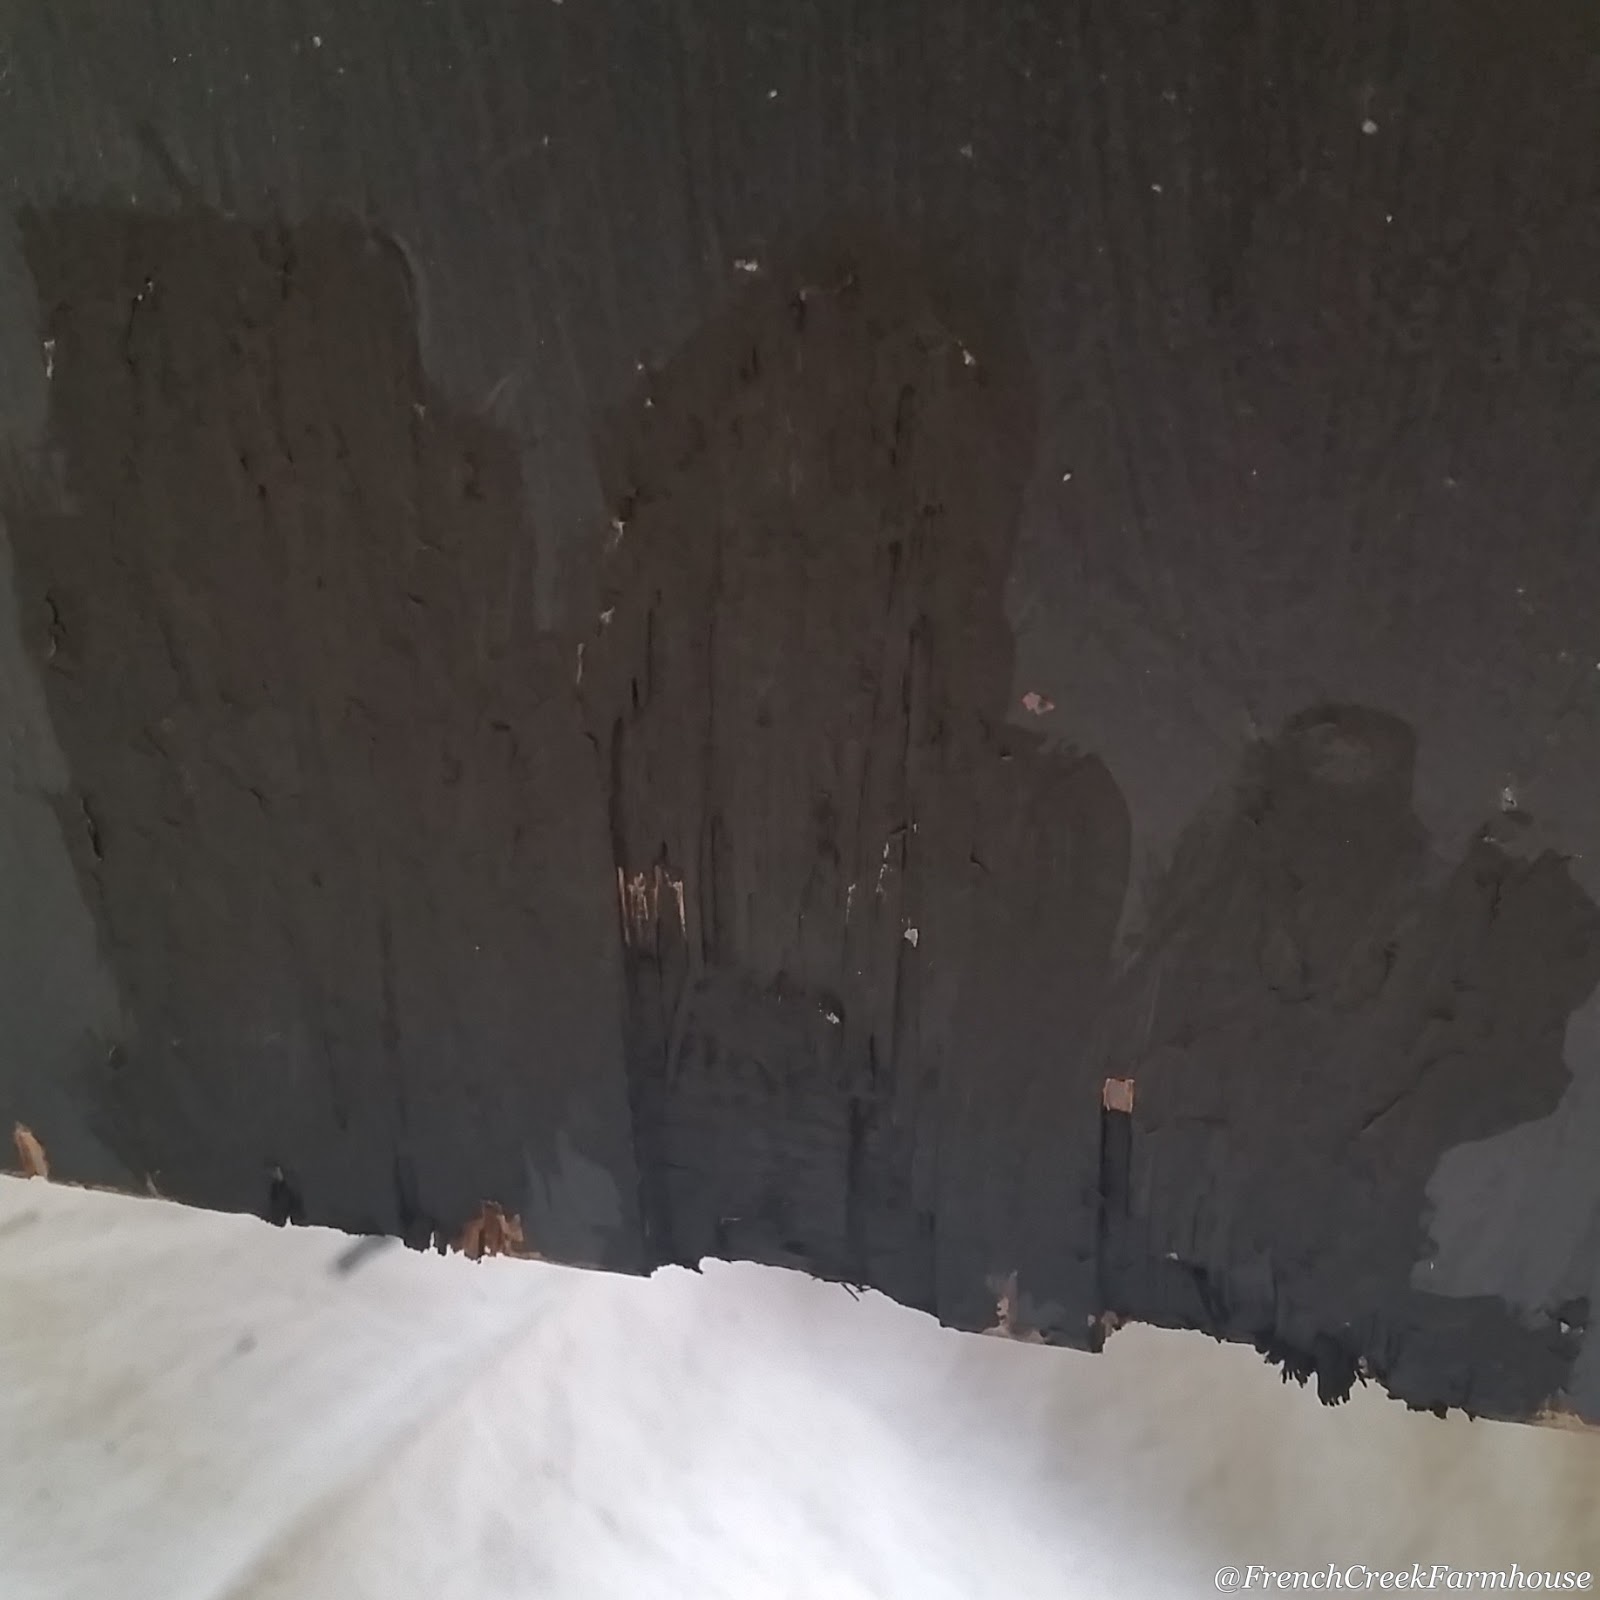
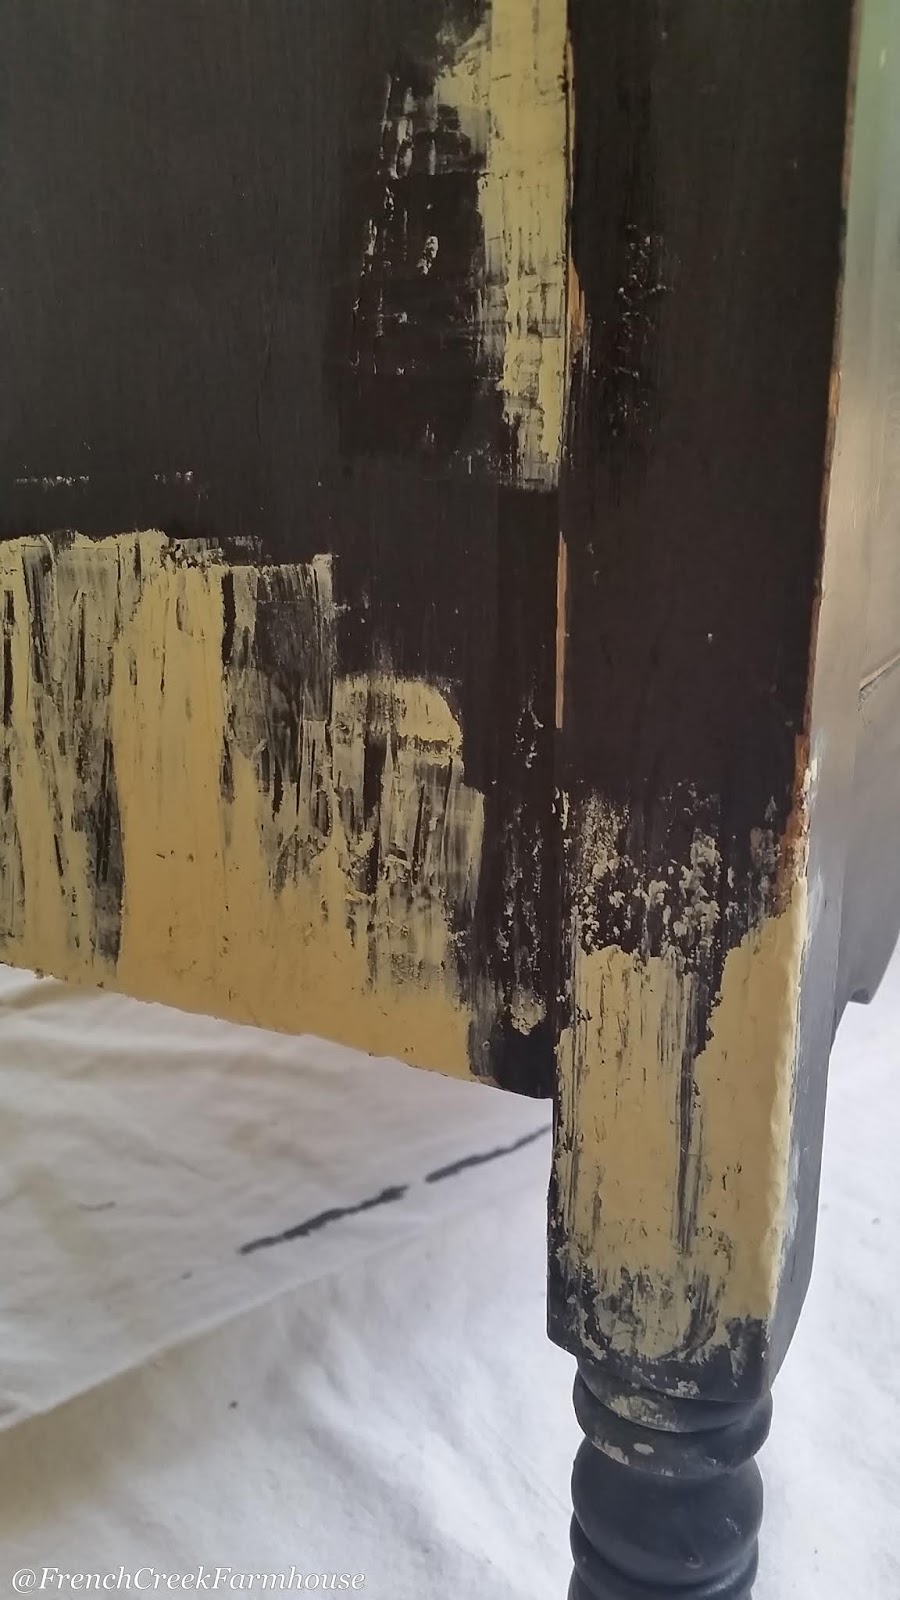
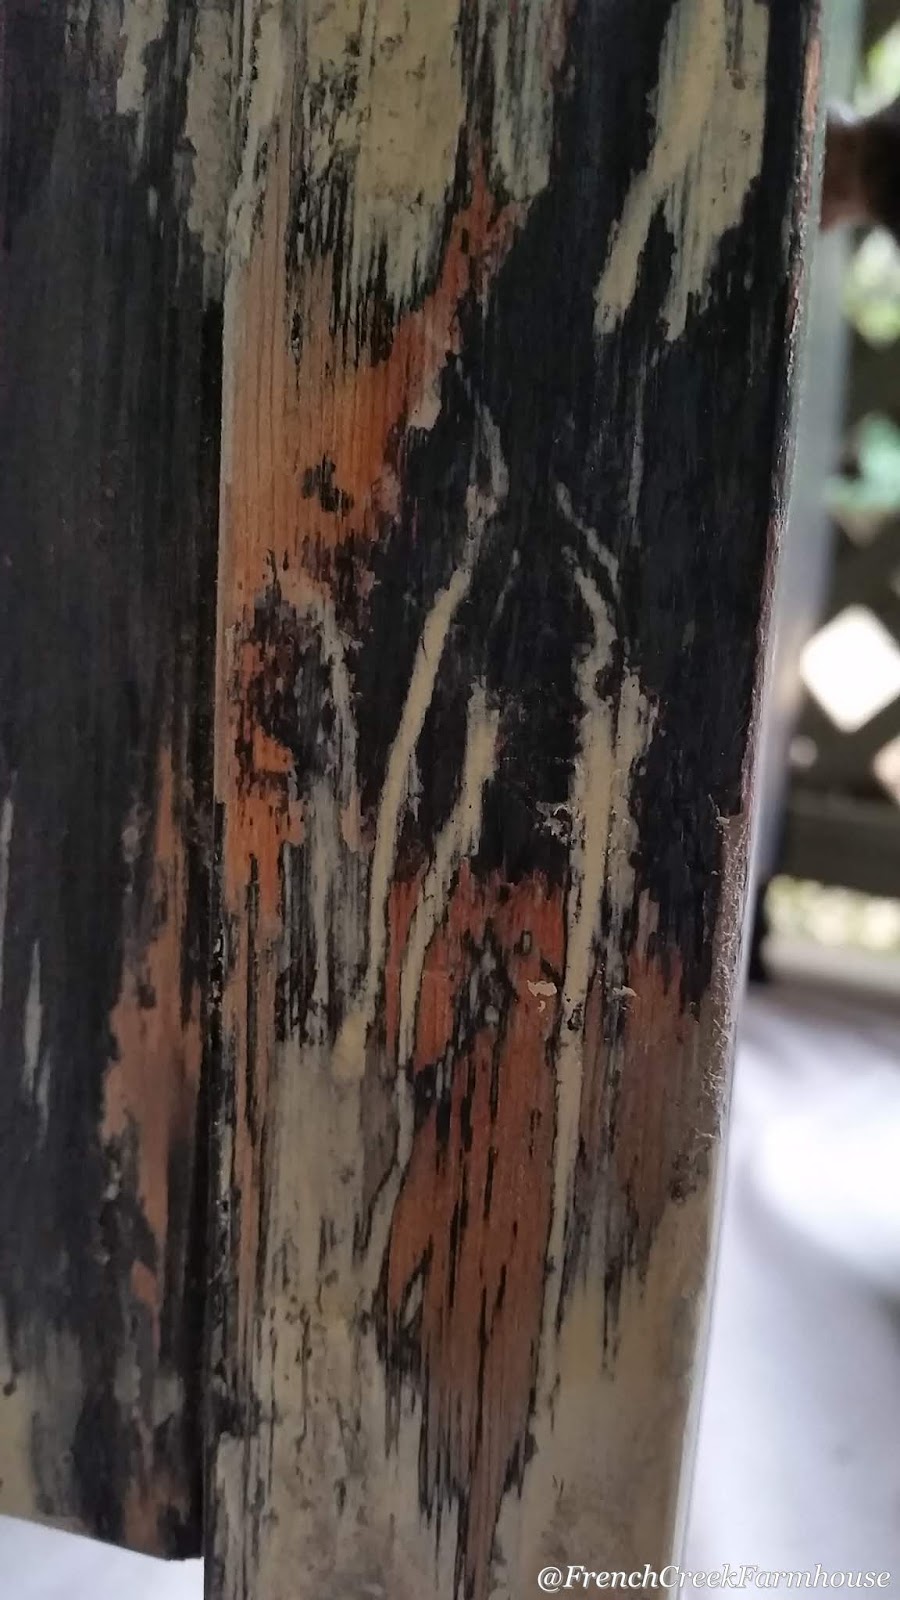
This last one is where things went off the rails. When I arrived to pick up the dresser, I discovered a large area of damage to the wood on the side of the piece that the seller had not photographed (note–always be suspicious if there’s an obvious lack of photos of one section of the furniture, as was the case with this one). This was not just a scratch in the paint, but actual damage to the wood itself.
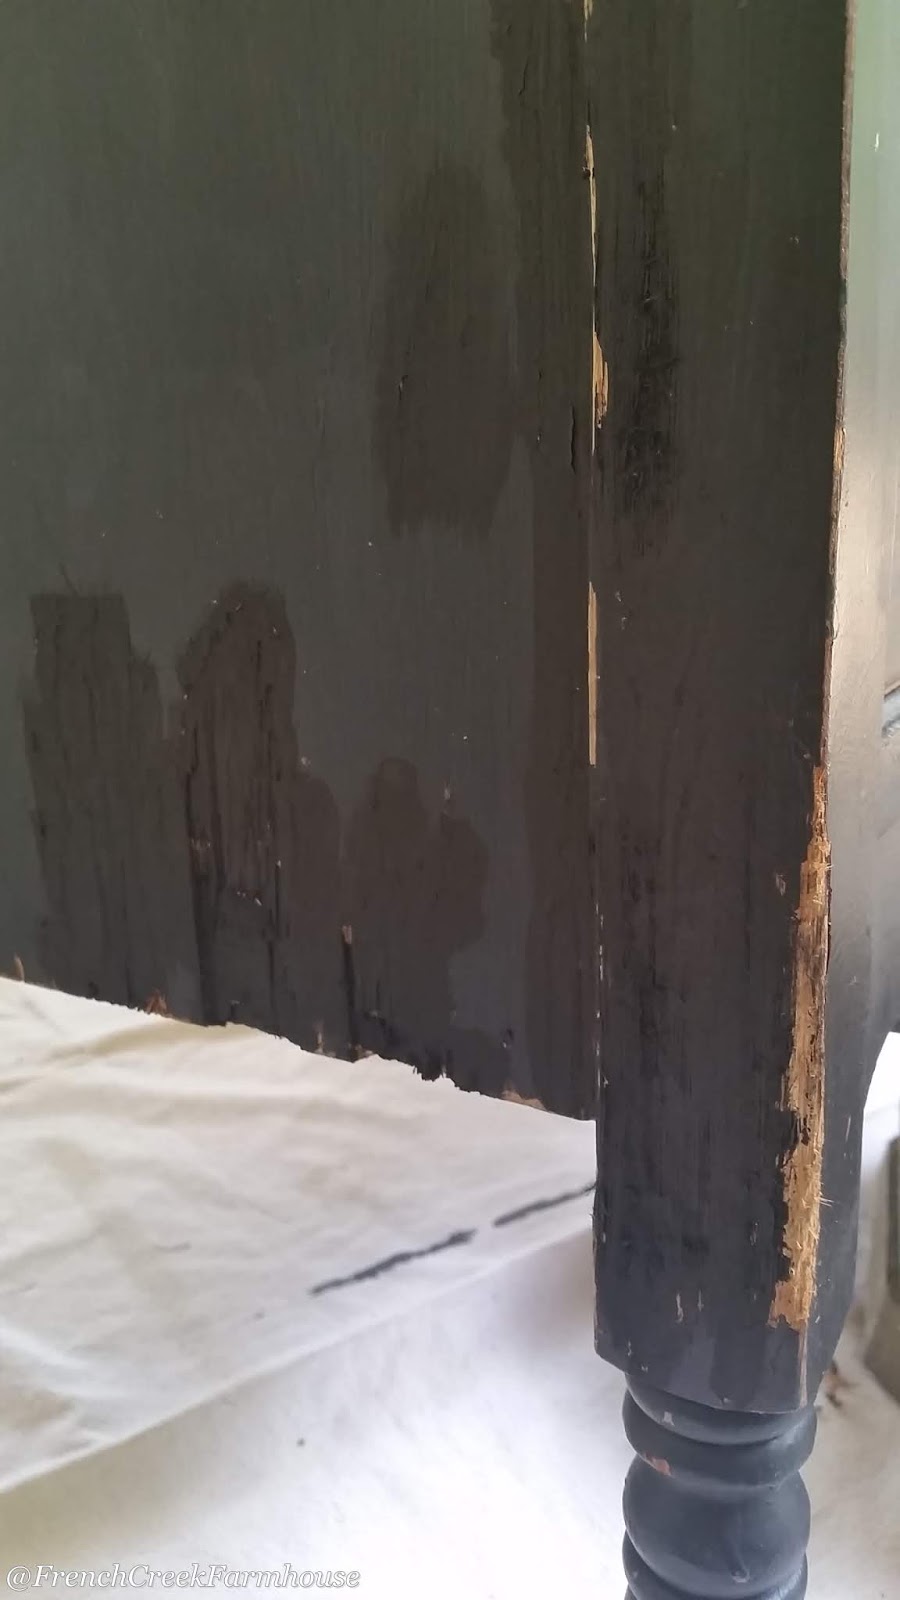
The seller claimed that they never really noticed because it was that way when they bought it. Chances are, this was a pretty big fib because it was obvious that someone had tried to touch-up the area with a different color of black paint.
But this was the type of damage that I knew I was capable of fixing, and everything else checked out, so it was a rescue worth tackling!
The first thing I did was to stop on my way home at our local paint store. I took one of the drawers with me into the store so that I could have the paint color matched precisely. Easy peasy.
Disclosure: This is not a sponsored post, and I have received no compensation for sharing anything that follows. Some links within this blog may be affiliate links, and I might earn a commission if you make a purchase through that link. This usually amounts to cents, not dollars, and helps to support the projects featured on this blog. I only recommend products from companies that I have found to be trustworthy. Read my full disclosure here.
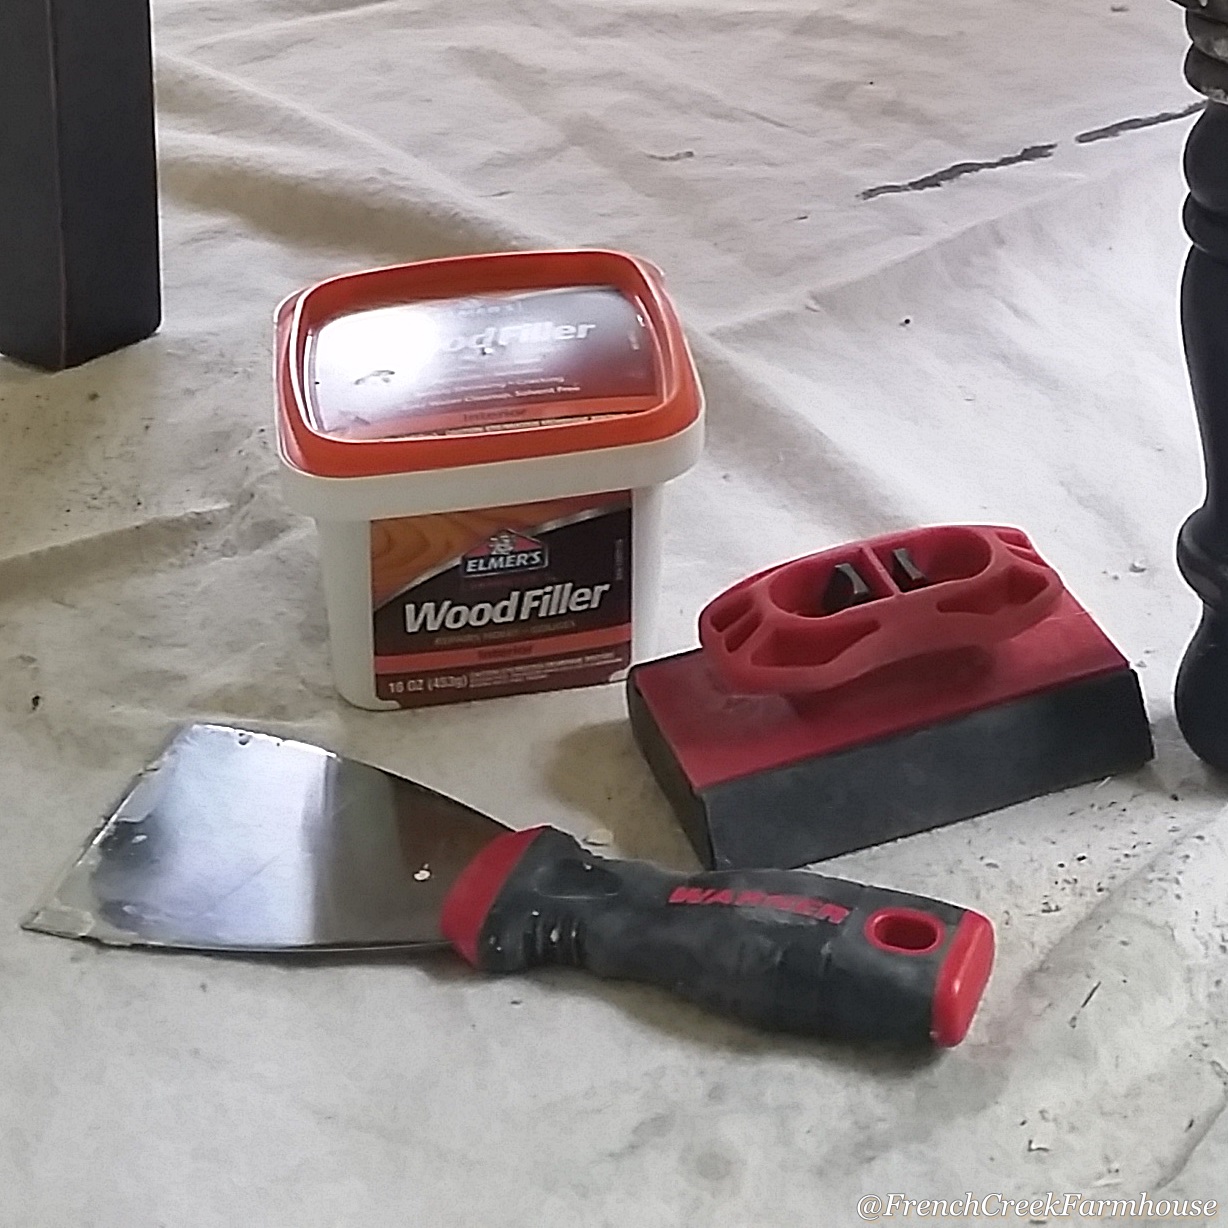
Next, I set to work on fixing the damage. I used the following tools for this part:
Elmer’s Wood Filler – This is my go-to wood filler for painted projects because it’s simple to use and dries very quickly. I’ve never experienced any problems with shrinkage or cracking, and it sands very smooth to make painting a breeze. You can use this product to fill anything from a small hole to a deep gouge, and that makes it a very versatile filler.
Warner 3″ ProGrip Stiff Scraper – I’ve been using Warner’s tools for a very long time, and I keep using them because they are reliable and affordable. This particular scraper is one of my most-used refinishing tools, and it worked great for this project.
Warner Sanding Block – I have several types of sanding blocks in my tool bench, but this one is my favorite. The unique design makes changing out sanding paper so much easier, and the handle fits well in my hand. Plus, it’s super affordable! You could buy several of them and pre-load them with different grits of paper so that you can switch blocks as you’re working through your project without having to slow down to reload paper. It also has a flat edge on one side and a beveled edge on the other, so it’s perfect for getting into corners.
And here’s how I completed this repair:
- I started by applying a layer of wood filler to the damaged area. You don’t need to be terribly precise about this, but you can save yourself future work by applying the filler as smoothly as possible. Wood filler is naturally sticky because it needs to stay where you put it. That means it can be a little challenging to apply it just perfectly. That’s okay! You’re going to sand it later, so you don’t need to worry if it looks messy.
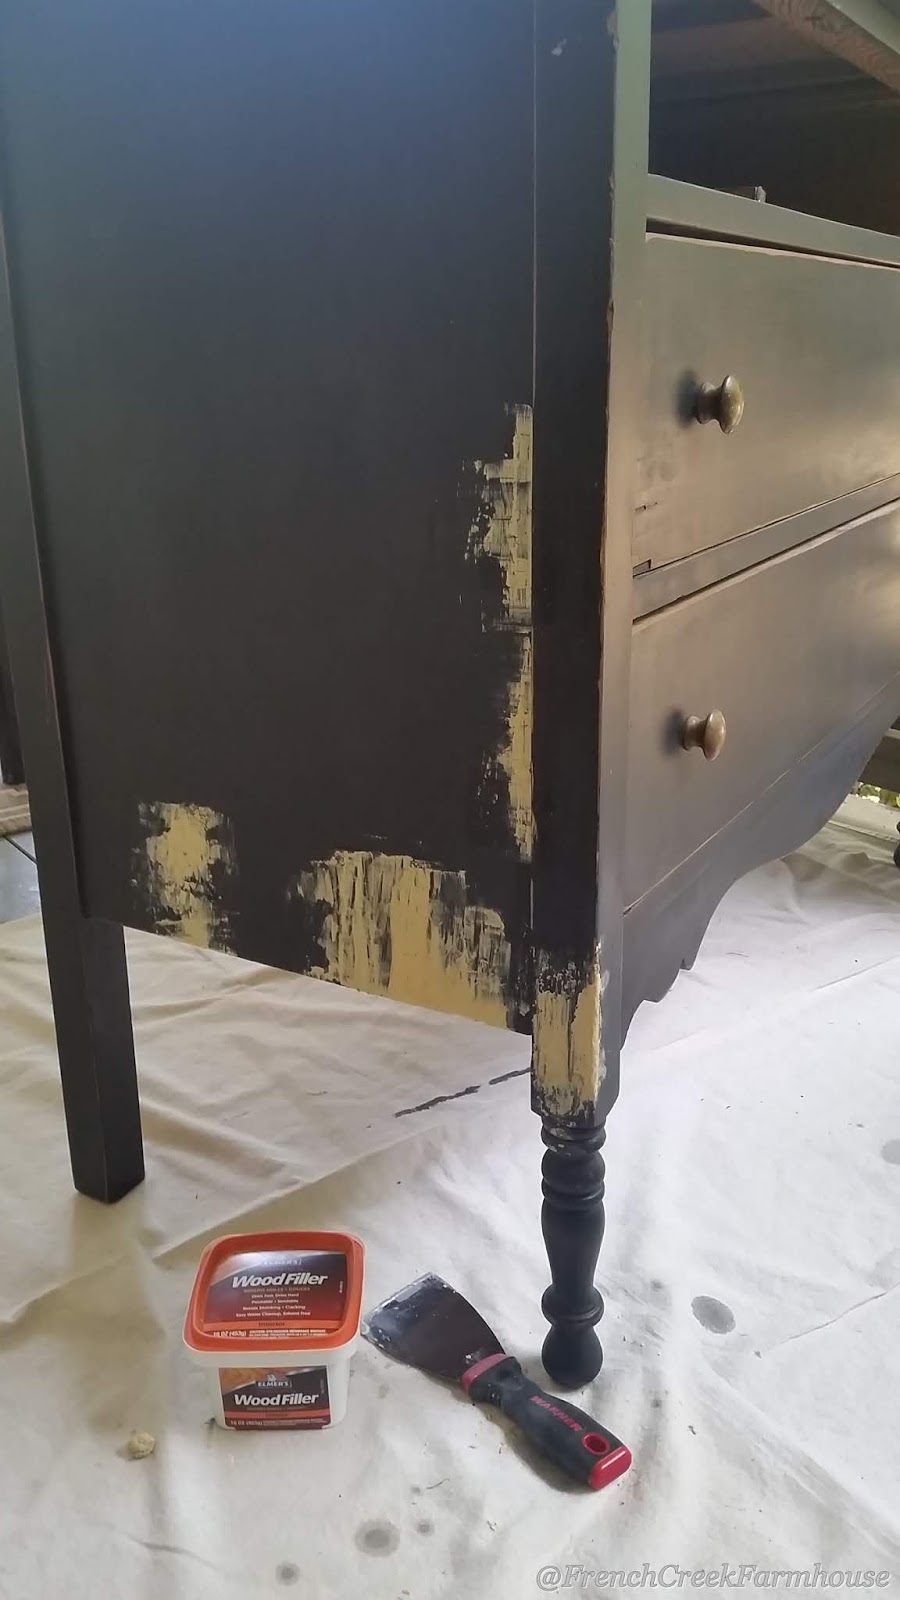

Get a small glob on your scraper and press it into the damaged area. Then, hold the sharp edge of the scraper against the piece and forcefully pull the scraper through the wood filler to smooth it out and remove the excess. Do this swiftly and with intention/force, otherwise you’ll just pull the filler back out. It may take some practice to do this well, but wood filler is very forgiving so give yourself time to learn.
- Allow the filler to harden, then come back and sand it smooth. Because the gouges in this dresser were quite deep, it took three rounds of filler + sanding to get it looking really great.

You’ll know you’ve got it when you’ve sanded until you see that the filler is staying only in the scratches and is surrounded by the original material (in this case, wood).
- After all of the filling and sanding is complete, I wiped the piece clean. I used tack cloths for this, but you can choose what works best for you. I do recommend using something that is as lint-free as possible though so that your paint goes on smoothly. Also, be sure to continue wiping until your cloth is coming away clean. Dust that you can’t see with your eye will still make your finish feel rough, so this is an important step in creating quality painted or stained furniture!
After all of the damage is addressed, it’s time to paint. For this, I used the following tools:
4″ Foam Roller Covers – A lot of the time, you can cut corners by using different products while painting, but if you want a truly smooth finish, foam rollers are a must. They are lint-free, and because they are made from high density foam, they don’t have a nap that will leave behind texture in your paint. I keep the Whizz brand stocked in my paint supplies, but you can find these made by many different manufacturers at your local hardware store. The point is–this is a product that WILL make a difference in how your finish looks in the end.
Warner Roller Frame – If you’re using the mini foam rollers, then you’ll need the proper roller frame to go with them. And have I mentioned how much I enjoy Warner’s products?
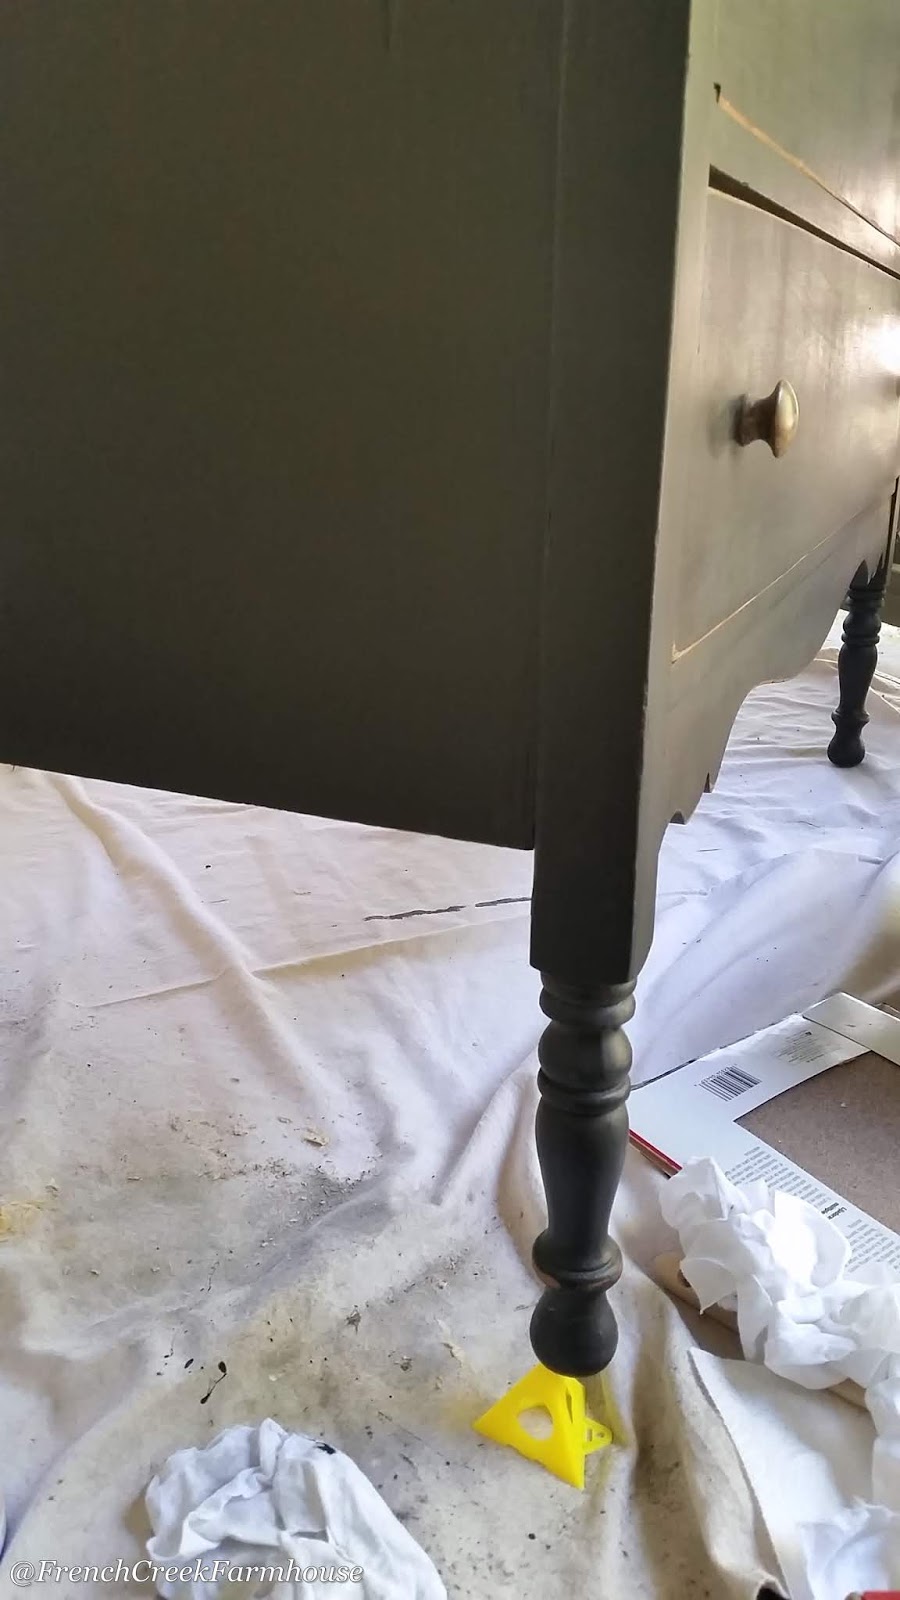
Tipu Pyramid Painter’s Stands – I really cannot say enough about what a treat these little stands are for painters. Honestly, it’s a bit of a luxury–you don’t *need* these if you’re just starting out and hoping to make a profit on projects that you plan to sell. But if you’ve been working on furniture for a long time, these are just amazing. I use them all. the. time. They make my life easier, and for that reason alone, I think they are worth every penny!
To paint this piece, I will confess to you that I didn’t even use a paint tray. I simply dipped my roller into the quart of paint, and rolled it onto the dresser. You can’t always get away with this, and if you’re new to painting furniture, you’re probably going to make a holy mess of drips. This is one of those “do as I say, not as I do” kind of steps–I don’t recommend that you follow me in this technique unless you have the experience to know how to manage the drips. You’ve been warned!
For this piece, I painted both sides completely–the one with the extensive damage that I repaired, and the side with the minor surface scratches. I also touched up the top and drawer fronts wherever there were small surface scratches. I could only accomplish this because I had my paint professionally matched, so if you’re attempting a rescue piece, make sure to use paint that is an exact match for the existing finish. Otherwise, you’ll be able to spot all of your touch-ups, and it just won’t look the way you imagined.
Also, if you are touching up like I did on the drawer fronts, be sure to feather your paint so that it blends with the existing finish instead of just “dotting” it in specific places.
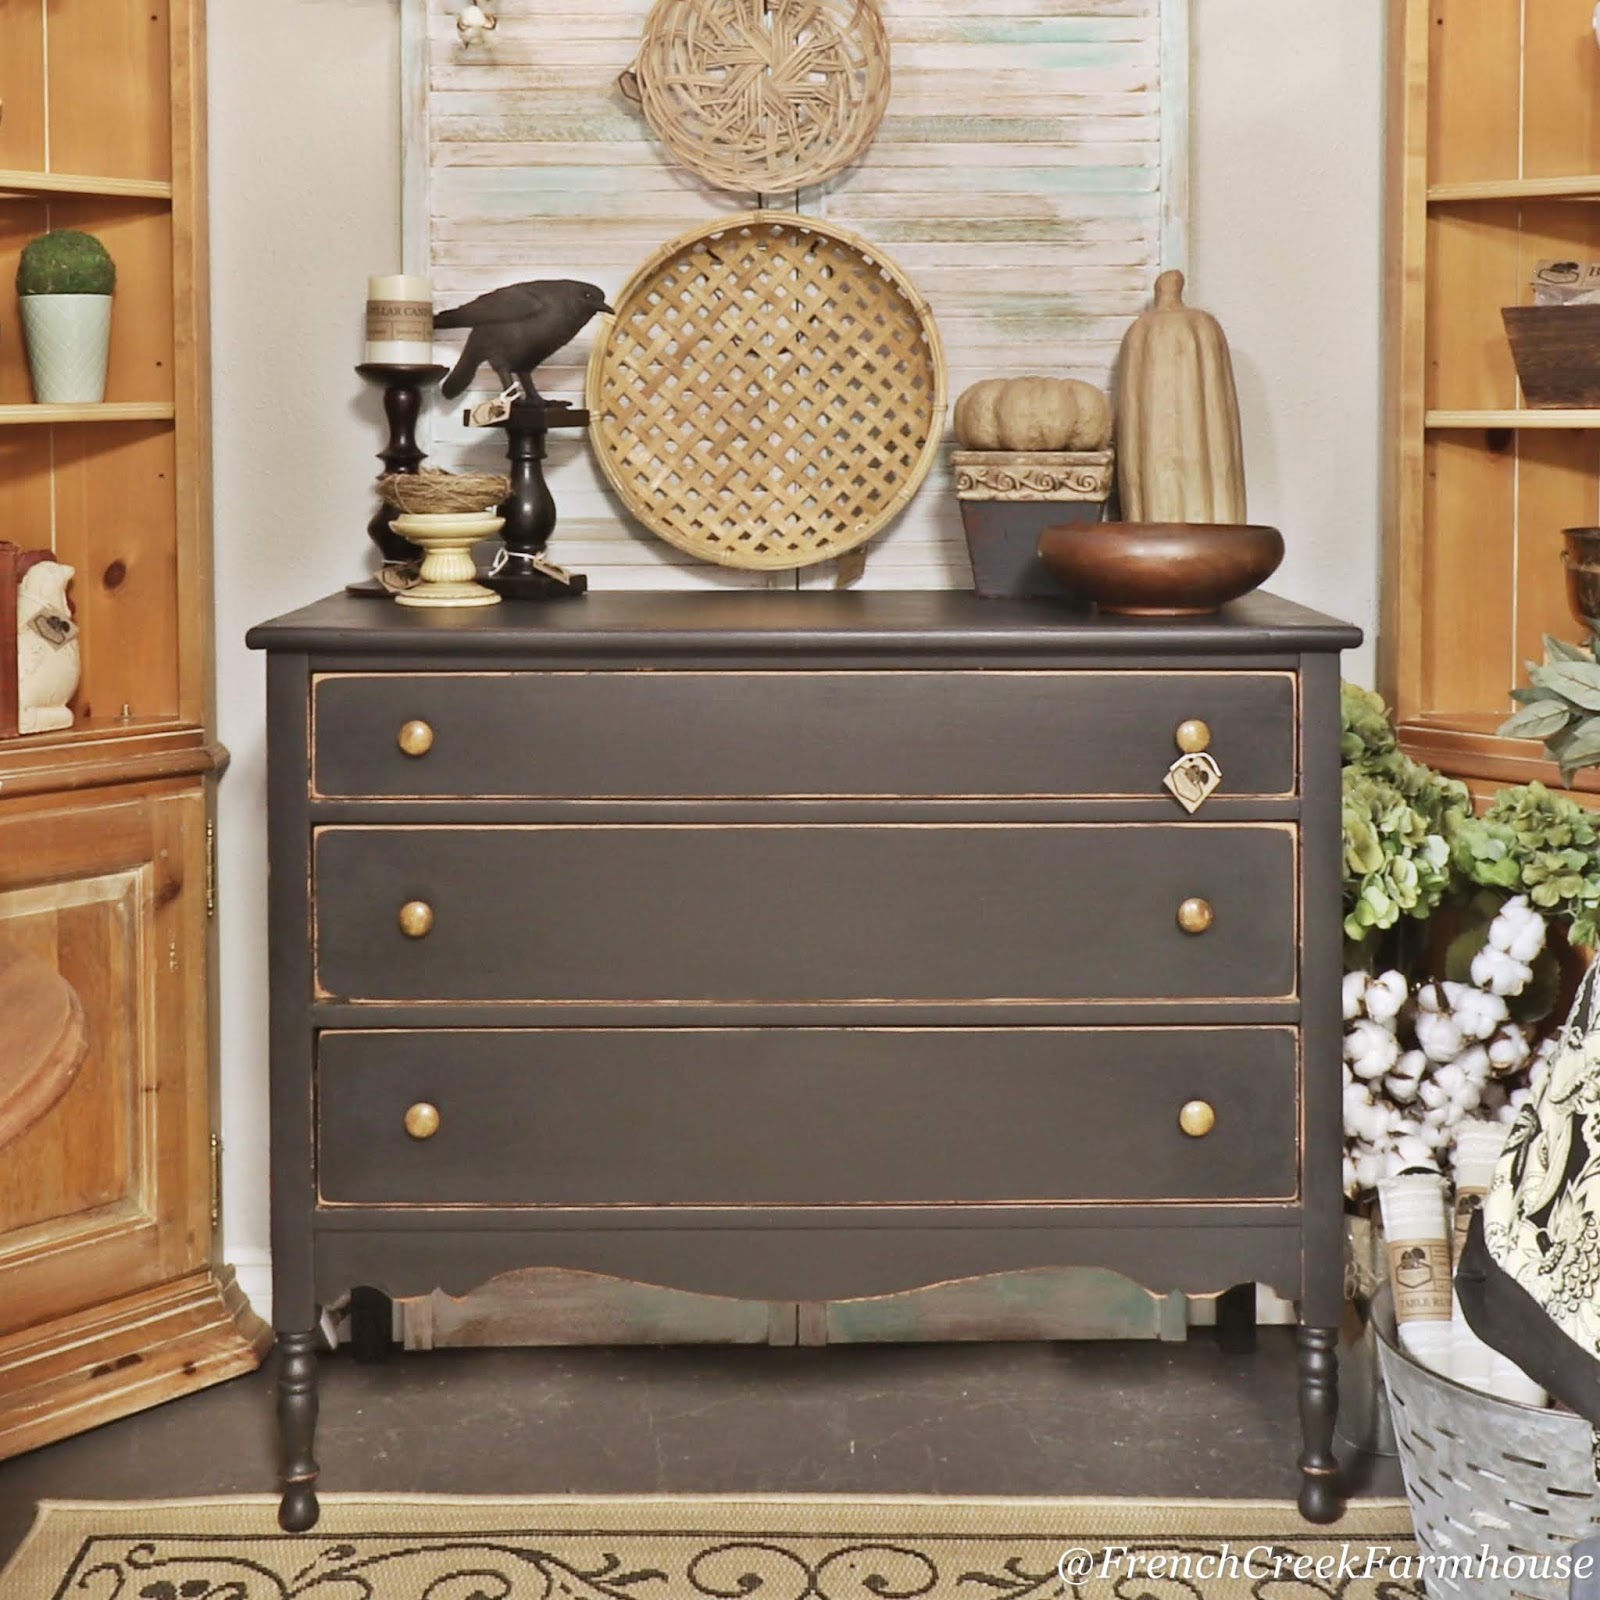
The result? This beauty that sold in just a smidge over 3 days!
Have you ever attempted to rescue a piece of previously-refinished furniture? What’s the biggest thing you learned? Share your advice in the comments below!

Do you love hunting for vintage treasures as much as I do?
Get my free vintage & junk hunting journal
Let’s be email pen pals! Sign up to join our community, and get your free printable PDF Vintage Hunting Journal. This is so good!

Great fix–it looks lovely restored! Thanks for sharing at Vintage Charm–pinned!
Thank you so much…I loved that piece!
I'll be featuring you this week! Thanks for sharing with us at the To Grandma's house we go link party!
Wow, thank you, Tarah!! You made my morning! xo
Stunning restoration. Featuring when my link party opens up!
Oh my goodness, thank you so much, Carol! I'm so sorry I missed your comment earlier. We were completing our mudroom renovation, and things got a little chaotic at the end. I'm getting caught up today, and I just wanted to say how much it means to us that you loved this project enough to feature it. Thank you so, so much! xo