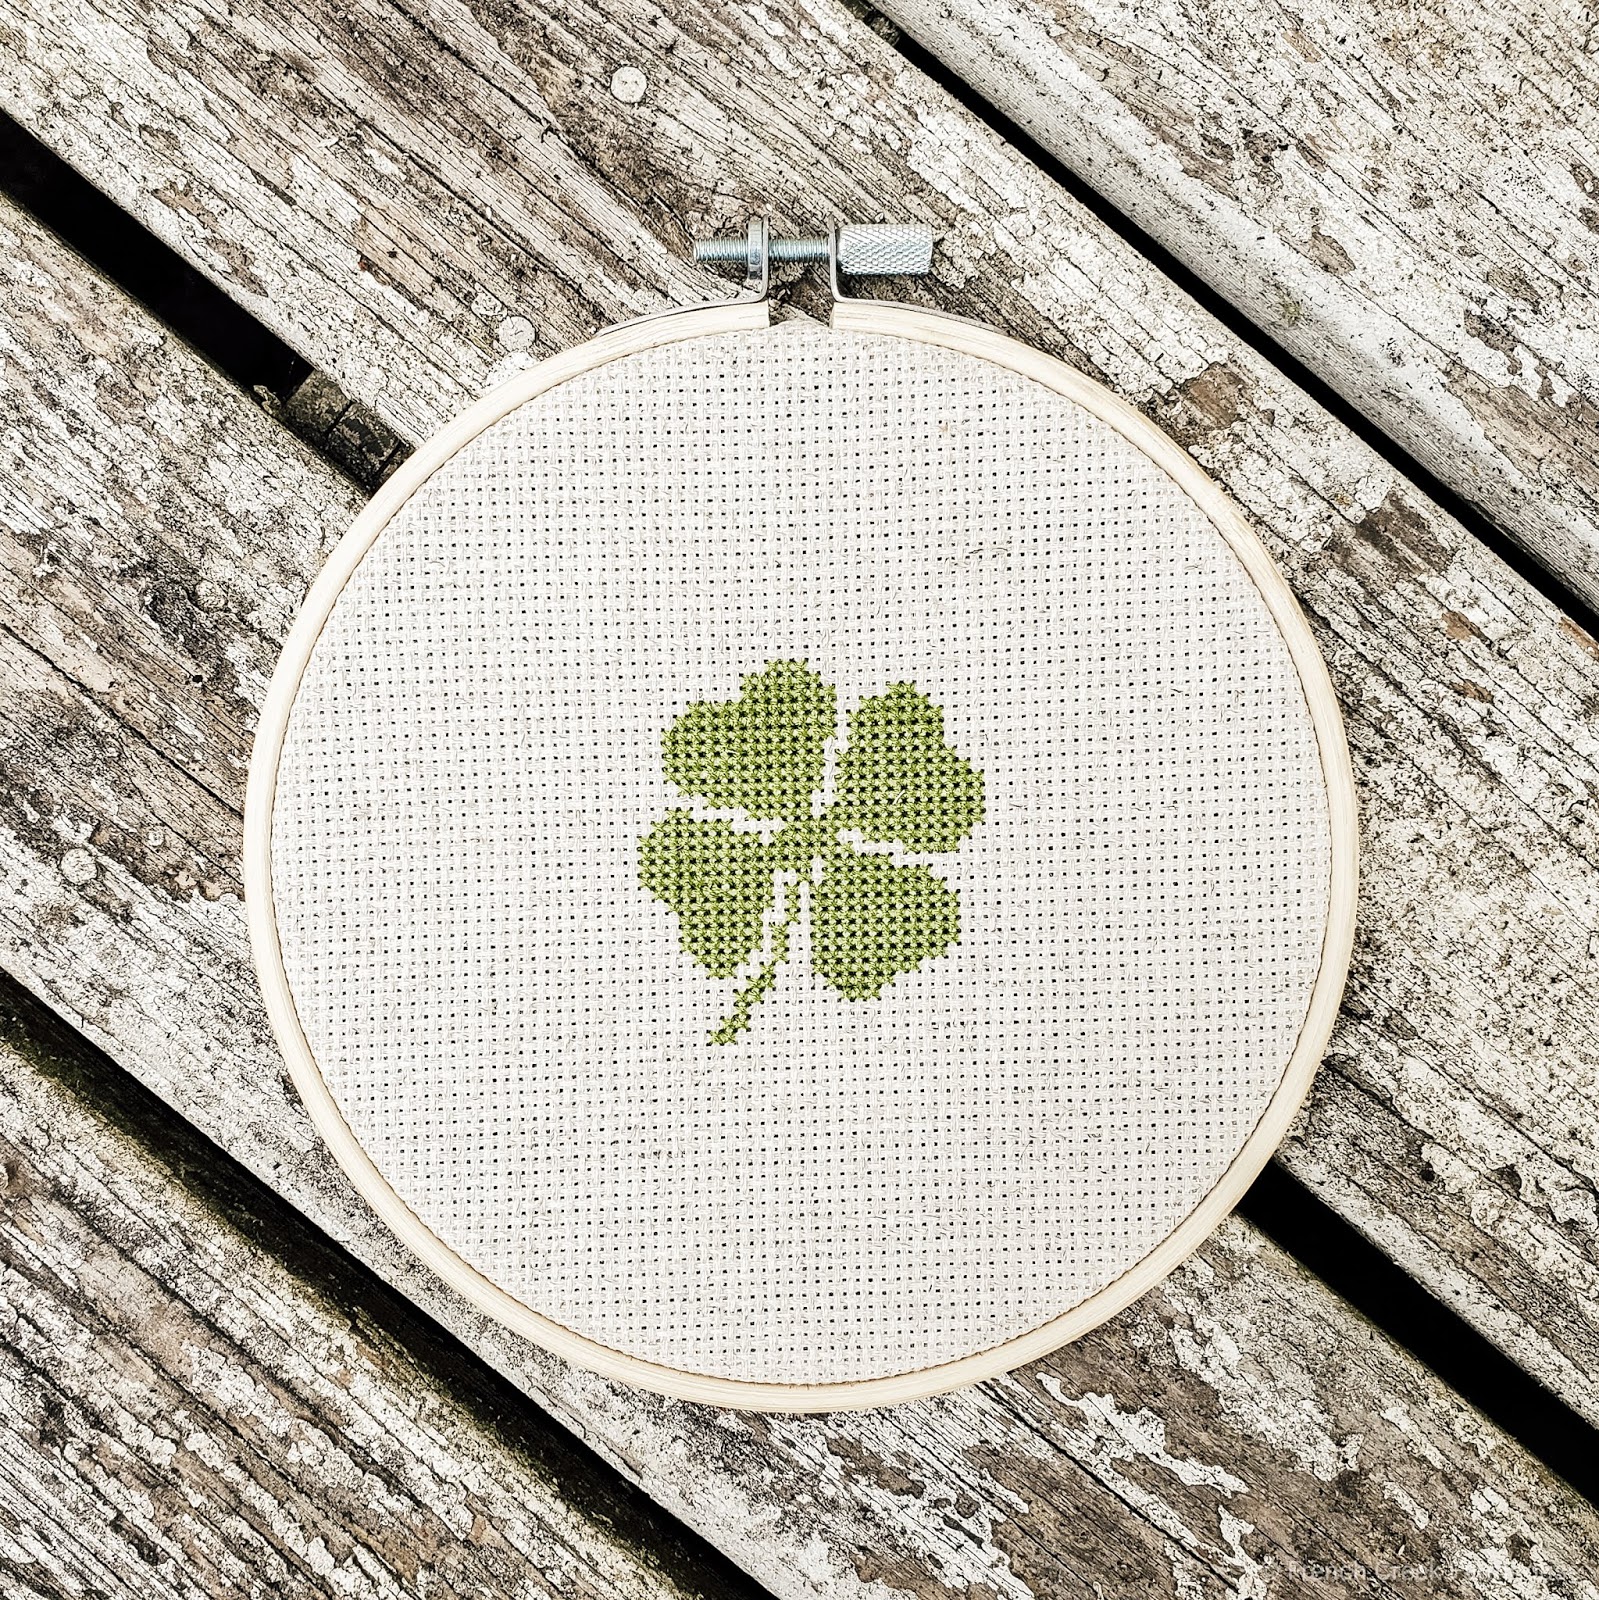
Cross Stitch Four Leaf Clover
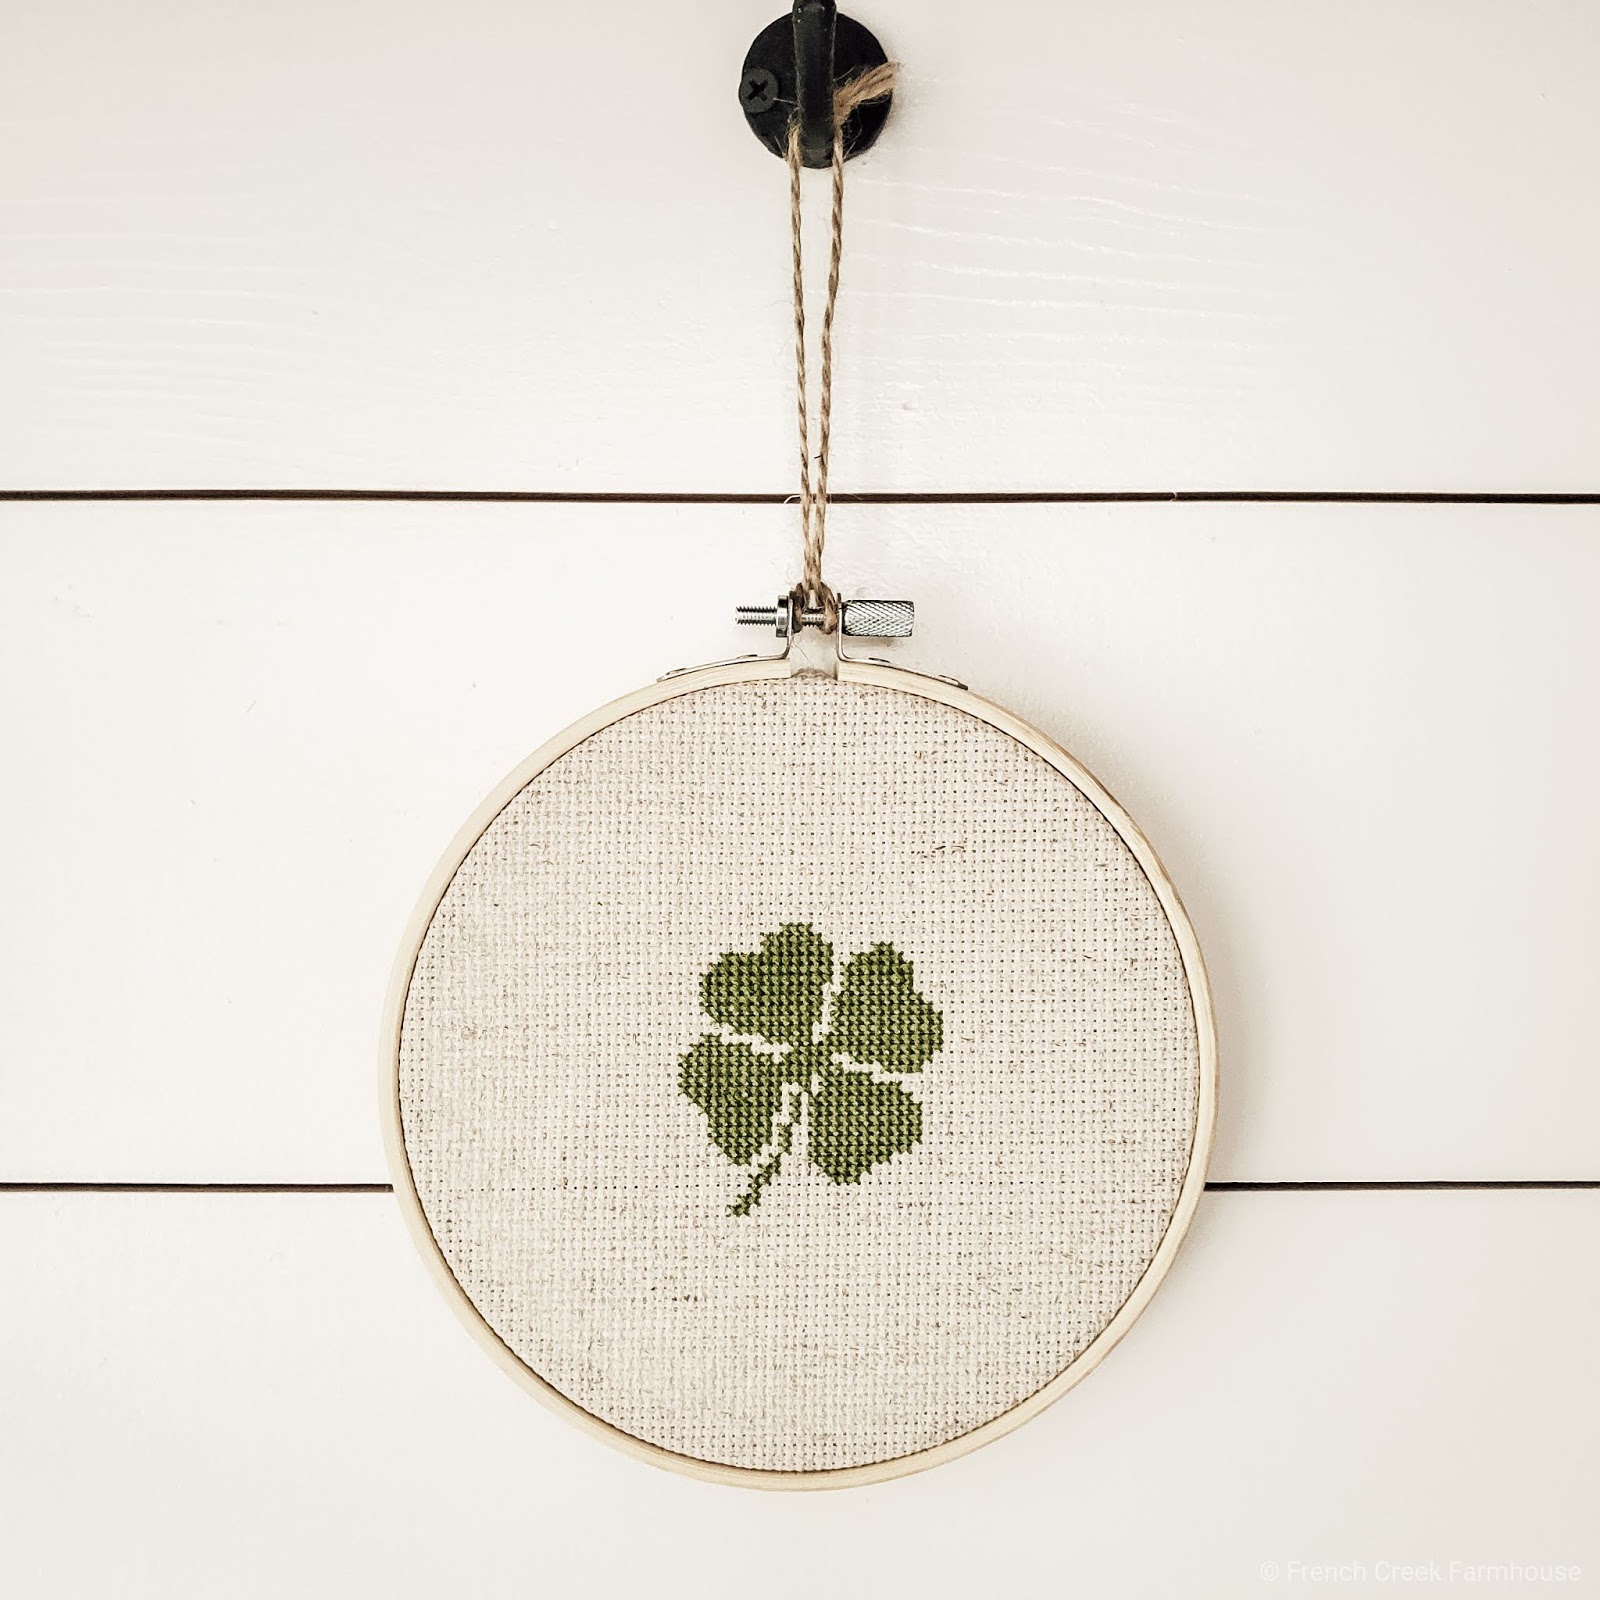
Who couldn’t use a little extra luck in their life? With St. Patrick’s Day just around the corner, I’m shamrock obsessed and DIYing up some good fortune with this latest project. Today, I’ll teach you how to make a cross stitch four-leaf clover!
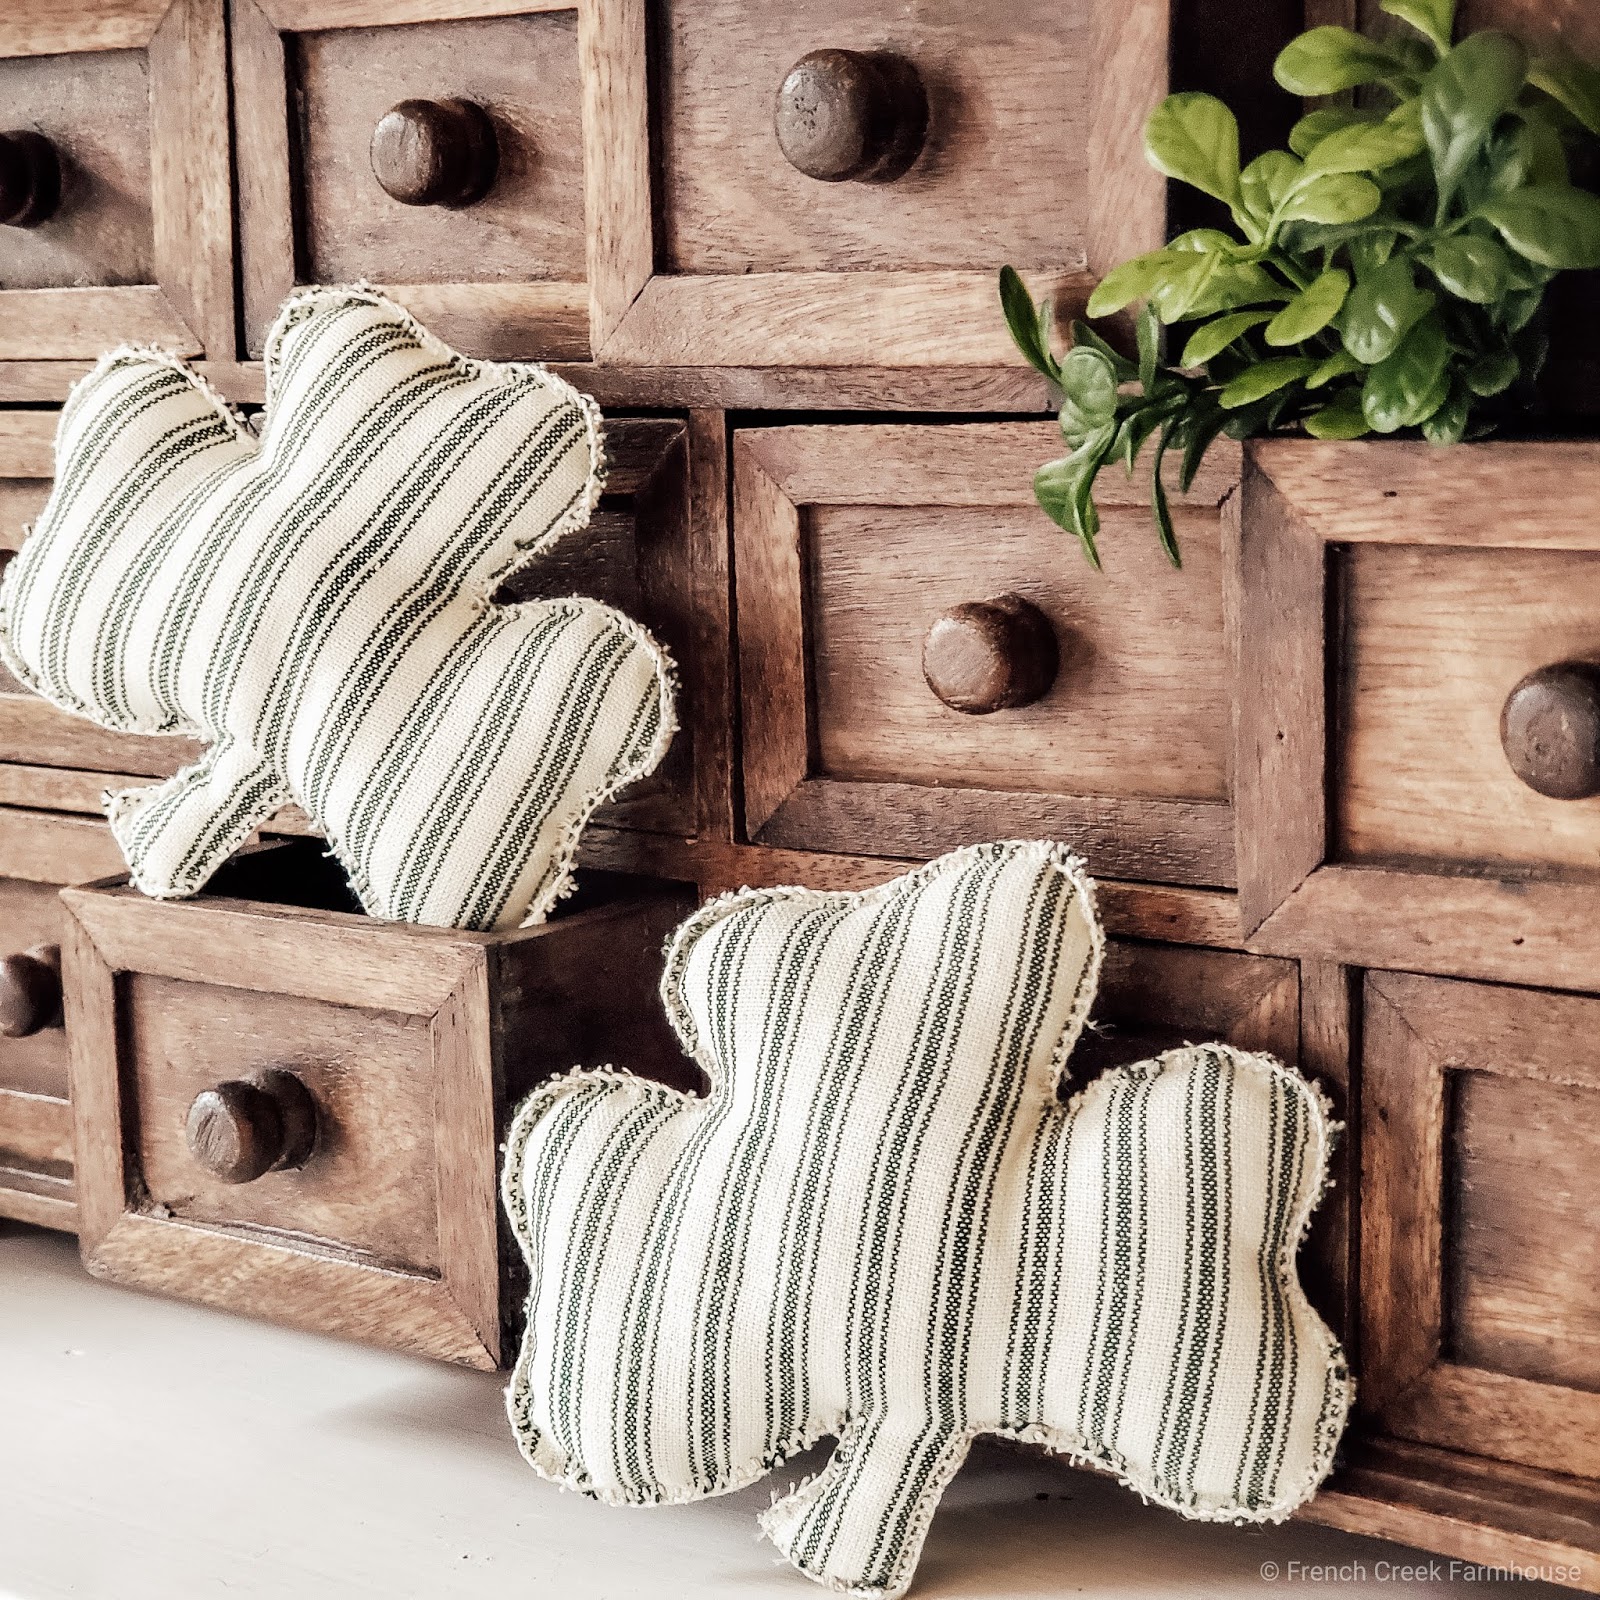
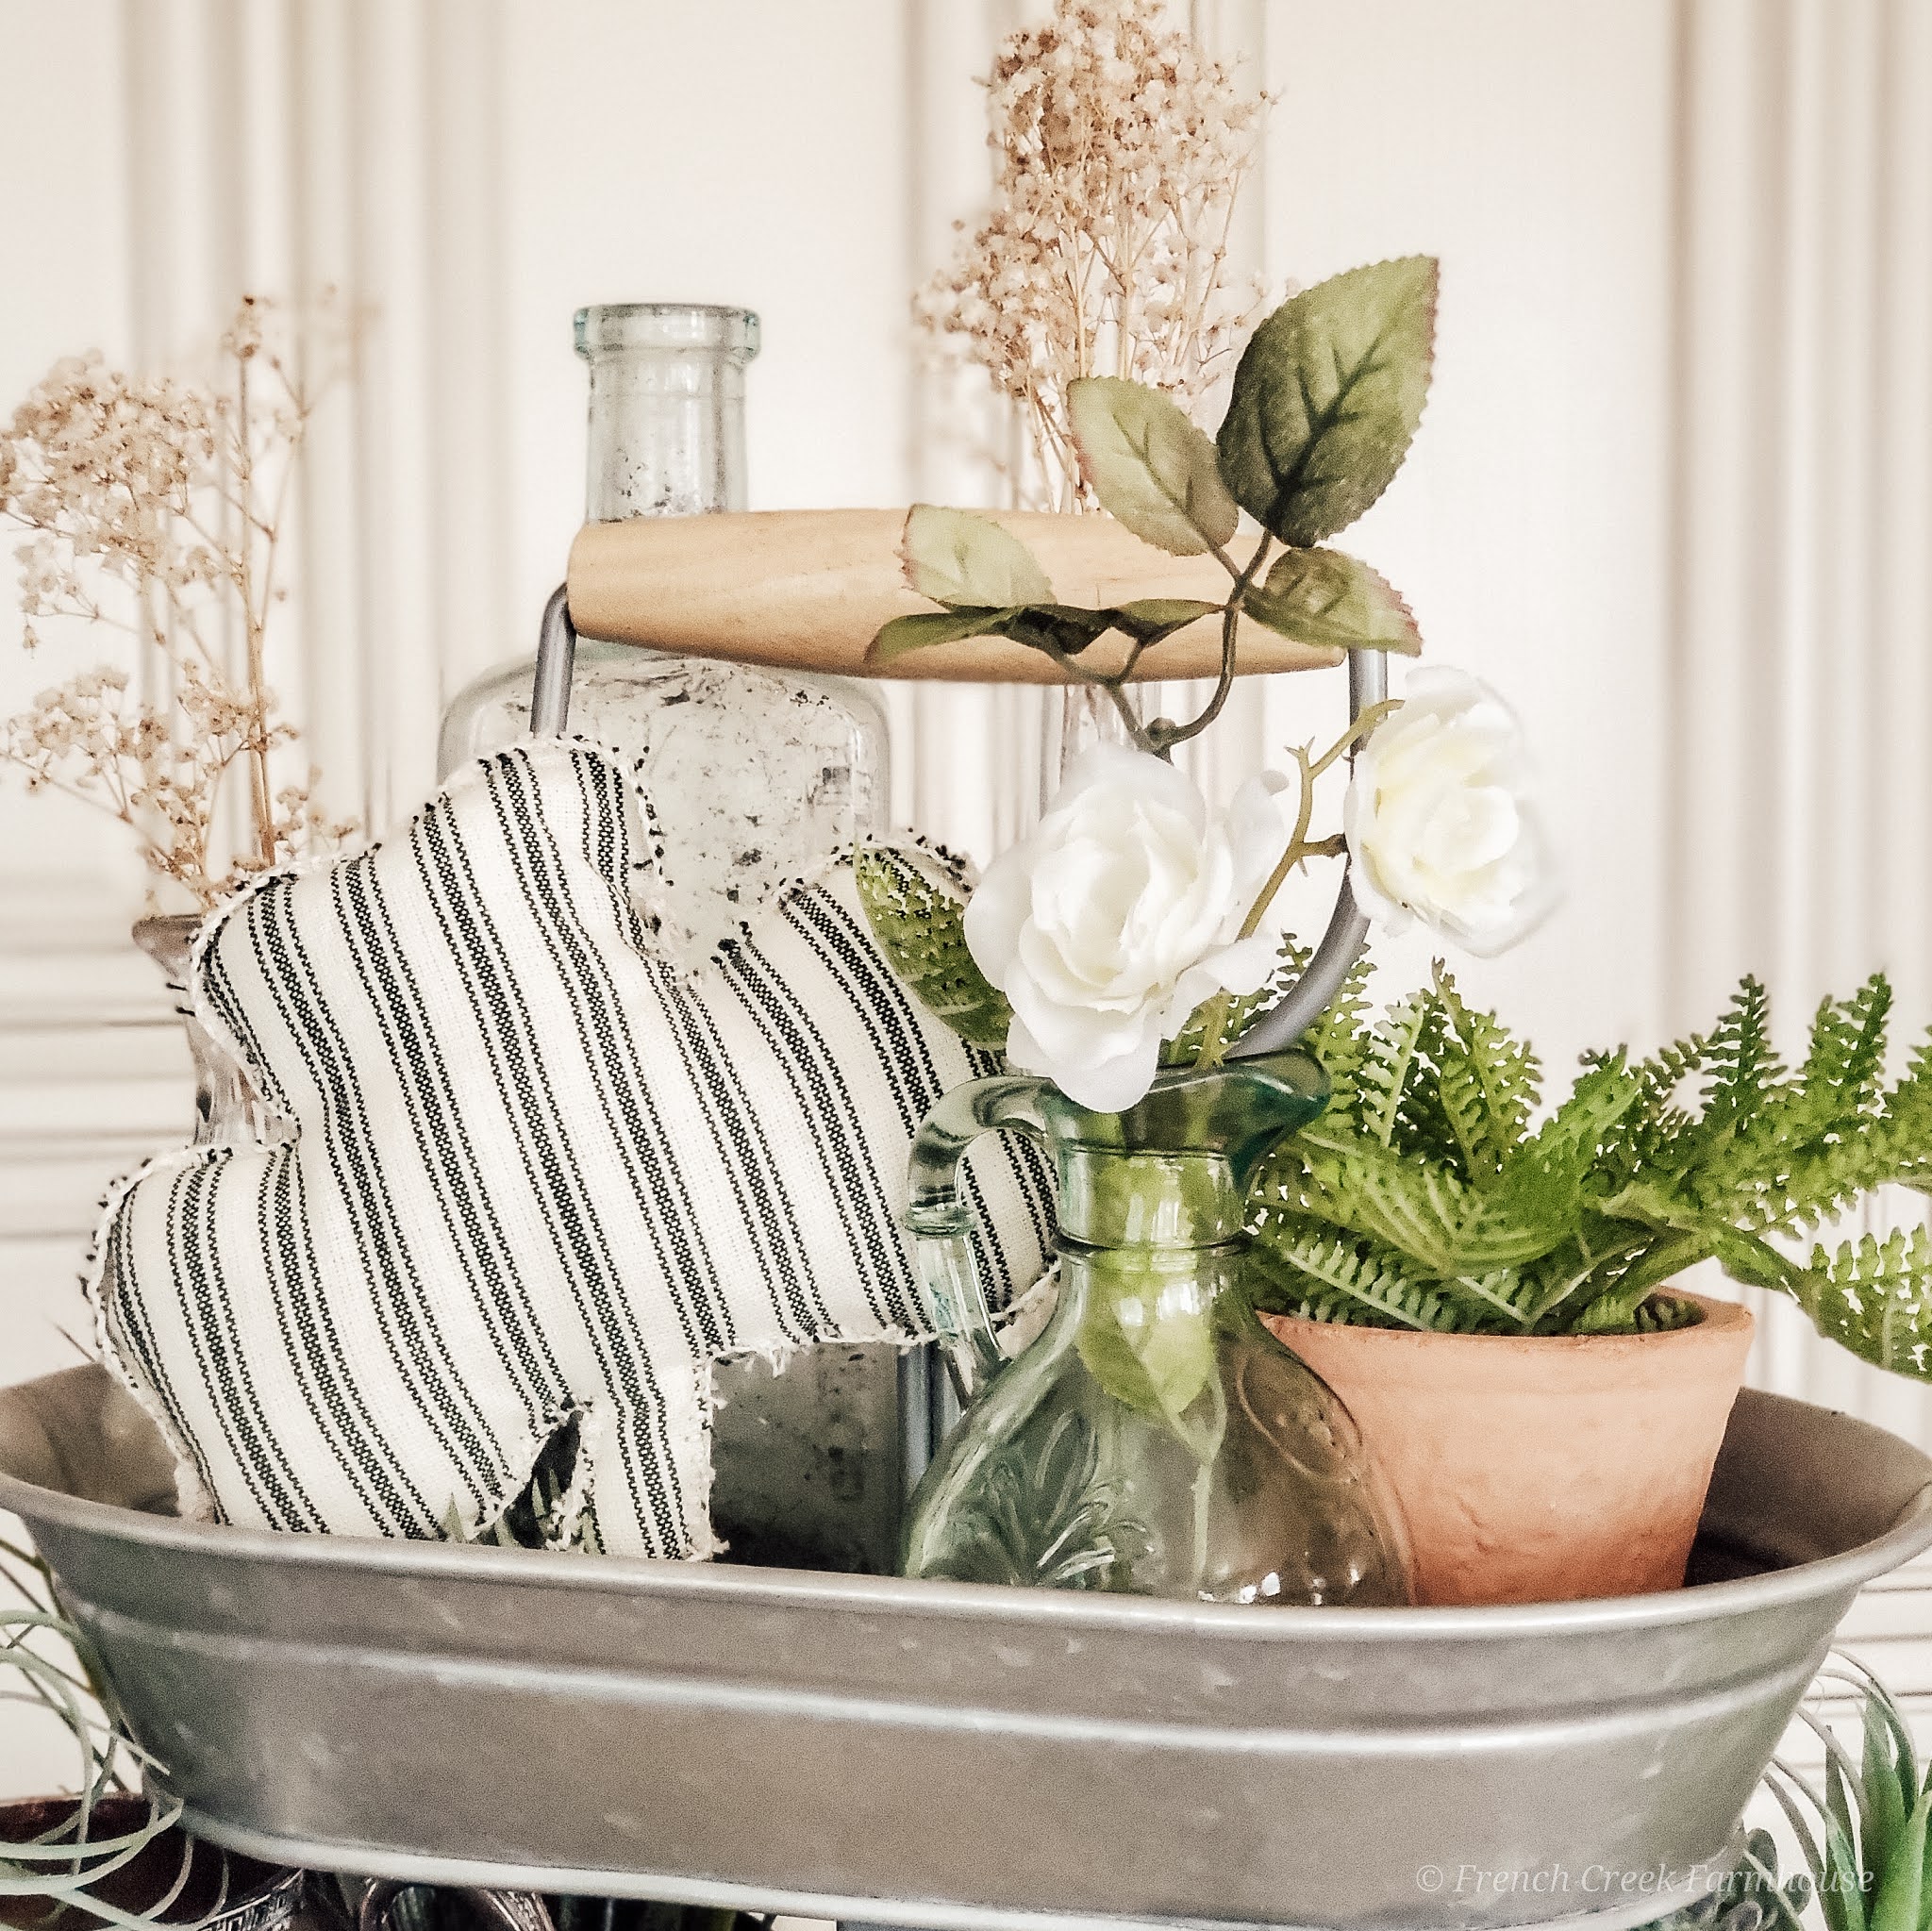
Last week I shared my tutorial for crafting a farmhouse chic, ticking stripe shamrock that is a perfect addition to your shelf or tiered tray decor. I love subtle touches of holiday cheer tucked into and around our home, and thought our walls should join in on the fun.
{Related: How to Style a Tiered Tray}
Technically, this cross stitch pattern is a clover–not a shamrock. ‘Shamrock’ is the Gaelic word for clover, and a clover is only a three-leaf plant. The four-leaf clover is a genetic abnormality that occurs about once in every 10,000 clovers. So, it really is lucky to find one!
How’s that for a little St. Patrick’s Day trivia to share with your friends!

Disclosure: This is not a sponsored post, and I have received no compensation for sharing anything that follows. Some links within this blog may be affiliate links, and I might earn a commission if you make a purchase through that link. This usually amounts to cents, not dollars, and helps to support the projects featured on this blog. I only recommend products from companies that I have found to be trustworthy. Read my full disclosure here.
Cross stitching was one of my favorite crafts as a child. It was always so exciting when I’d get to pick out a kit from the fabric store to create a fun design. That and latch-hook were two projects that could keep me occupied for days.
If you’ve never tried your hand at cross stitch, it really is such a simple activity. If you can count and use a needle to stitch, you can cross stitch!
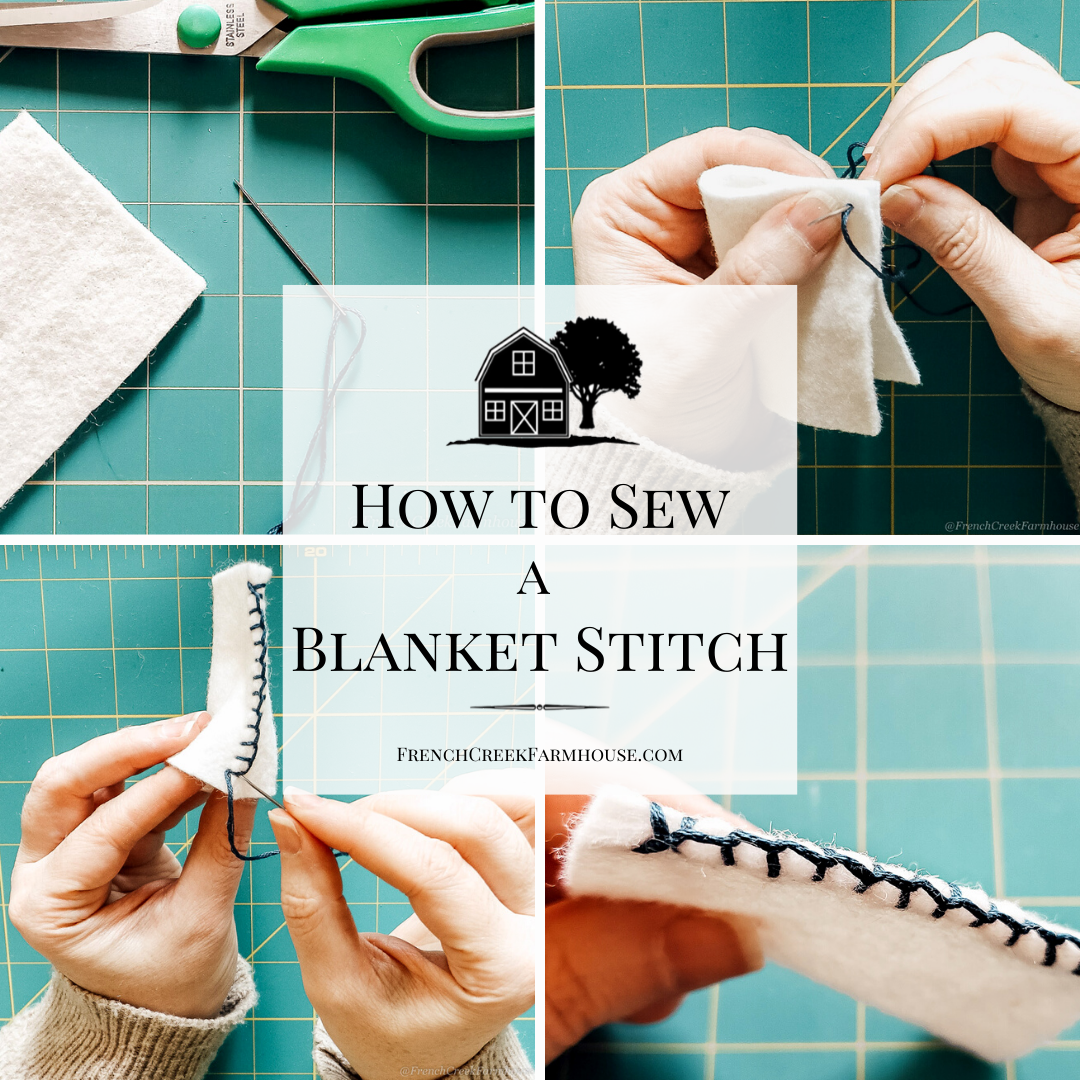
{Related: How to Sew a Blanket Stitch}
The supplies for this cross stitch four-leaf clover project are very basic and quite affordable, so this is an inexpensive activity to pass the time as well.

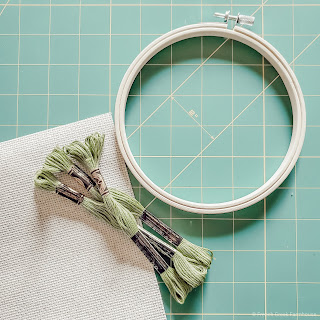
Supplies
- Cross stitch fabric, 14 count (This is the exact one I use because I like the farmhouse feel it gives to projects)
- Embroidery floss
(This entire project can be completed with less than one skein) - Embroidery needle (This is different from a regular sewing needle because it has a longer eye for threading larger materials)
- 6″ Embroidery hoop
- Scissors
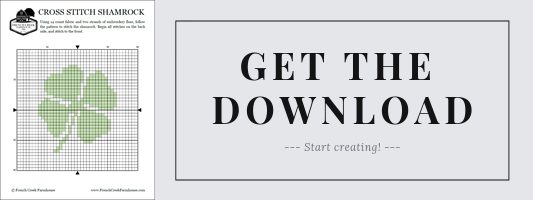
- Cross Stitch Four-Leaf Clover Pattern (a free printable you can download here)
Directions
1. Gather your supplies, including the cross stitch four-leaf clover pattern that I’ve provided here.
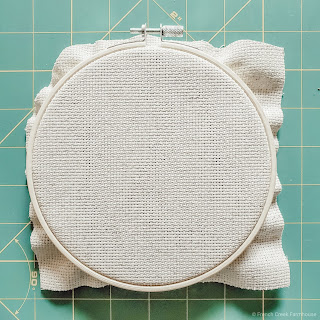
2. Place your fabric into the hoop and tighten screw to secure. Keep fabric taut as you tighten the hoop. Make sure that the grid of your fabric is aligned vertically and horizontally in the hoop.
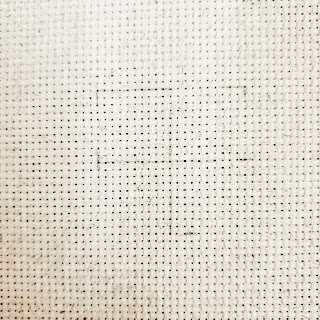
3. (Optional) Lightly grid your fabric with a pencil. This is not necessary, but it can be helpful for keeping track of where you are in your pattern. If you choose to grid your fabric, make sure to do so in a way that is erasable. Or, as I did, only mark the sections that will eventually be covered by stitches.
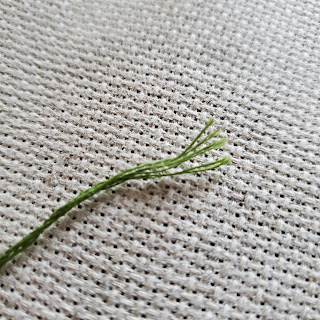
4. This pattern uses two strands of embroidery floss to stitch. A skein of floss typically has 6 strands, so you’ll separate it. Use a length of floss that is the same distance as from your elbow to your fingertips. This is the ideal length to help prevent tangles as you’re working. Knot one end, and thread the other through your needle leaving a few inches of a tail.
5. Get to stitching! You can choose to start anywhere on the pattern that feels best to you.
6. The cross stitch technique works like this:
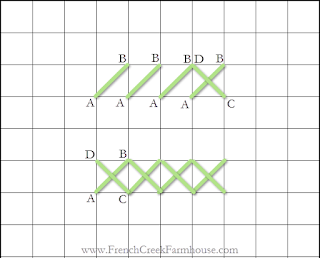
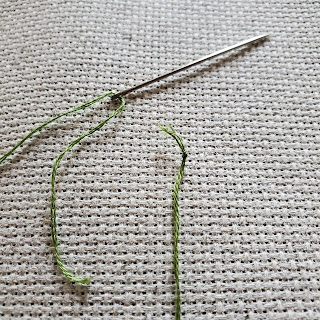
7. Your first stitch will always begin with the needle on the back side of the fabric, pushing through to the front. The knot at the end of your thread will keep it secure, but be careful not to pull too tightly! To begin, the needle goes from back to front through Point A; then, push the needle from the front to the back at Point B, which is just diagonally across your fabric. Re-enter from back to front at Point C, directly below Point B, and push the needle from front to back at Point D, diagonally across from Point C. This completes one stitch.
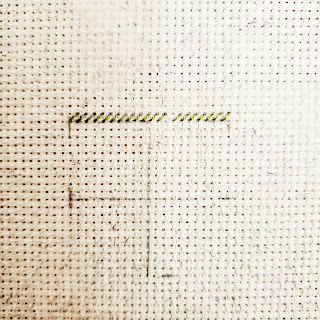
That said, when you are stitching across a row, as shown in step 5, make all of the A-to-B stitches from the left end to the right, first. Then, make the C-to-D stitches along the way back. Simply count the number of stitches in the pattern, and make that number of stitches across the row. If there’s a skip (as shown in the example), you just move over that number of squares to make the next ‘A’ stitch.
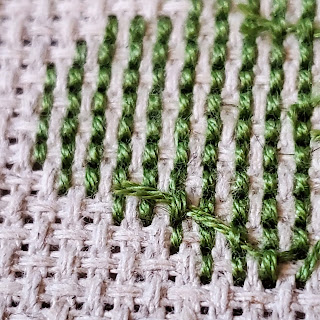
When you need to change out your thread, just push the needle under a few stitches on the backside of the fabric to lock the loose tail, and trim. Then start a new stitch with the new thread.
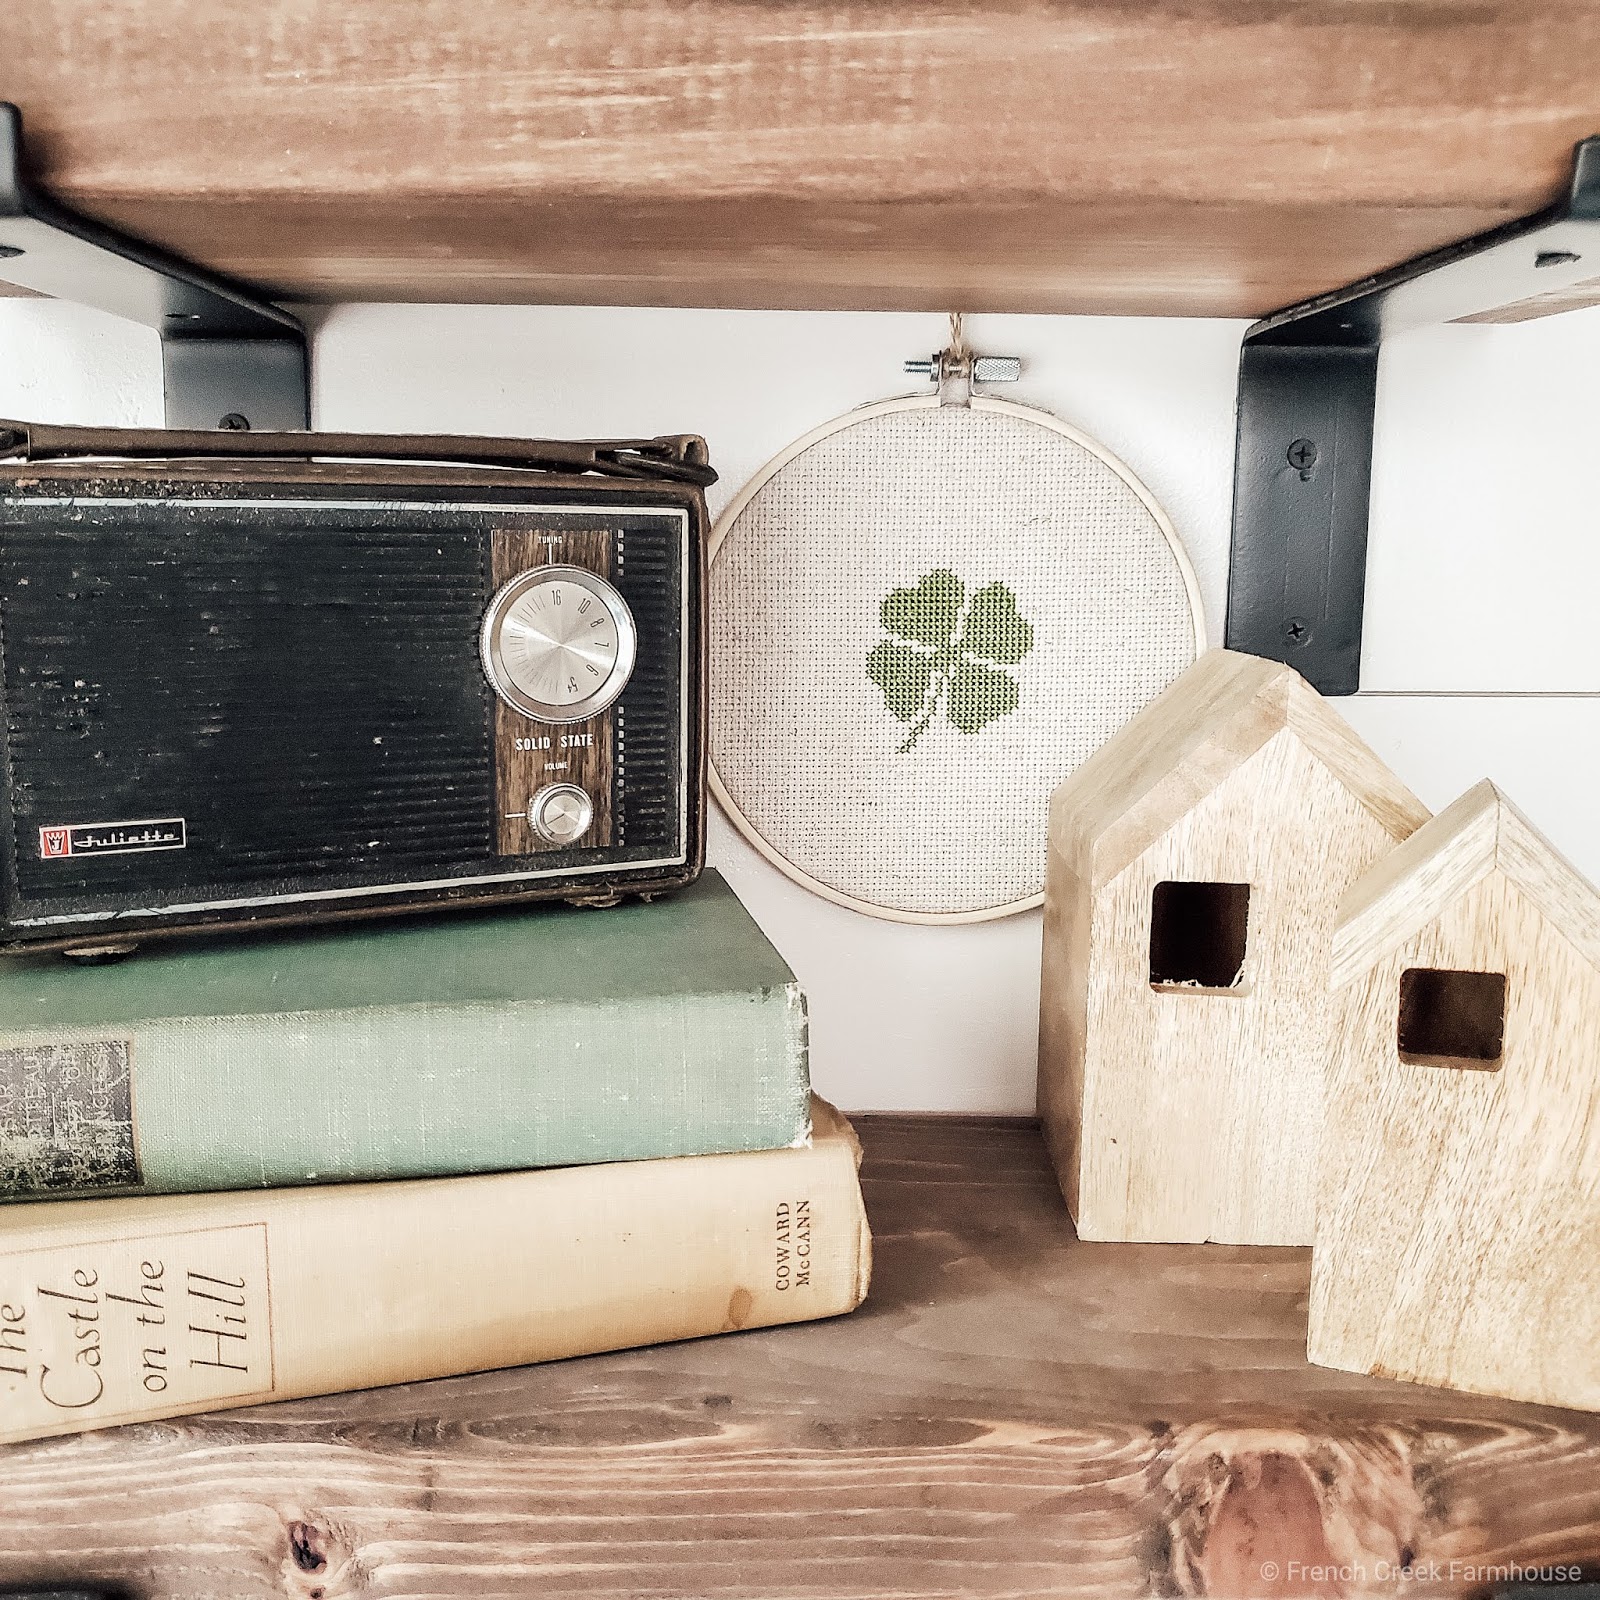
8. When you’re finished, you can remove your work from the hoop if you will be using it in a project. Or, as I have done, trim the excess fabric and display it within the hoop.
You could also use a smaller hoop and make several of these clovers to pass along to friends who might be in need of a little luck!
{Related: DIY Ticking Stripe Shamrocks}
I would love to see your completed projects, so be sure to tag me on Instagram and Facebook with your photos. And don’t forget to pin this project to Pinterest so you can find it again later!


That's beautiful. I love cross stitch even though I've not done any for a while
Thank you so much!
Your Cross Stitch Four Leaf Clover is such a sweet craft, Kristi, and your instructions are wonderful! I did so many cross stitch projects in my late teens but I haven't done any for years. This would be a lovely project to start off with again. I also think this would make a super gift. Thank you for sharing and for being a part of the Hearth and Soul Link Party Community. I’m featuring this post at the party this week. Hope to ‘see’ you there! Take care, stay well, and I wish you a wonderful week!
Wow, April–thank you! That's so kind of you! And you're right–these make terrific "good luck" gifts…and who couldn't use a little extra luck, right? xo!
I'm featuring you this week when the new party starts 🙂 Thanks for sharing with us at the To Grandma's house we go link party!
What a sweet honor, Tarahlynn! Thank you so much for sharing!! xo