Patriotic Farmhouse Stars

Between Memorial Day and the end of summer, there are several holidays to honor your patriotism and love of country. These stars, made in a variety of farmhouse fabrics, are a beautiful way to celebrate the season!
These stars are also an easy project that doesn’t require a sewing machine! If you can handle a needle and thread, they’re simple to make–even for kiddos.
Today, I’m sharing the full step-by-step tutorial–as well as the printable pattern–to craft up these cuties. Be sure to pin this post so you can find it again later!


Disclosure: This is not a sponsored post, and I have received no compensation for sharing anything that follows. Some links within this blog may be affiliate
links, and I might earn a commission if you make a purchase through that link. This usually amounts to cents, not dollars, and helps to support the projects featured on this blog. I only recommend products from companies that I have found to be trustworthy. Read my full disclosure here.
Once you’ve downloaded the printable pattern, you can use it to make these stars in several different sizes. I’ve already included the templates for stars ranging from 2″ to 6″, but you can adjust it for an even bigger range to suit your liking.
I made my set in 4″, 5″, and 6″ for this project, and in three types of fabric–grain sack, ticking stripe, and denim.


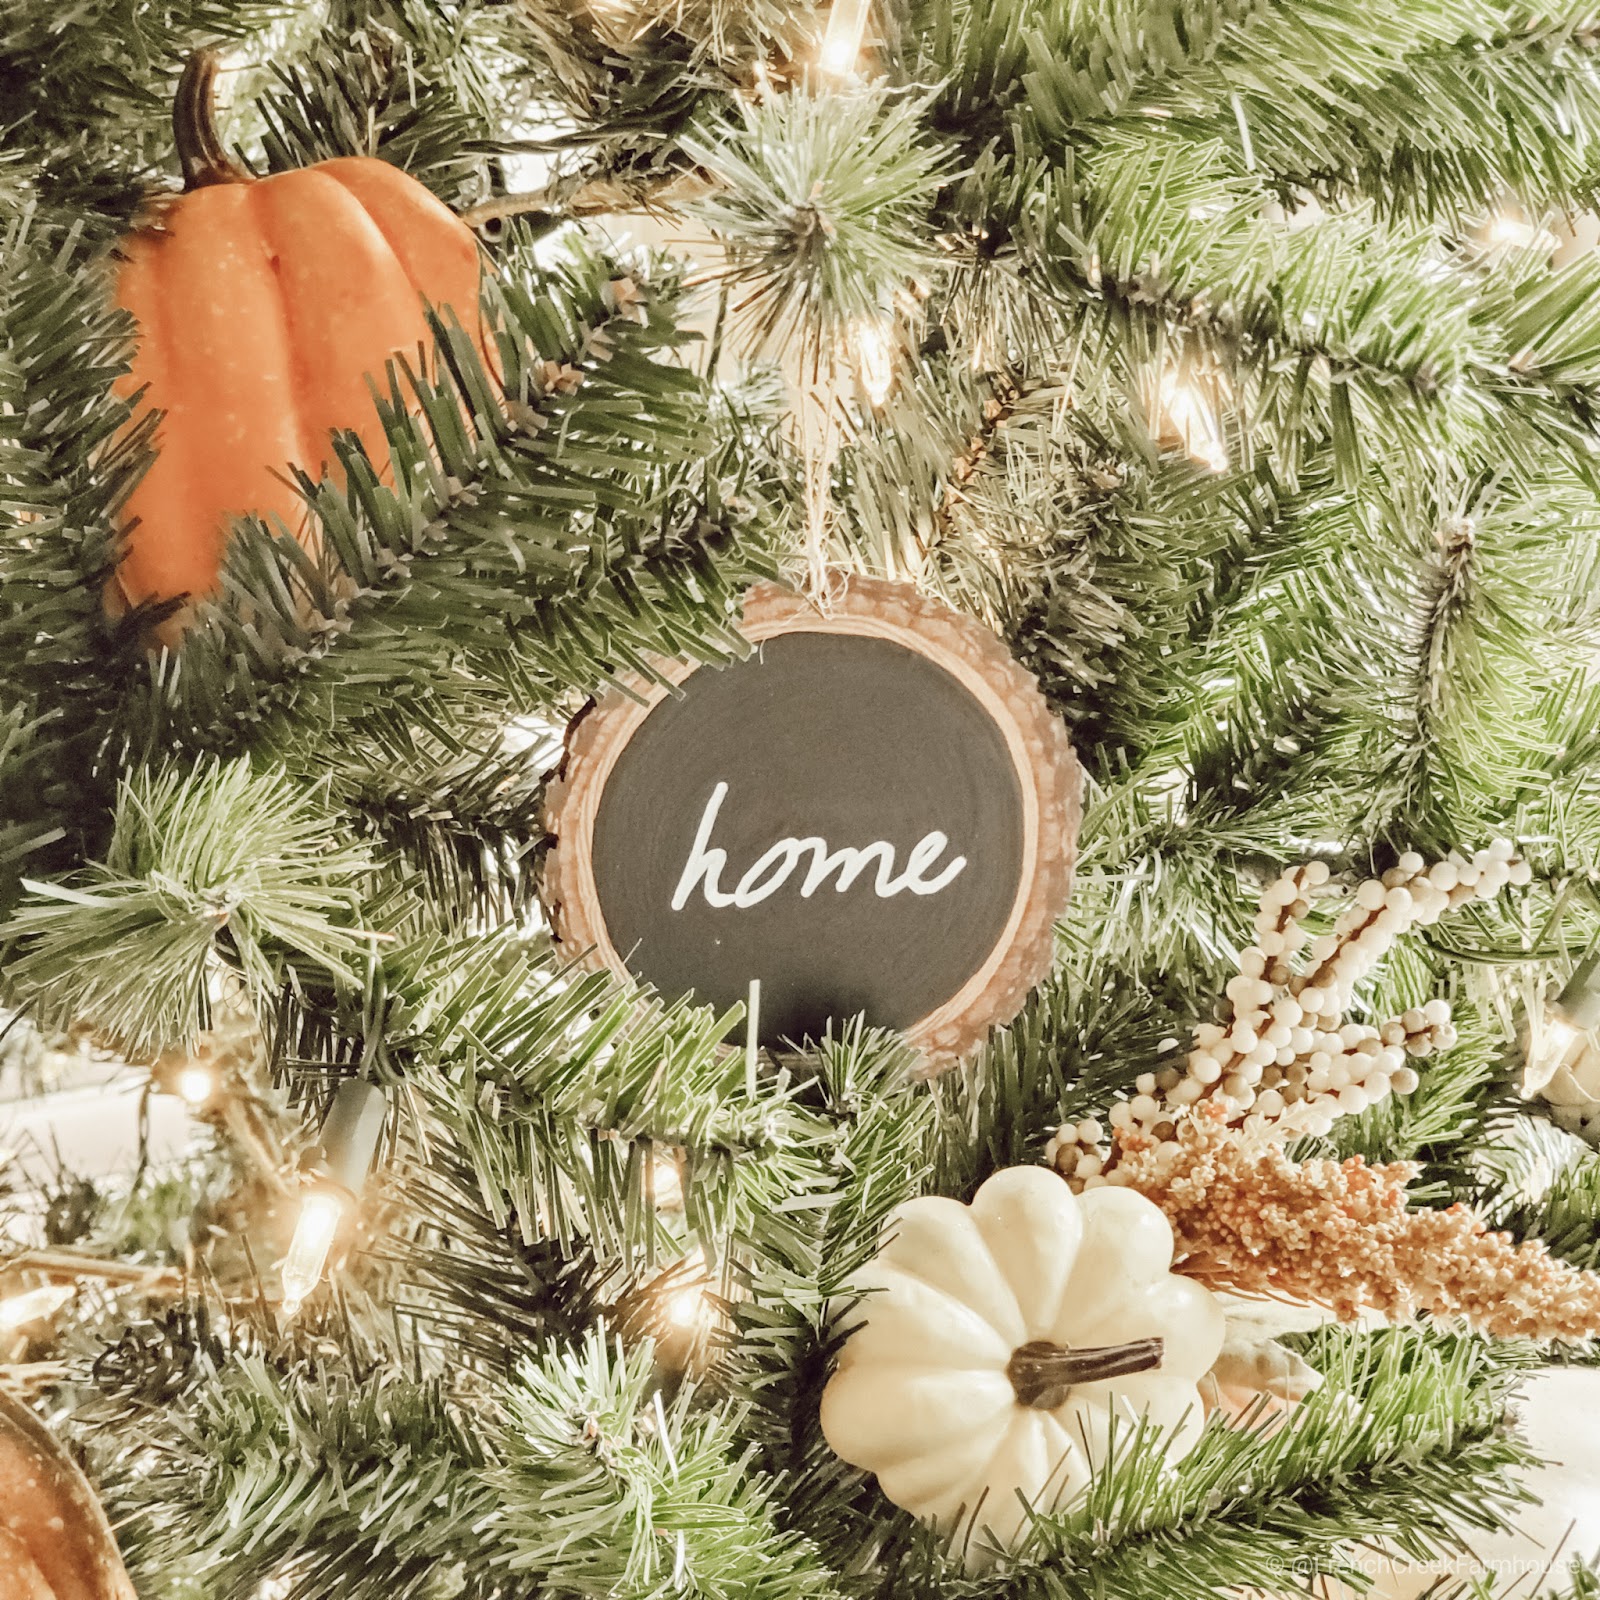
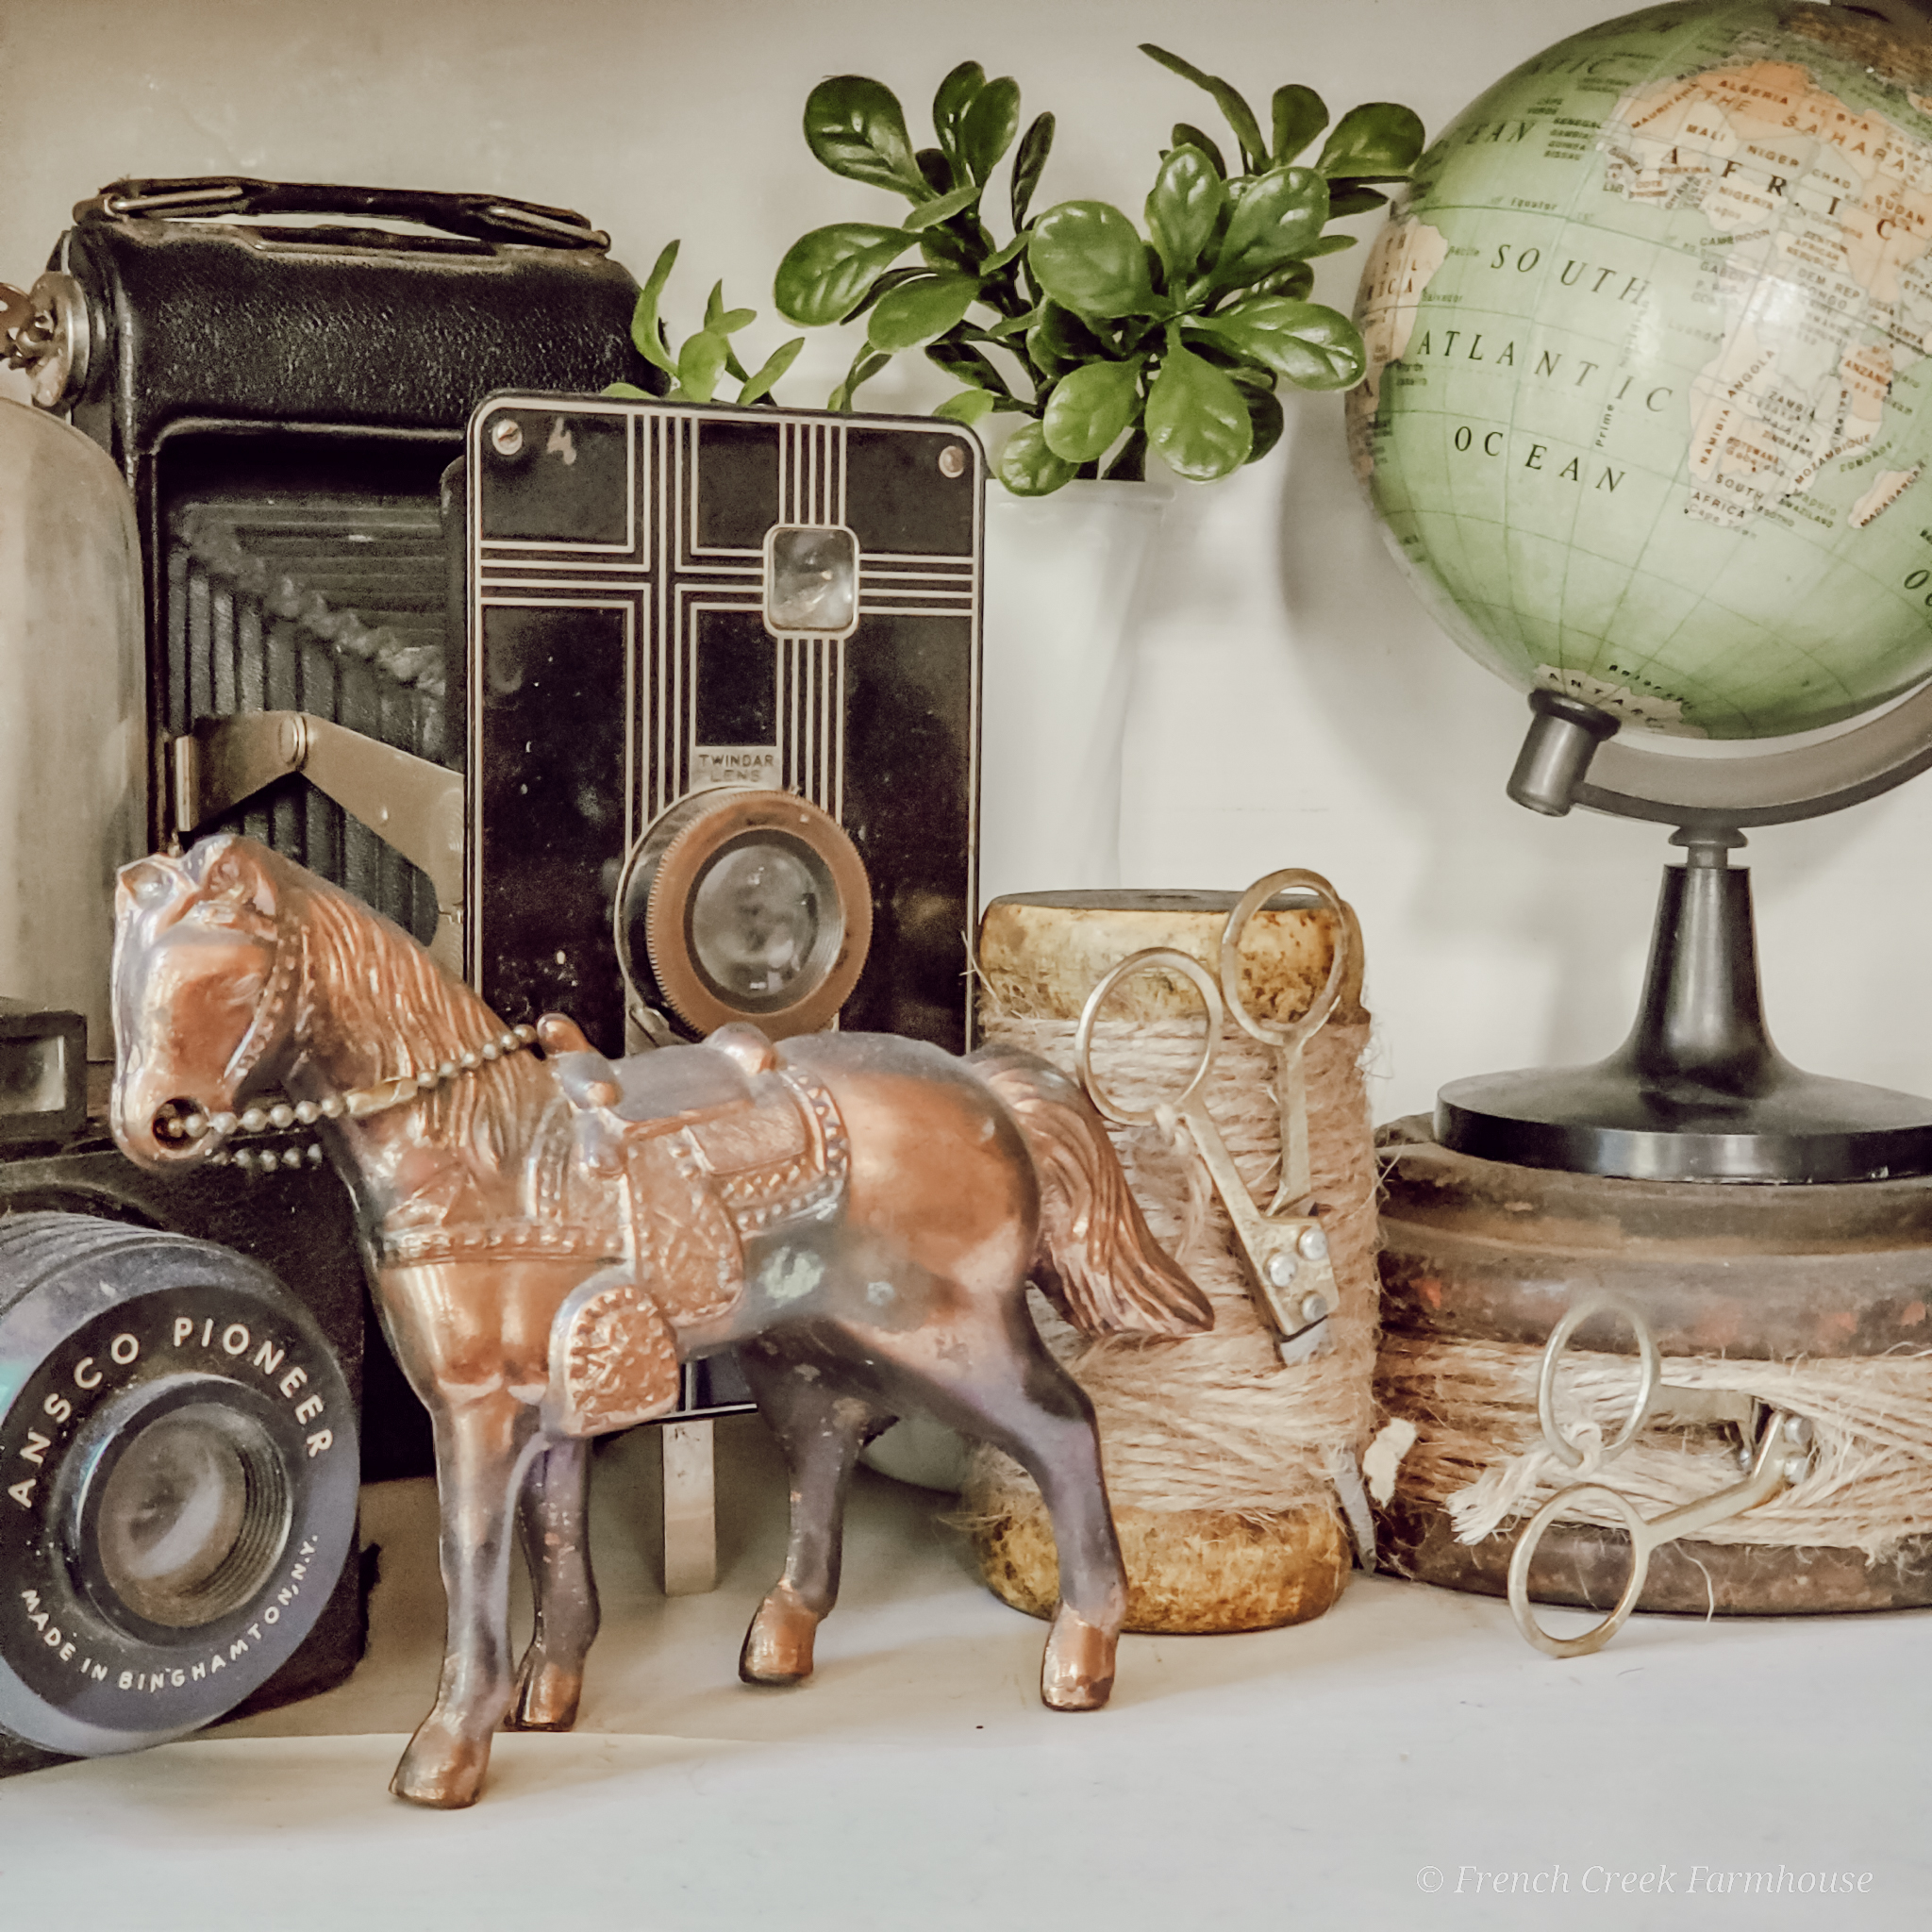
These are perfect to use as tucks for your shelves and tiered trays, but also great as bowl fillers, too!
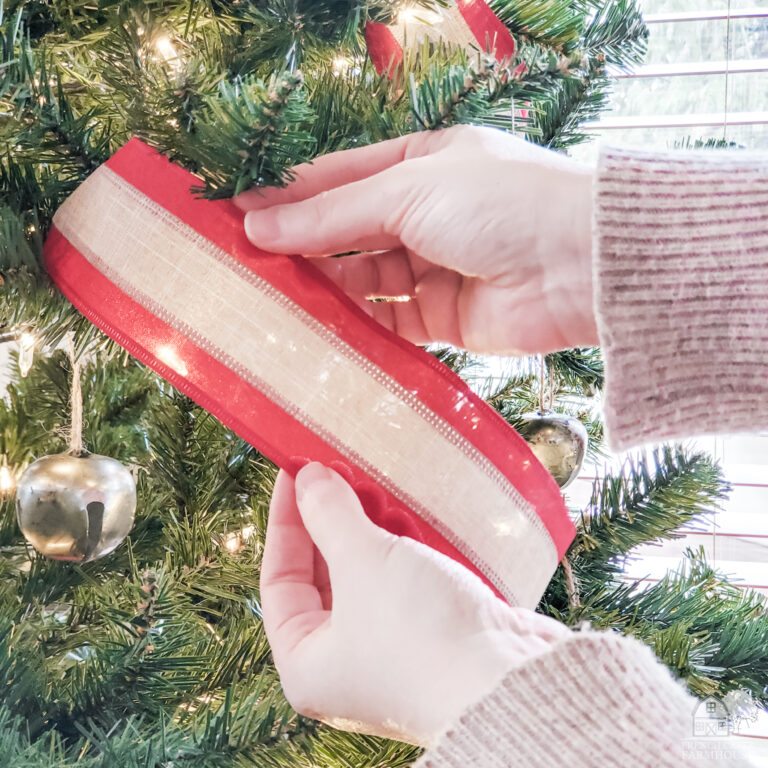
You can use stars to decorate for every patriotic holiday, and they’re also perfect for Christmastime. Or, if you like Americana decor, leave them up year-round!

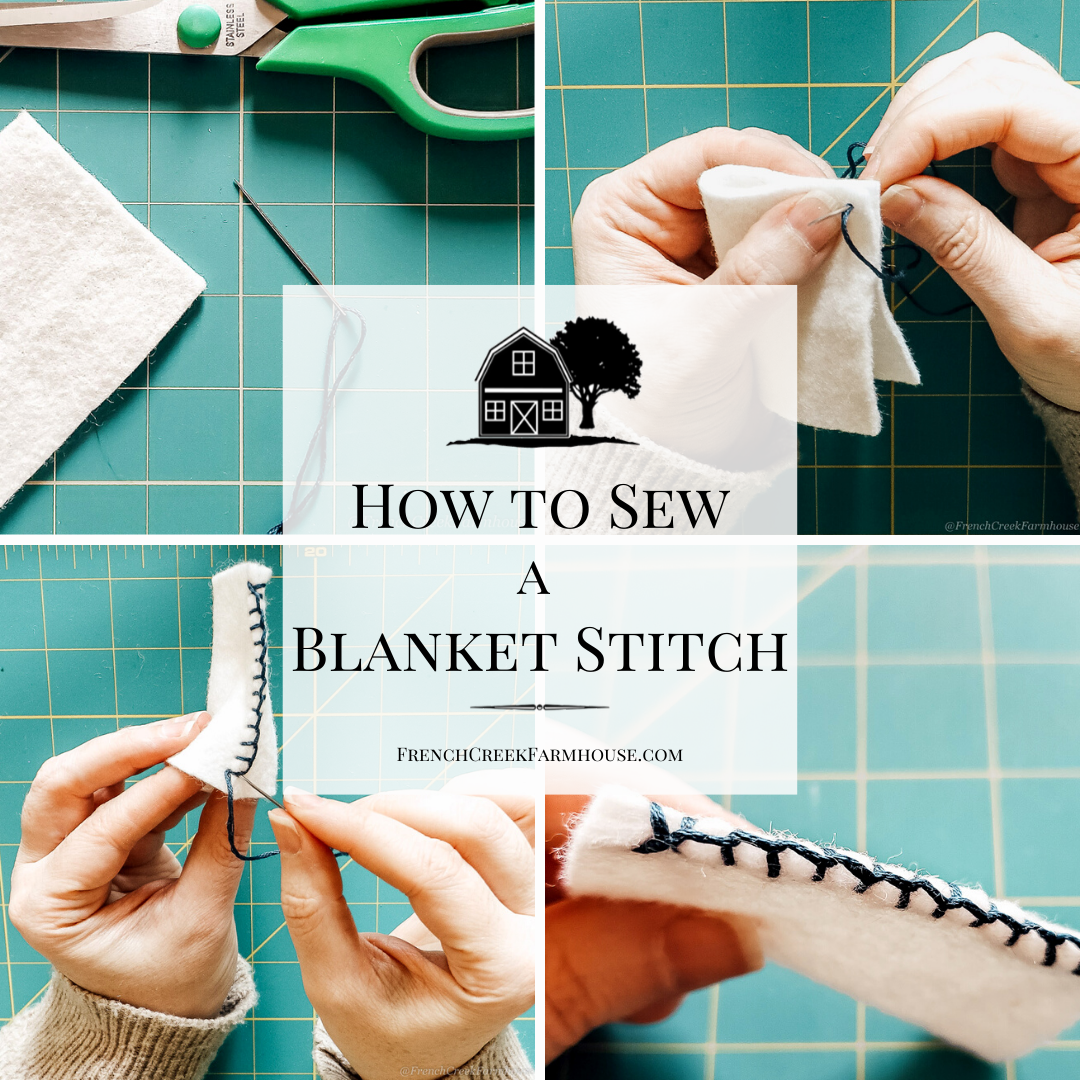
HAND-STITCHING BASICS
If you’re new to fabric crafts, or don’t use a sewing machine, that’s no problem because this project was designed to be hand-sewn.
The only stitch you’ll need to know to make these is the Blanket Stitch, which is very simple, and I’ve already created a step-by-step tutorial to teach you everything you need.
I use this stitch in a lot of the DIY fabric crafts I share because it’s not only easy to do, but creates the perfect farmhouse chic look for your projects!
Once you have it down, you can try it out with these other projects:

HOW TO MAKE FARMHOUSE FABRIC STARS

Supplies
- Fabric of your choice (this is a great one)
- Embroidery floss
(For most projects, I prefer floss that’s the same color as my fabric) - Embroidery needle (This is different from a regular sewing needle because it has a longer eye for threading larger materials)
- Poly-fil
- Scissors
- Star Template (free printable star pattern you can download here)
- Laminator (optional, but I highly encourage it)

Instructions

1. Gather all of your supplies. Two notes that I think are important…
First, you can use any type of fabric you like for these stars. I was intentionally going for a farmhouse look when I made mine, so I used red ticking, neutral grain sack, and denim (I cut up an old pair of worn out jeans!).
You can also use any color of embroidery floss for the stitching. Typically, I like to use floss that’s the same color as my fabric, but when I made the denim star, I chose an oatmeal color because I wanted the stitching to stand out. The choice is yours!
Second, although it’s not required, I always laminate my patterns before I cut them out. Here’s why.
Even if you print your templates out on heavy cardstock, the patterns are still going to be prone to creasing and tearing. By laminating the entire sheet before you cut out the pattern, you add extra strength so that you can reuse these printable patterns over and over again.
I have a folder in my craft room where I stash all my patterns so that I can easily find them again for future projects.
The other benefit of laminating your printable patterns is that when you use them to trace designs, you won’t have to worry about getting pencil or pen marks onto your template. Those marks will just wipe right off when they’re laminated!
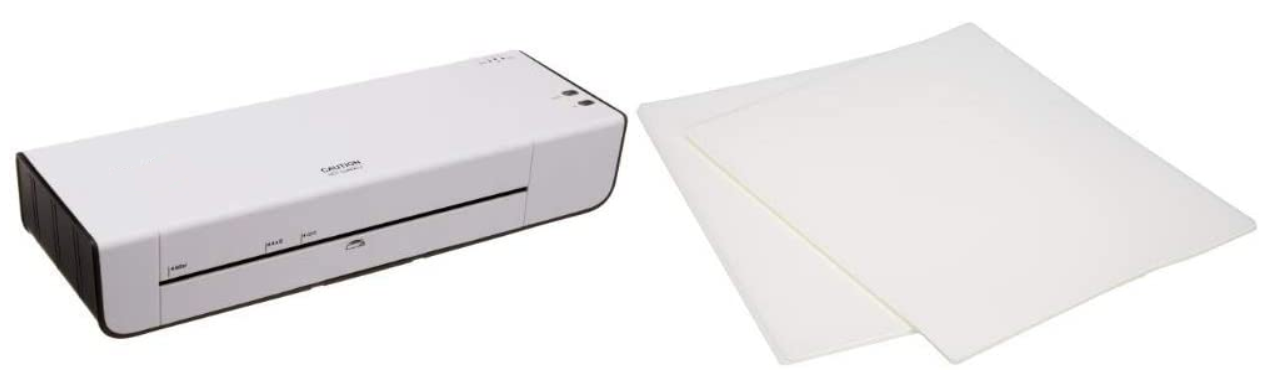
This is the exact laminator I own, and we use it ALL the time. I know there are much more expensive models out there, but this one is super affordable and very reliable. I’m a thrifty kind of gal. Why spend more for no reason?!
We’ve had our laminator for seven years without a single problem, and it even comes with a starter pack of 50 laminating sheets to get you going. You would be shocked how useful it is once you own one–you’ll find so many things to laminate in no time!
Okay, now back to crafting our stars!

2. Cut two identical stars from your fabric using your preferred pattern size.
You can choose to keep the tips of the stars pointed (like I did), or you can round them off. If you keep the point, they are likely to roll a little bit, however I like that primitive look for these stars.
My fabric is printed exactly the same on both sides, so there is no “right side”. However, if your fabric is only printed on one side, just know that you’ll need to put the “wrong” sides together. Since the blanket stitch is a completed on the top of the fabric, you won’t have to turn the piece right-side-out at the end.
Tip: If you’re using ticking stripe, like I did, make sure to line up your stripes to be in the same place on both stars.

3. With the blanket stitch, you can begin stitching anywhere. However, I recommend starting from an inside corner of the star so that you have a clean look.
Use my blanket stitch tutorial if this is a new technique for you.

4. Continue sewing all the way around the star until you come close to the end. Make sure to pause so that you can stuff your star.
Using small pinches of poly-fil, stuff your star. Begin with each of the five points, since they’re the hardest to stuff. You might find it helpful to push the stuffing into the tips with a pencil or knitting needle–but don’t push too hard and break through your fabric!

5. After your star is stuffed to your liking, sew up the final little bit.
These stars look adorable in so many patriotic and farmhouse vignettes. Whether you use them as tucks in your shelves or tiered trays, or as bowl filler, they’re sure to make you smile!


Did you make these sweet farmhouse stars? Be sure to tag me in your photos on Instagram and Facebook–I would love to see them in your home!


These are so sweet, and so many ways to use them.
Thank you so much! So glad you like them! xo
I had to sign up for the pattern for these. Love them. Thank you for sharing the pattern. I can't wait to make some for my tiered tray and for the holidays. I enjoy reading your blog. #HomeMattersParty
Yay! I'm so glad you did, Donna! Can't wait to see them! xo
These stars are really cute. I especially like the star made with the red ticking fabric.
I love that one too! Plus, I can reuse it during the holidays, too! xo
Kristi, these are so adorable! I really love the rustic fabrics and prints that you chose to make these. So fun! Thanks for linking with me.
Shelbee
http://www.shelbeeontheedge.com
Thank you so much, Shelbee…I definitely think the fabrics make a difference! xo
Fabulous way to upcycle scraps and create a versatile piece of home decor!
I’d love for you to join us over at the Creative Crafts Linky Party every Wednesday through Sunday
https://creativelybeth.com/creative-crafts-linky-party-45/
Followed and Pinned! 🙂
Creatively, Beth
Thank you so much, Beth! They really are so easy to make for so many occasions! xo