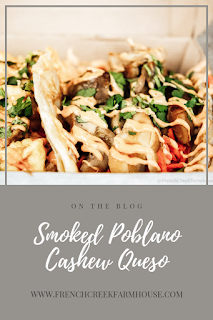
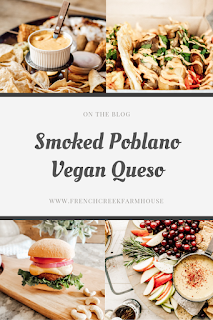
Smoked Poblano Cashew Queso
The only thing that I truly miss as a vegan is cheese. Finding a vegan alternative that actually tastes good is a serious challenge, and while huge improvements have been made over the 18+ years that I’ve been committed to a plant-based diet, the best options can really put a dent in your grocery budget.
A creamy, cheesy, oh-so-dippable queso has been my culinary quest for several years, and I’m beyond thrilled that I’ve finally refined my recipe to create something incredibly delicious while also being easy to prepare and affordable!
With summer gatherings popping up on our calendar like bursts of fireworks lately, I wanted a queso that was versatile and could be used in a variety of dishes, as well as work as a stand-alone show-stopper.
This queso is the one for which my heart has been yearning! I’m smitten!
I’ve been working with this recipe for a few years now, and the most important thing to me in getting it “just right” was trying to layer the flavors to provide depth that a lot of vegan alternative foods seem to be lacking.
Layering flavors is all about giving a dish dimension and depth.
For example, imagine the taste of a green bell pepper. It’s delicious and refreshing, but not complex. However, when you sautee it in oil over a flame with red, yellow, and orange bell peppers, then add in onion, minced garlic, and spices, you now have layered flavors that combine to create a slightly sweet but also savory and smoky mix that acts as an amazing filling for fajitas.
This is exactly how layering should work–separate, but complementary flavors that combine to form something spectacular!
My first attempt at making vegan queso a few years ago lacked the complexity I craved. Sure, I produced a creamy, cheesy sauce, but there was nothing special about it.
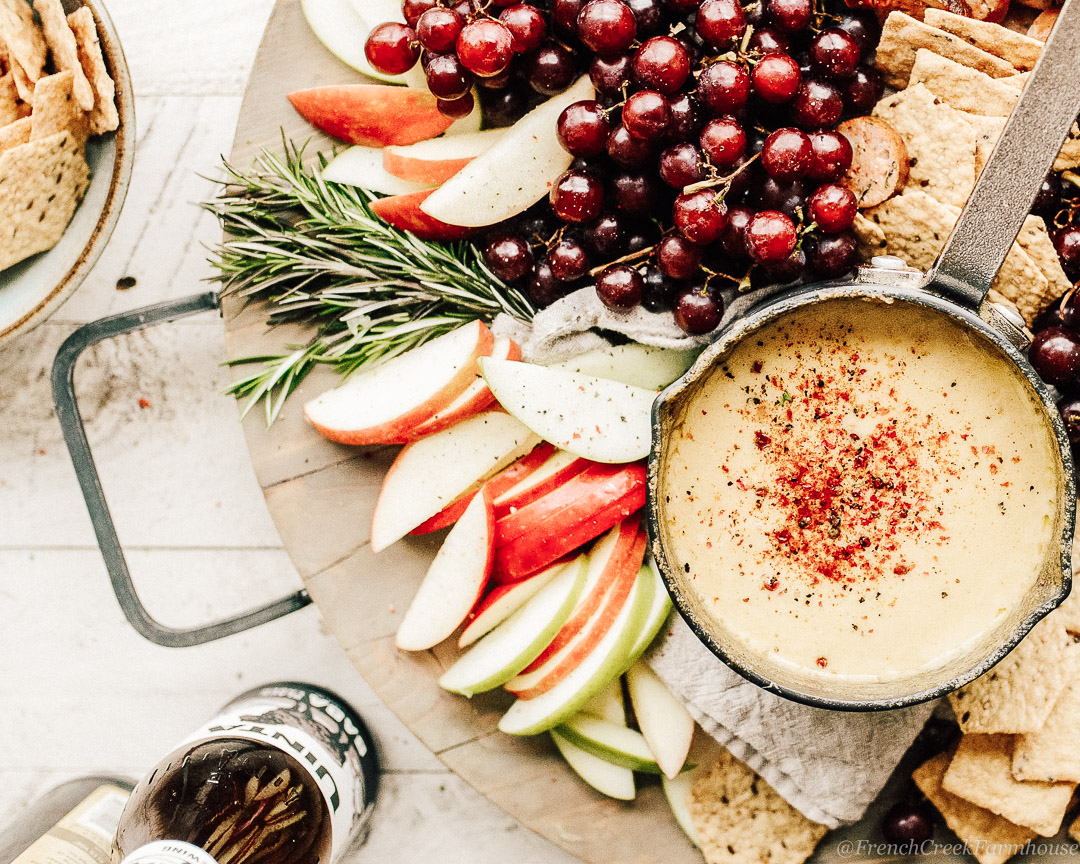
Fast forward to this recipe, and we now have a dish with layers and depth that combines the char roasted flavors of the poblano pepper with the smokiness of the exotic paprika into something as near to perfection as my taste buds could dream!
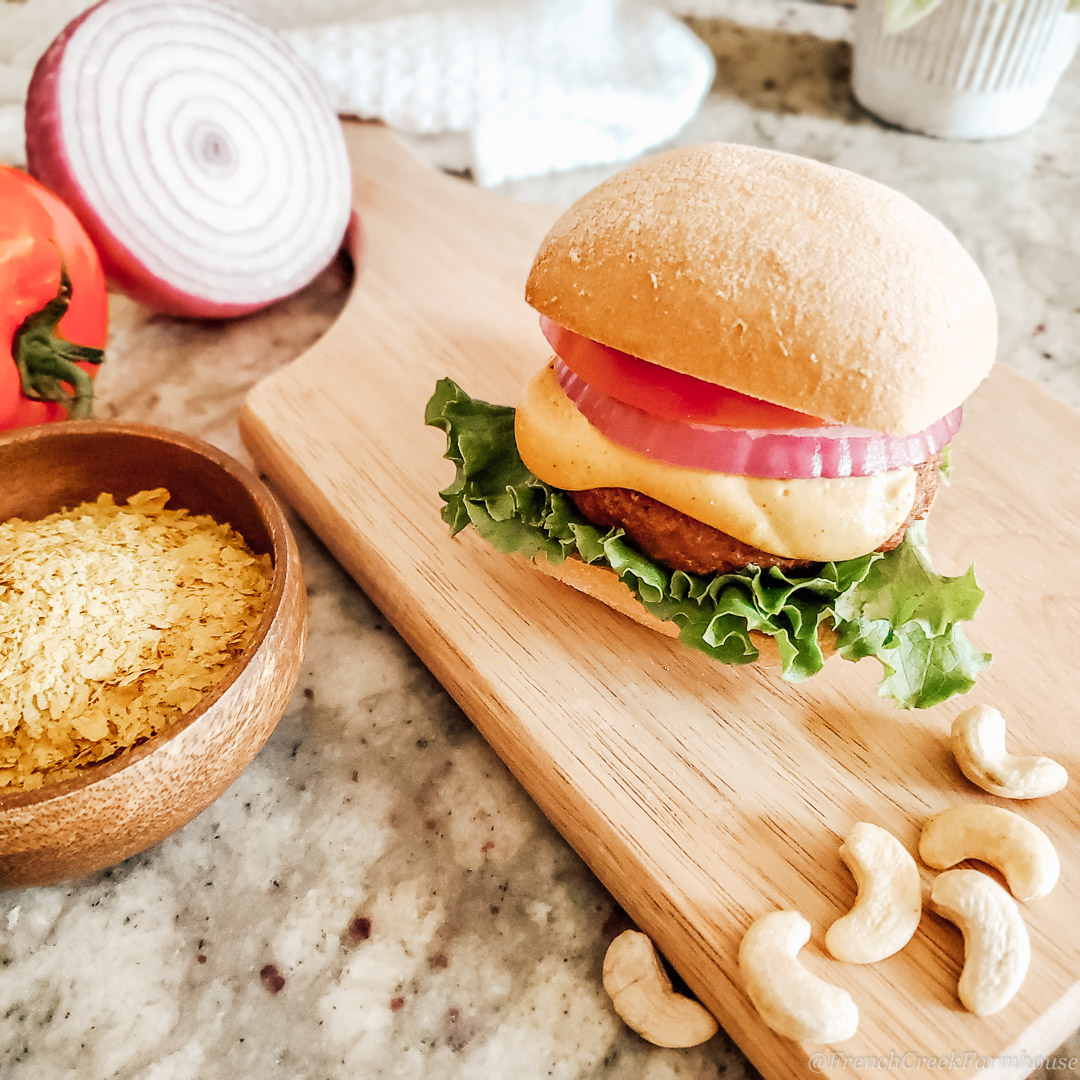
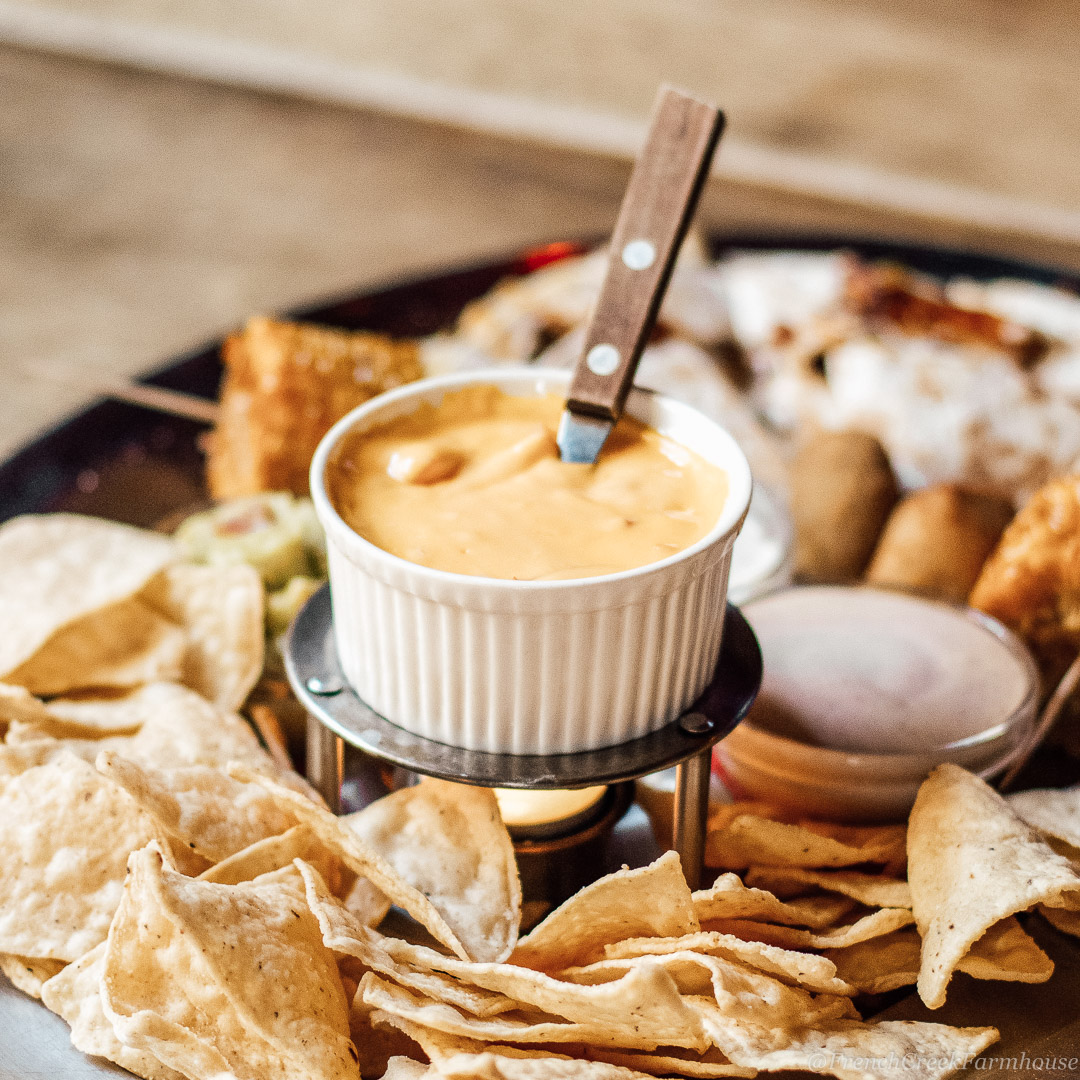
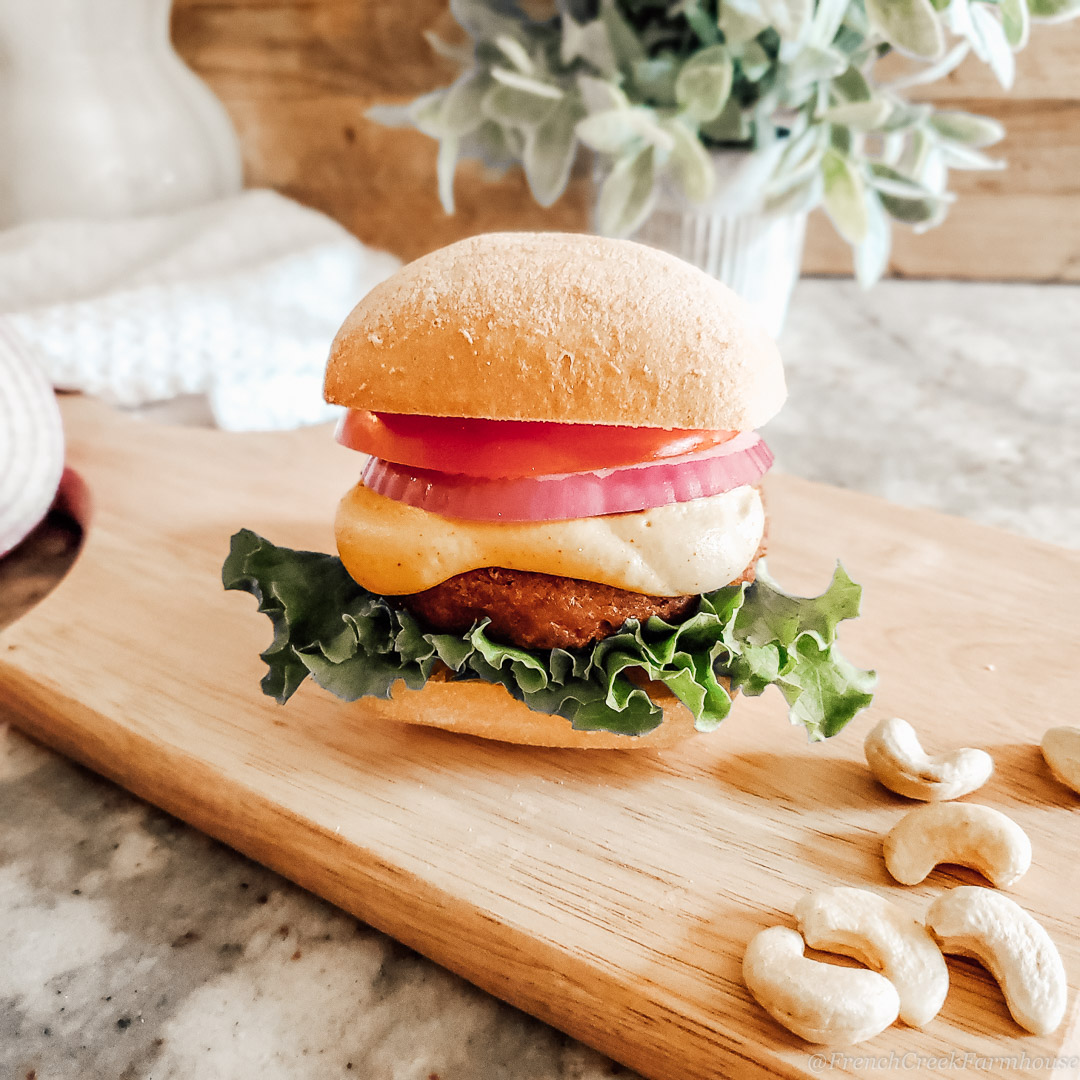
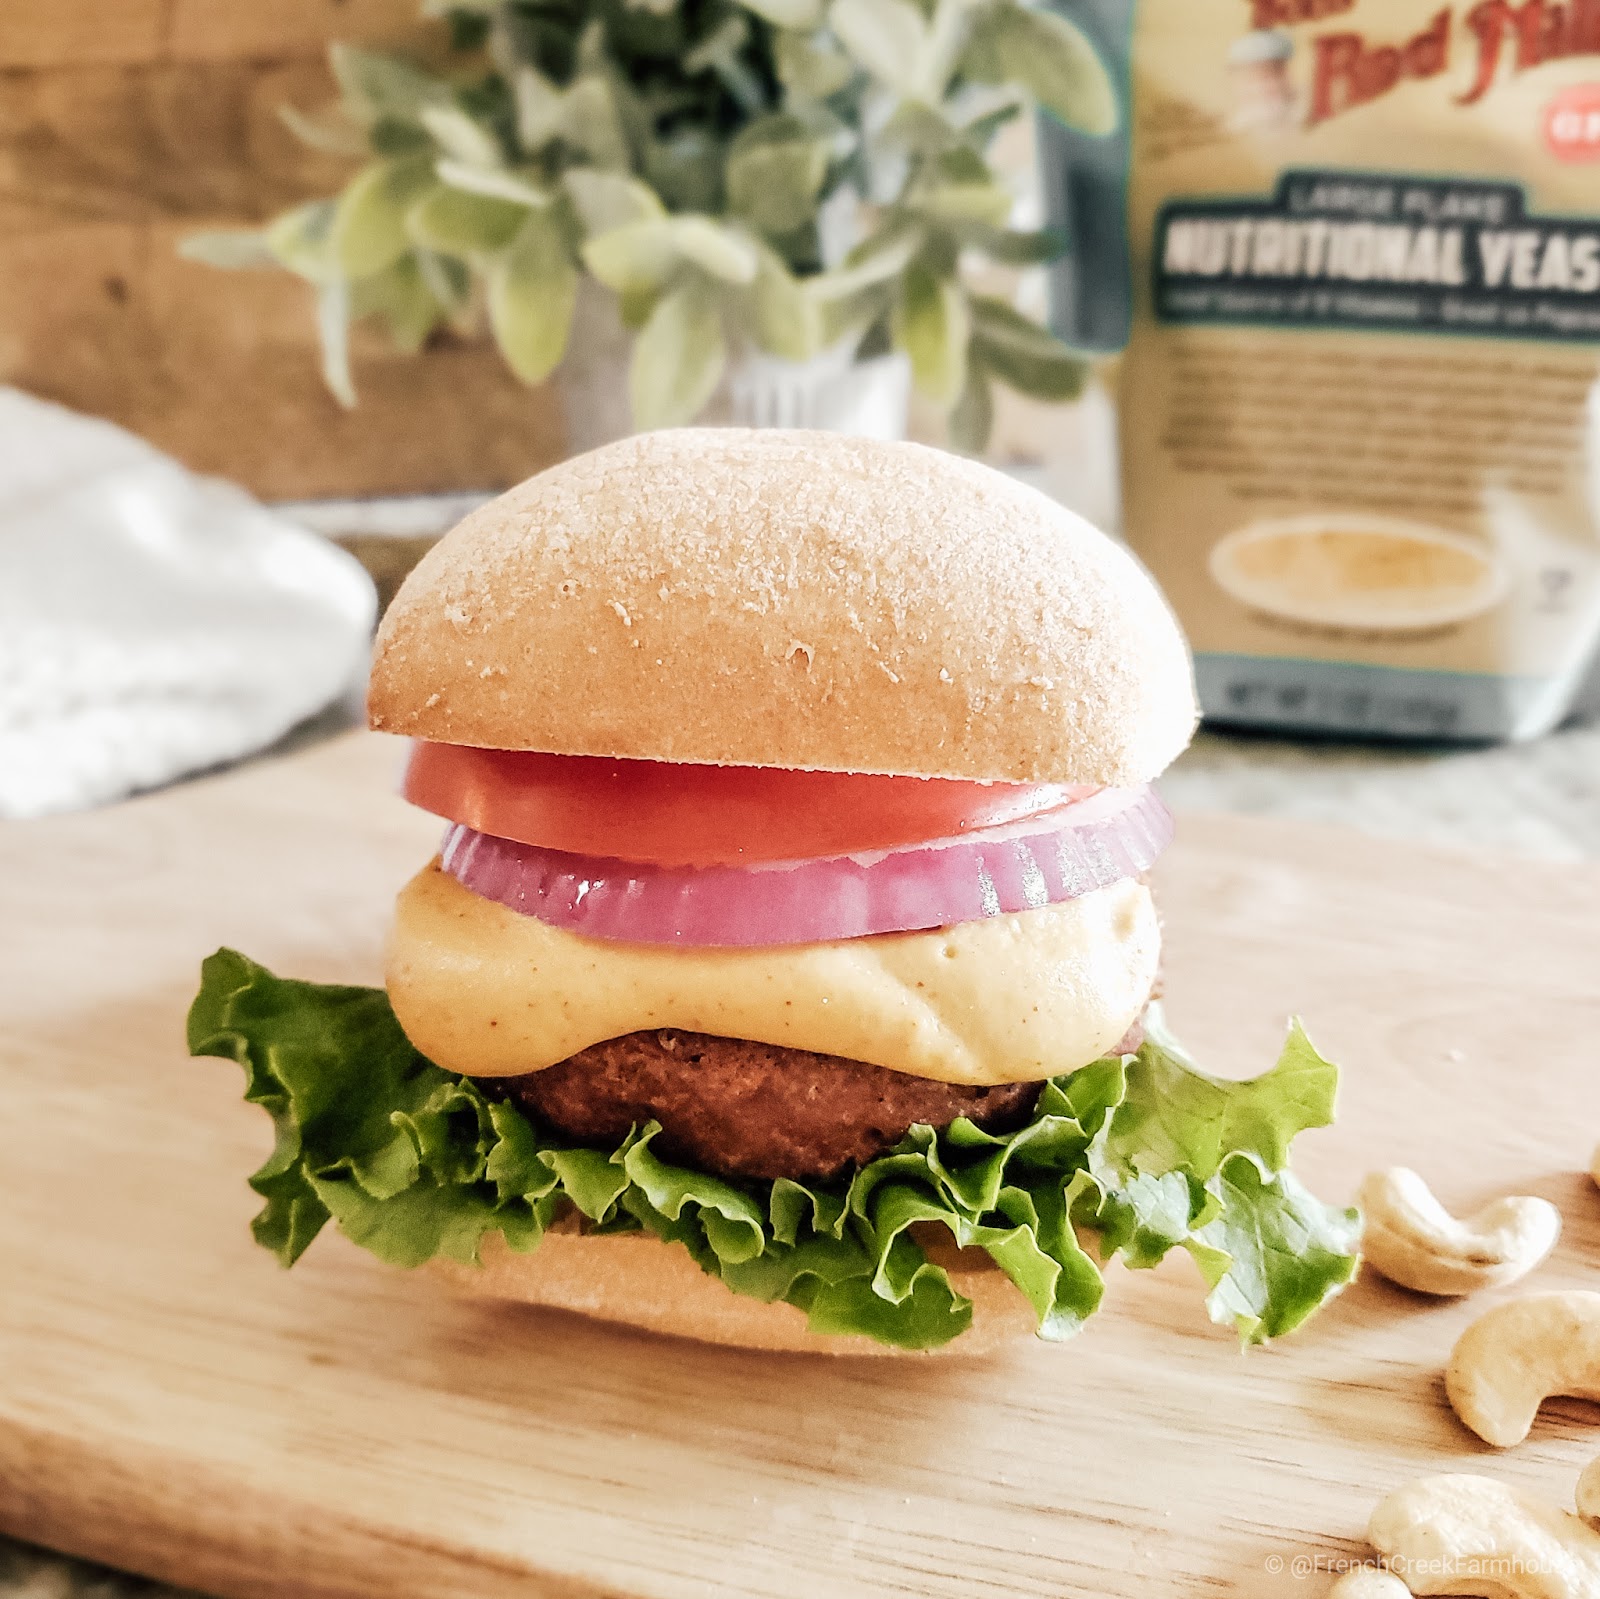
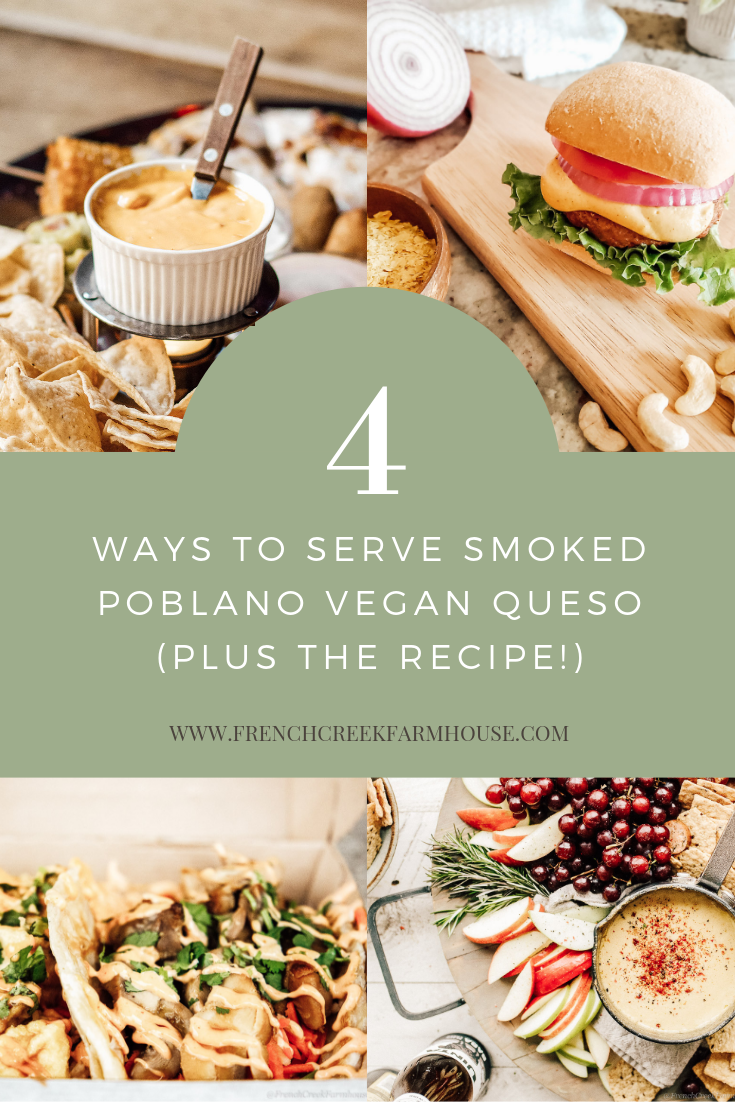
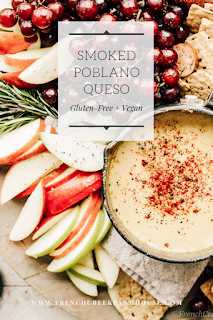
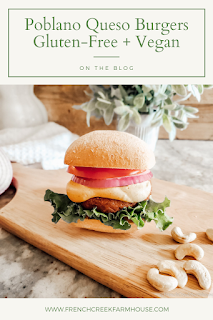
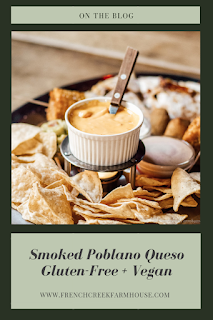
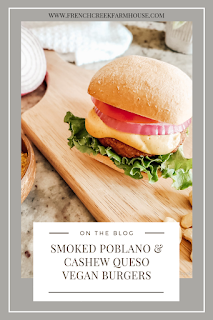
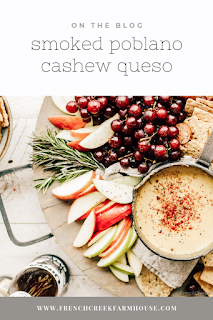
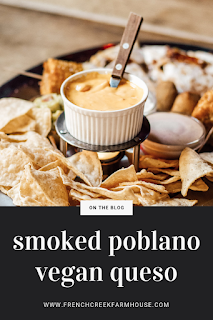
This queso works equally well as a dip for crudités platters, blanketed atop a mountain of crisp tortilla chips, drizzled over street-style tacos, or slathered on a barbecue burger bun. There are so many possibilities that you will never get tired of the options!
And the best part is that it takes so little effort to prepare. Most of your prep time will happen, quite literally, while you’re sleeping!

I hope you love this queso, but consider yourself warned–addiction is likely!
After you’ve made your first batch, I’d love to hear how you decided to serve it. Drop me a note in the comments below, and share some creative inspiration for great ways to use this sauce!
Smoked Poblano Cashew Queso
Prep Time: 6 hours
Cook Time: 10 minutes
Makes: about 1½ cups
Disclosure: This post is sponsored by Bob’s Red Mill, however all opinions are my own, and this recipe is my original work. Some links to products that follow may be affiliate links, and I might earn a commission at no additional cost to you if you make a purchase through that link. This usually amounts to cents, not dollars, and helps to support the projects and recipes featured on this blog. I only recommend products from companies that I have found to be trustworthy. Read my full disclosure here.
Ingredients
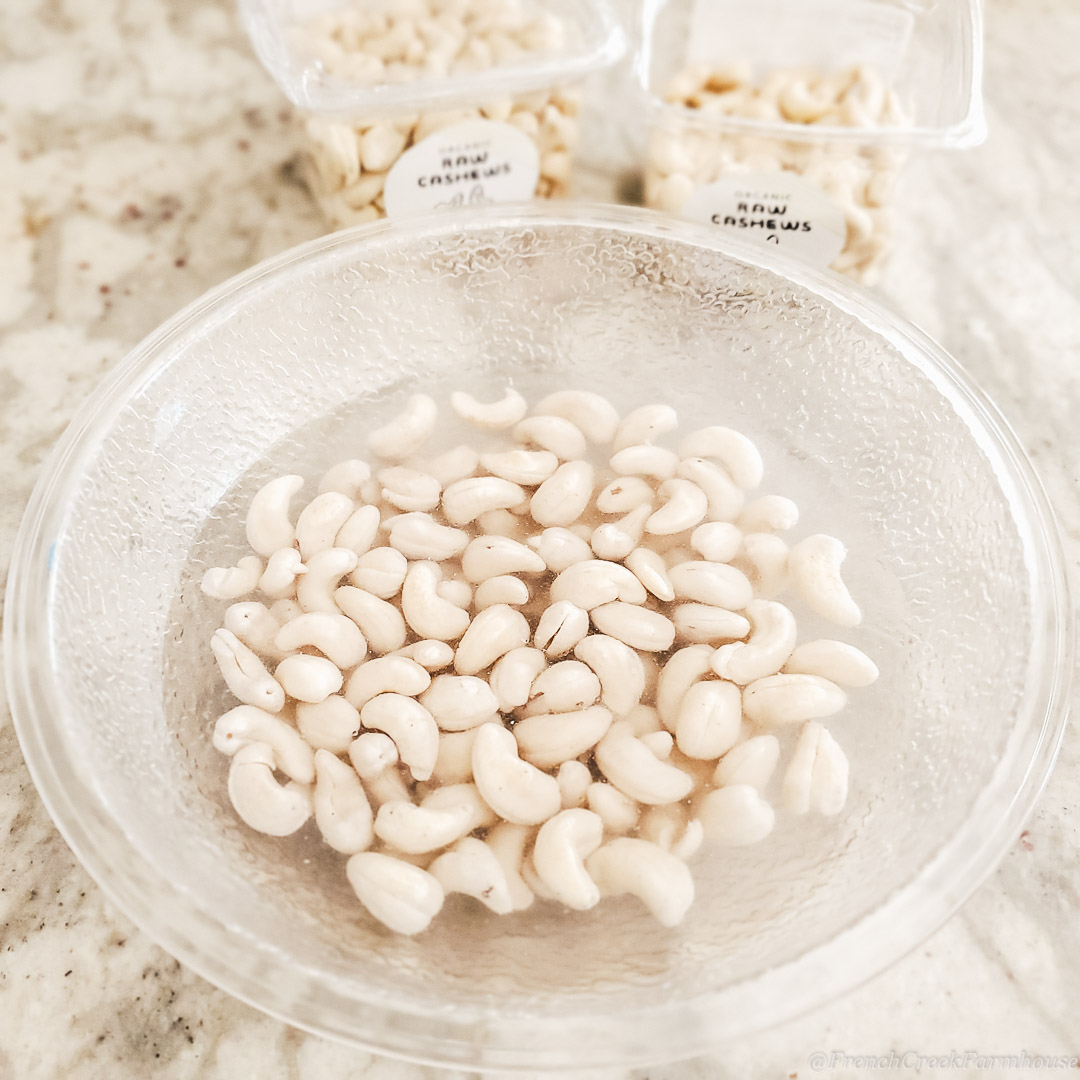
- 1 cup raw cashews, soaked 5 hours (or overnight)
- 1/2-1 poblano pepper (depending upon desired taste/heat)
- 1½ tsp minced fresh garlic (about 1-2 cloves, adjust according to desired taste)
- 1 tsp paprika
- ¼ tsp chili powder (use more for added heat)
- ¼ tsp salt
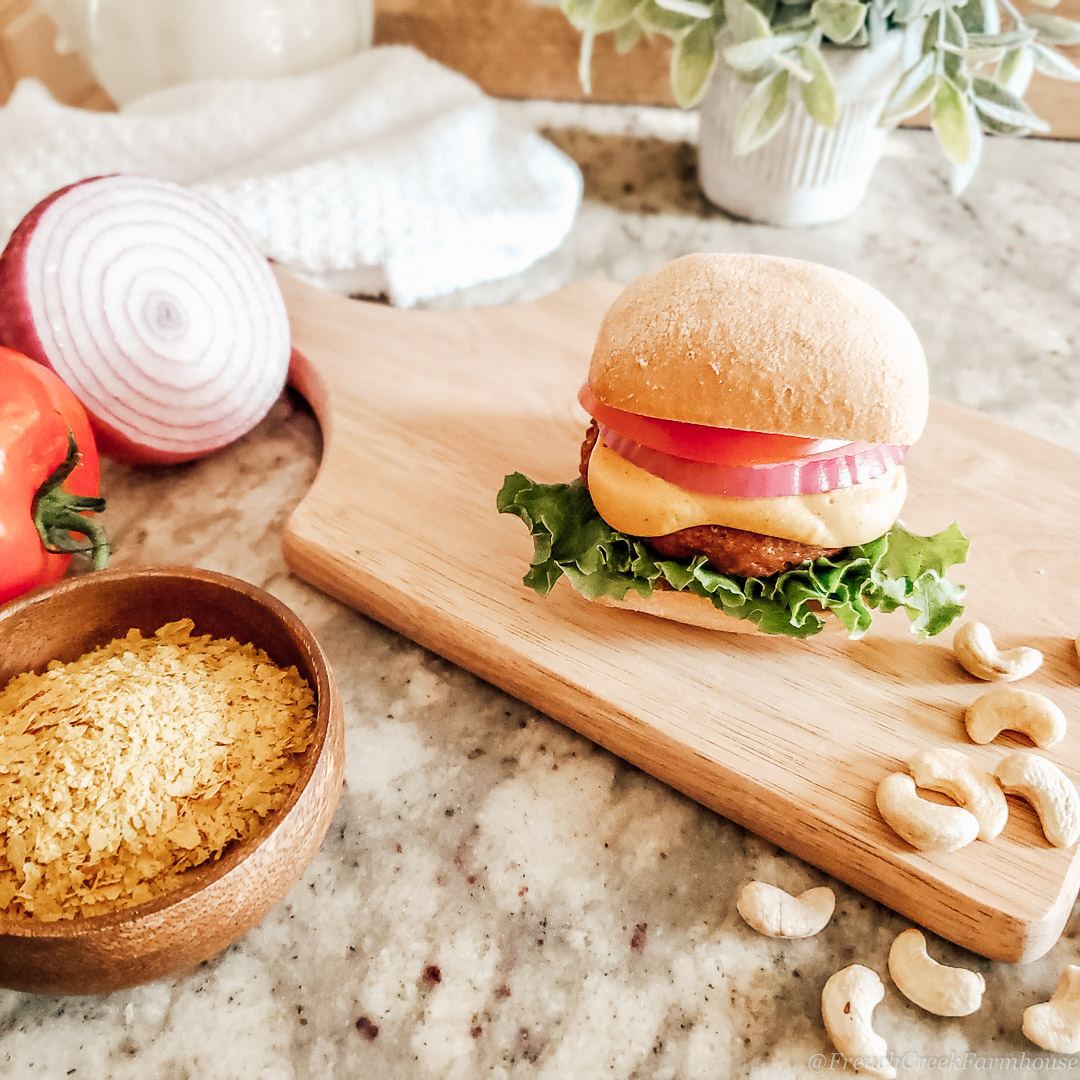
- 5 tbsp Bob’s Red Mill Nutritional Yeast
- 1 tbsp olive oil
- 6 tbsp water
Tools you’ll need:
- Gloves (to protect your hands from the oils of the pepper)
- High speed blender
Instructions
- Soak raw cashews for about 5 hours, or simply soak overnight for easy prep.

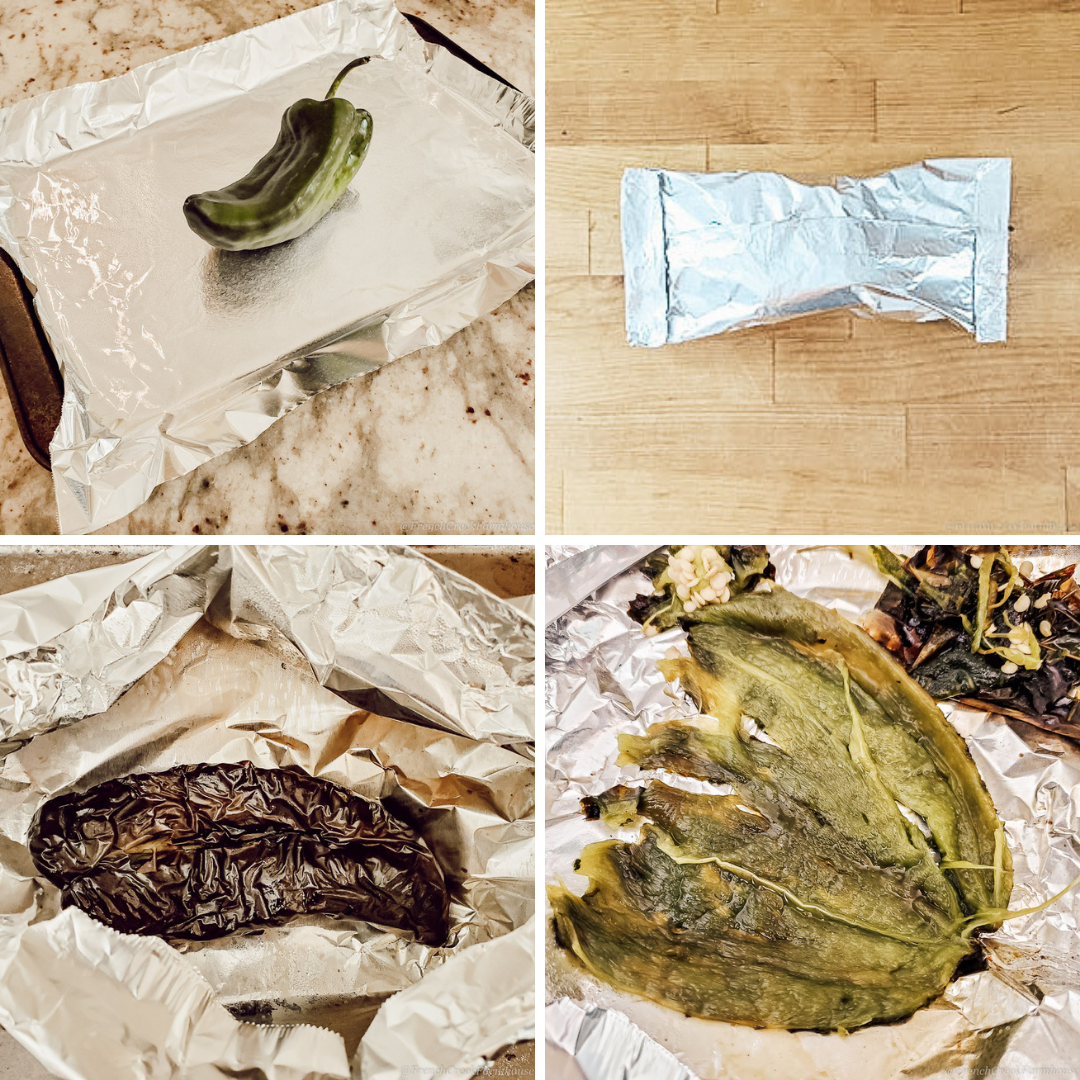
- Place the poblano pepper on a foil lined baking sheet, and broil on high for 6 minutes. Flip pepper over with tongs, and broil the other side for an additional 6 minutes.
- Remove baking sheet from oven. Carefully fold the foil sheet into a packet, and steam the pepper within the packet for 10 minutes. It’s best to leave the foil packet on the baking sheet, and set the baking sheet on a wire cooling rack during this process.
- After 10 minutes, open the foil packet, and remove seeds, stem, and peel the skin from the pepper. Make sure you wear gloves to avoid skin contact with the pepper oils!
- Place the drained cashews into blender with ½ of the poblano pepper and all ingredients through olive oil. Mix on low to medium speed, scraping down the sides of the carafe as needed. Add water very slowly, one tablespoon at a time, while mixing to achieve the ideal texture. You may find that you need more/less water than specified in the recipe depending upon the size/amount of poblano pepper you use and the desired consistency of your finished product.
- Continue blending until the sauce is smooth. This may take several minutes. Adjust the seasonings and spice level to your taste. As written, this recipe is not overly spicy and should be enjoyable to even those who prefer low-heat. However, feel free to add more of the pepper and increase the chili powder if you enjoy spiciness!
- If using a high quality blender, like this one, the blending action will warm the queso nicely. Else, you may transfer the blended sauce to a small sauce pan and warm over low heat, stirring frequently, before serving.
Queso may be stored in an airtight refrigerated container for 7-10 days. Reheat in a small sauce pan over low heat, stirring frequently–do not microwave. You may find the need to add a touch of water, one teaspoon at a time, during reheating.
Pin This Recipe:

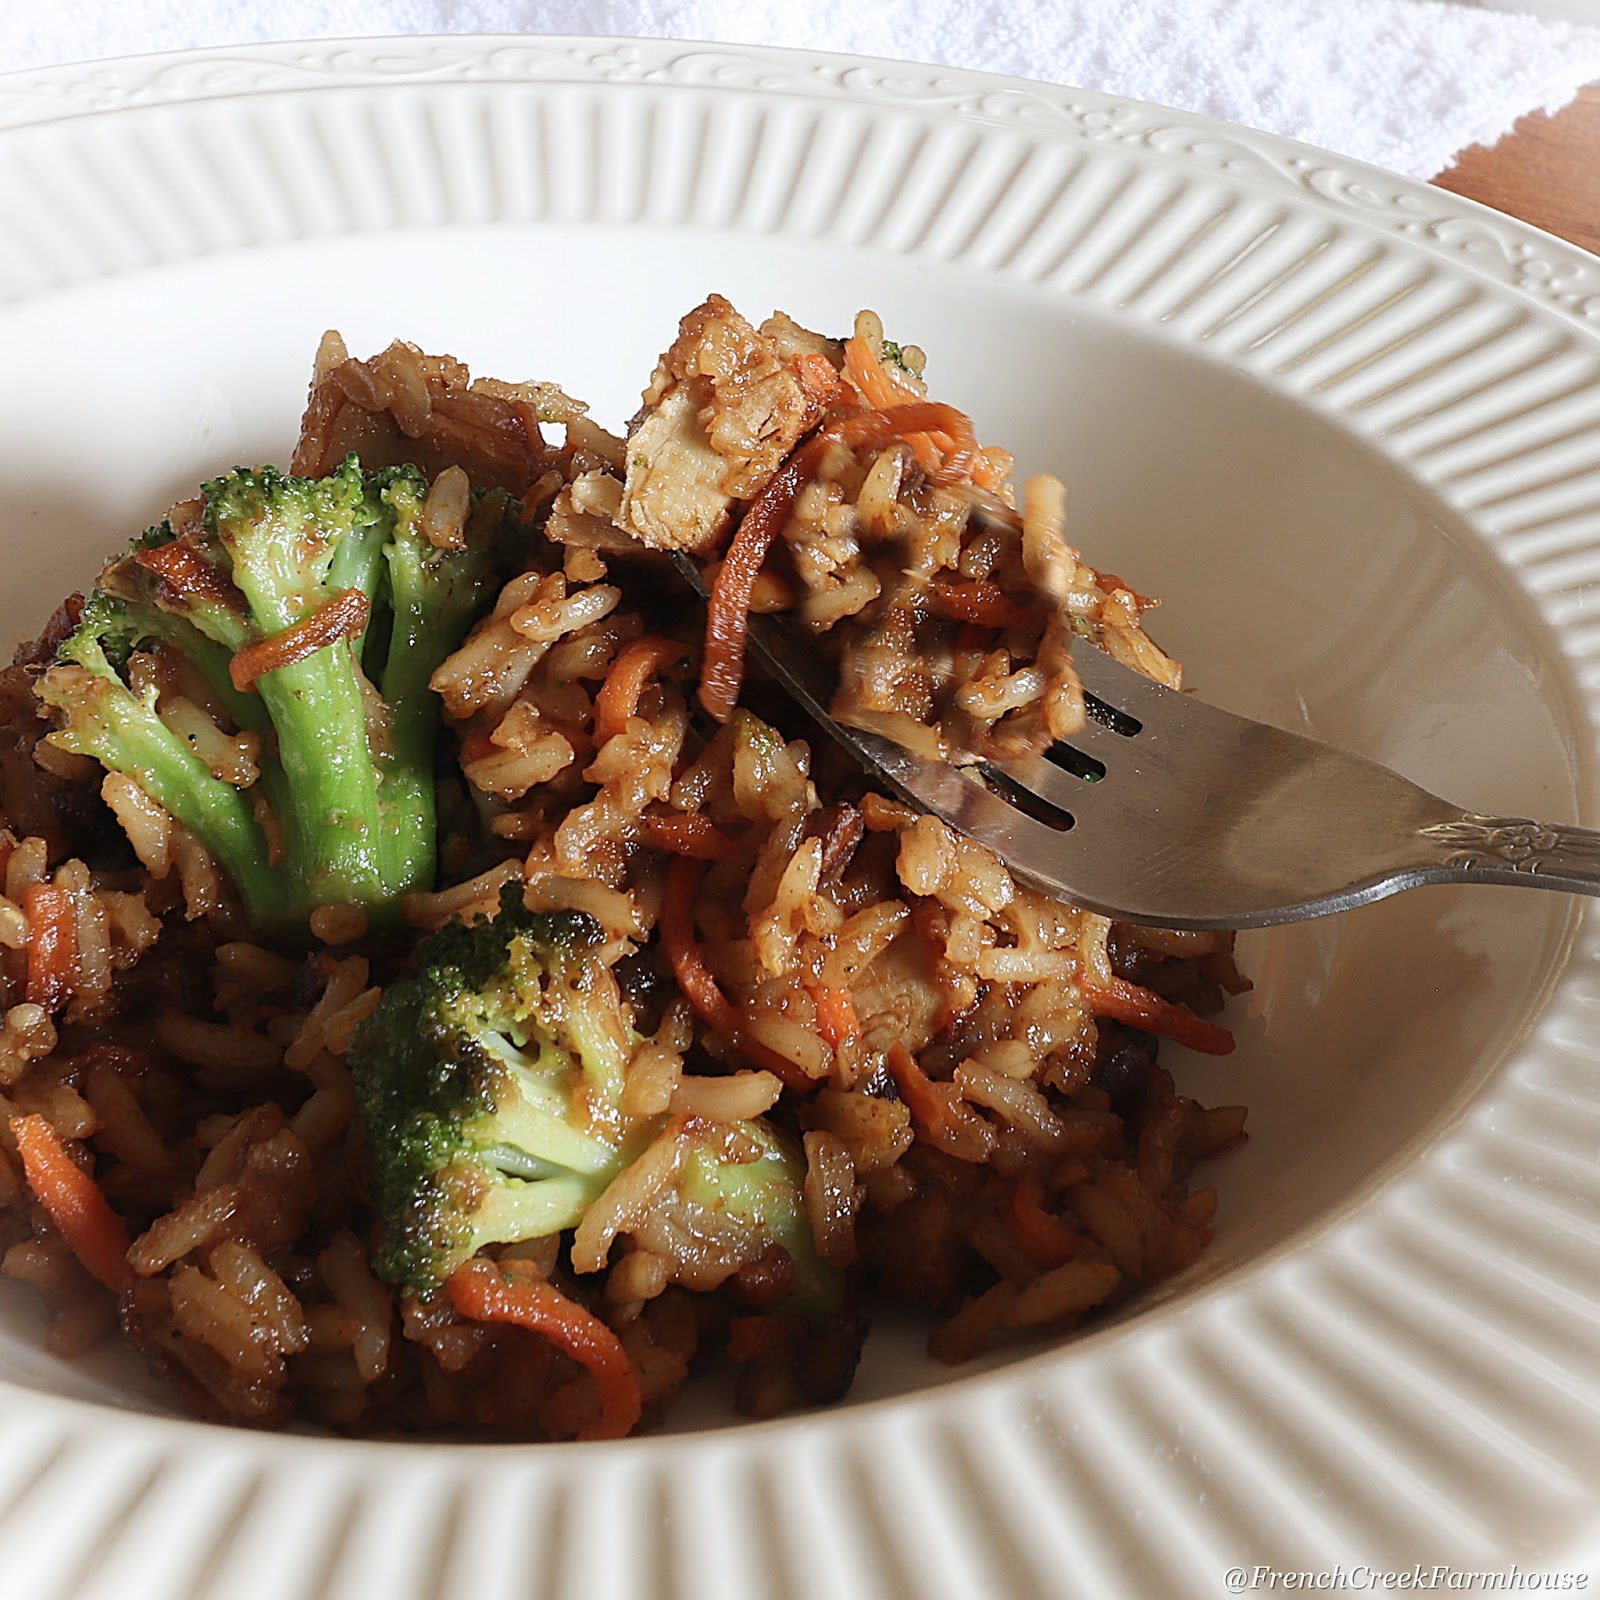
Looking for some delicious and easy ideas for dinner?
Get my free grain bowl recipe guide
Let’s be email pen pals! Sign up to join our community, and get your free printable PDF Grain Bowl Recipe Guide. This is so good!

Can’t wait to try this recipe. Just had this same dish in a restaurant in Dallas and wanted to find the recipe so I could make it on my own. Do I need the nutritional yeast for the recipe? What is it for?
Hi Ayesha–you will love it! I just made a batch a few days ago, and we gobble it up for a game day snack. 😋 Yes, you do need nutritional yeast–it’s what gives the cheesy flavor to most of your favorite foods like chips, etc. It’s also a great source of B vitamins, so that’s a bonus! If you don’t include it, the flavor will be quite bland.