DIY Fabric Pumpkin Garland
I’m feeling all the harvest vibes lately, and nothing represents that more for me than pumpkins, pumpkins, everywhere!
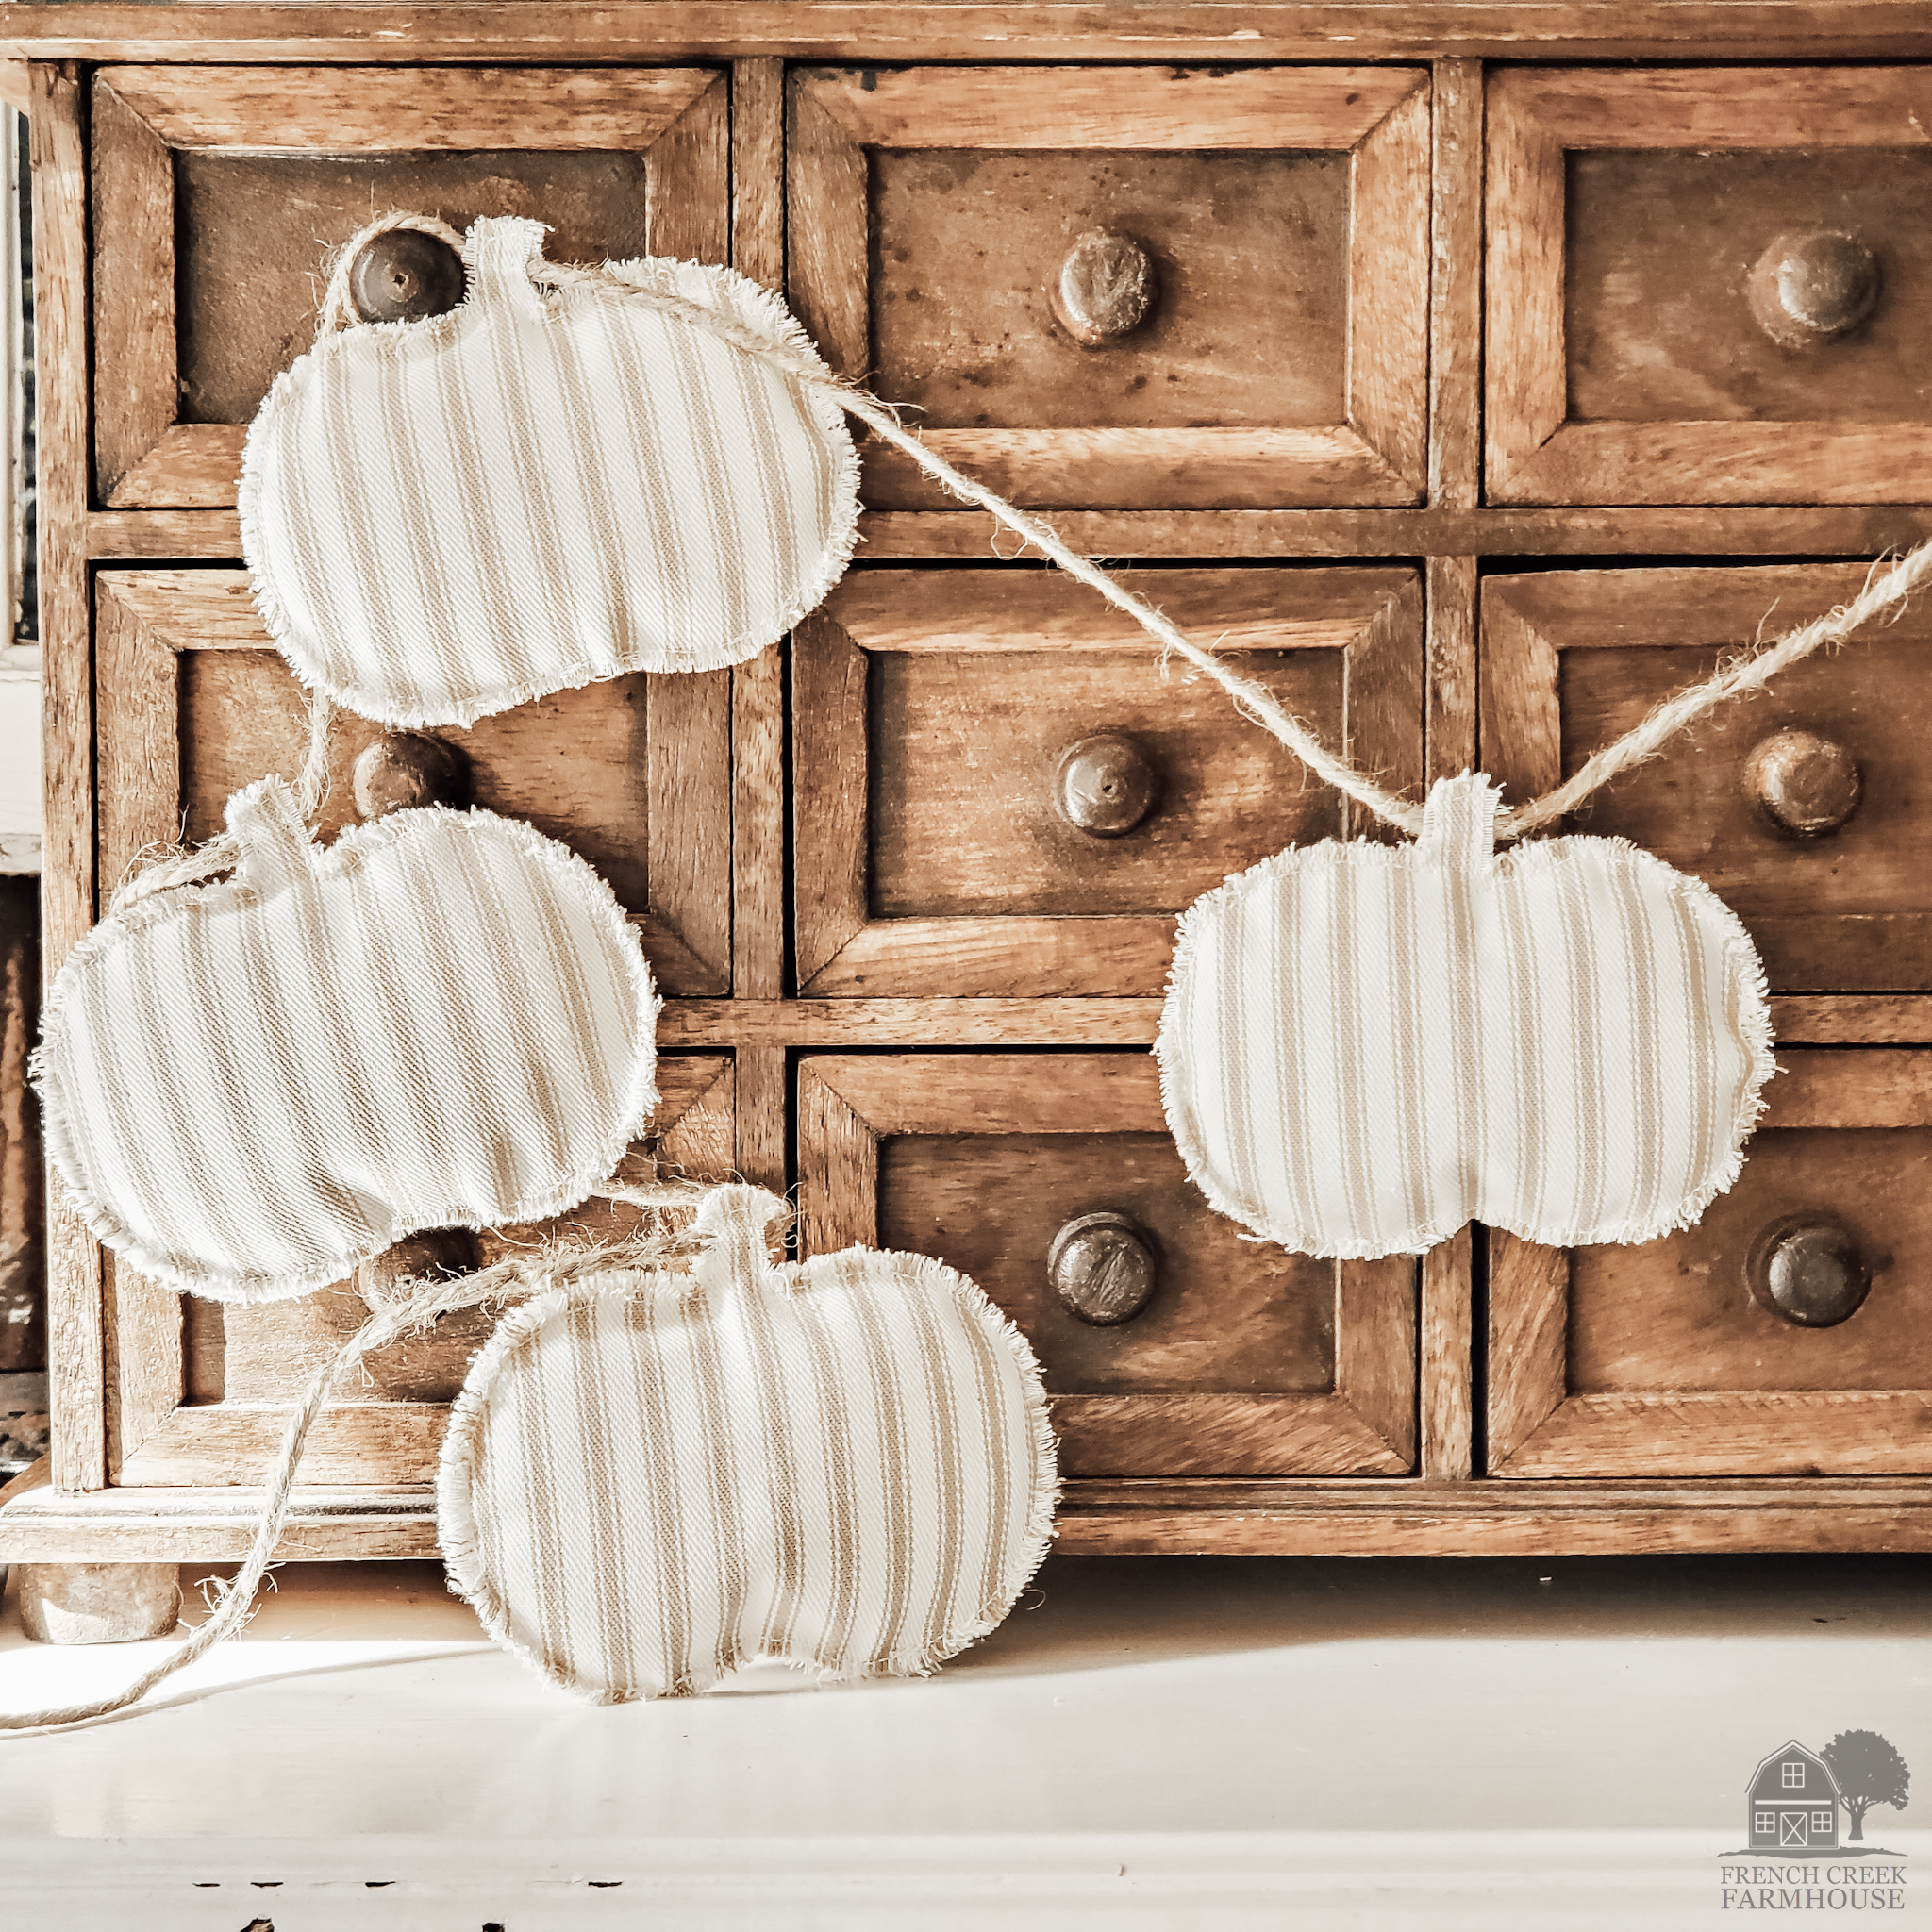
And, of course, I love my projects to have a neutral, farmhouse aesthetic, so these little farmhouse fabric pumpkins as a garland are just perfect in our home.
They’re subtle enough that they don’t overwhelm our decor, but the cute shapes are a solid reminder that fall is almost here. And, as a bonus, they’ll transition seamlessly right through Thanksgiving!
{Related: How to Make Farmhouse Fabric Pumpkins}
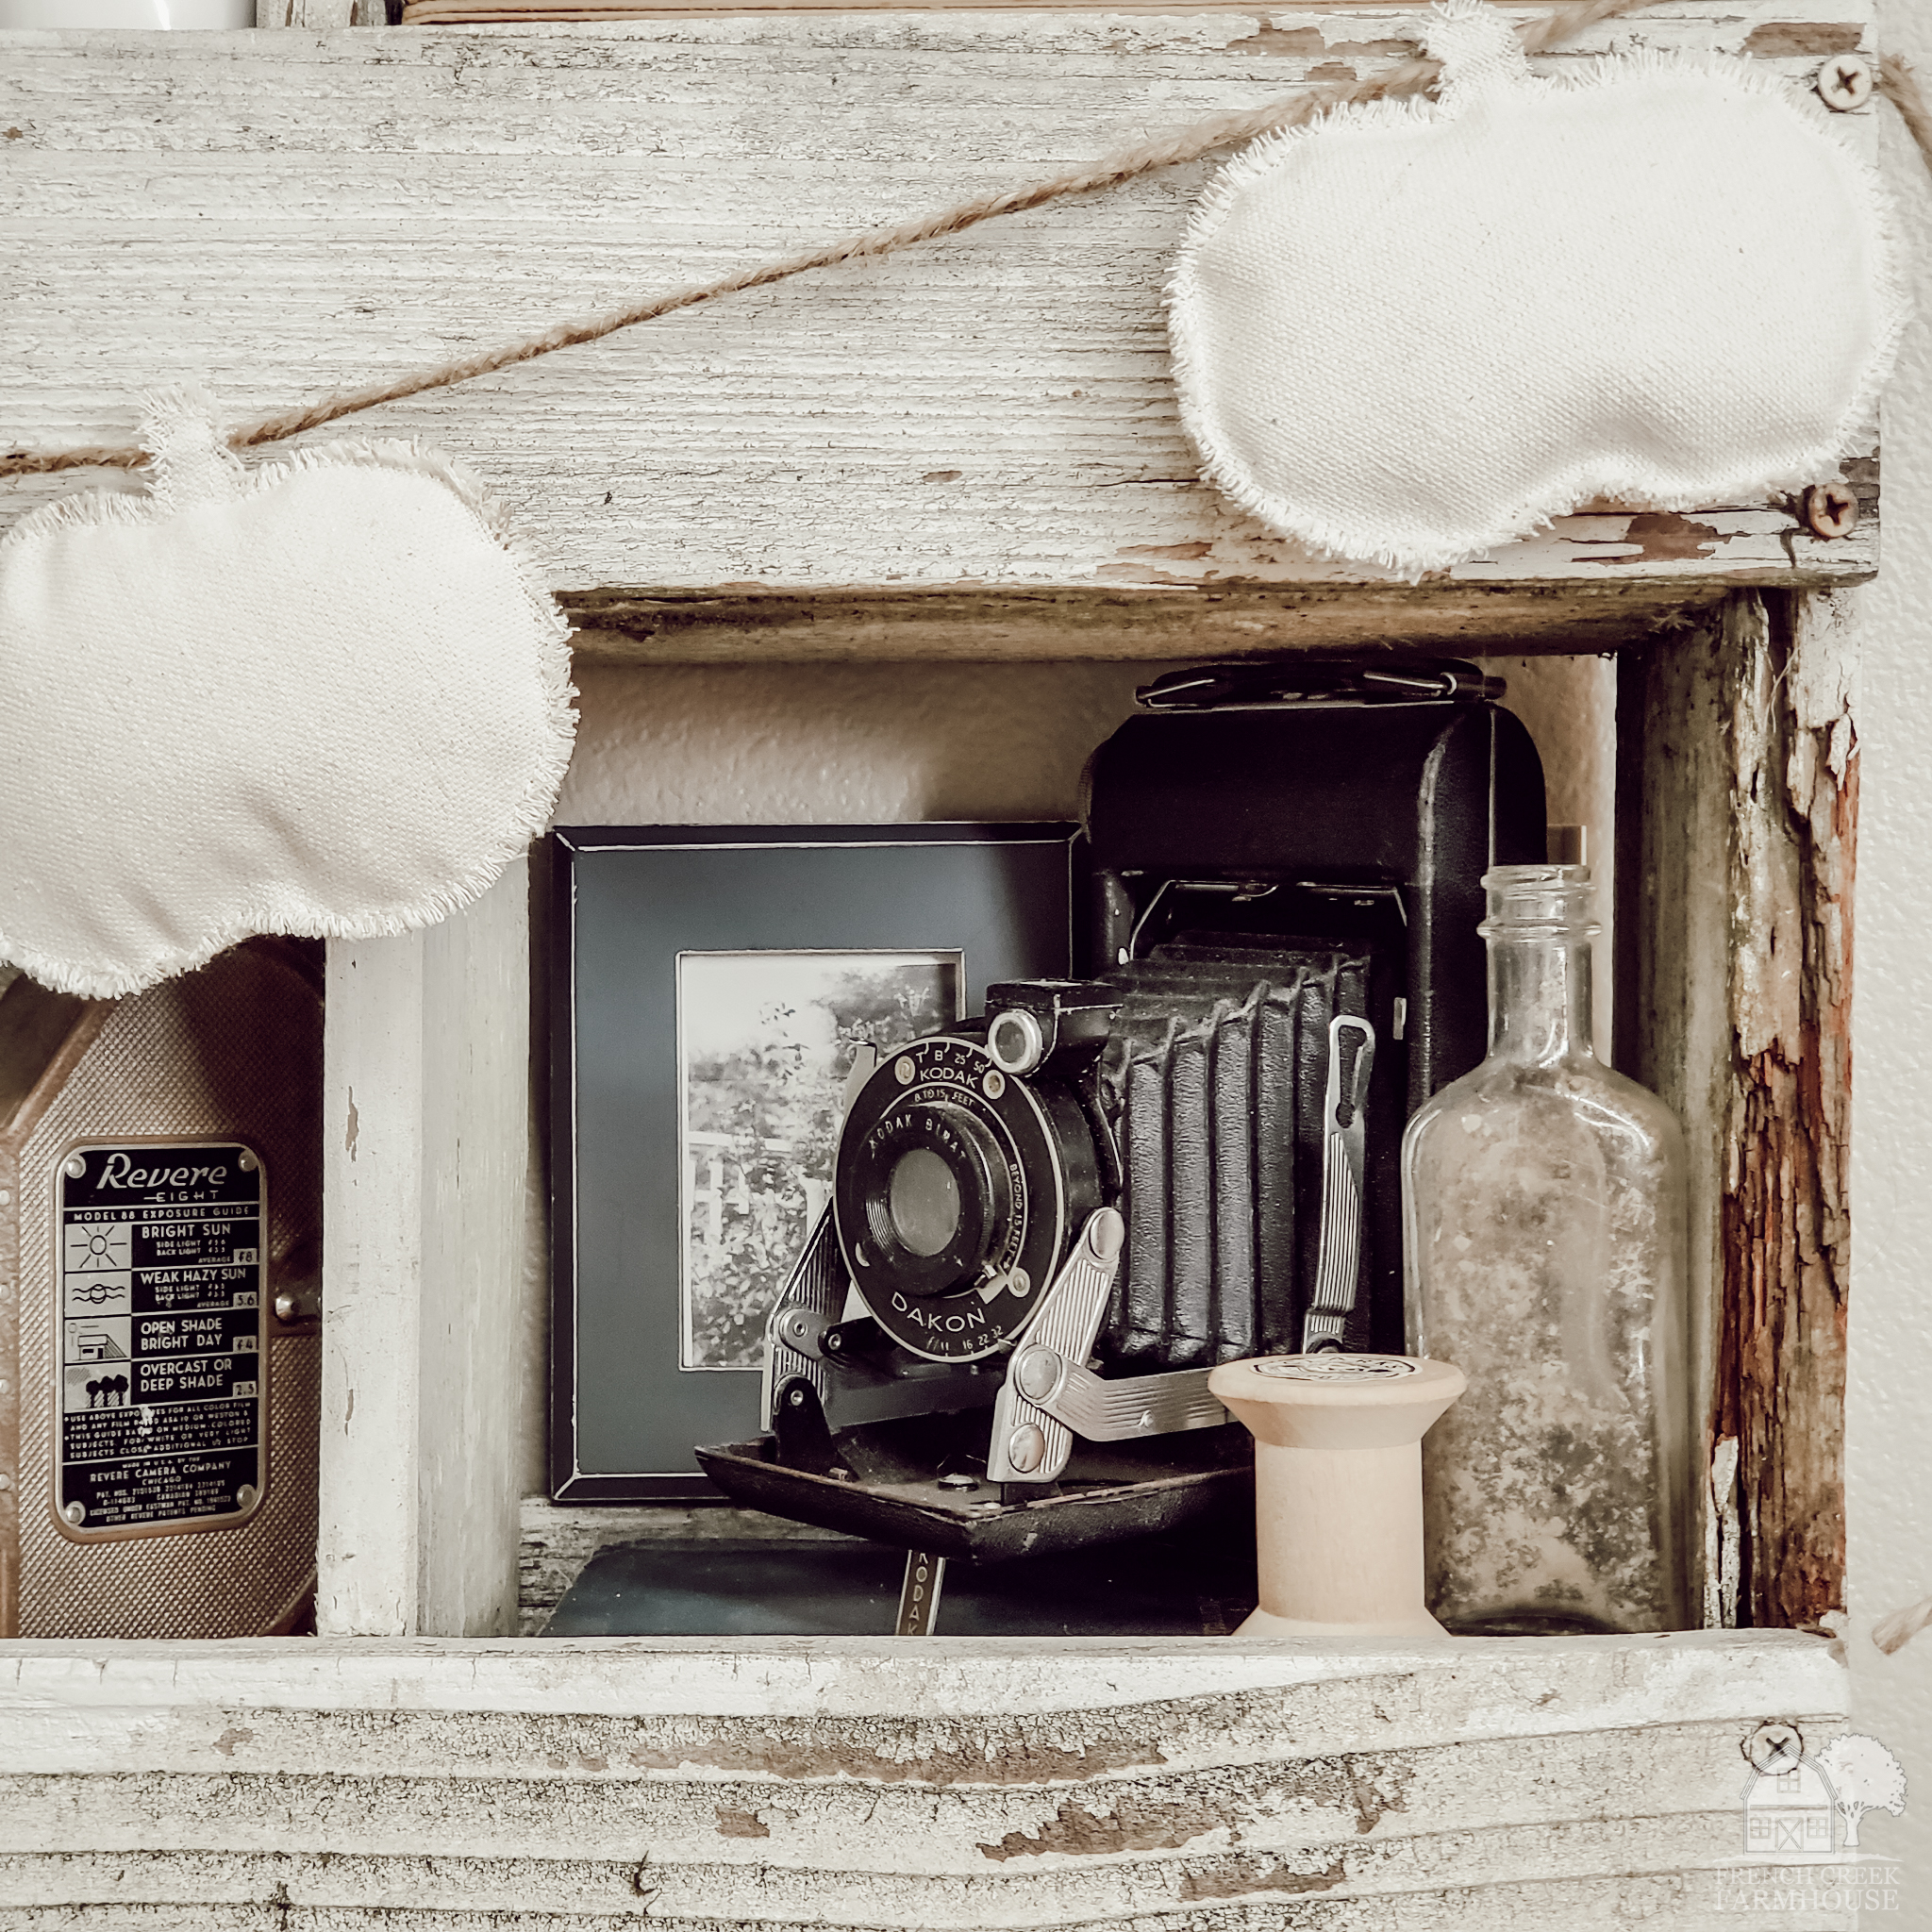
What could be better than decor that can last for several months…especially during this busy time of year with back-to-school and gearing up for the holidays (which will be here before we know it!).
This is a simple DIY project that you can complete in under an hour. They would also make a wonderful gift (maybe for a teacher or neighbor??), and you can even do this craft with kids to teach them basic sewing skills!
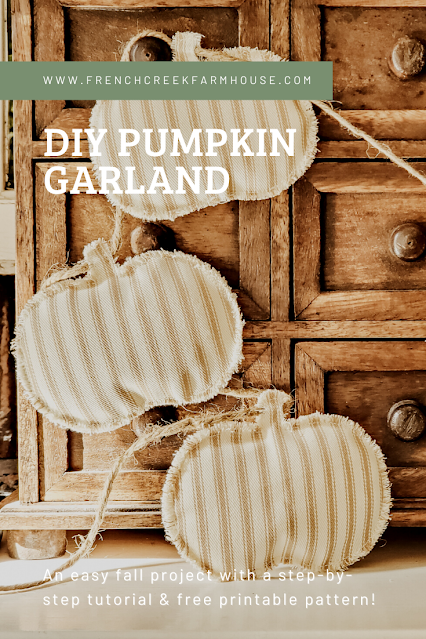
Be sure to pin this project so you can find it again later…

Disclosure: This is not a sponsored post, and I have received no compensation for sharing anything that follows. Some links within this blog may be affiliate links, and I might earn a commission if you make a purchase through that link. This usually amounts to cents, not dollars, and helps to support the projects featured on this blog. I only recommend products from companies that I have found to be trustworthy. Read my full disclosure here.
For this project, I decided to give my pumpkins a little added versatility and used different fabric on the front compared to the back.
On one side, I used a neutral ticking stripe fabric that has a nice farmhouse vibe, but also a touch of whimsy with the stripes.
On the other side, I used plain canvas grain sack fabric. This way, if I want my pumpkins to be even more subtle, I can just turn my garland around and get two uses out of it!
{Related: Patriotic Farmhouse Star Garland}

You could do the same thing with any type of fabrics or colors. Maybe you want to make a neutral harvest garland, but decorate the other side as jack-o-lanterns for Halloween? How cute would that be?!
No matter how you get creative with this project, it’s sure to be a sweet addition to your late-summer and fall decor!
Plus, with my printable pattern, you can make these fabric pumpkins in a variety of sizes. I’ve included templates from 3.5″ to 5.5″, which means you could also craft some pumpkins for bowl filler, or to tuck into your shelves–all from the same pattern!
{Related: Patriotic Grain Sack Tuck Pillows}
HOW TO MAKE A FABRIC PUMPKIN GARLAND
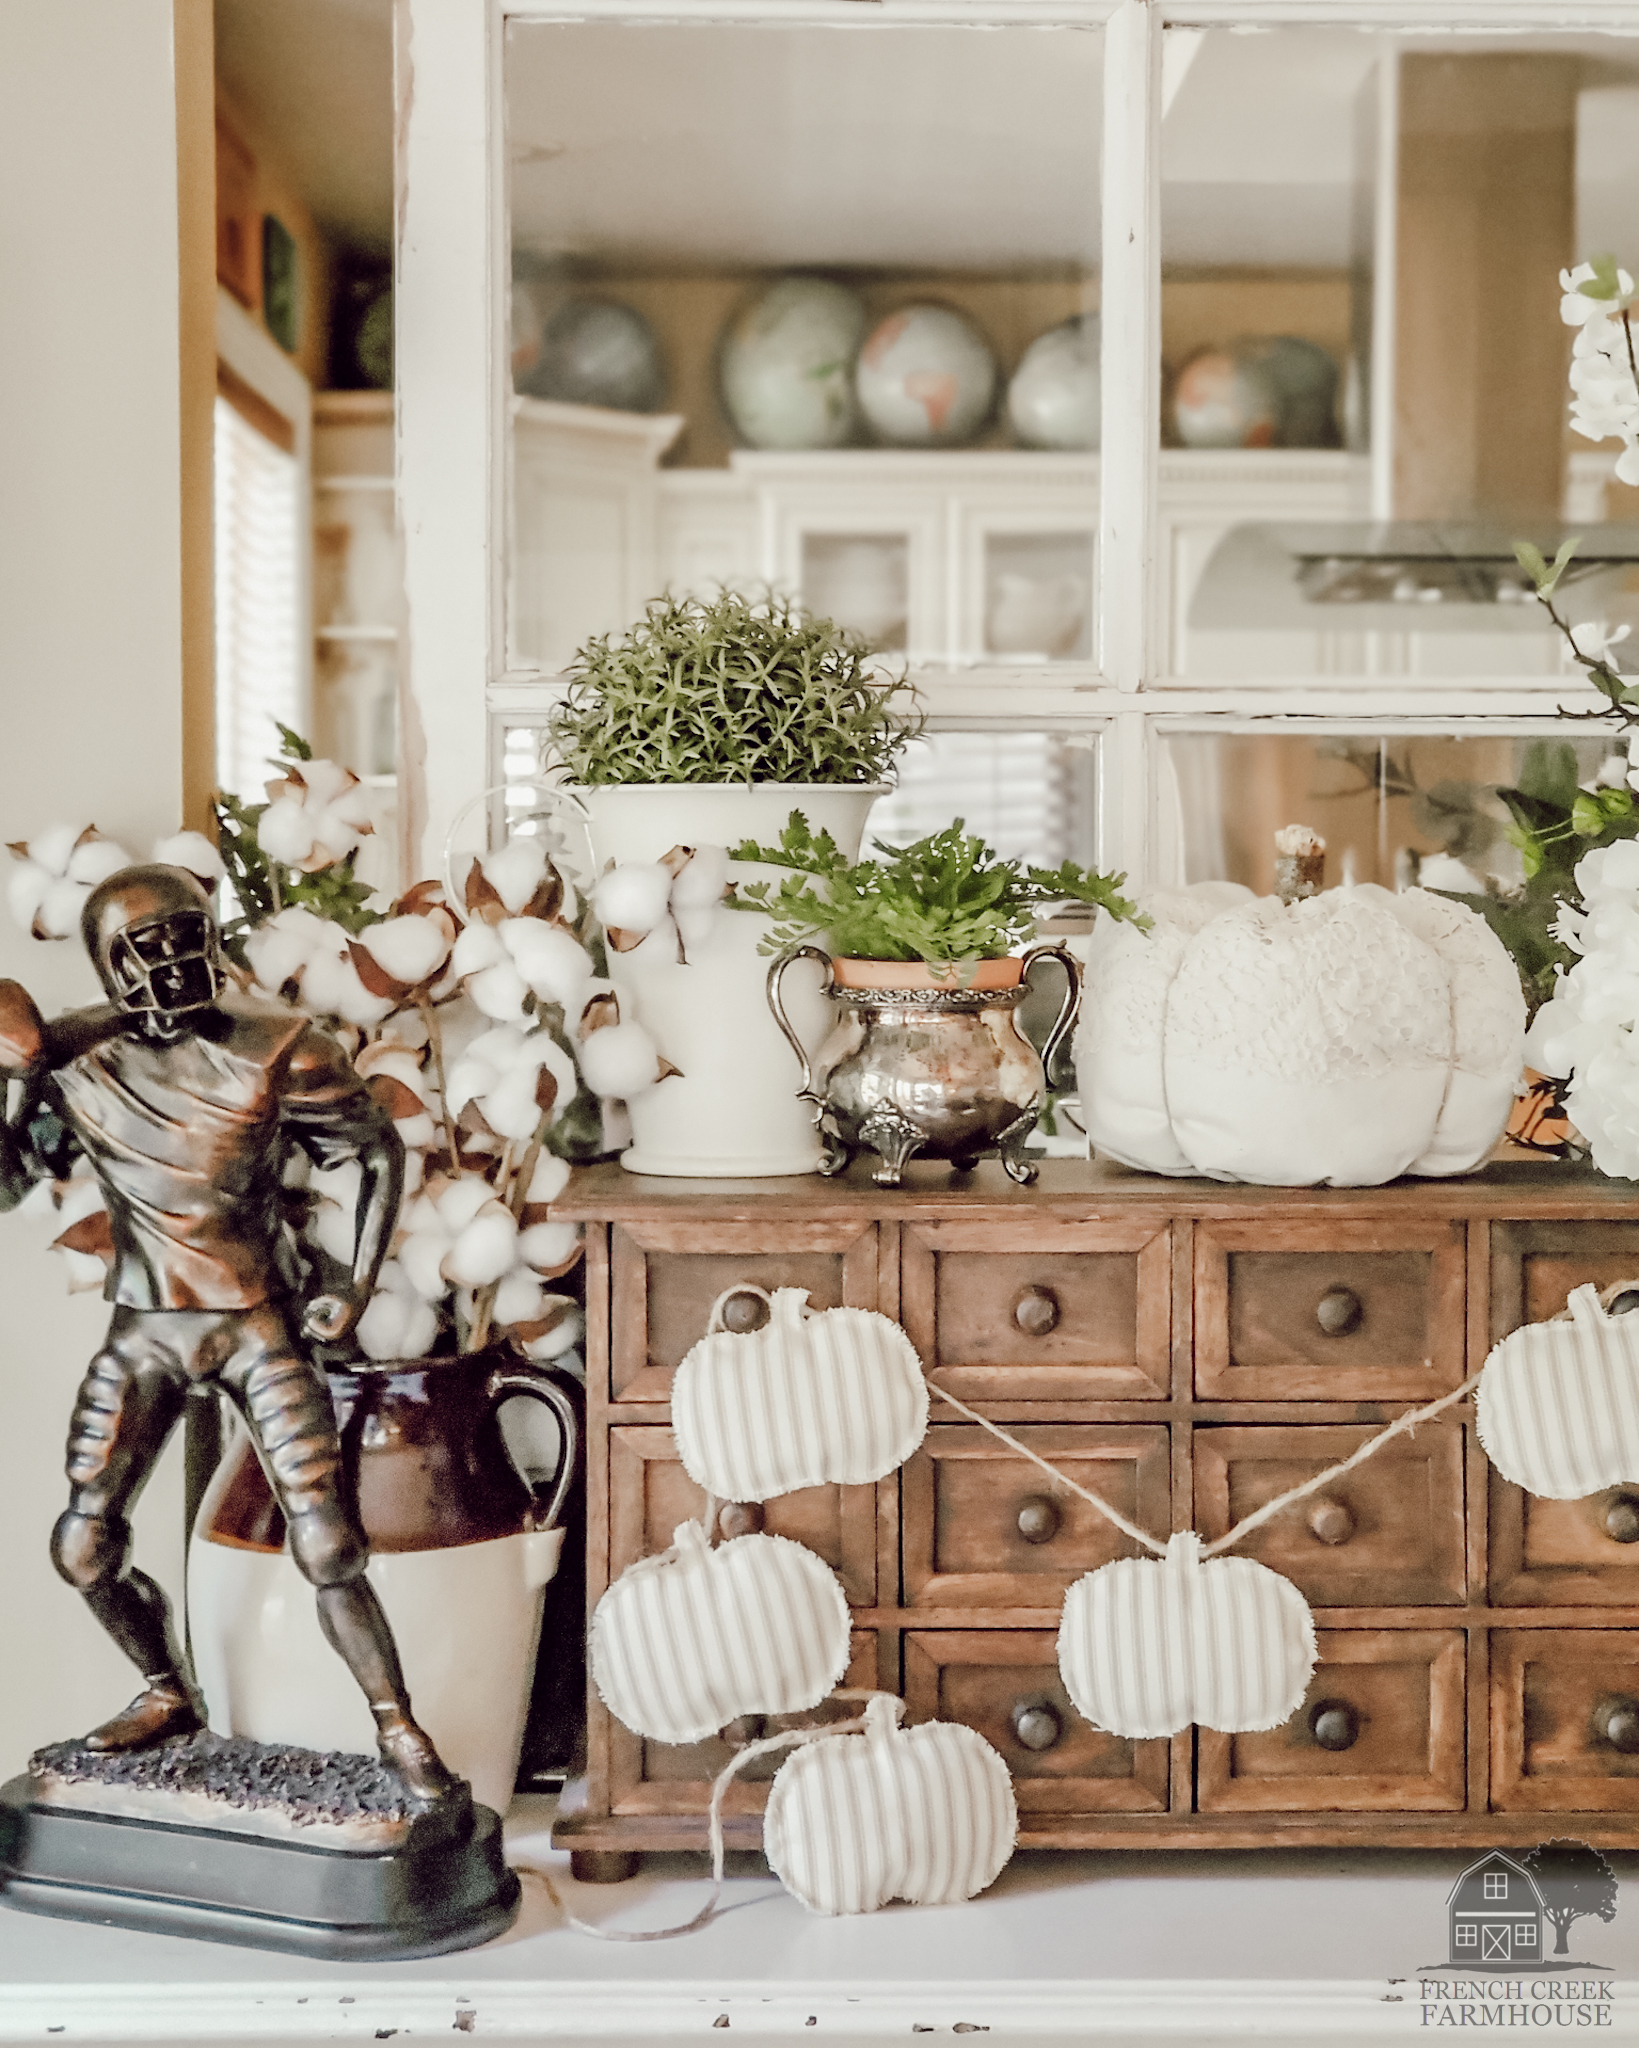
- Fabric of your choice (this is a great one)
- Jute twine
- Straight pins
- Poly-fil
- Scissors
- Fabric marking pen (this is my favorite!)
- Pumpkin Template (free printable pattern you can download here)
- Laminator (optional, but I highly encourage it)
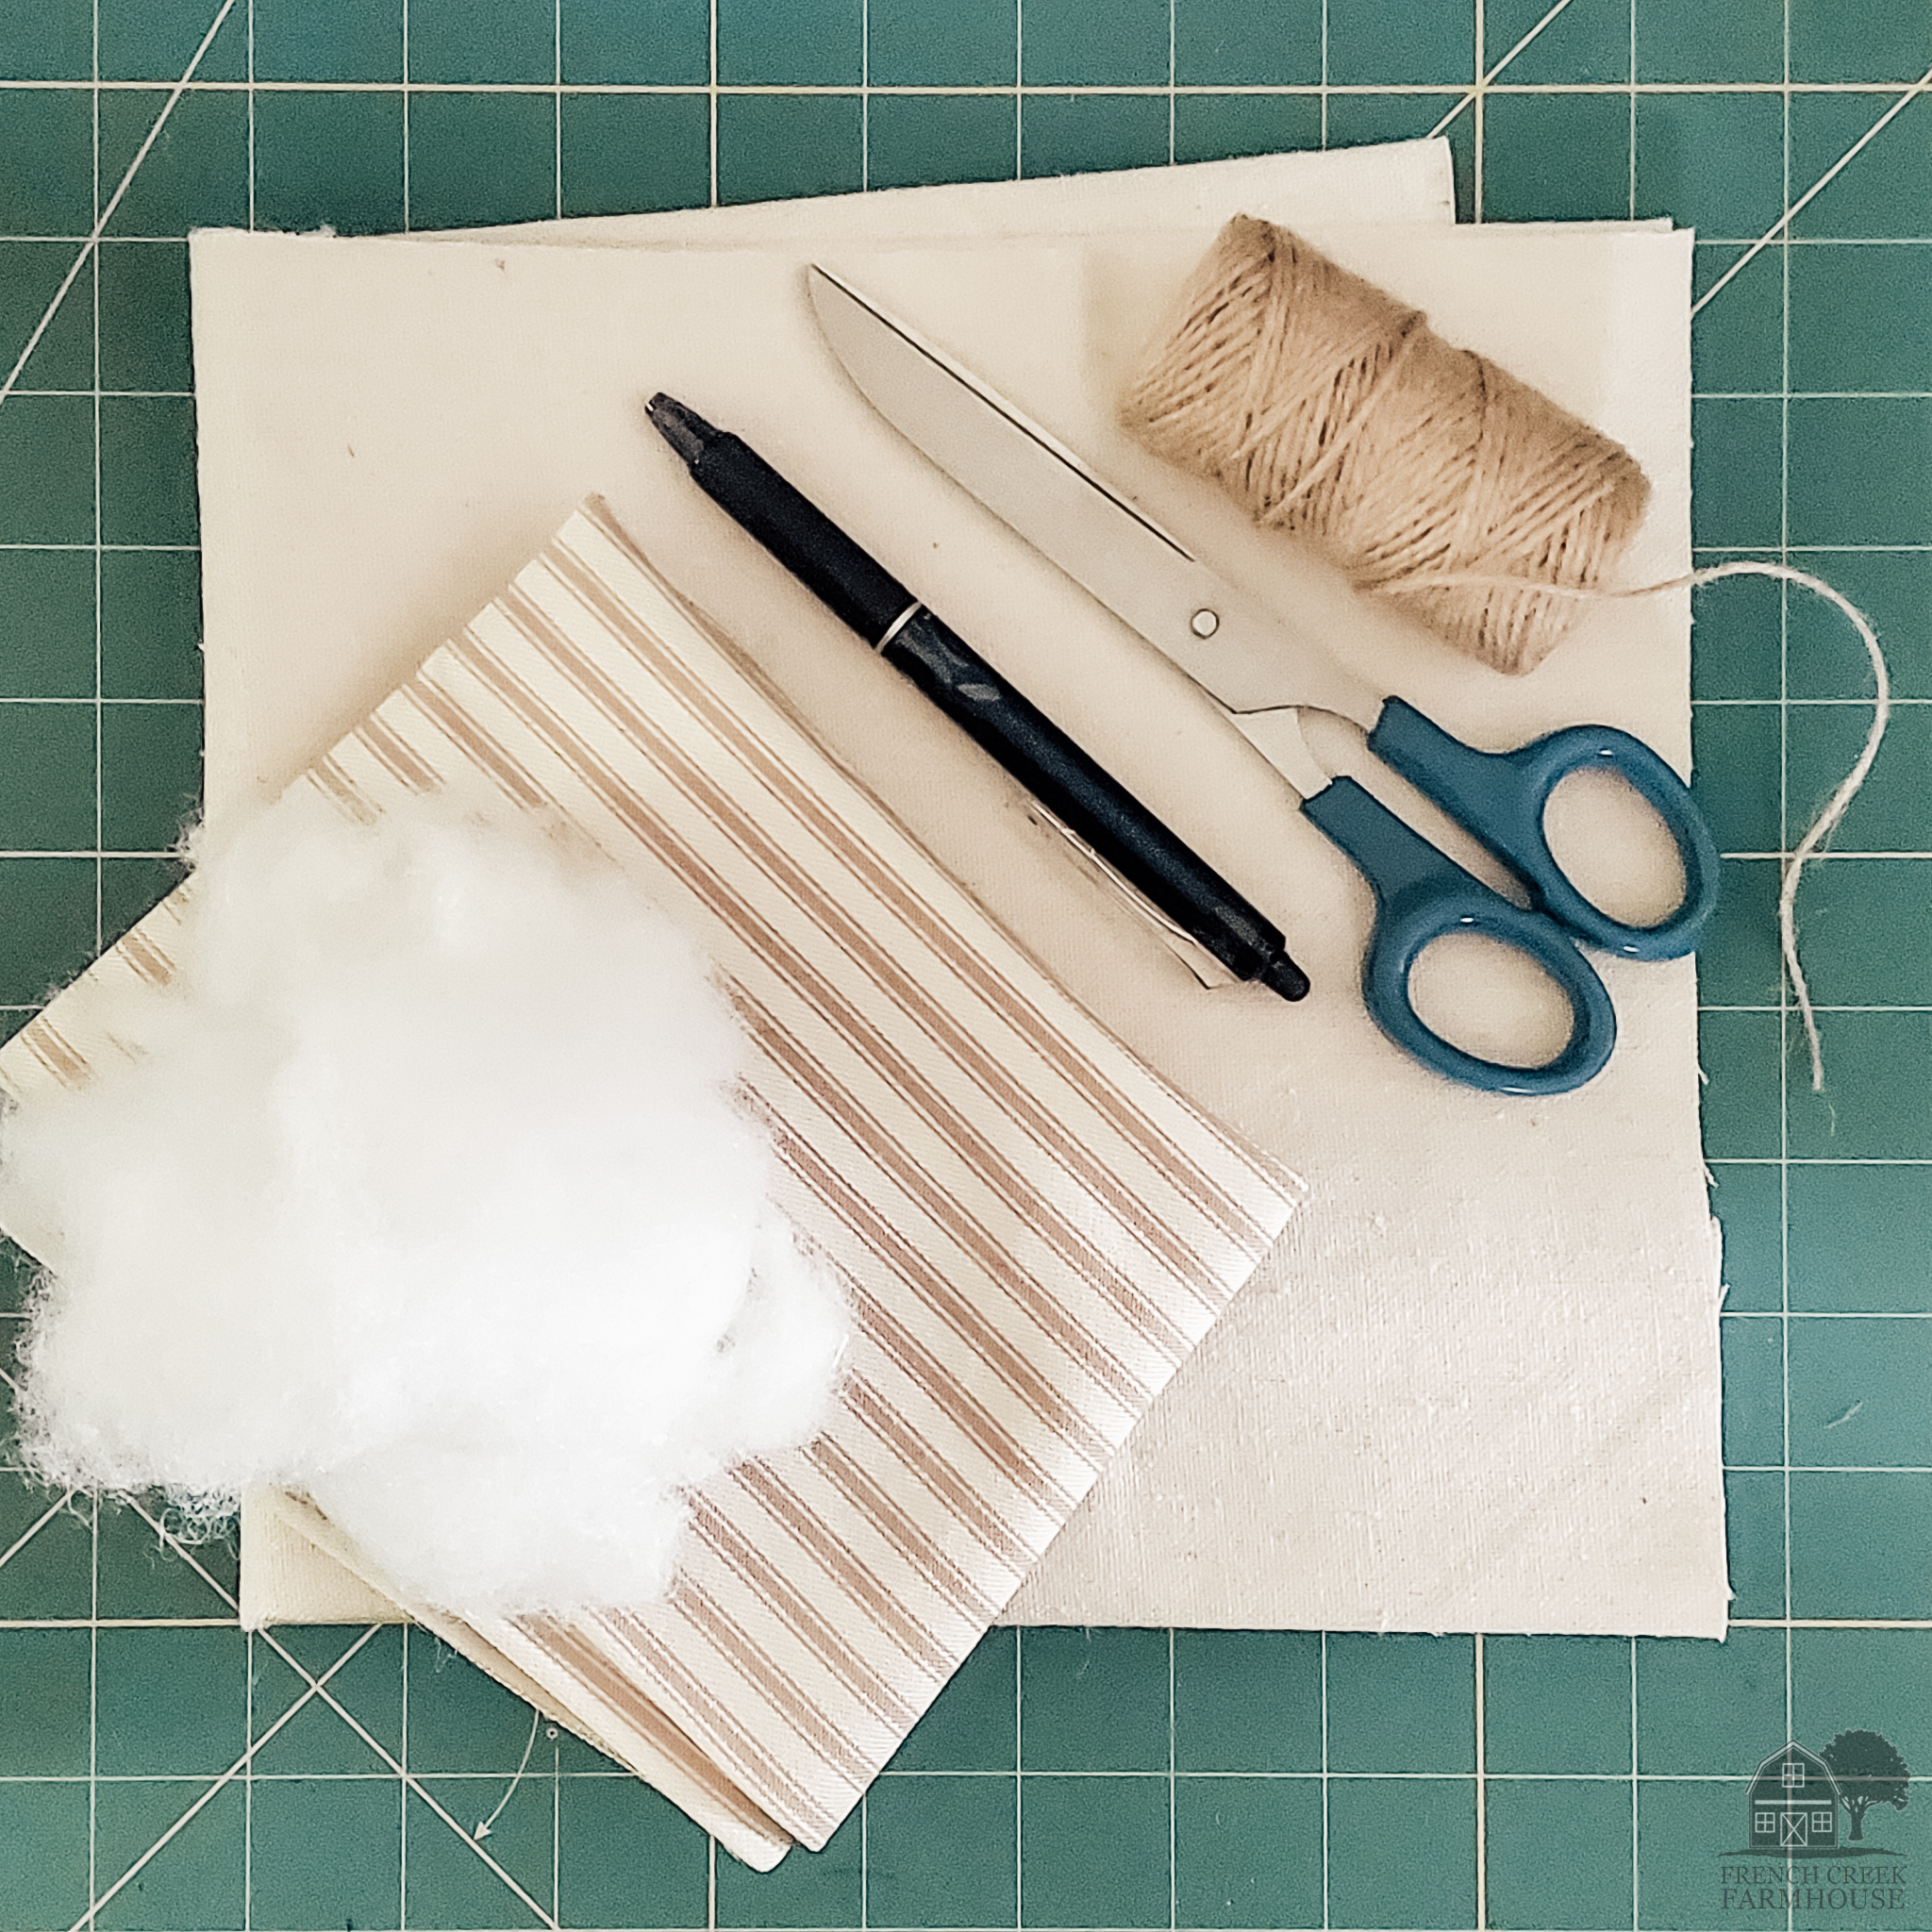
1. Gather all of your supplies, including the printable pumpkin pattern. I know I say this with all of my printable patterns, but I have to say it again because it helps sooooo much: Laminate your patterns before you cut them out, and you will be so happy.
This is, of course, an optional step. But I can’t begin to tell you how much it helps. Plus, the pattern lasts for such a long time. I organize all of mine in folders by season so that I can use them over and over again.
This is the exact laminator we own.
It’s super affordable, and we use it for loads of stuff around the
house. We’ve had ours for over seven years (at the time of this
writing), and have never had a single problem with it–and it gets a lot of use!
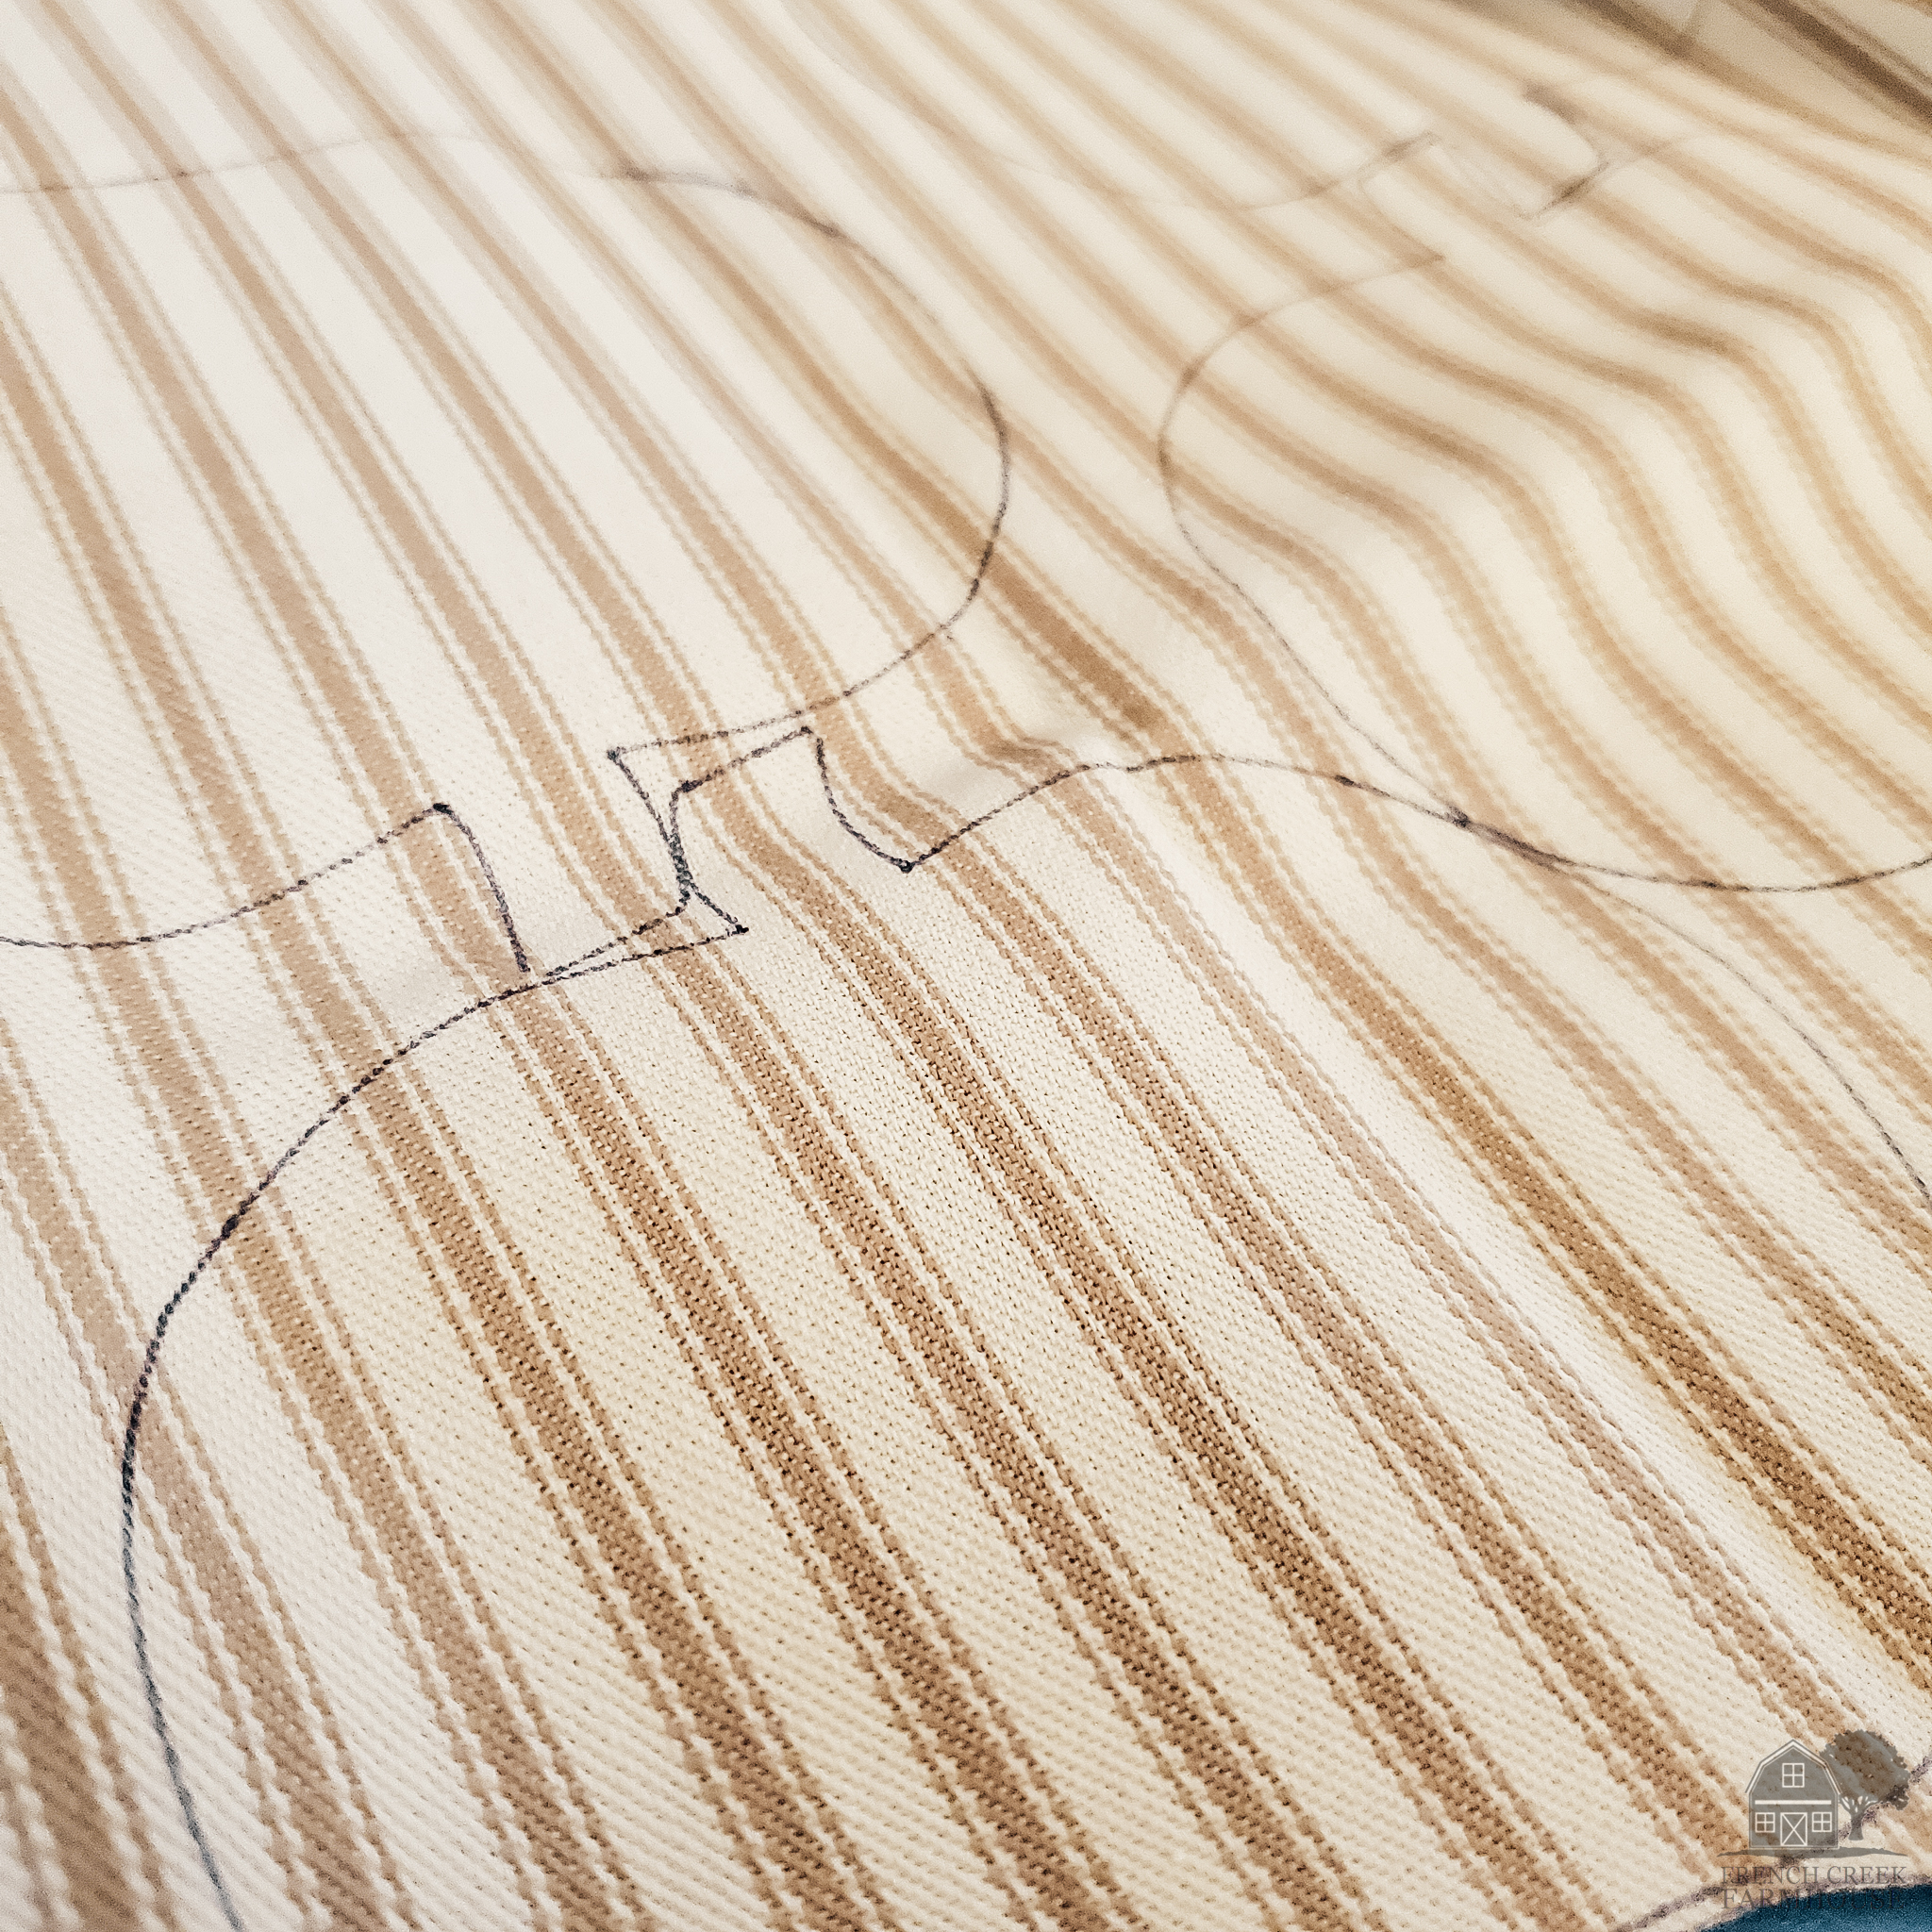
2. Trace the pumpkins onto your fabric using a fabric marking pen, and then cut them out. Let’s talk for a minute about fabric pens…
I have tried several over the years. There are ones that fade too quickly as they air dry, others that you have to wash out, others that magically reappear later even if you think you’ve gotten rid of the marks…what a headache!
Then, my sister told me about these, and I am over the moon! The ink is thermo-sensitive, and after you’ve “erased” it with your iron, it stays gone!
Although these aren’t technically fabric pens, they work beautifully, and I can’t imagine that I’ll ever use anything else again–truly fantastic! Not to mention, way more affordable than anything I’ve used before!
To complete this project the same way I did it, you’ll need 10 pumpkin shapes cut from your fabric–I made 5 in the ticking stripe fabric, and 5 in plain canvas grain sack fabric. This way, my garland is reversible!
I used the 4.5″ pattern for my pumpkins, but you could use one of the other sizes I included in the printable to make them the size you like.
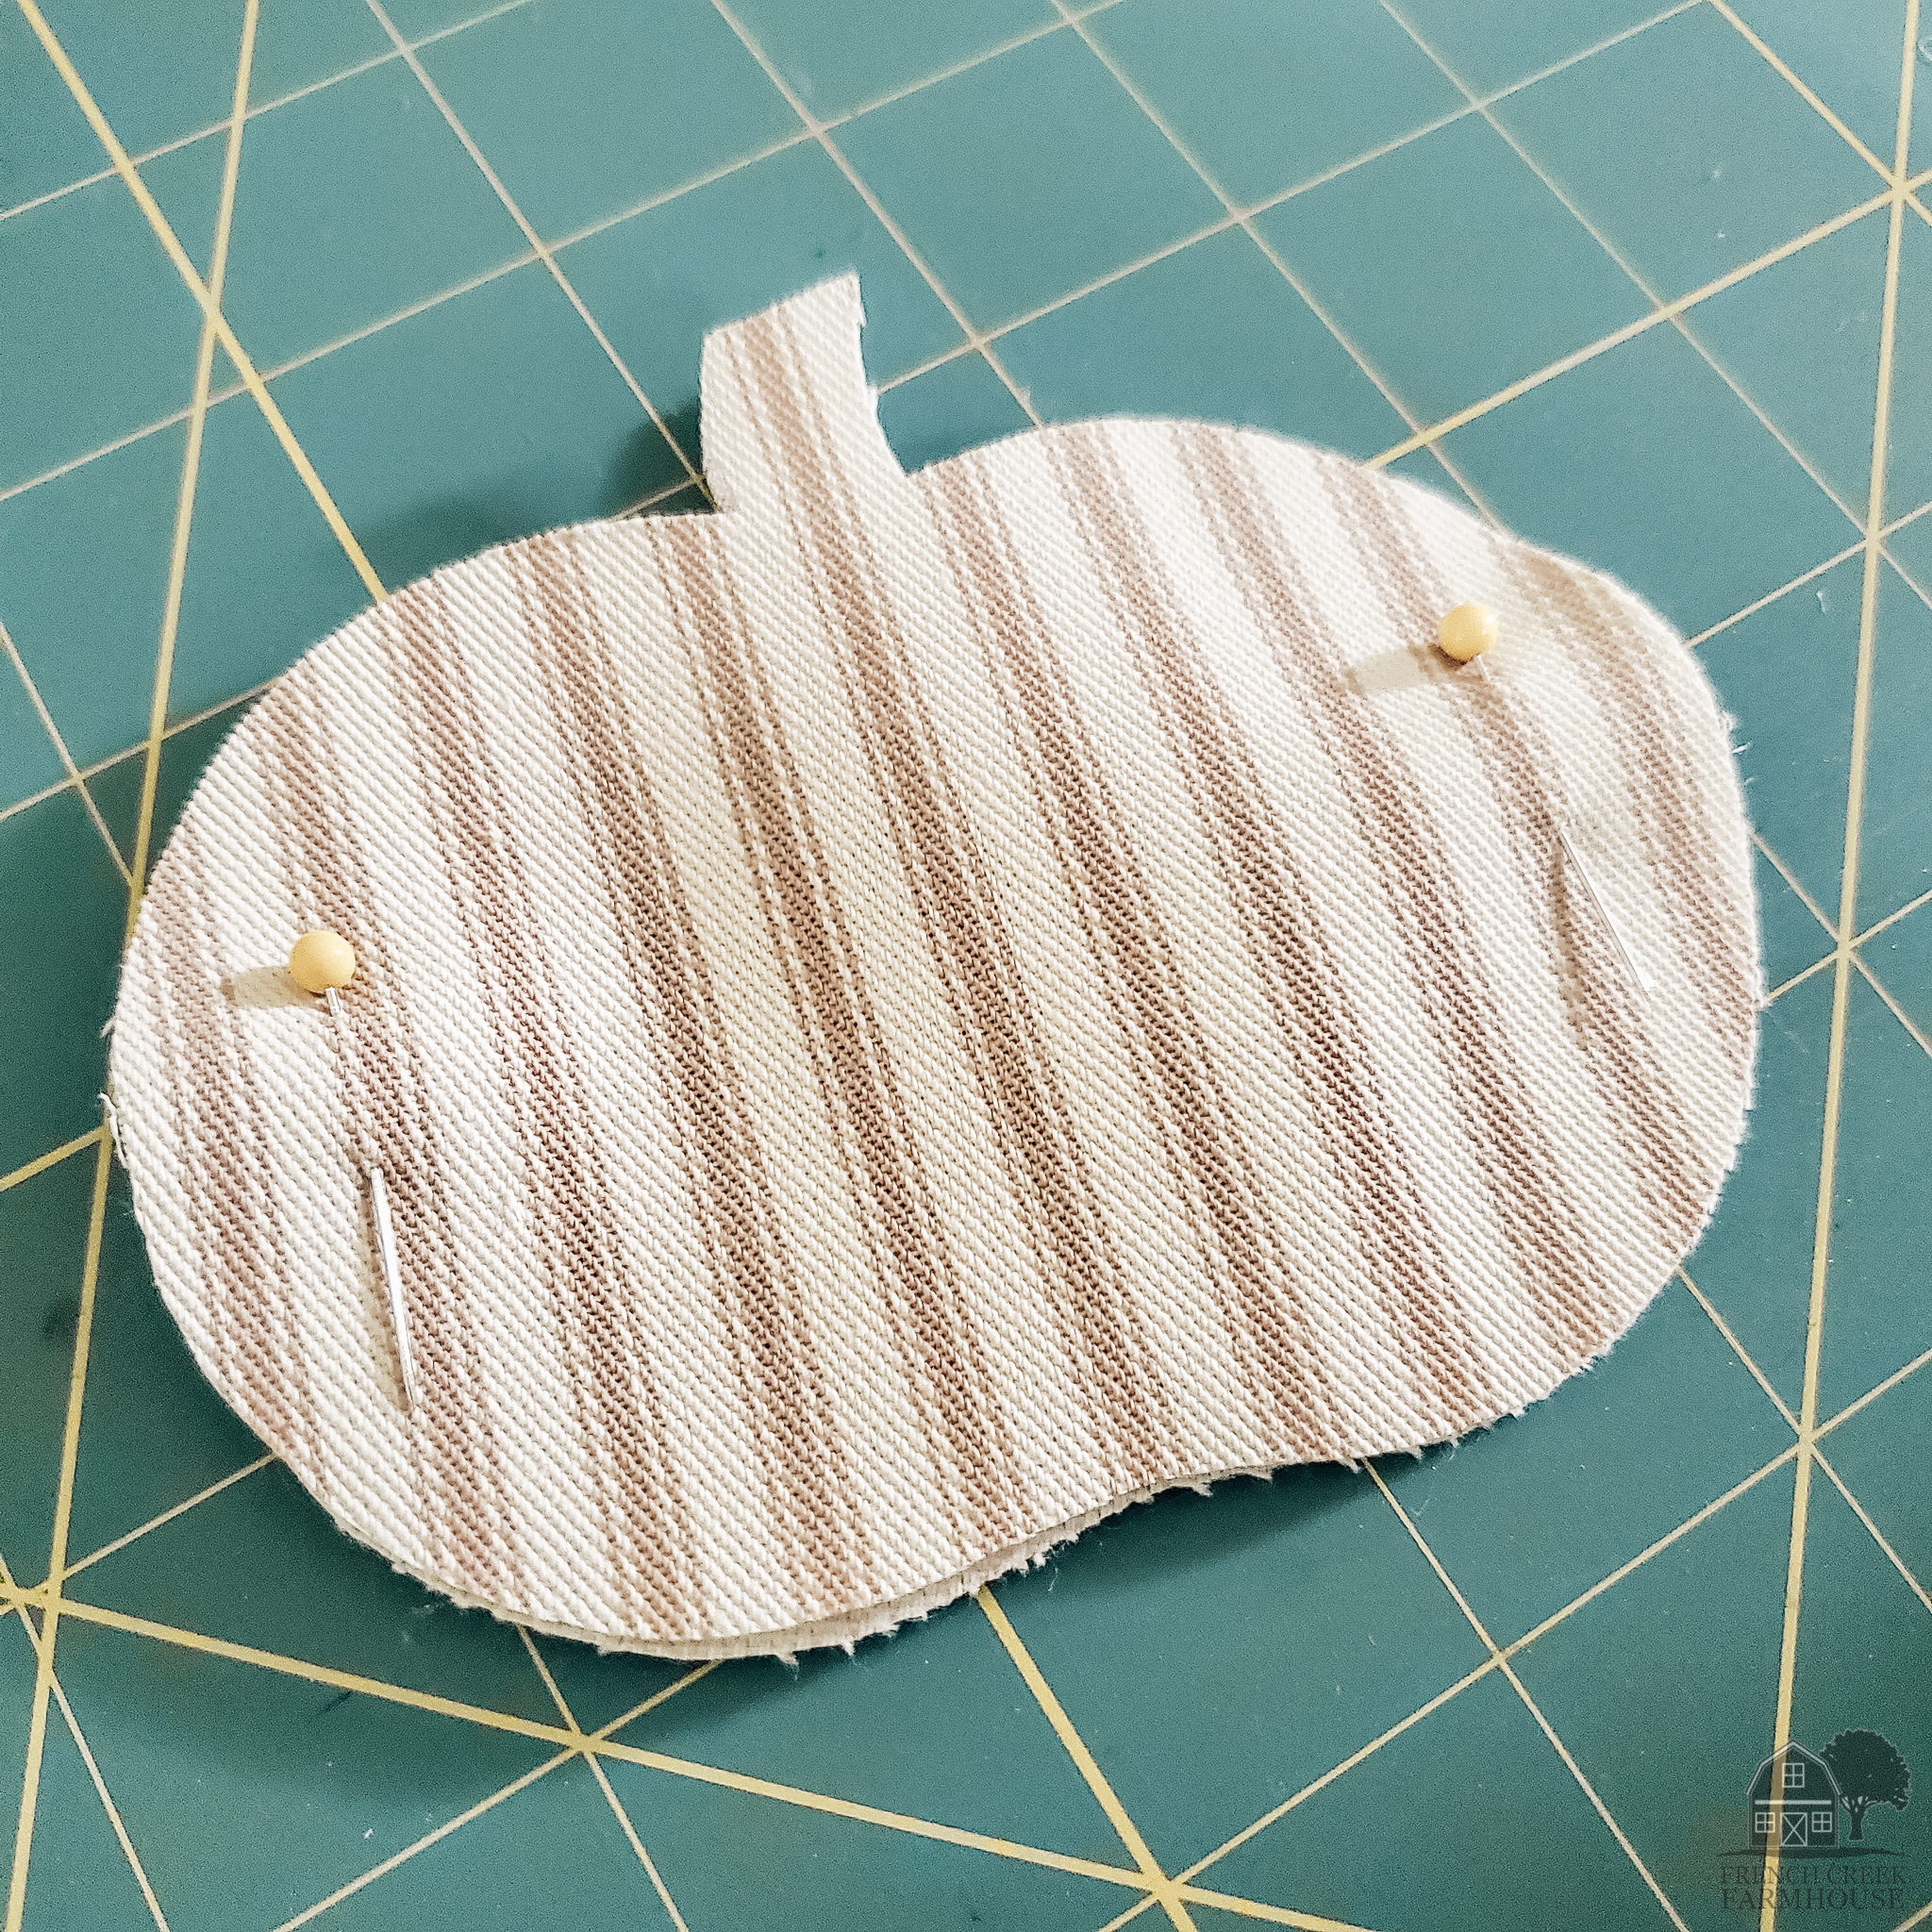
3. Pin two pumpkin cut-outs together (right sides facing out) for each finished pumpkin on your garland. I made my garland with 5 pumpkins, so a total of 10 cut-outs. Adjust for the number you chose and the length of your garland.
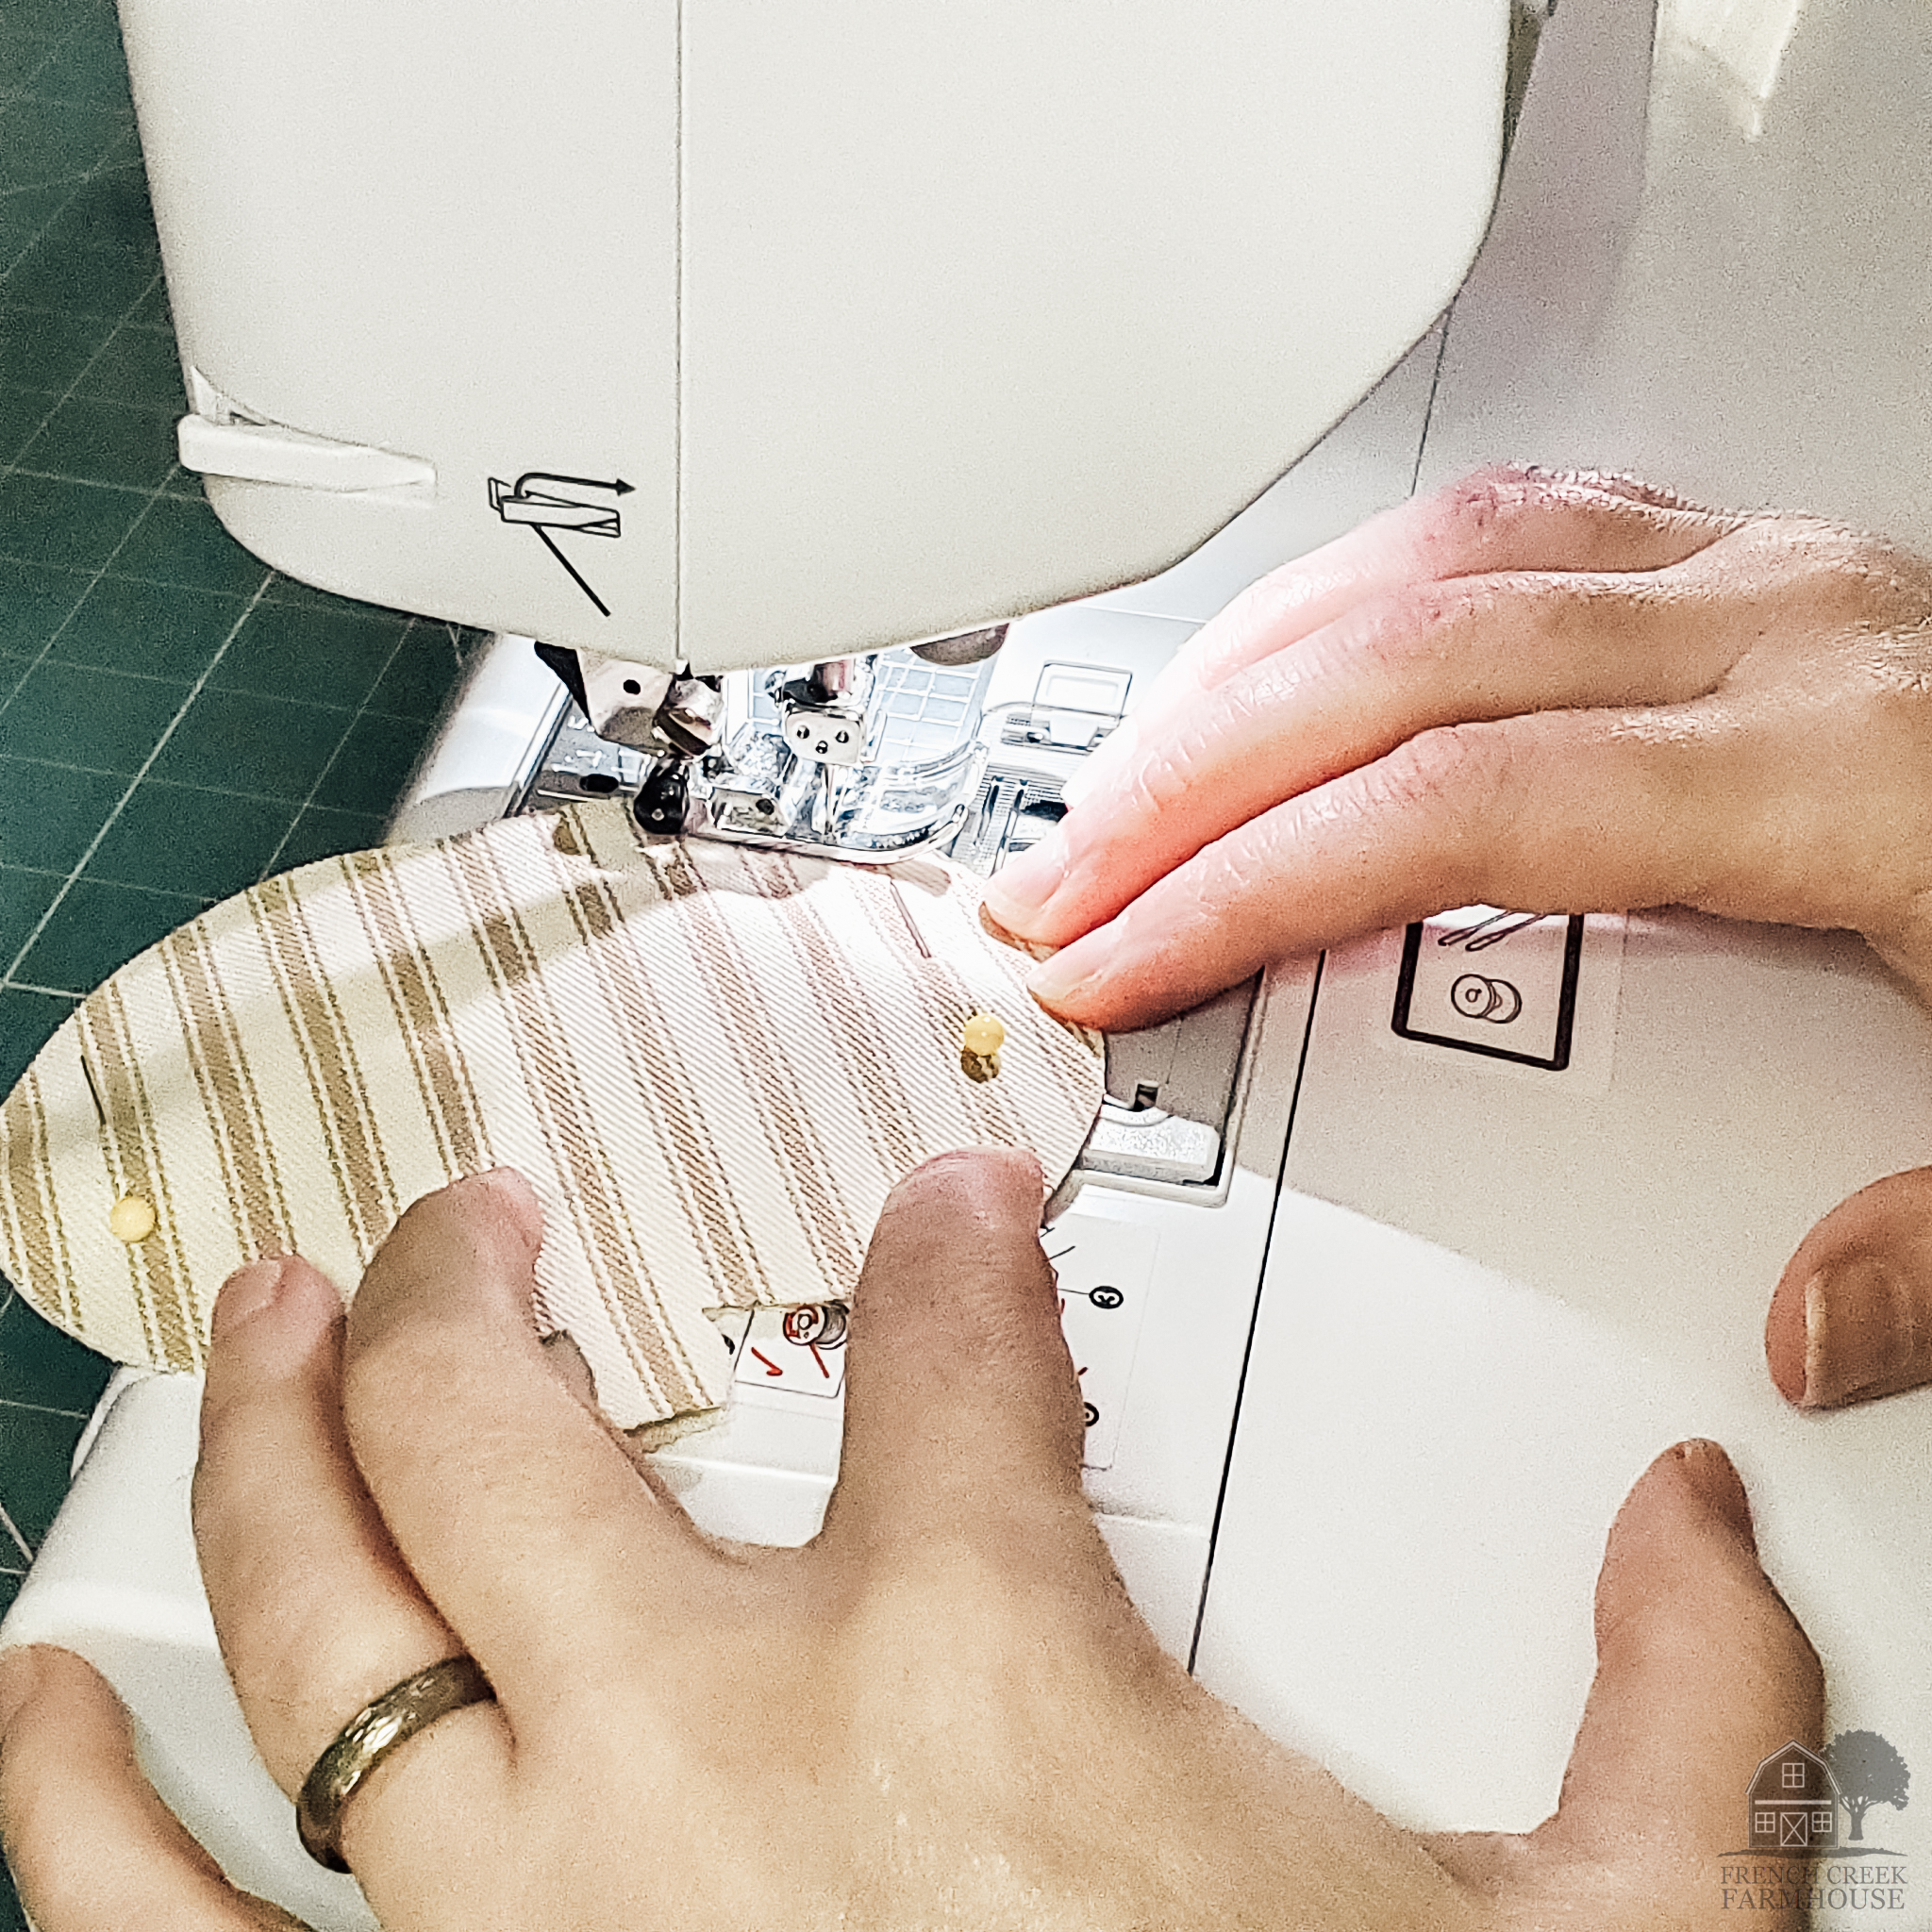
4. Next, begin stitching your pumpkins together, sewing fairly close to the edge of the fabric. I used about 1/4″ as my guide. We’ll be fraying the edges so they look cute at the end.
Reminder – Make sure you leave the bottom open about 1.5″ so you can stuff them.
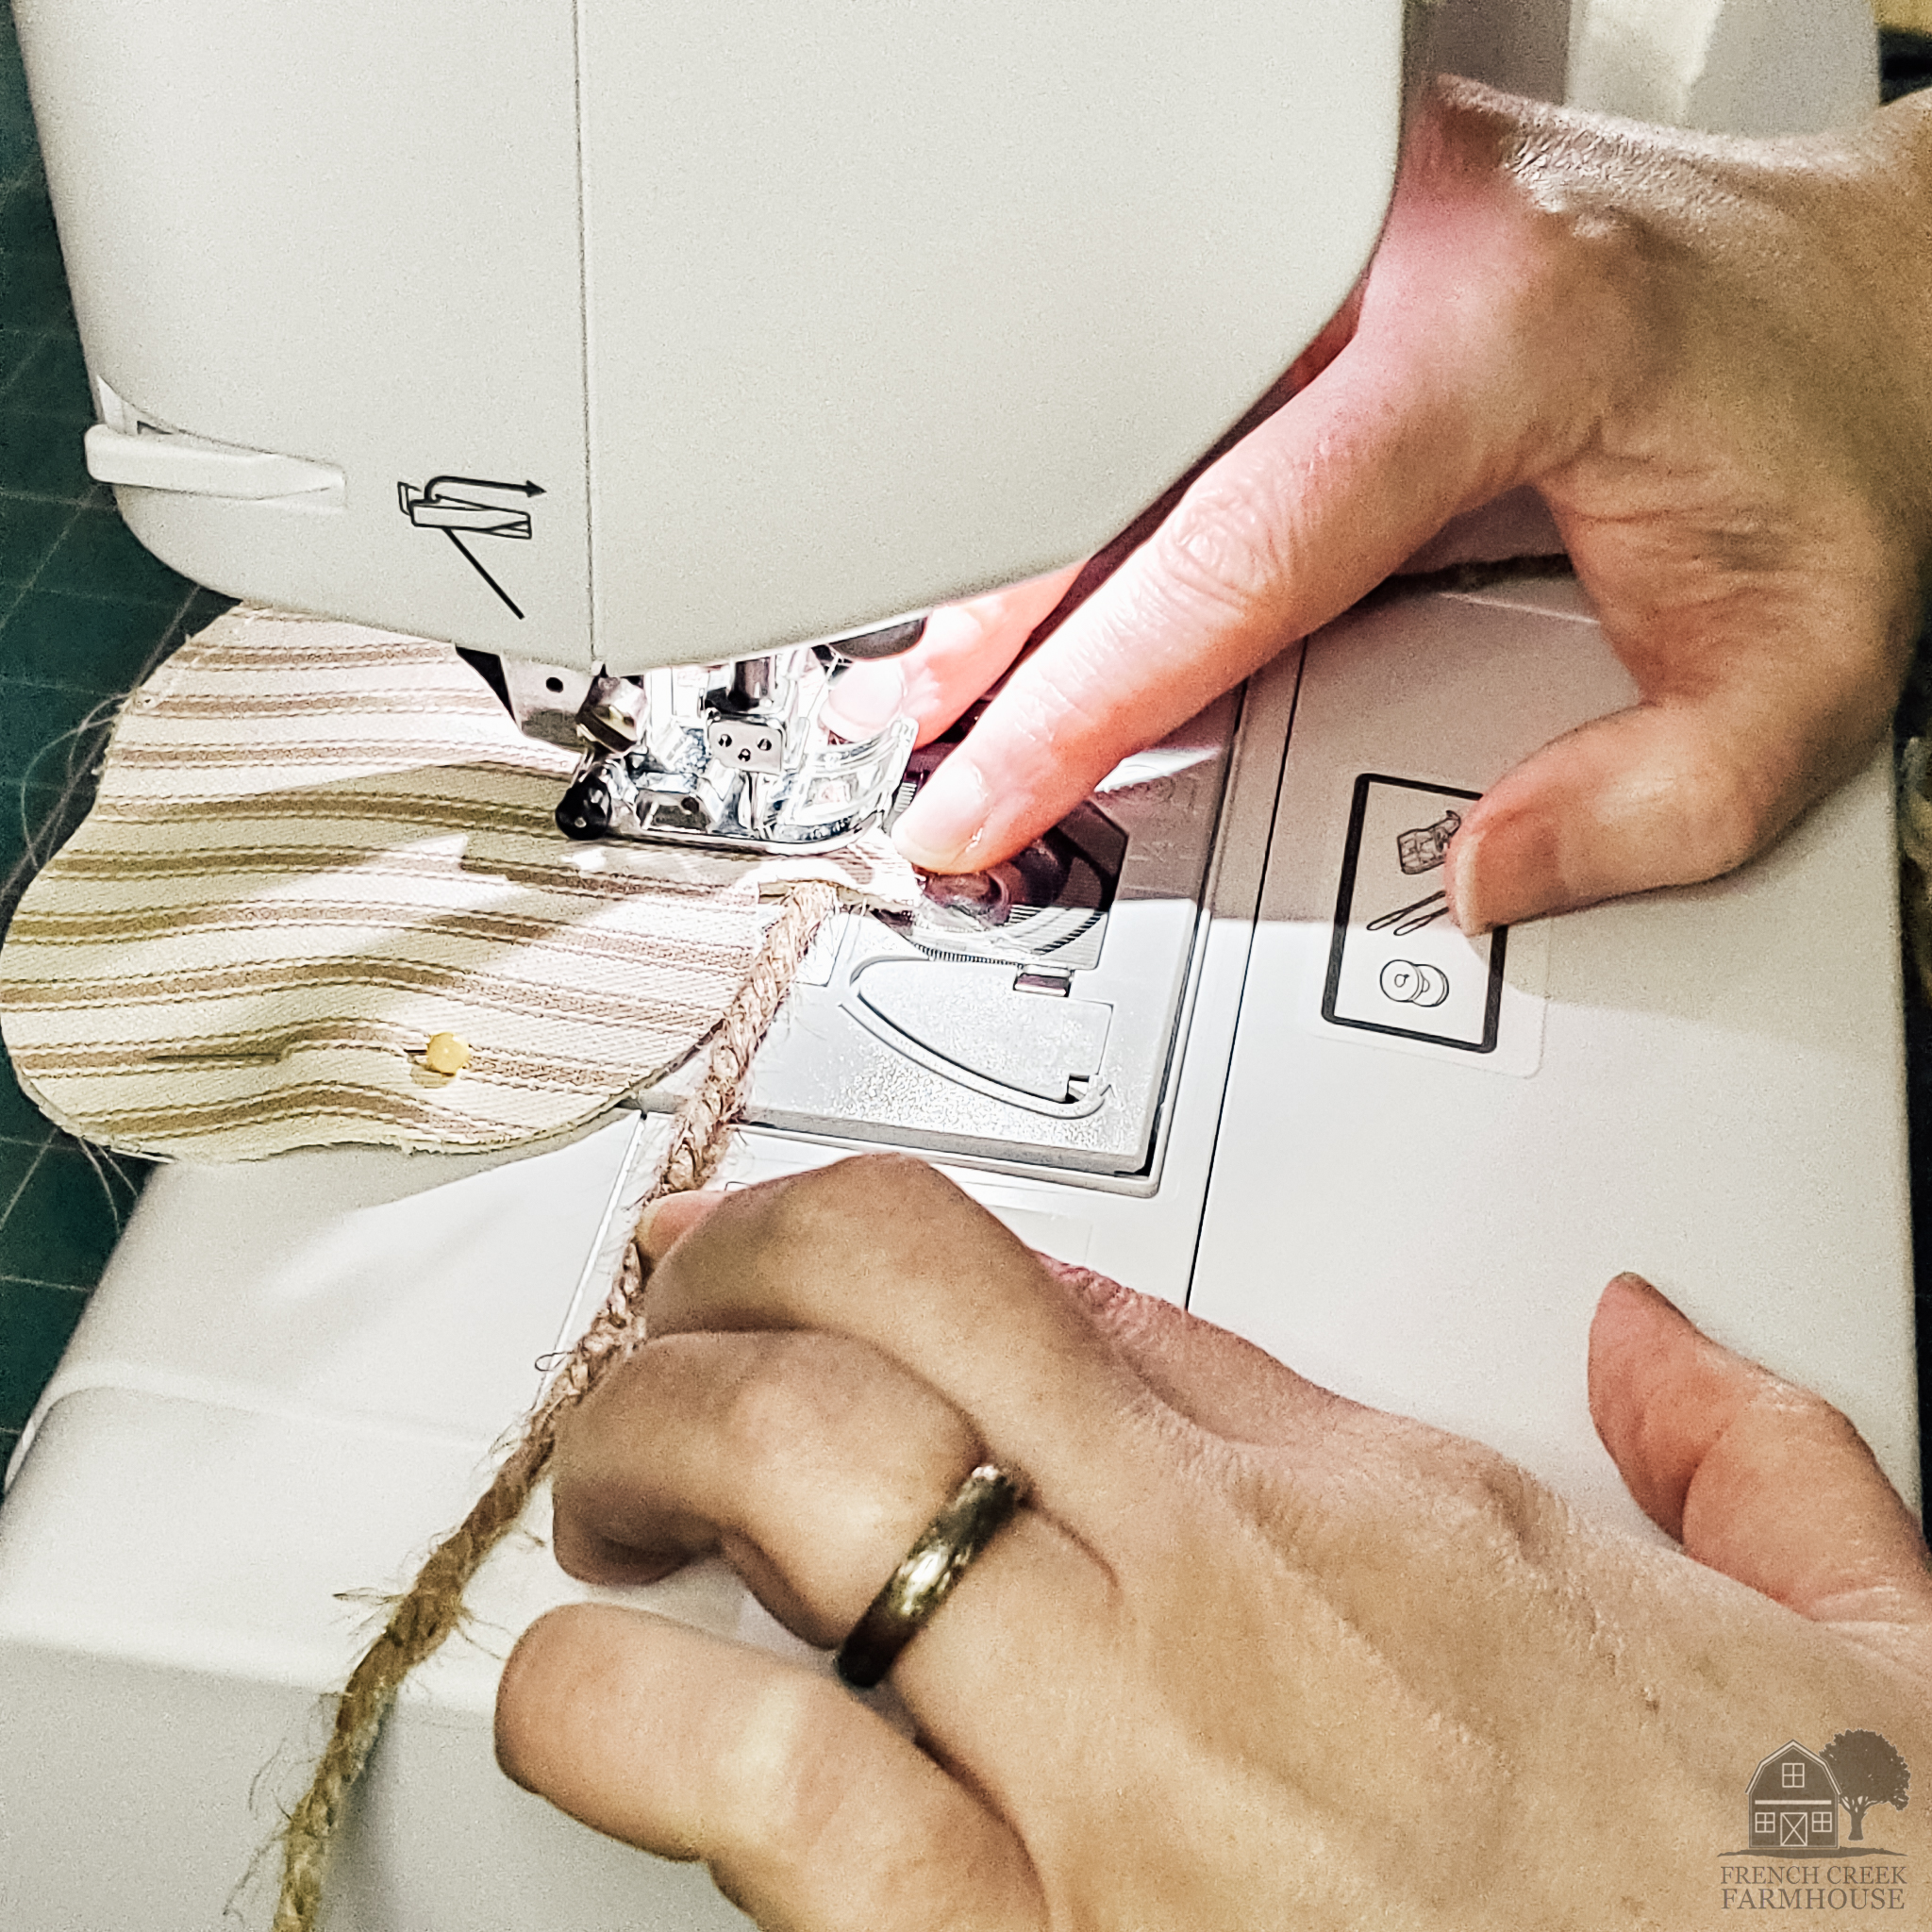
5. As you get close to the stem, place your jute twine in between the two layers of fabric and sew it in.
For my garland, I used a piece of twine that was 60″ long. Beginning at the middle of the string, I spaced my pumpkins about 9″ apart. This left a nice bit of extra length at each end to hang my garland. You can adjust this to your preference, though.
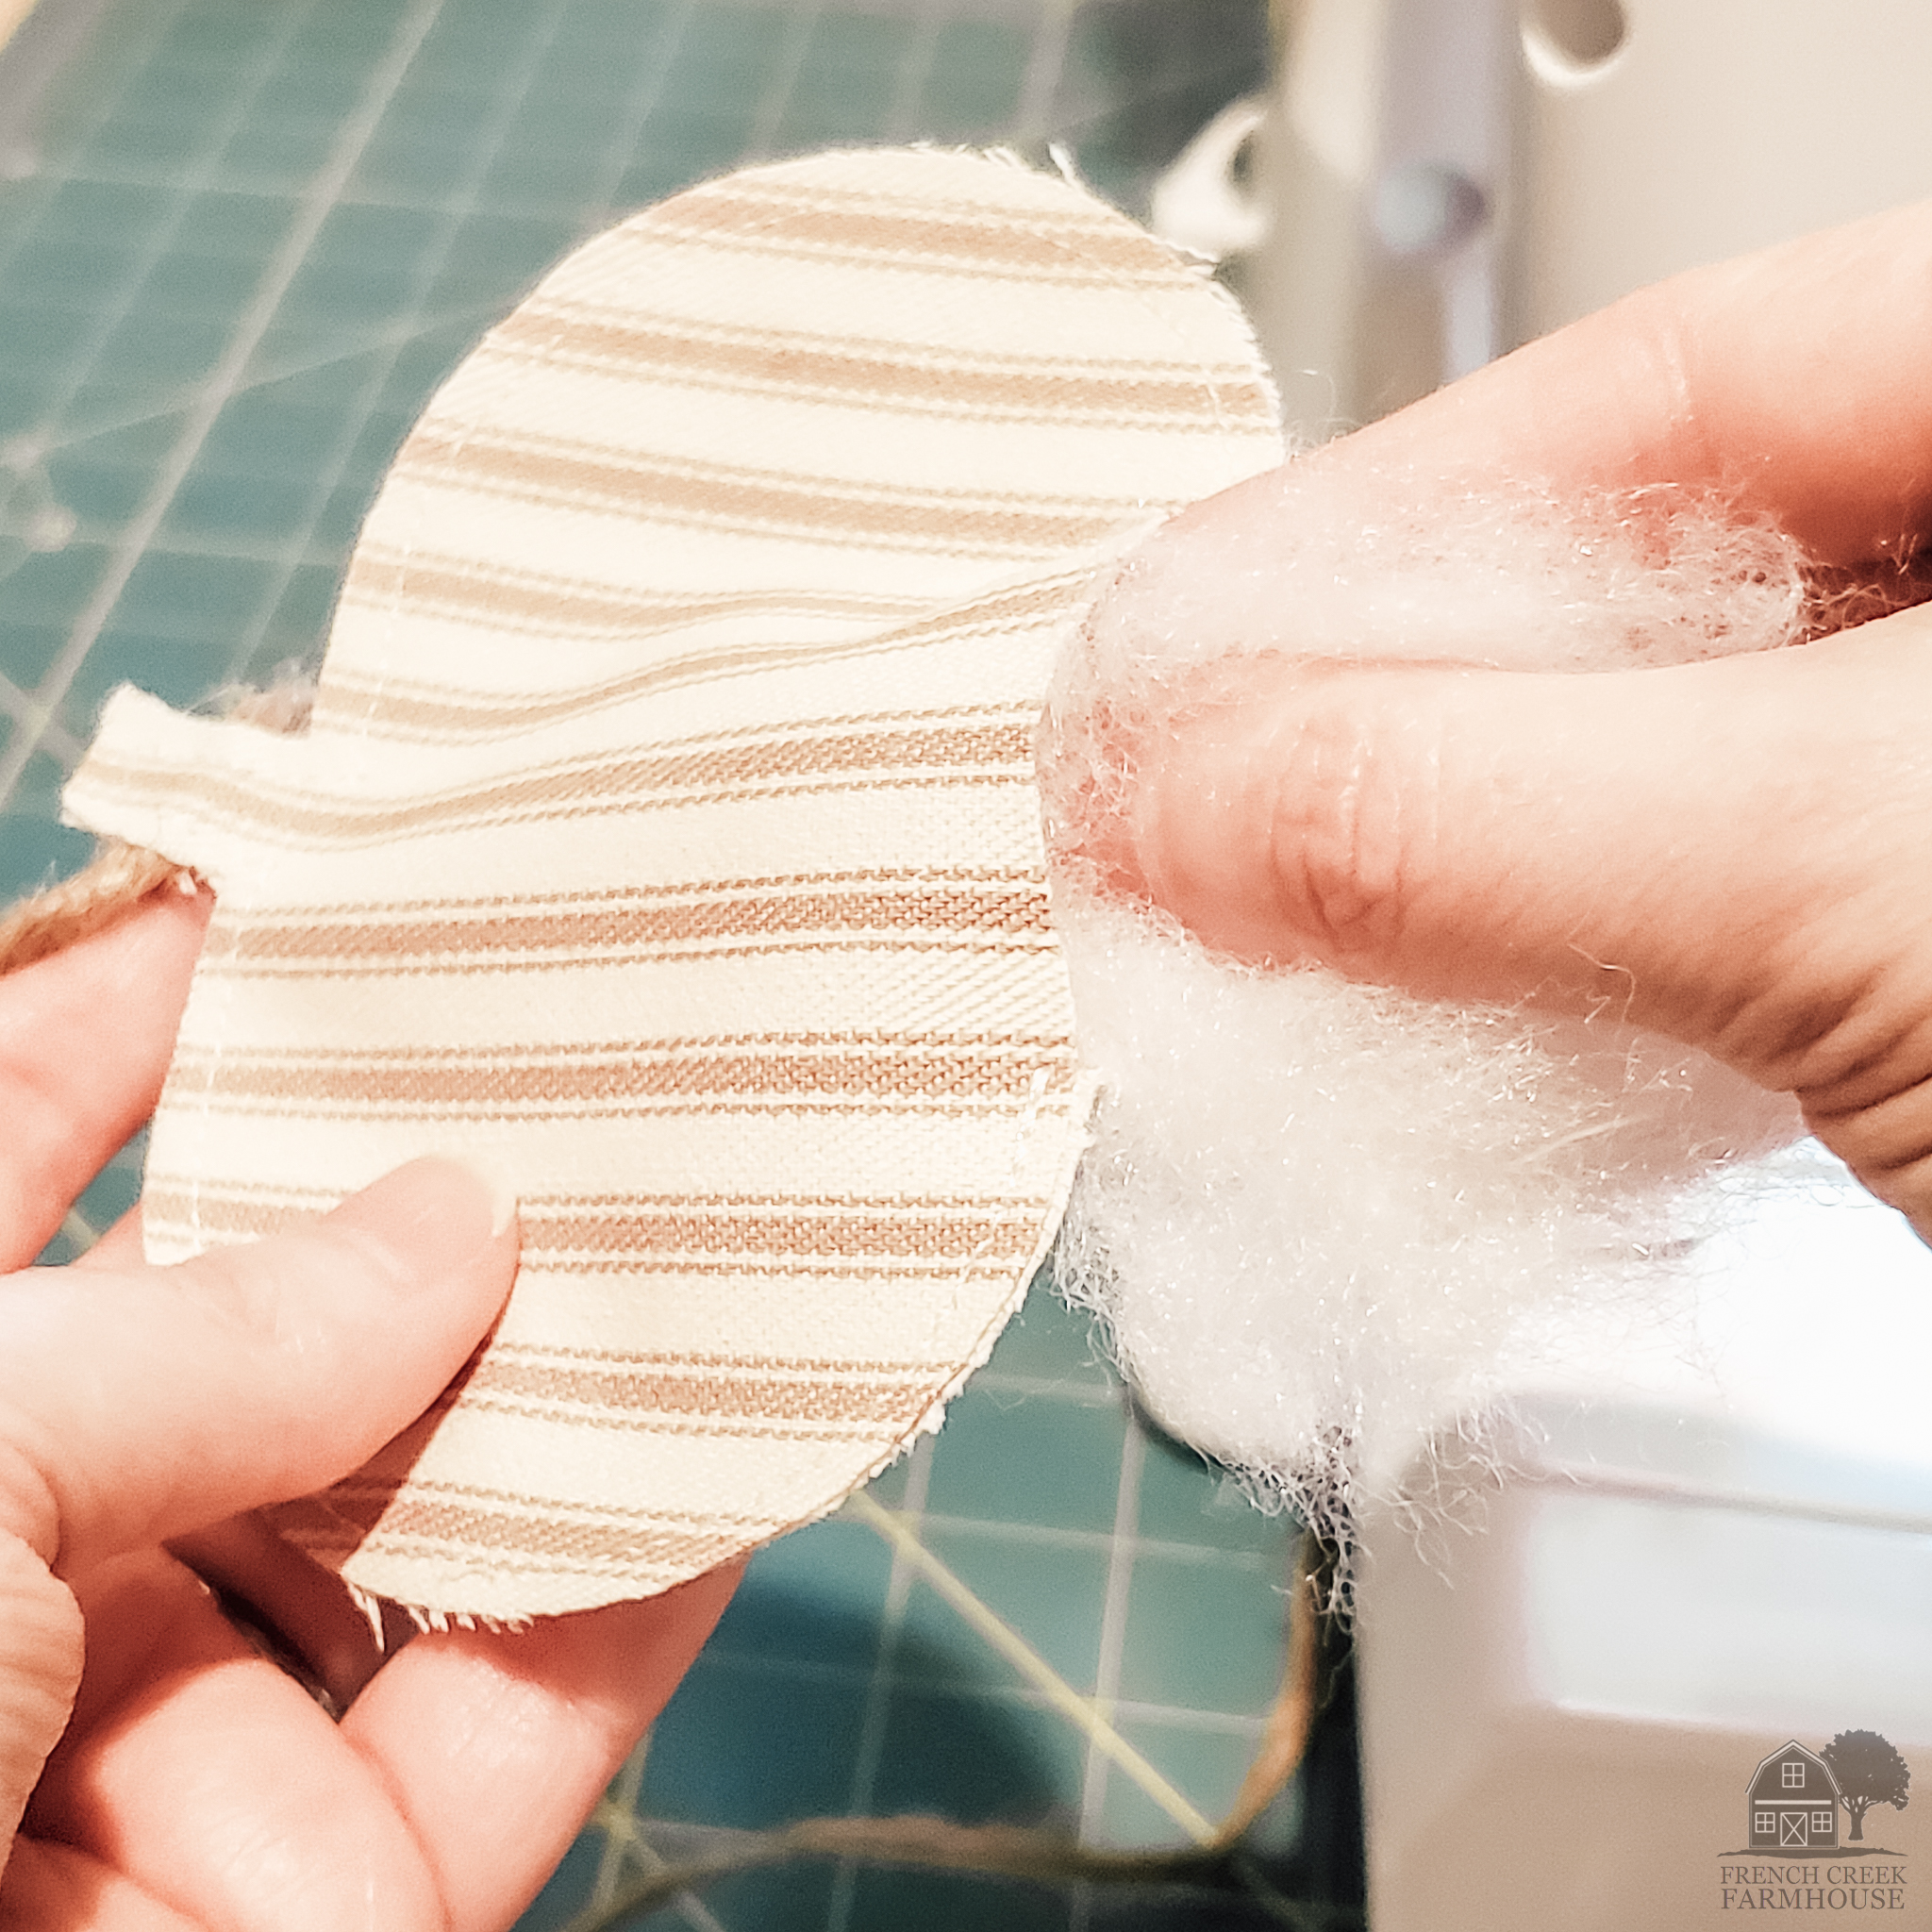
6. Using the opening at the bottom of the pumpkin, stuff each shape using poly-fil. You’ll want to stuff them so that they have just enough fluff to add dimension, but not so much that they are no longer recognizable as pumpkins. Then, stitch the bottom closed.
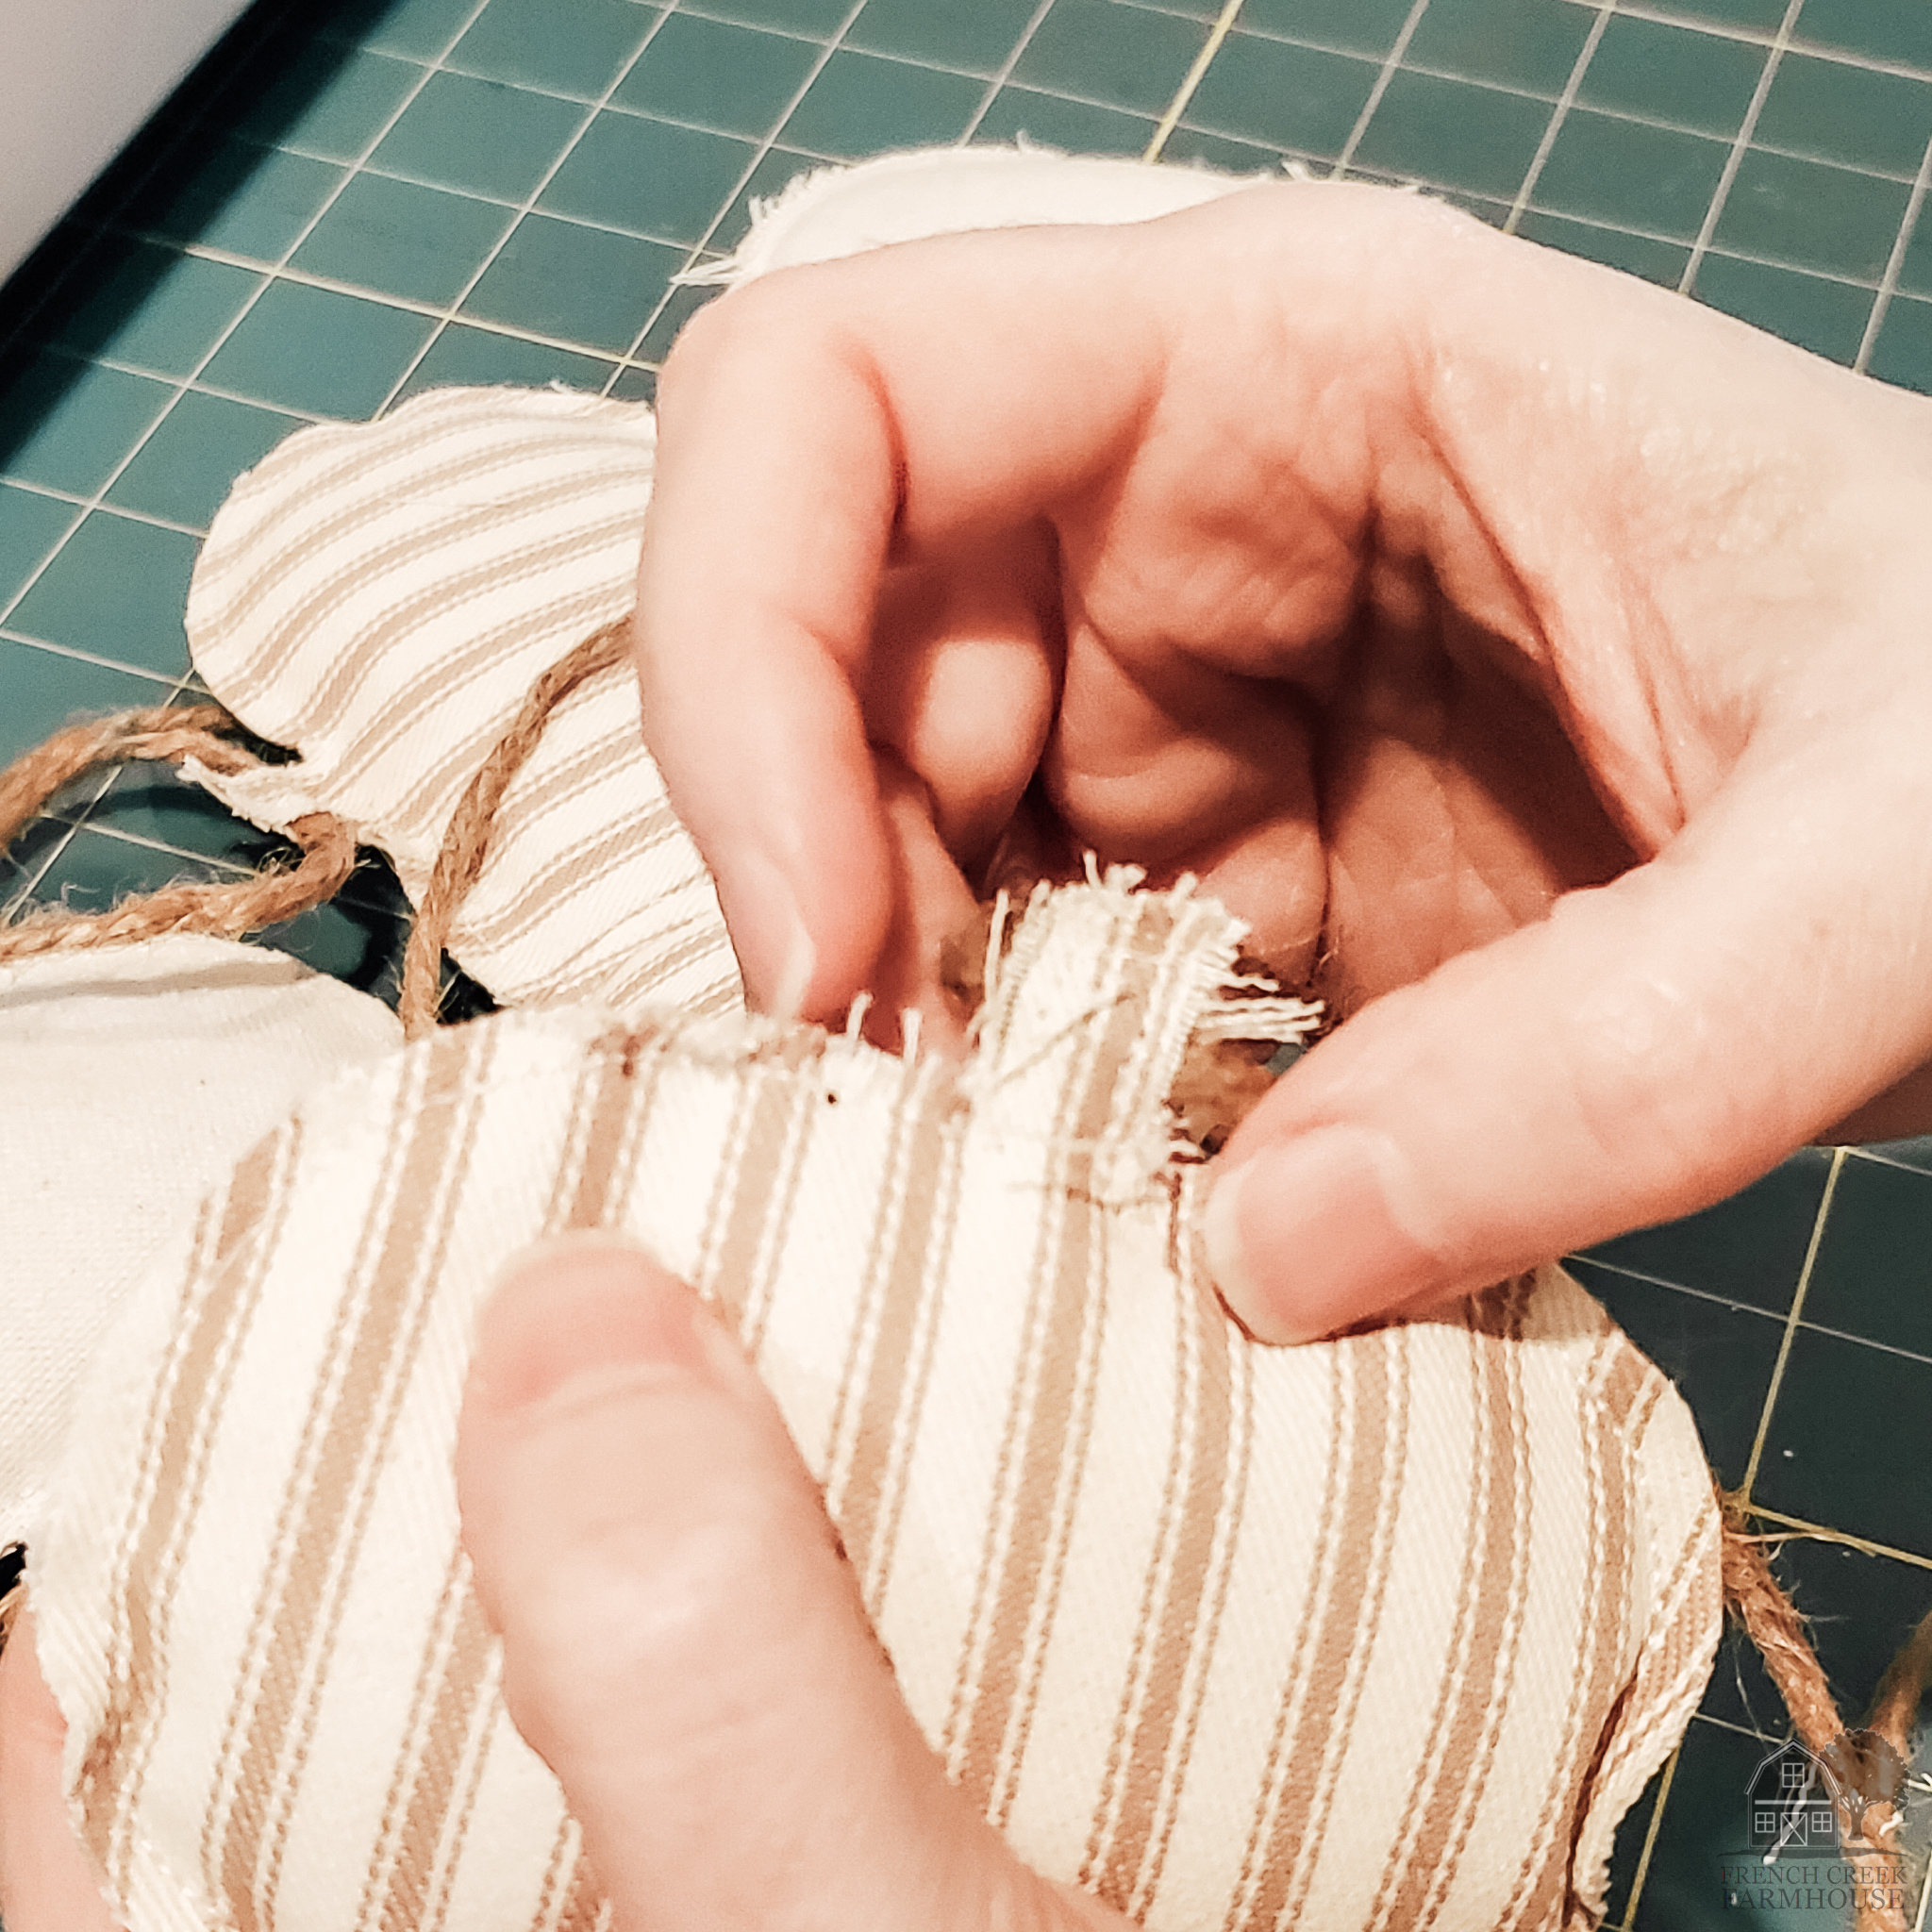
7. After all of your pumpkins are stuffed, use your fingernail to fray the edges. Just scrape your nail along the raw edge to make the threads fray. Once the entire edge is frayed, you can trim it up a bit to make it look more neat and tidy.
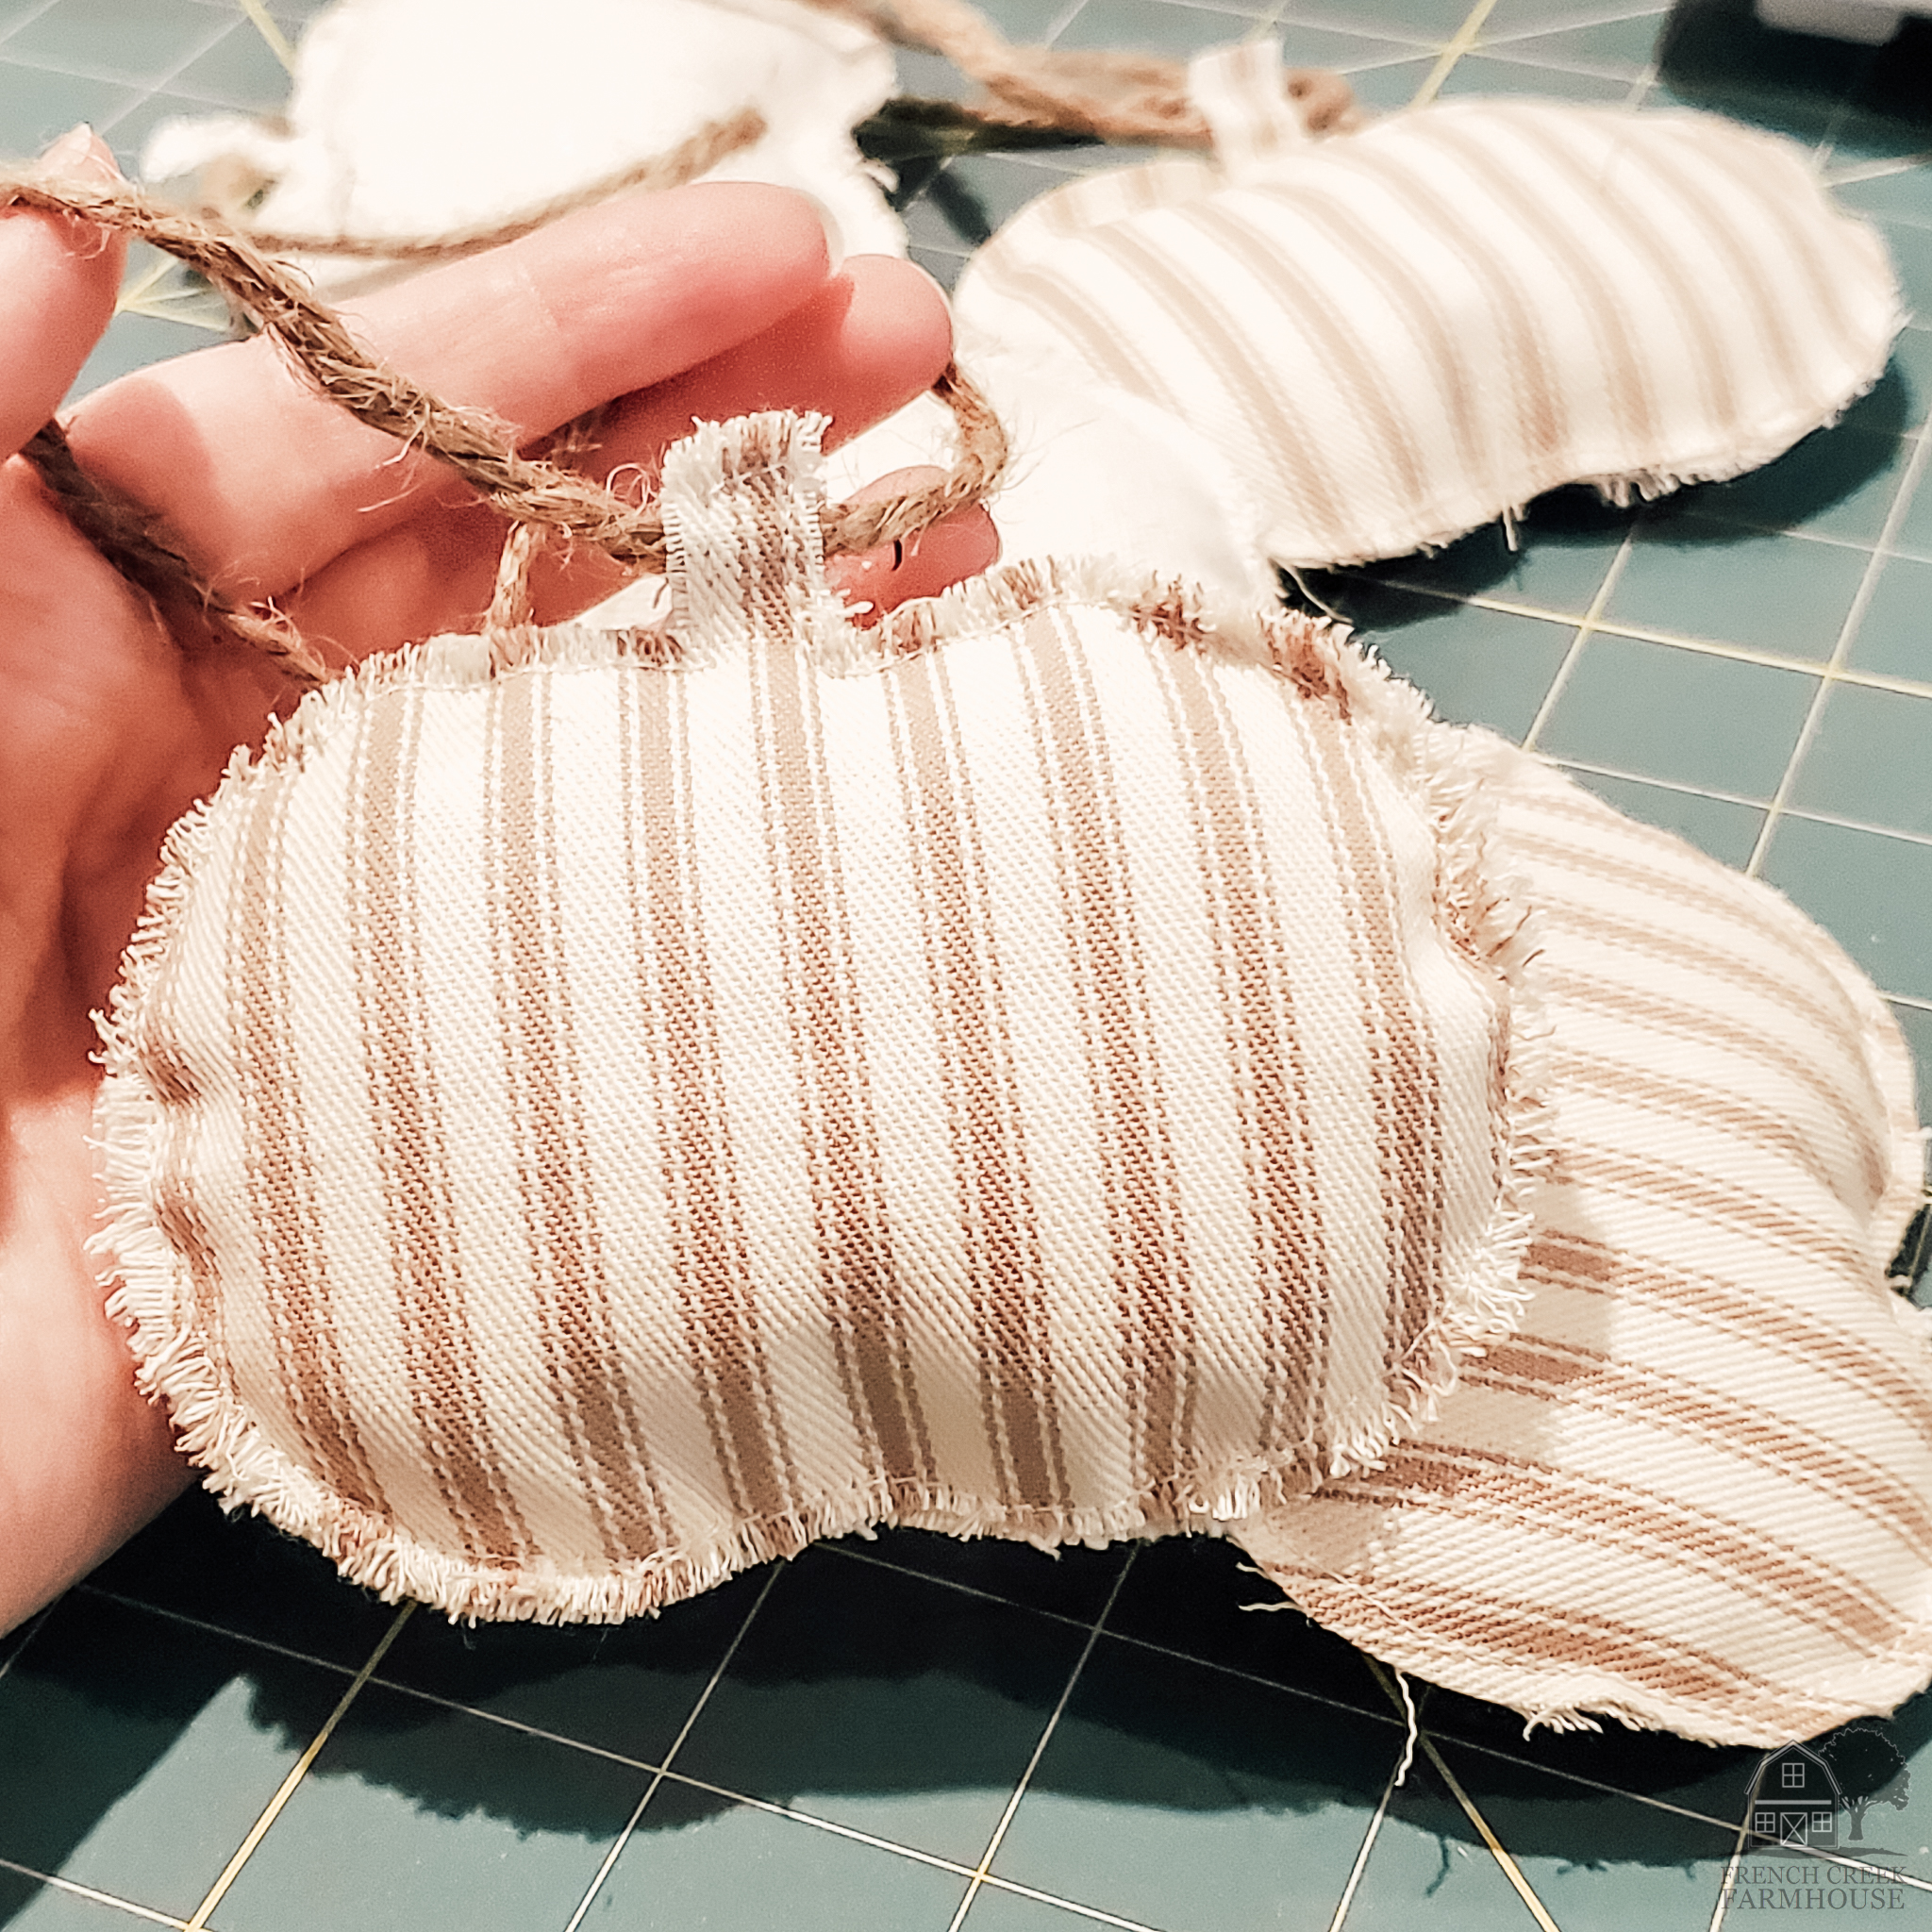
The frayed edge is optional, but it gives a nice farmhouse feeling to the pumpkins! See the difference?
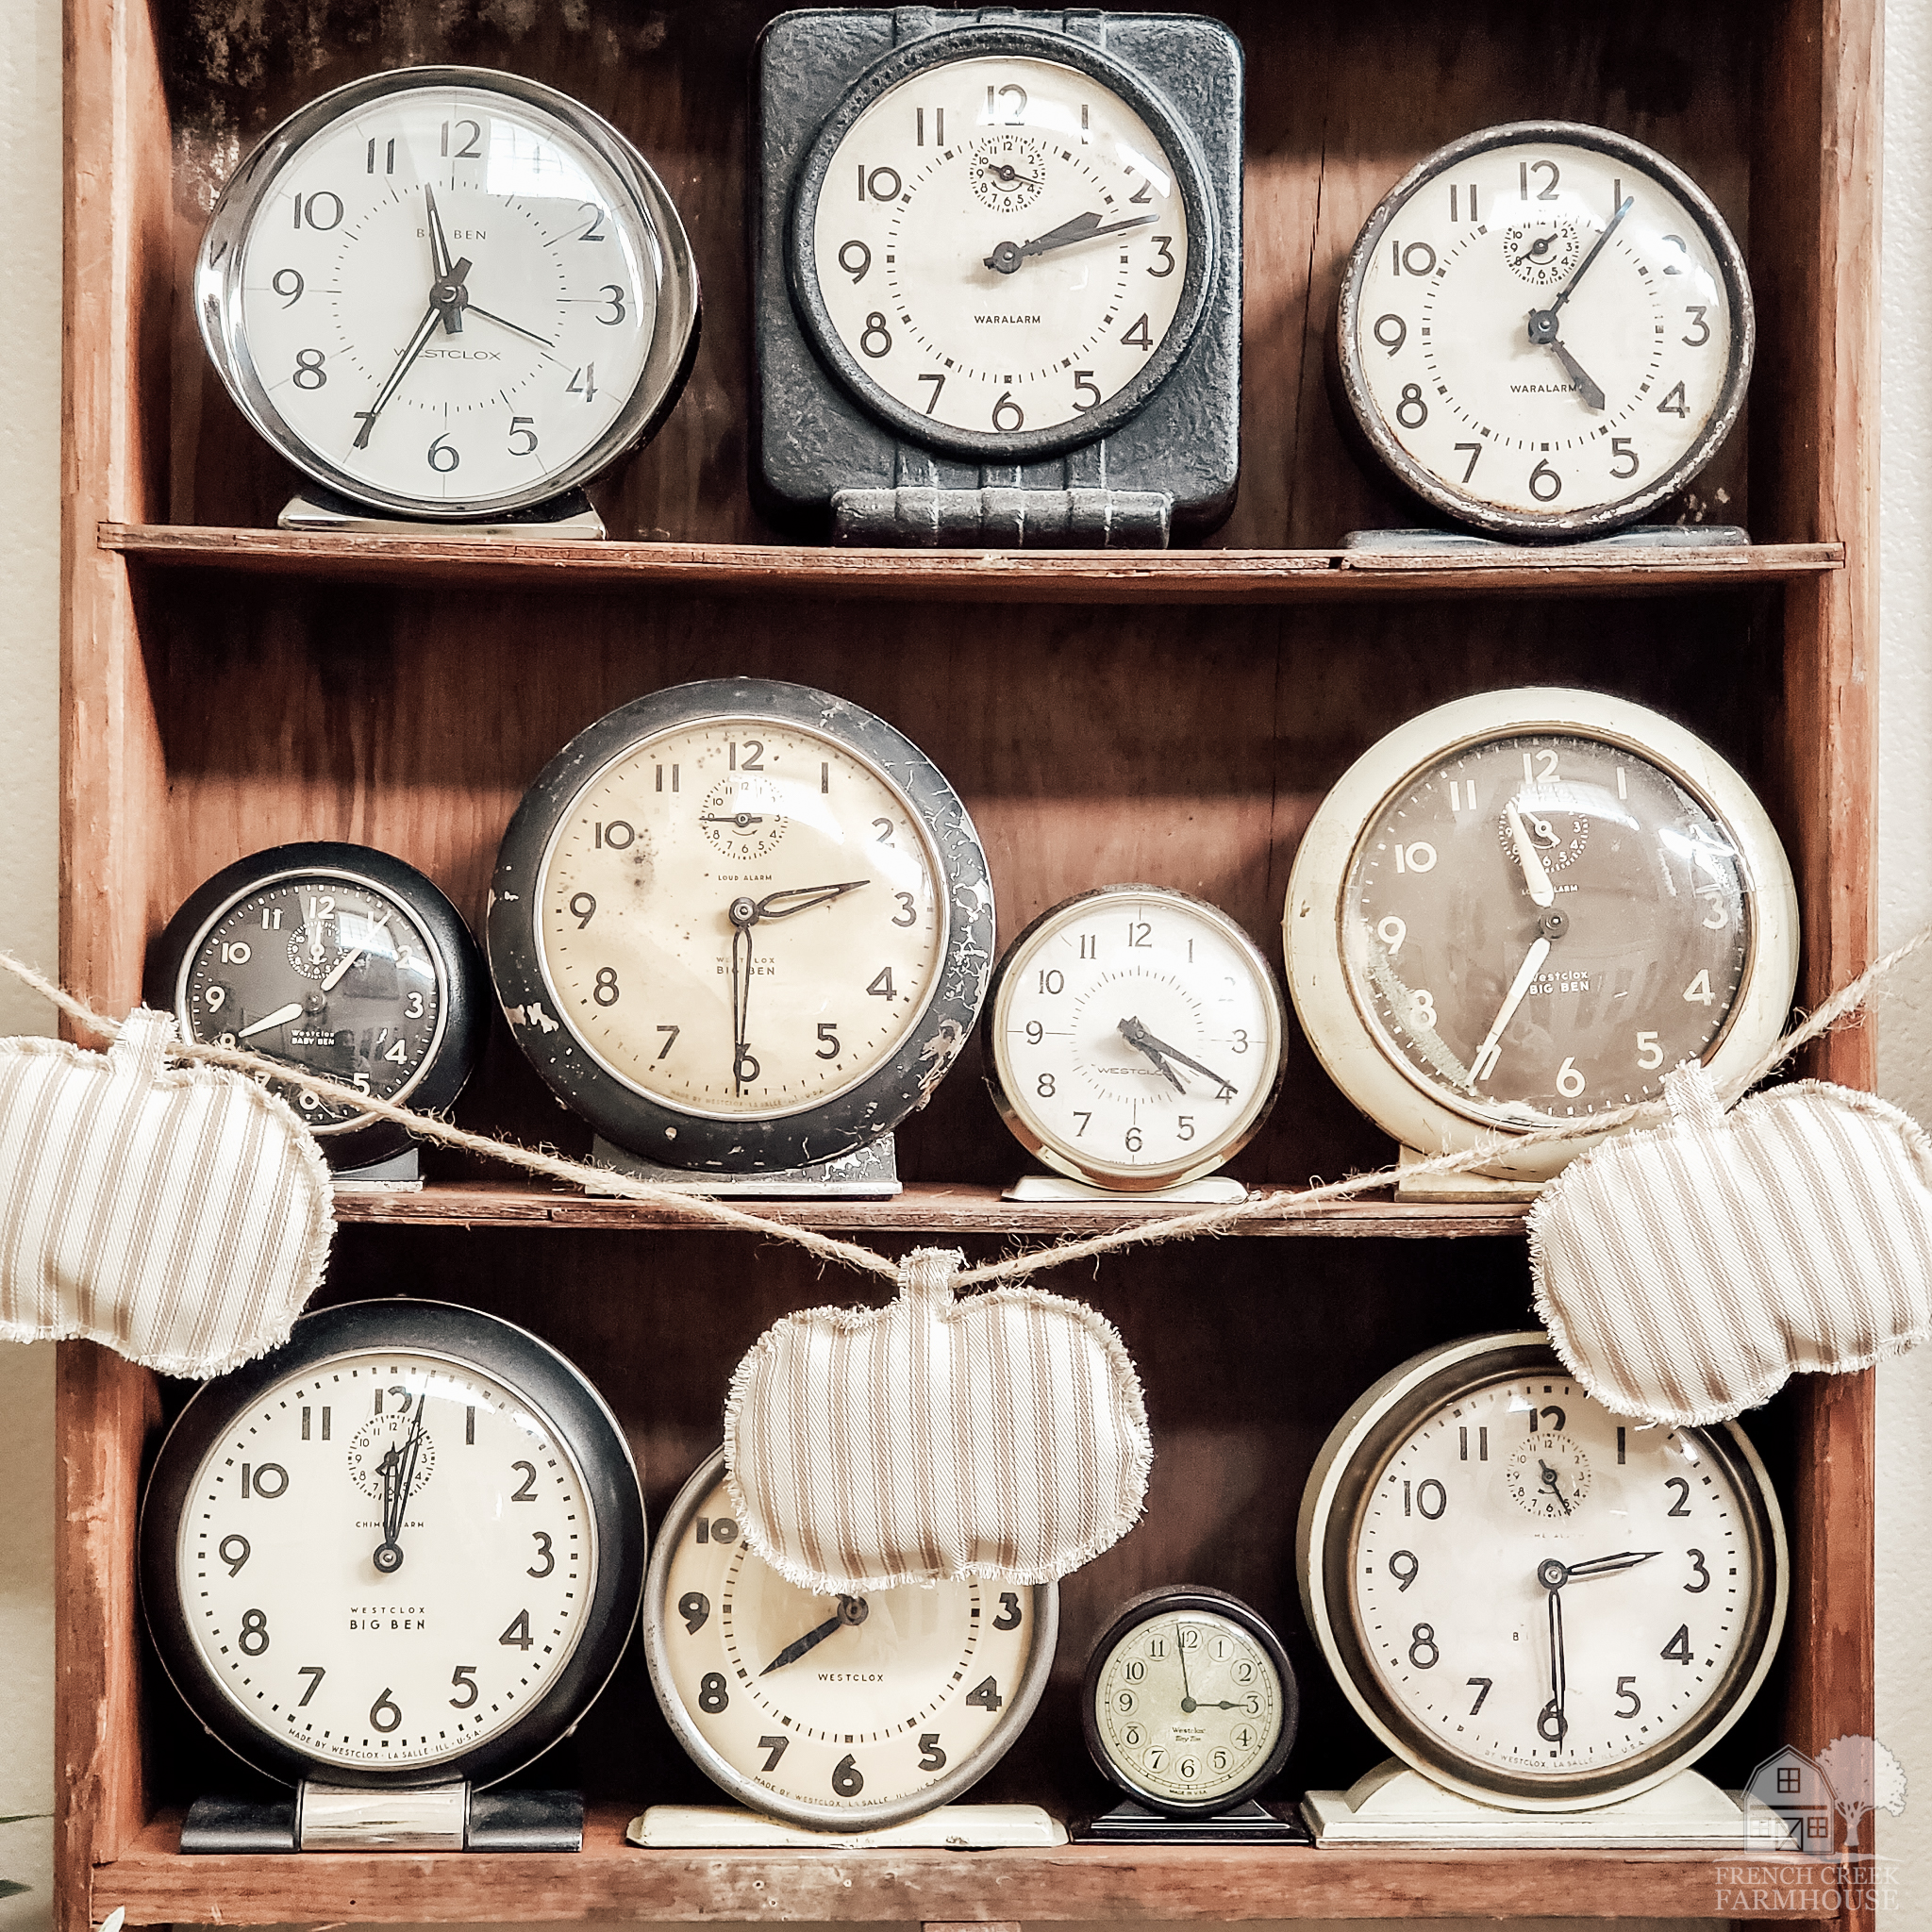
There are so many creative ways to use your pumpkin garland!
You can dress up your fireplace mantel, decorate shelves, or even wrap the garland around a fall wreath for your front door.
However you use them, I know they’re going to look great! I would love to see what you do, so be sure to tag me on Instagram or Facebook with your finished projects!

If you enjoyed this project, be sure to sign up for my newsletter, and never miss another DIY! You’ll get access to all of my FREE printables, patterns, and lots more!
To find more of my past DIY projects, just click on any category:
Crafts | Sewing | Fixer Upper Farmhouse Renovations







Cute!!
Thanks for the beautiful pattern ,I loved your collectables, my husband likes clocks ,happy halloween,
These are so cute. I'll have to add them to my fall decor.
This garland is adorable! I am a ticking/grainsack stripe fabric fan. It’s a timeless look!
I’m so glad you loved it, Cindy! I’m the same way…subtle bits of seasonal decor that don’t overwhelm our spaces. Stay tuned for more! xo, Kristi
Ohhh I love how this fabric pumpkin garland turned out! The fabric ticking you chose has such a lovely vintage-vibe! Beautiful!
Thank you so much, Donna! I adore them…thinking I need to make lots and lots more! xo
Hello Kristi,
I just wanted you to know, that I am continuing to pray for you on this Health journey with Dysautonomia, for complete healing and recovery and that your strength and energy is being restored daily so that you can fully enjoy your Life even in the midst of this health challenge…. God Bless and keep you and your Family.
Debbi
You are SO kind, Debbi! Thank you so much for gifting us with your friendship and love–you are a treasure! It truly means more to us than I can express. xo!