Essential DIY Skills for Fixer-Upper Homeowners
Embarking on the journey to transform a fixer-upper into a dream home can be both empowering and rewarding. Having some fundamental DIY skills to use along the way will not only save money, but also make it easier to realize your unique vision. Mastering even a handful of essential skills is a valuable investment that makes life as a homeowner easier and more enjoyable.
When we bought our fixer-upper home, it needed a whole lot of fixer-uppering! The house and land had not only been neglected and poorly maintained for many years, but those things that actually had been done were done with shoddy craftsmanship. (And that’s about the most kind and generous thing I can say about that!).
{ Related: The Story of Finding & Buying Our Home }
Not only did we have improvements to make, but there were also many things that needed to be re-done to correct for mistakes.
Even after years of work, we’re still tackling our list of projects…one at a time, as our schedule and budget allow.
The progress we’ve made is quite substantial, even though we’re far from finished. I’m proud of how hard we’ve worked at turning this house into our dream home. But we still have several major to-do list items to tackle, and I am so grateful that we have some basic DIY skills that we can use along the way to save our budget!

Disclosure: This is not a sponsored post, and I have received no compensation for sharing anything that follows. Some links within this blog may be affiliate links, and I might earn a commission if you make a purchase through that link. This usually amounts to cents, not dollars, and helps to support the projects featured on this blog. I only recommend products from companies that I have found to be trustworthy. Read my full disclosure here.

The Value of Cultivating DIY Skills
Do-it-yourself (aka “DIY”) skills are fundamental abilities that enable people to undertake tasks and projects independently without relying on professional assistance. The significance of cultivating DIY skills cannot be overstated, as it not only saves time and money, but also instills a sense of self-sufficiency and confidence.
This is a big part of why we left the suburbs for the homesteading (and, now, farmsteading!) life. We wanted to be less dependent on “the system” and more empowered to provide for ourselves, grow our own food, and have the freedom to live life on our terms.
{ Related: Going From Homestead to Farmstead }
If you’re wanting to take on a fixer-upper home, I’m betting that these things are important to you, too. And, you probably don’t want to keep giving away your hard earned money to other people simply because you don’t know how to do something for yourself.
So, let’s take a look at the 5 most essential DIY skills that every fixer-upper homeowner should have!
So you want to tackle a fixer-upper home? Start by learning these 5 DIY skills…
The decision to invest in a fixer-upper home is one you shouldn’t take lightly. If you don’t really take the time to evaluate what the home needs and compare it with your abilities, budget and existing DIY skills, it can quickly go from being your future dream home to a nightmare!
Developing your DIY skillset in these 5 areas will set you up to be able to do a whole lot more on your own and save your budget for bigger renovations and improvements.
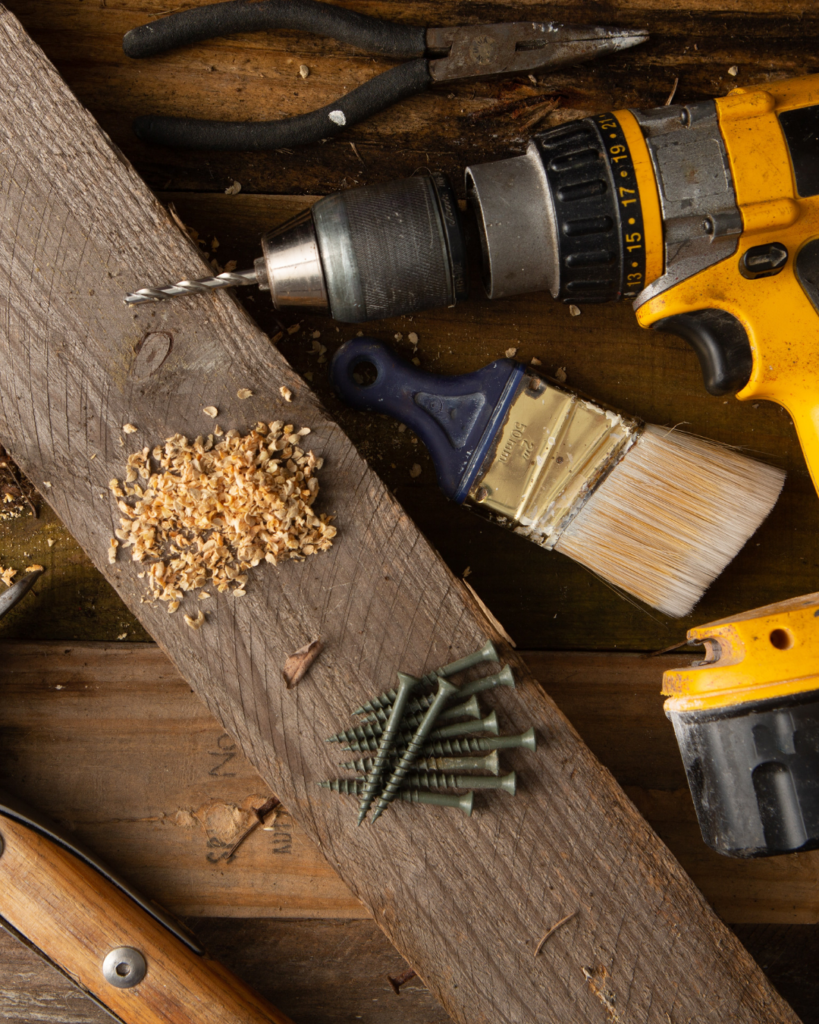
1. Know the Right Tool for the Job
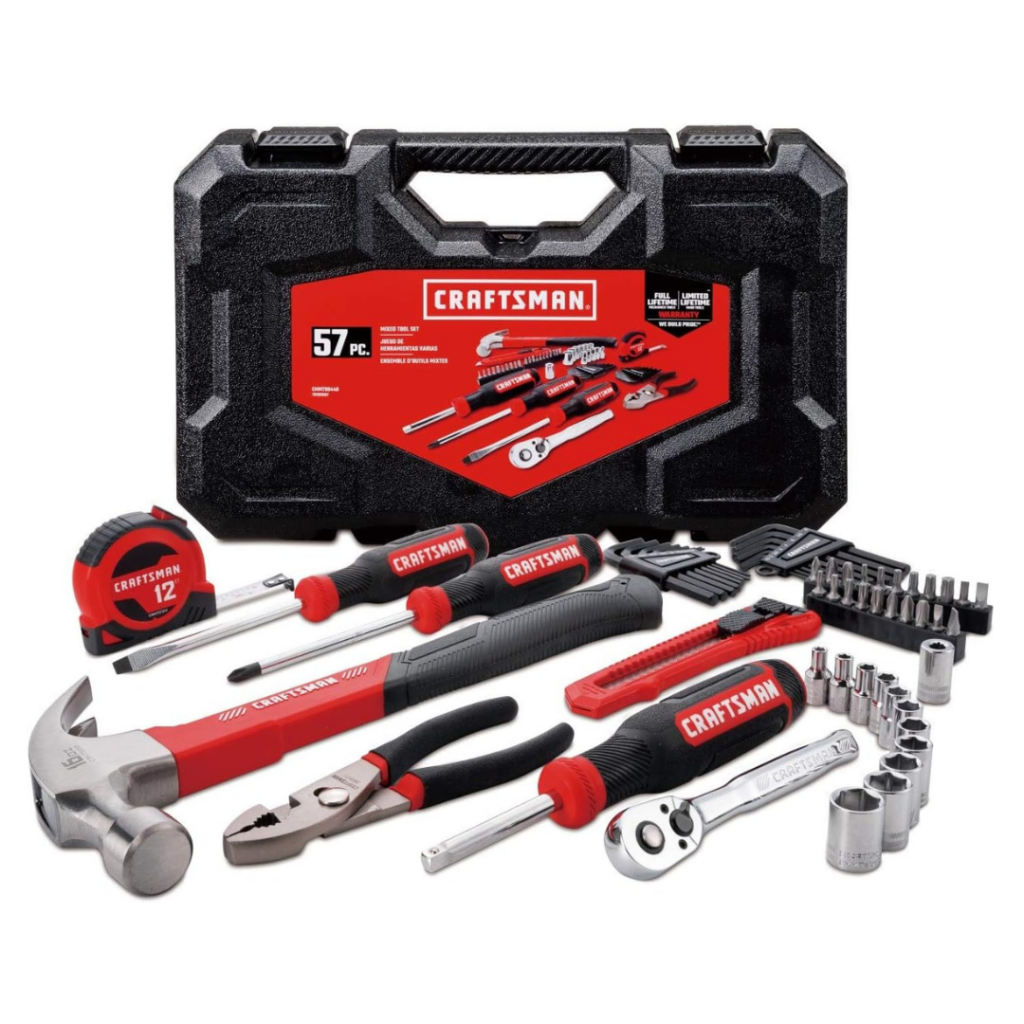
A fundamental aspect of being able to DIY is understanding and utilizing basic tools effectively. Tools are your best friends when it comes to DIY projects, and having a well-stocked toolbox is essential.
The more projects you take on, the more tools you’ll find yourself collecting. It’s a slippery slope, so prepare yourself for the addiction! Some basic tools that every DIYer should have to begin are:
- Screwdrivers: Both flat-head and Phillips-head screwdrivers for various types of screws. I really love having a ratcheting screwdriver with interchangeable bits. The ratcheting action seriously helps cut down on wrist pain. Plus, having a variety of heads to choose from means you don’t have to worry about running to the garage to find the right screwdriver while you’re in the middle of something.
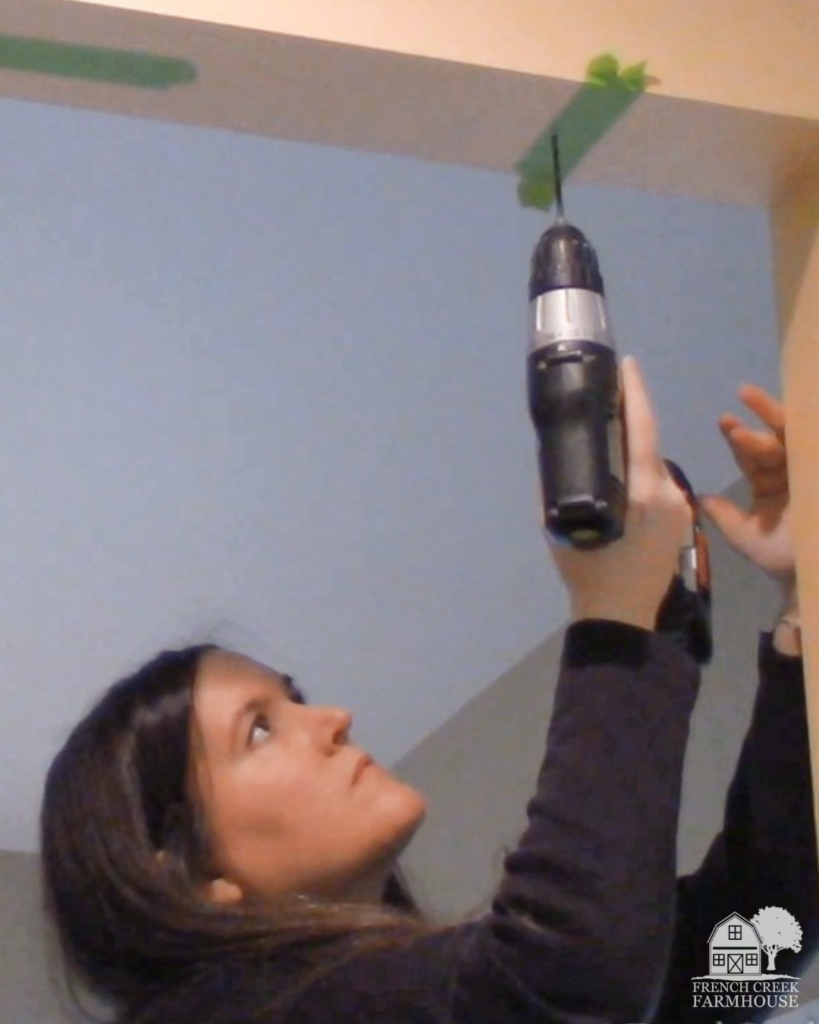
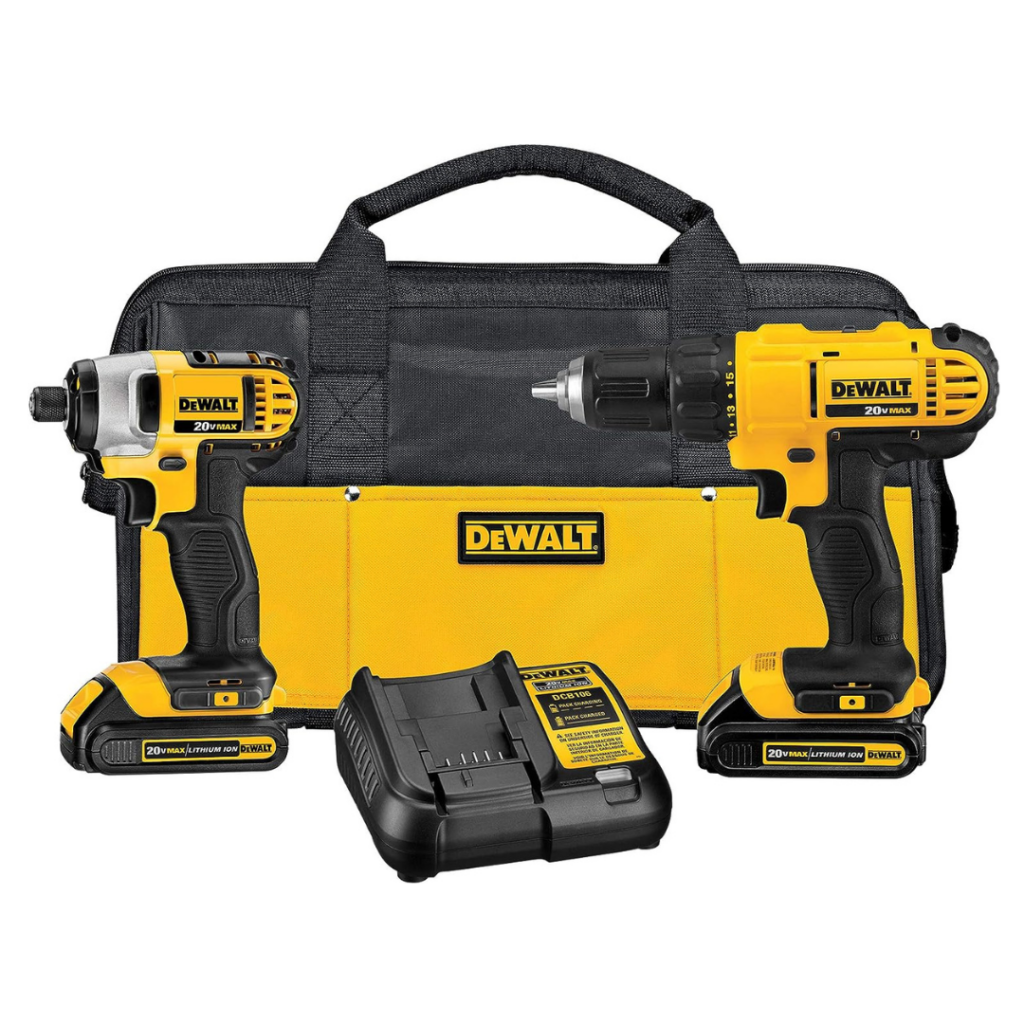
- Drill: A good quality cordless drill with 18-20 volts will work for the majority of projects around the home. You might find that you need something more substantial if you tackle bigger projects, but you won’t want the extra weight that comes with a more powerful drill for normal usage. It’s always a good idea to purchase a spare battery so that your project isn’t slowed down while waiting for a charge.
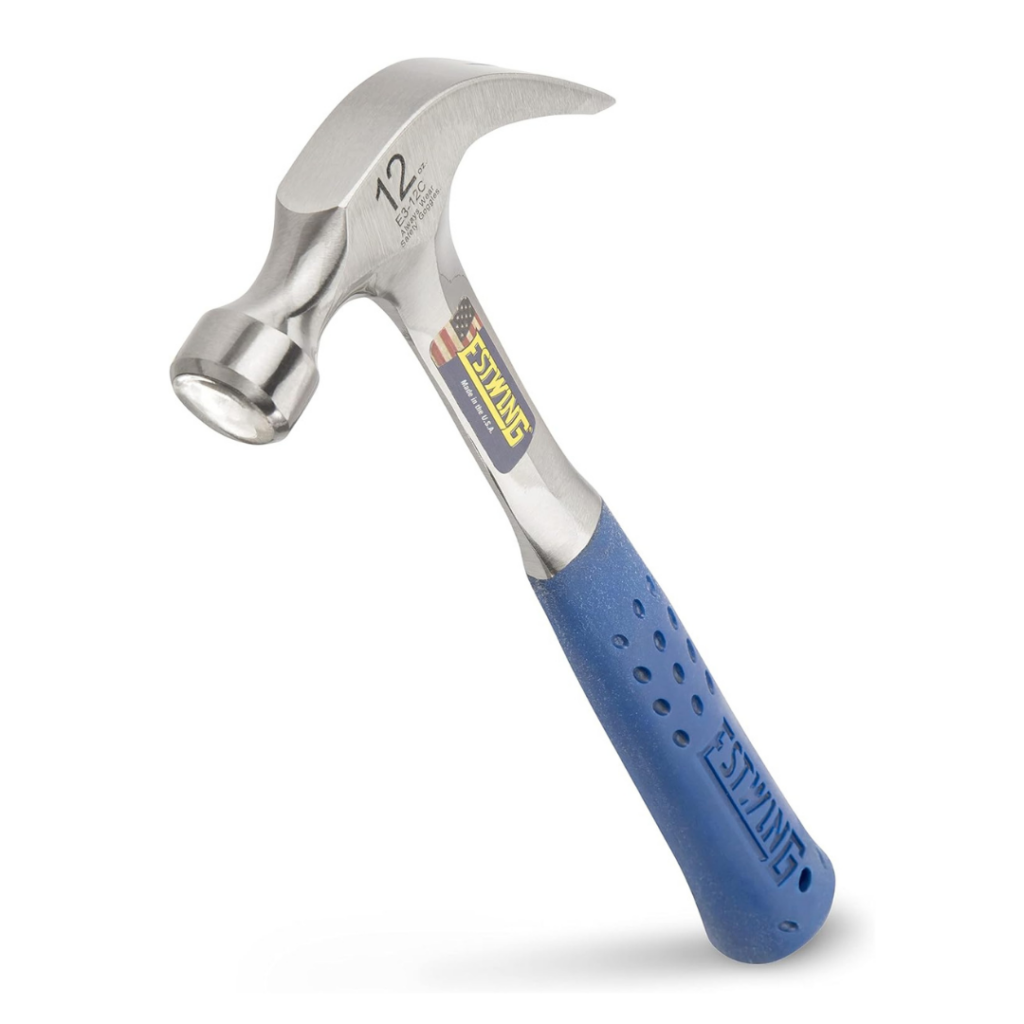
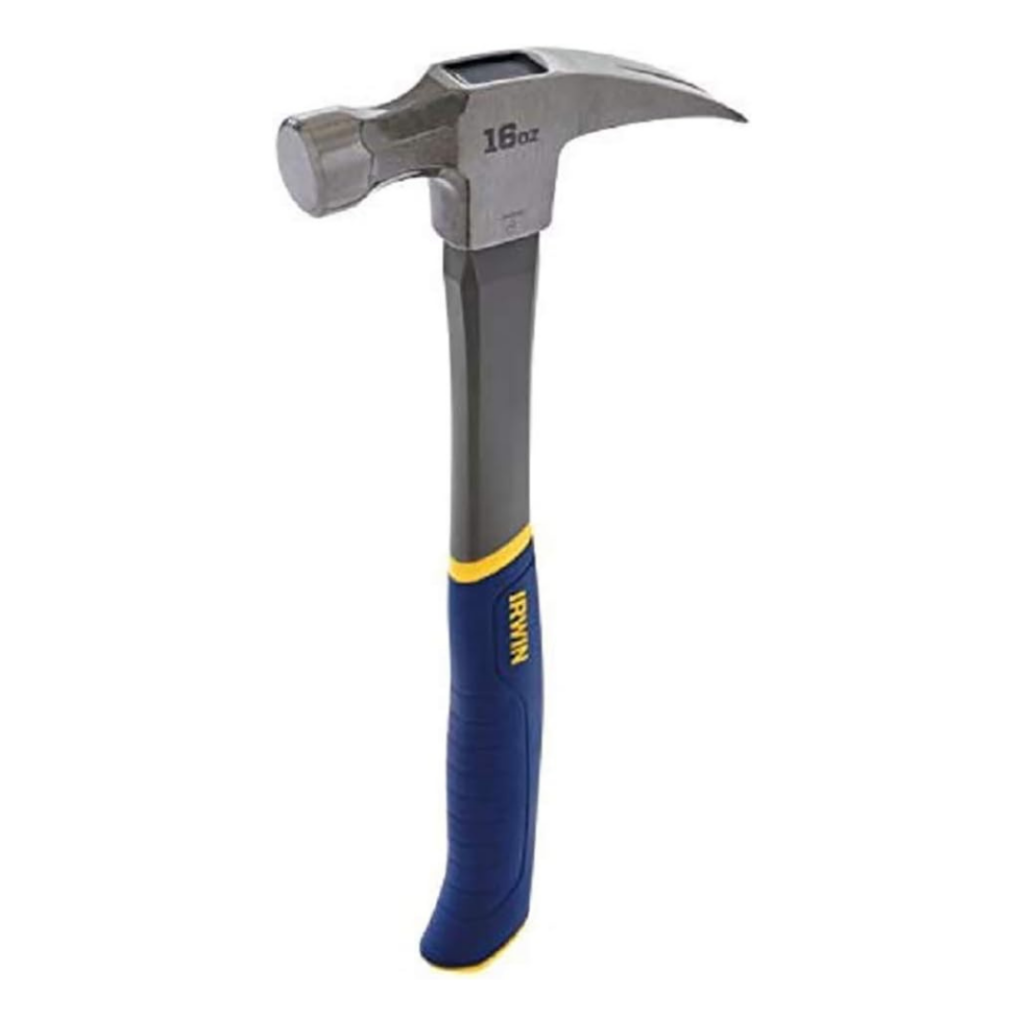
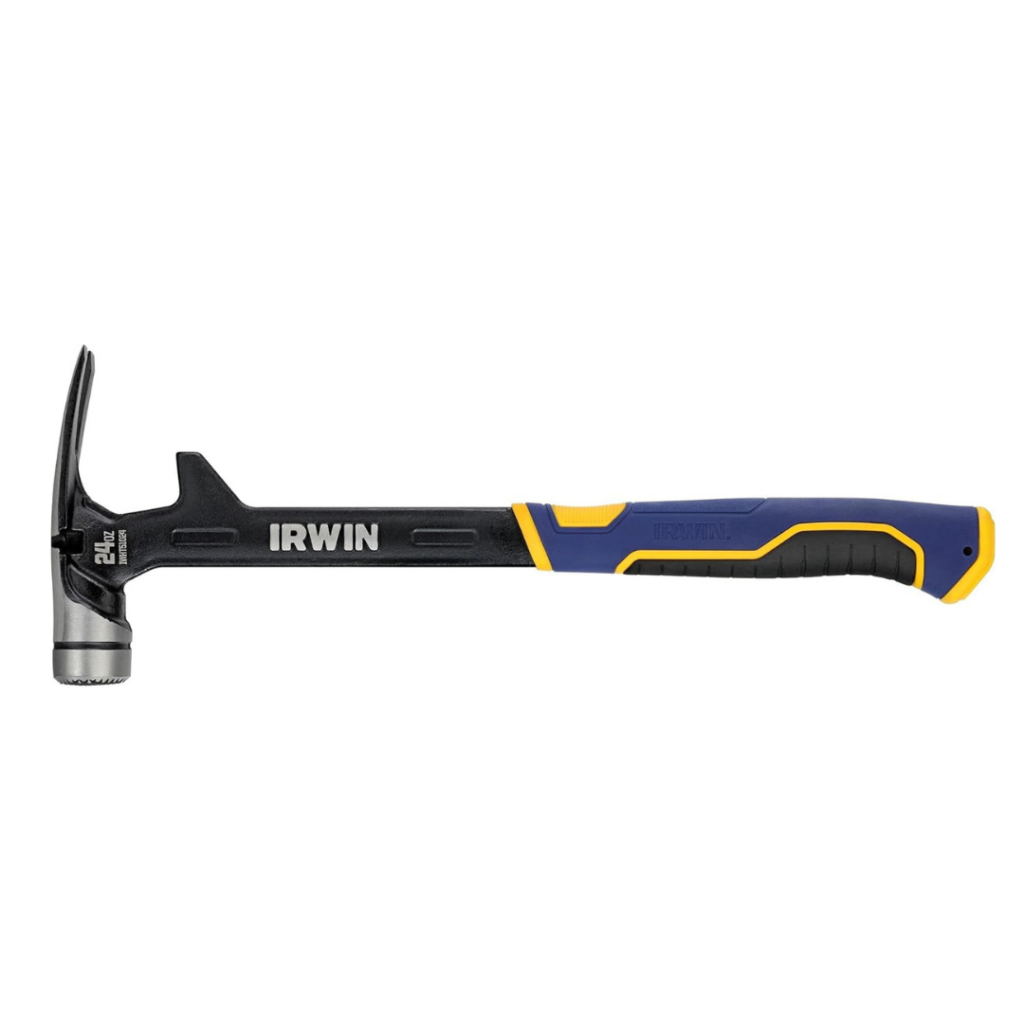
- Hammer: Useful for a range of tasks, from hanging pictures to light carpentry work. Hammers come in various sizes and weights, but the best all-around choice is a 16 ounce hammer. If you find that too heavy, consider a light-duty hammer in the 10-12 ounce range. And, if you’re doing heavy-duty work, like framing, bump up to something in the 22-30 ounce range.
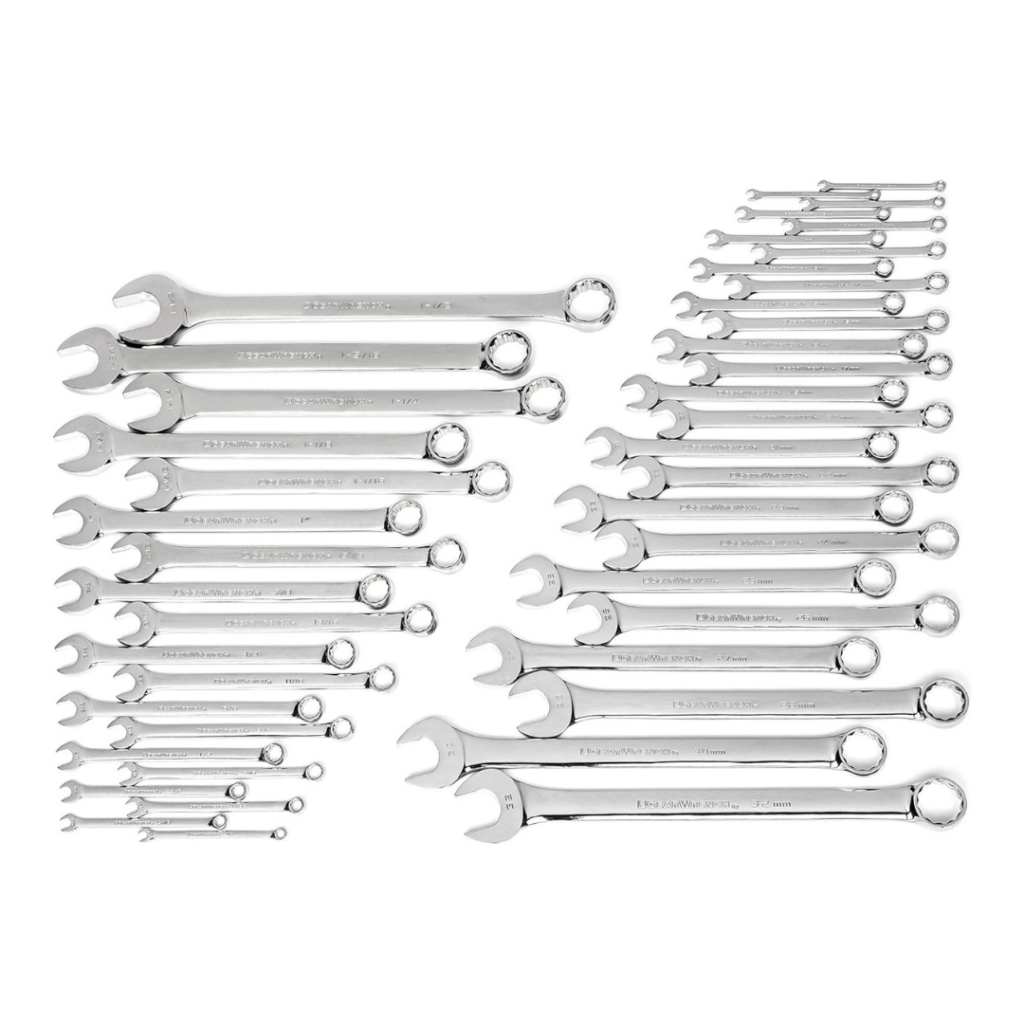
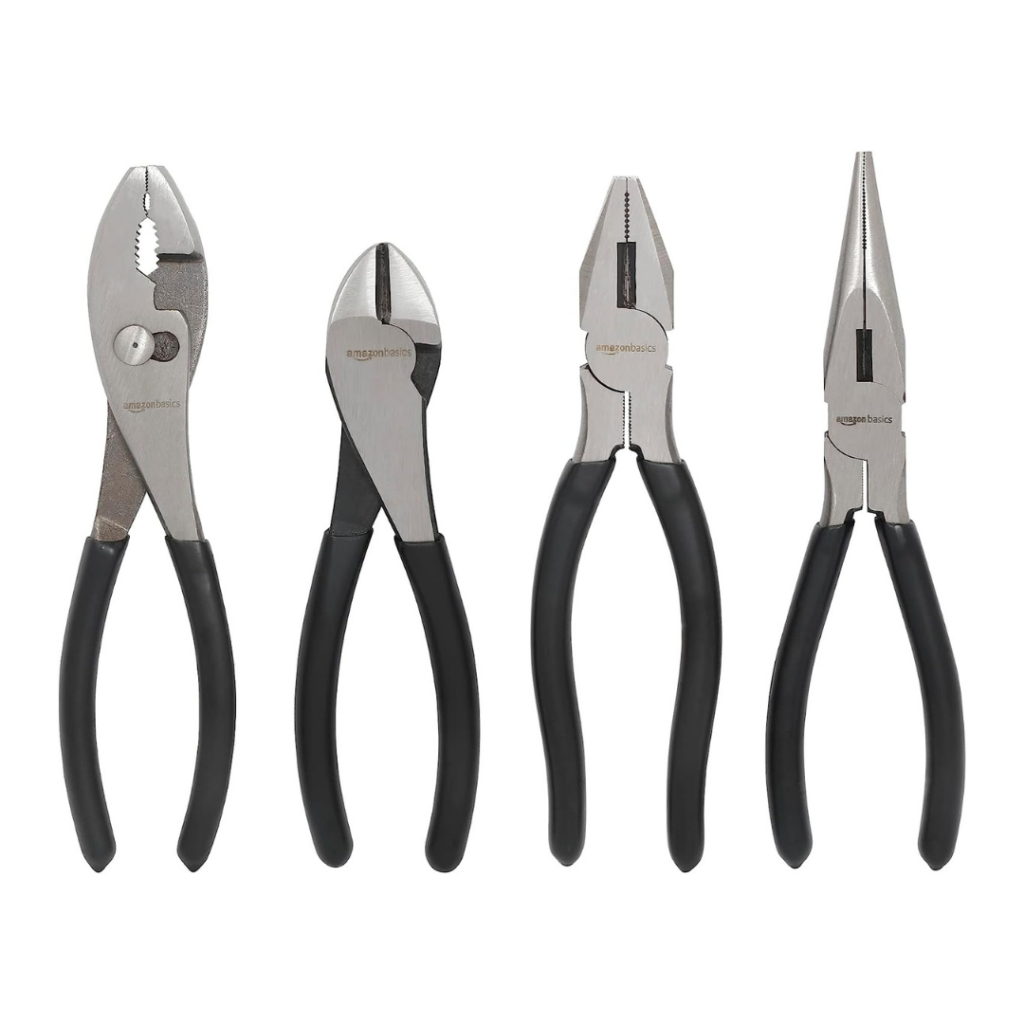
- Pliers & Wrenches: Both of these tools are used for gripping and turning objects. Wrenches are made in specific sizes to fit nuts and bolts so you’ll usually purchases these in sets, whereas pliers are adjustable, and you squeeze them to hold onto the object you’re turning. You can find some very affordable sets that include a range of options to fit most applications around the home. Then, you can always purchase additional pieces for specific tasks, as you need them.
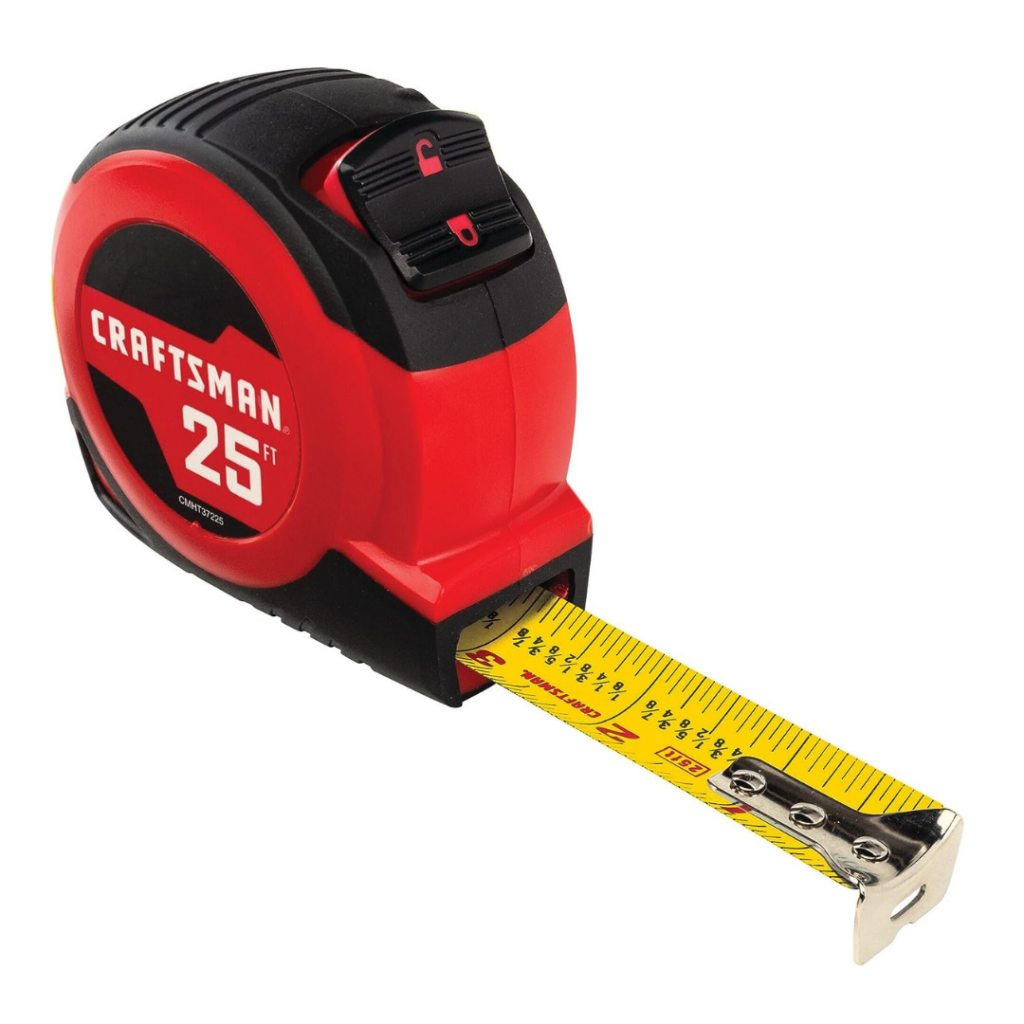
- Tape Measure: I mean, this one is super obvious, but there are so many options to consider. The basic length is a 25′ tape measure, and that’s going to suit your needs 99% of the time. When we’re working around the farm, we frequently need something longer whether it be to measure weed barrier fabric for our rows, greenhouse film, or row covers to protect from frost. In the case of farming, it can be nice to have something that’s at least 50′ long.
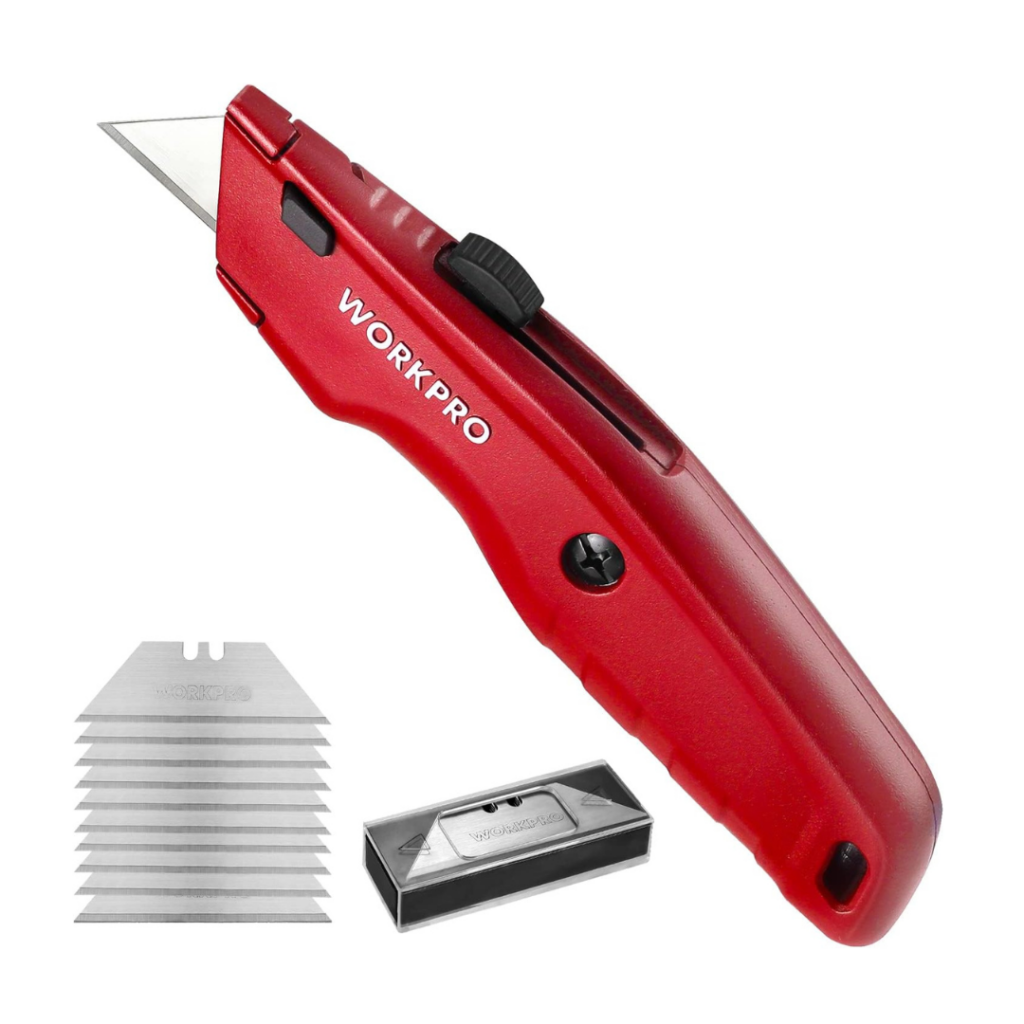
- Utility Knife: On our farm, utility knives are the missing socks of the toolbox. A laundry metaphor? Yea, I did that. Anyway, I don’t understand it, but they wander off all the time. Whenever we run into the hardware store, it’s always an impulse purchase to grab a new one at the register. I swear we must have a hundred of them by now!
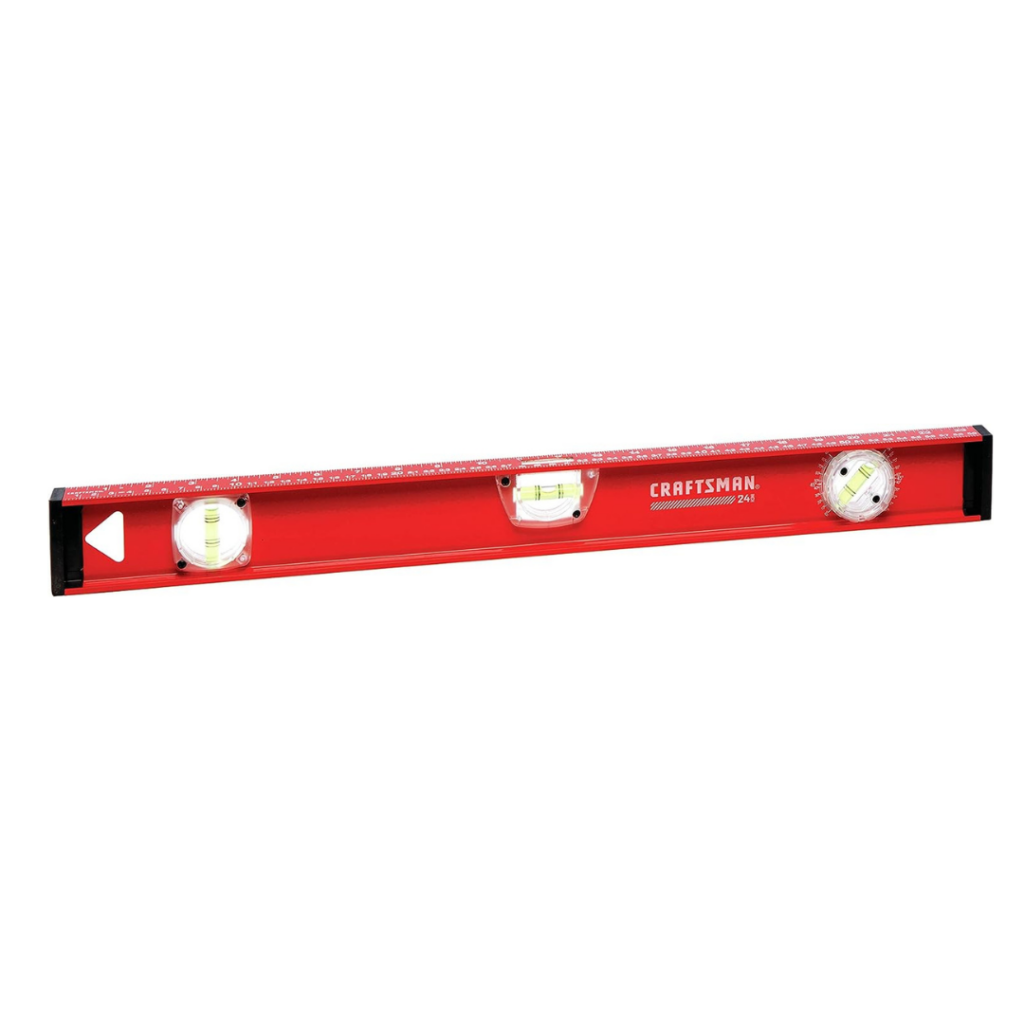
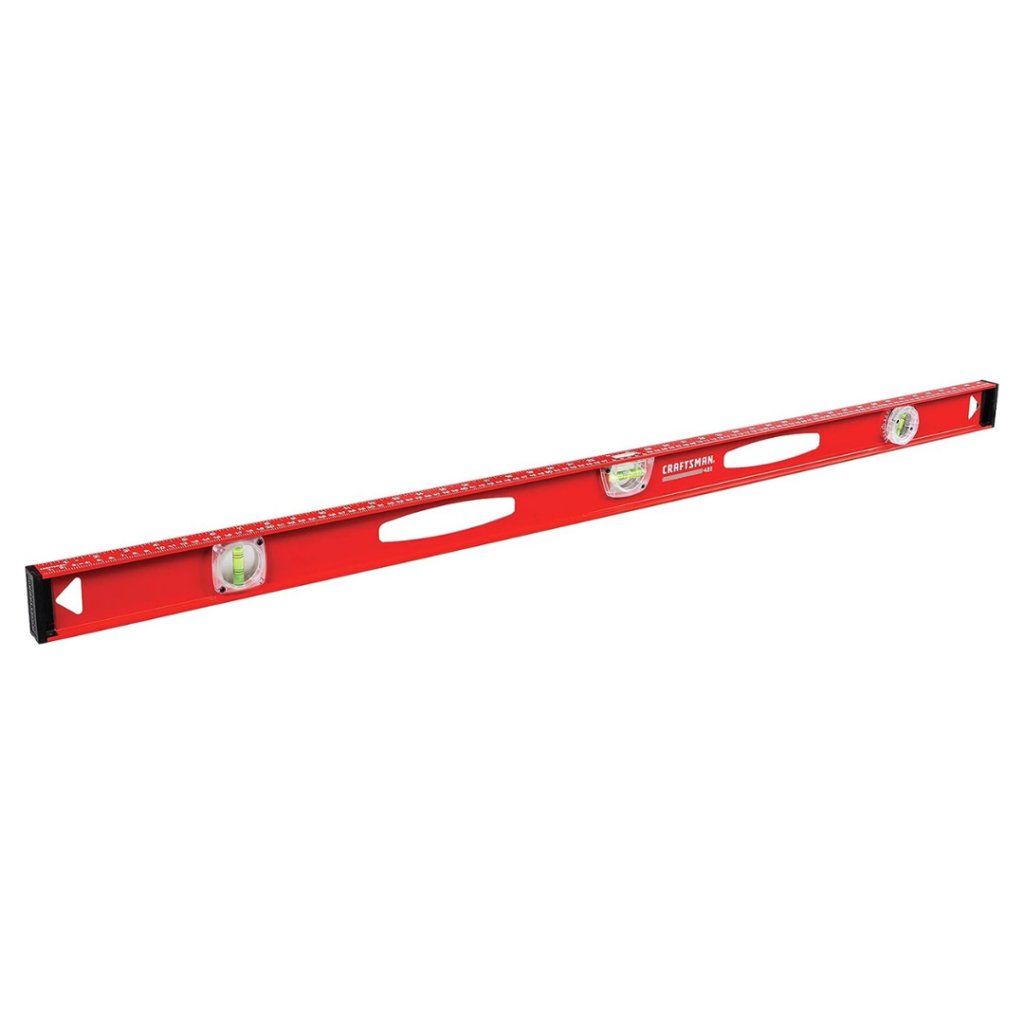
- Level: You’re going to want your projects to be straight and well-aligned, so this is an essential tool. If something is just a little bit off, it will drive me crazy. So, naturally, levels are well-loved in our home! Like every other type of tool, you’ll find them in many sizes. I would start with one that’s around 2′ long, as that should be quite versatile. However, we have them all the way up to 48″. If you’re doing more advanced projects and expanding your DIY skills, you’ll eventually need to grow your collection to fit the tasks you take on. Also, a note on laser levels…we have one, but seriously never use it. I never seem to want to take the time to get it all set up while I’m doing a project, so I don’t find it worth the extra expense, but it will be a personal choice.
{ Related: How to (Safely) Hang Heavy Stuff on a Wall }
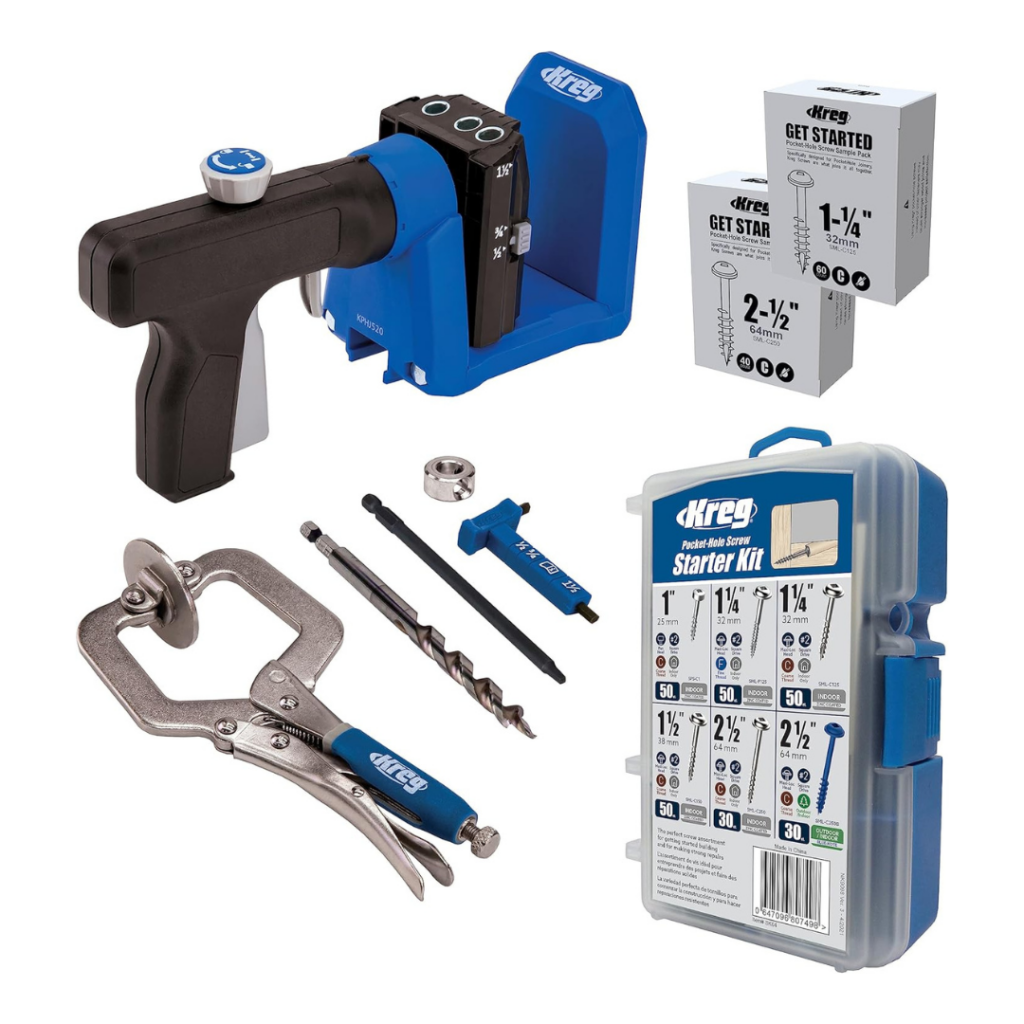
useful tools

Things That Pros Know
Which is better: Nails or Screws?
The choice between nails and screws depends on a few things: the purpose of what you’re doing, the material you’re working with, and what you’ve set as a priority. Both nails and screws have their advantages, and can be seen as “better” depending on the situation. But here are some key points so that you can feel like a smartypants the next time you’re at the hardware store…
Advantages of Using Nails:
- Speed of Installation: Nails are certainly faster to pound in with a hammer, compared to using screws, which makes them ideal for projects where speed is a priority.
- Cost: Nails are generally cheaper than screws, which can be a significant factor if you have a large project with a lot of hardware.
- Discreet: Nails typically create smaller holes, which can be good if you want to sink the heads and apply wood filler for a more seamless or aesthetically pleasing finish.
Advantages of Using Screws:
- Strength and Holding Power: Screws generally have better holding power compared to nails. They create a stronger, more secure bond, making them suitable for load-bearing uses.
- Versatility: Screws can be used for a wider range of materials, including wood, metal, plastics, and more. They can also be easily removed, adjusted, or even reused if needed.
- Prevent Splitting: Screws are less likely to cause splitting in the wood compared to nails, making them preferable for certain woodworking applications.
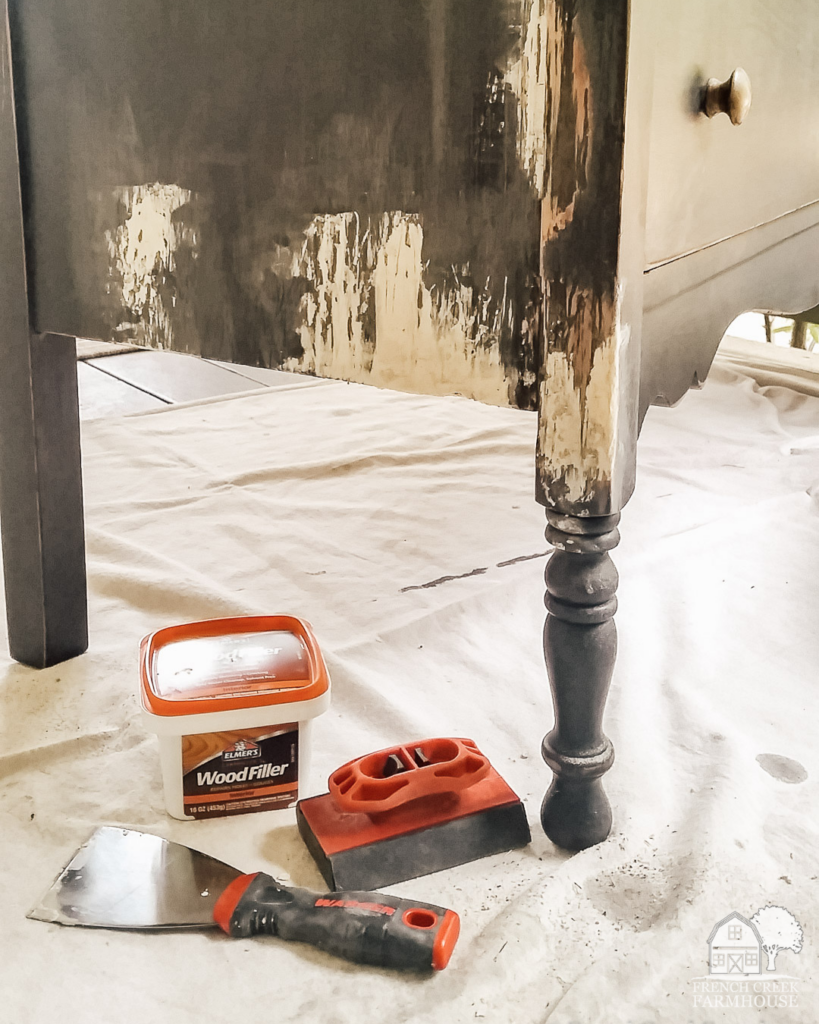
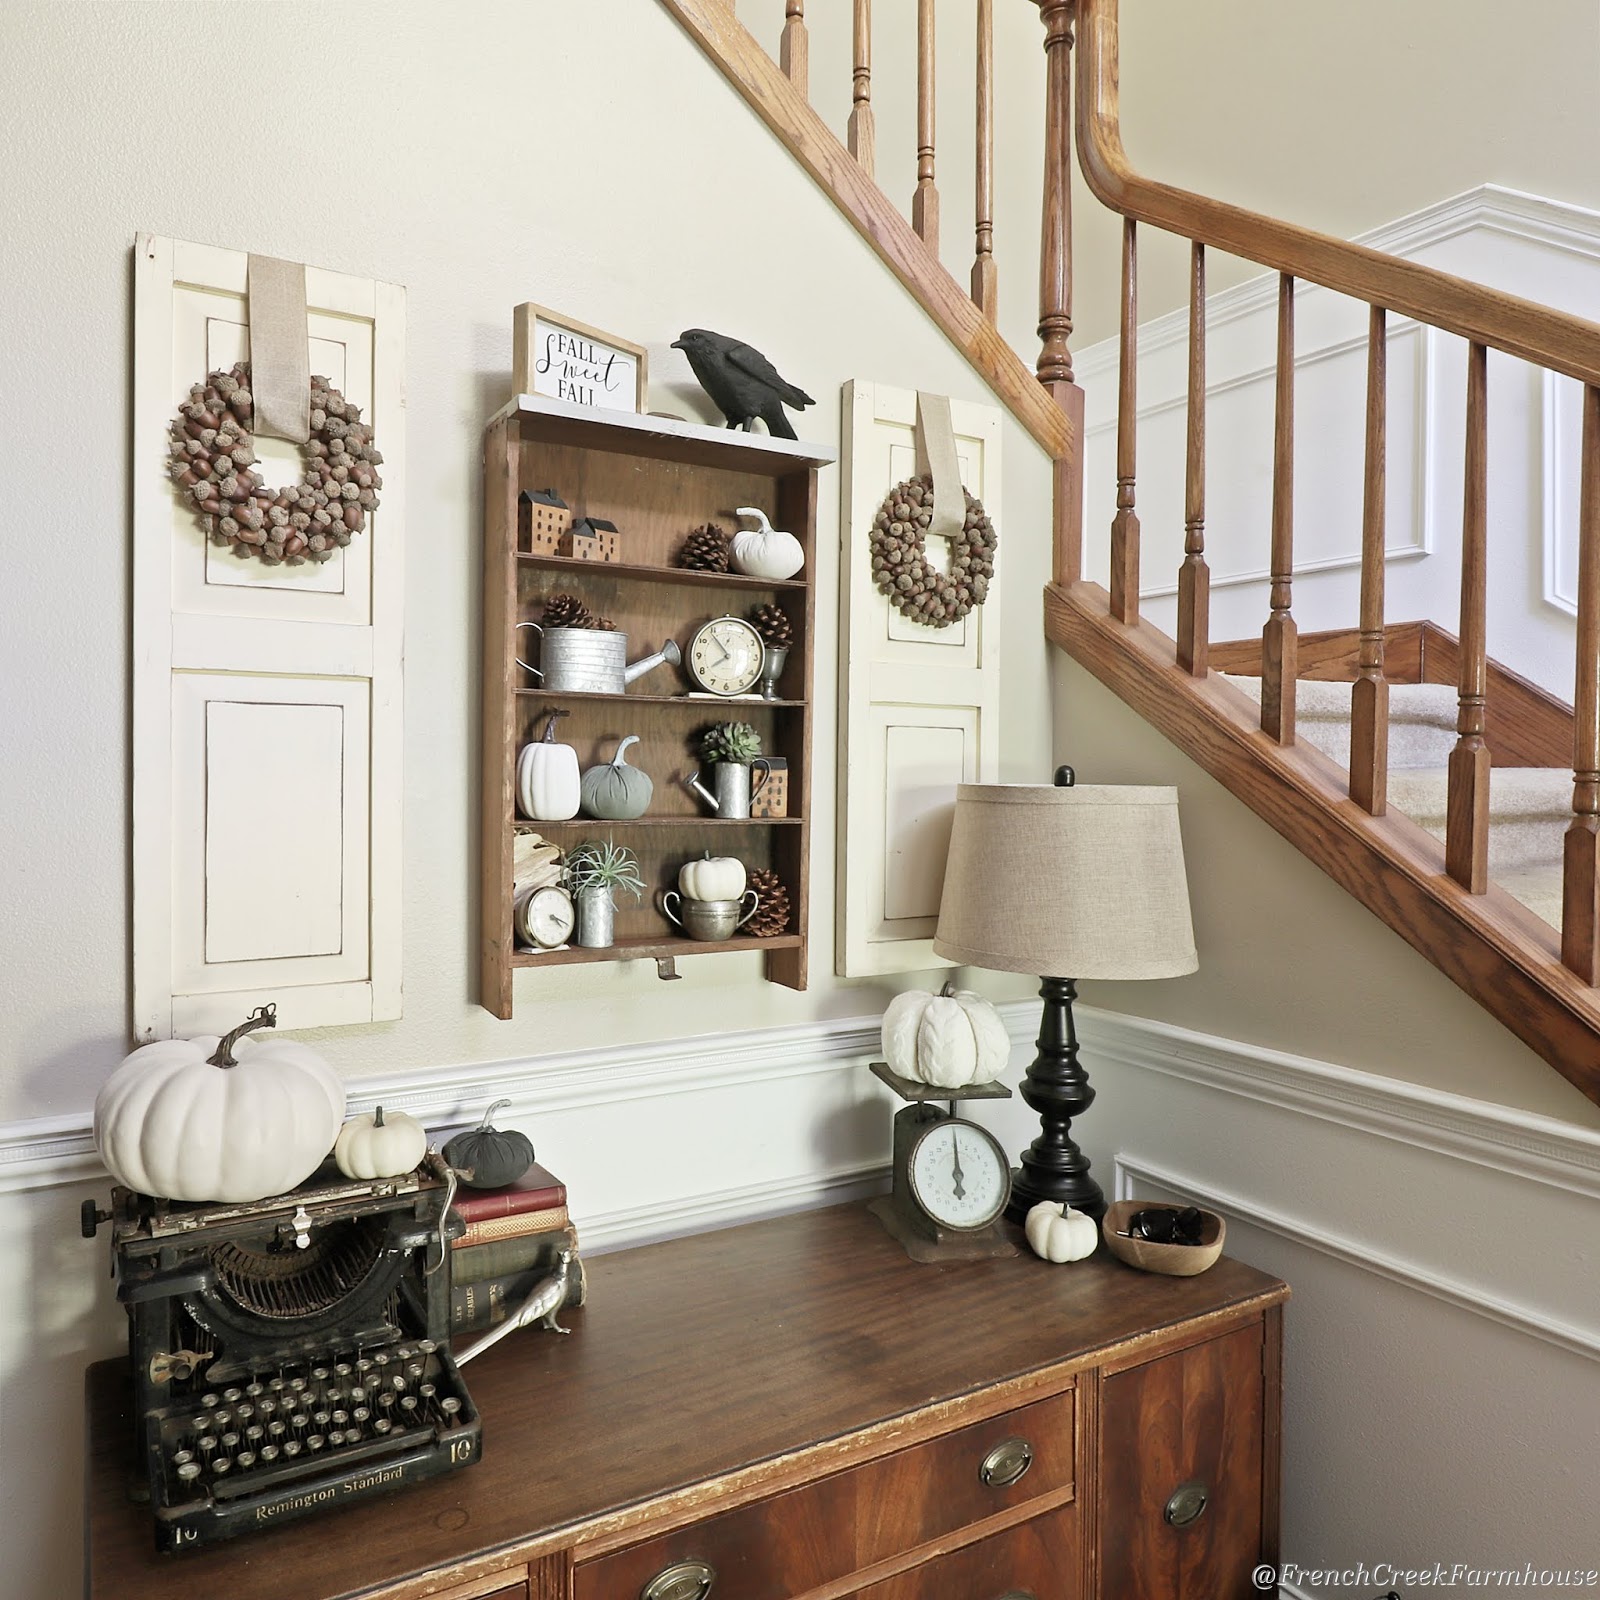
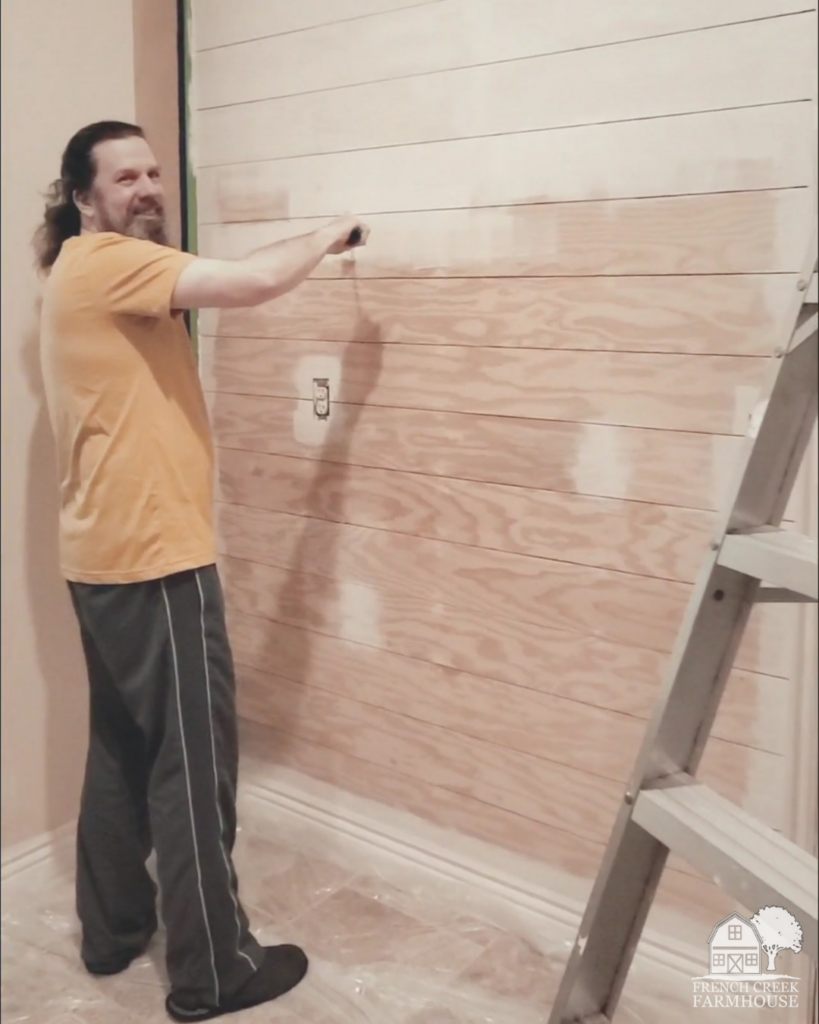
2. Painting and Refinishing
Learning how to paint and refinish surfaces are two fundamental DIY skills that can transform the look of your space. At this point, I have painted nearly every room of our house. It’s just such an easy way to make a room feel new.
Whether you want to freshen up the walls of a room or up-cycle a piece of thrifted furniture, there are some key points to remember:
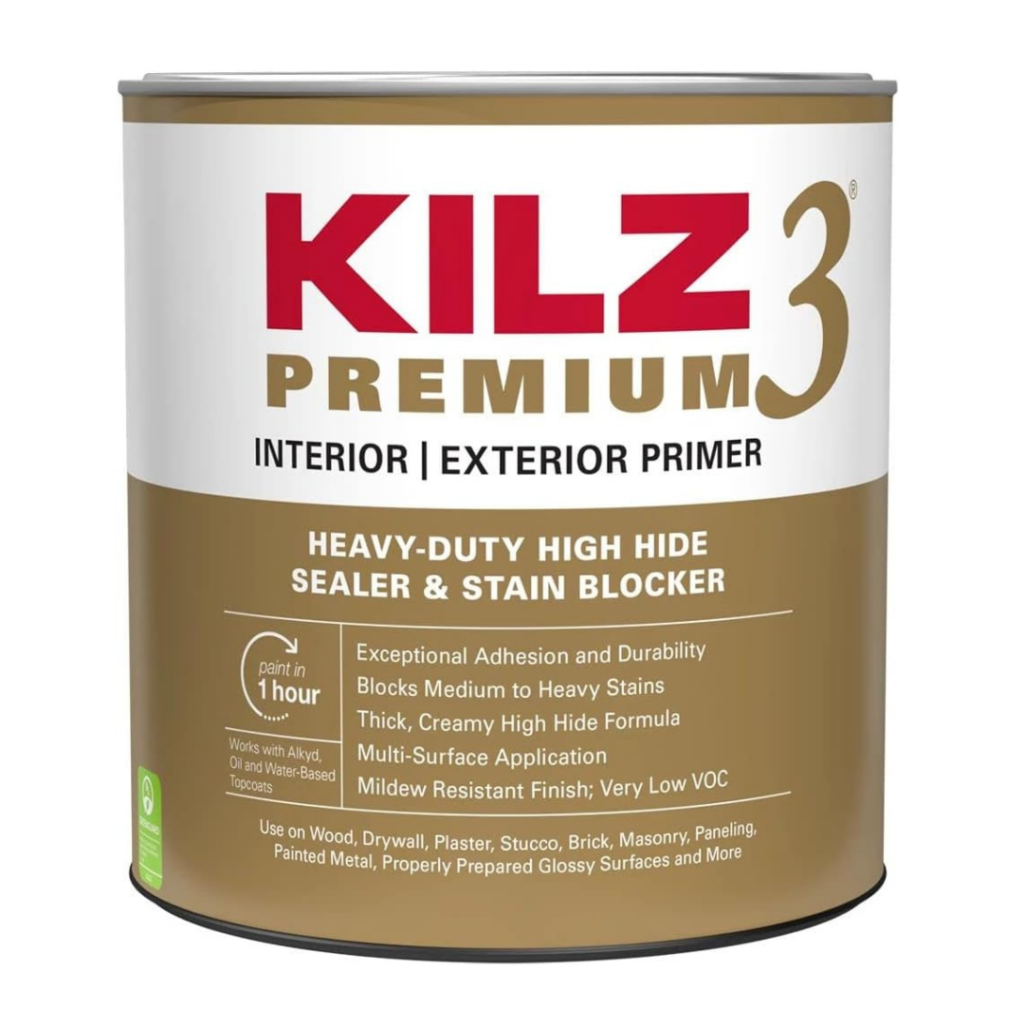
- Preparation is Key: Always, always, always clean and prepare surfaces properly before painting. The last thing you want is to have to do the work all over again. This includes stripping, sanding, and applying primer, if needed. And don’t forget to protect the areas around your project by masking and using drop cloths.
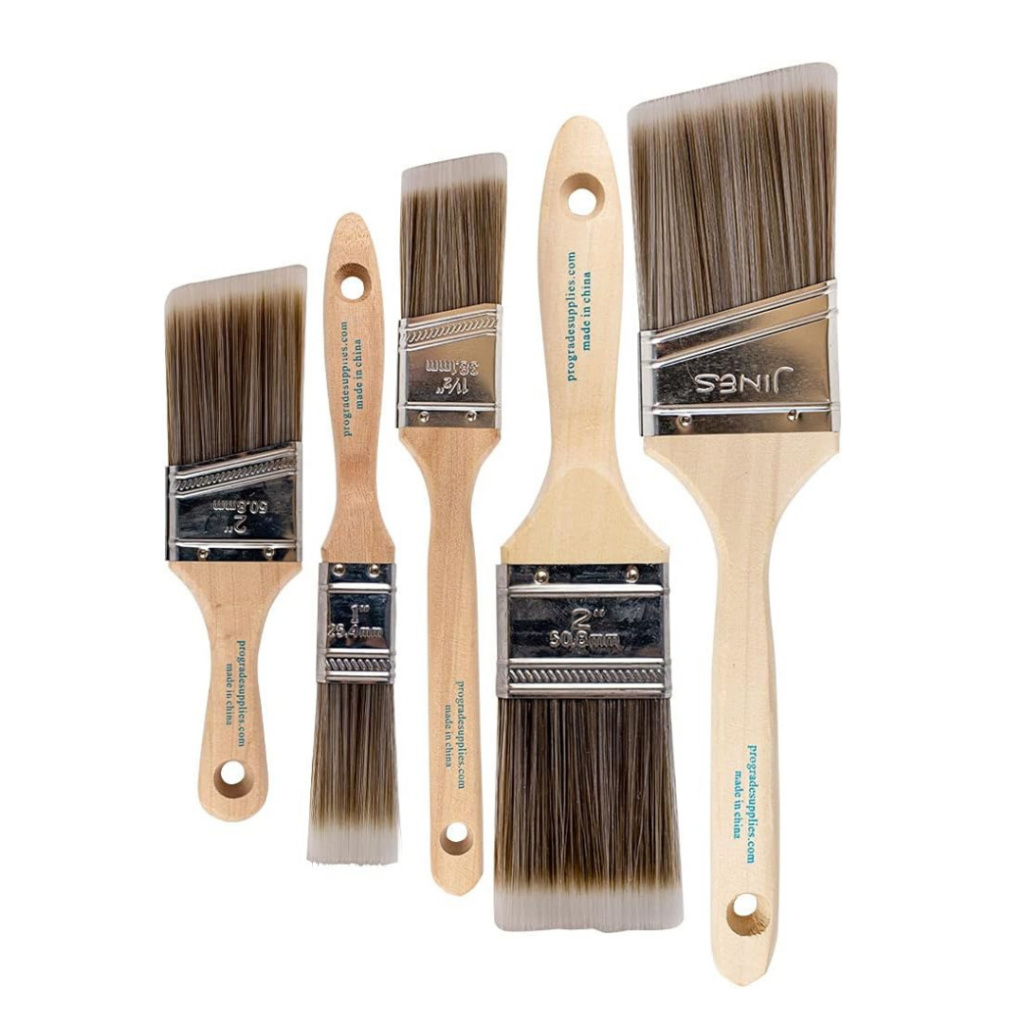
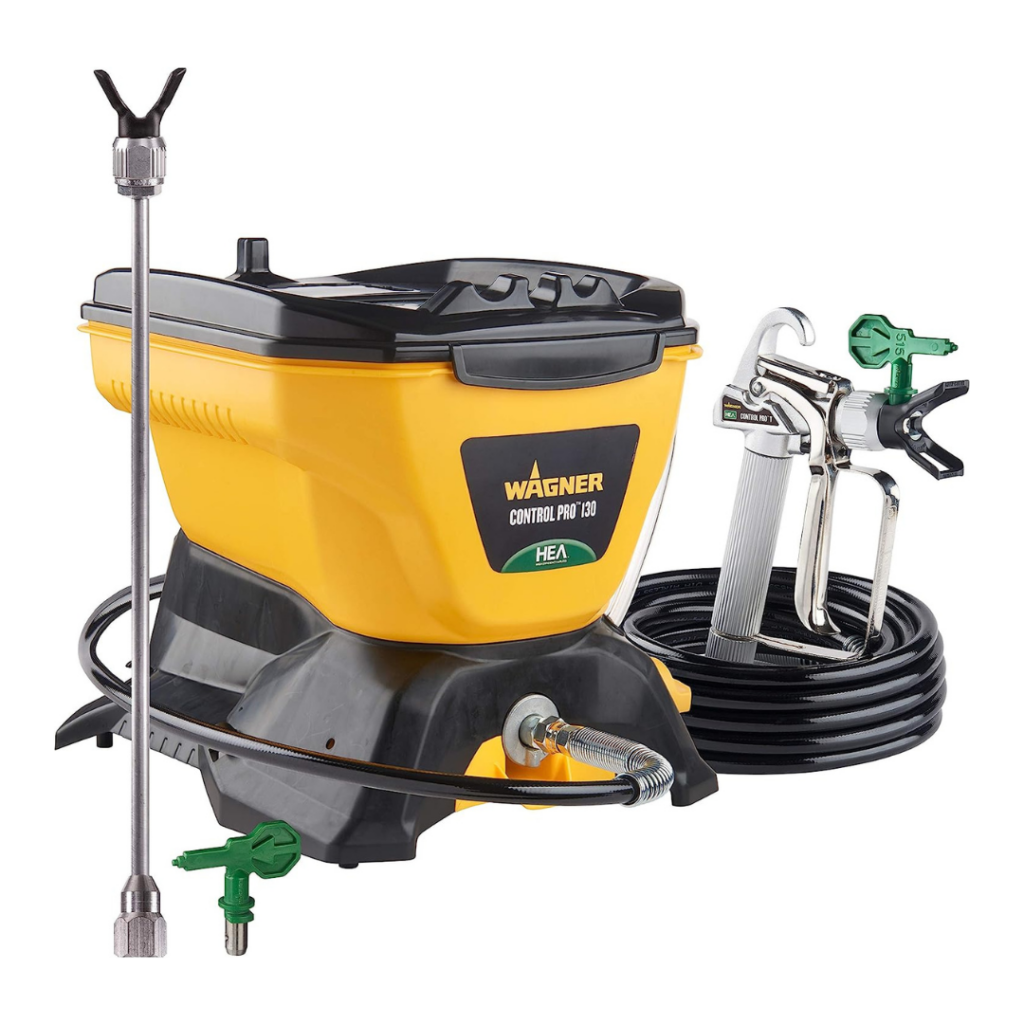
- Use the Right Tools: Depending upon what, and how much, you’re tackling, you’ll want to learn how to use brushes, rollers, and sprayers to apply paint evenly and smoothly. For wood stain, you’ll most likely use brushes, sponges, or shop rags.
- Clean-Up Properly: Cleaning your brushes and rollers will extend their life and keep them in good condition for future projects.
{ Related: Refinishing Rescued Furniture }
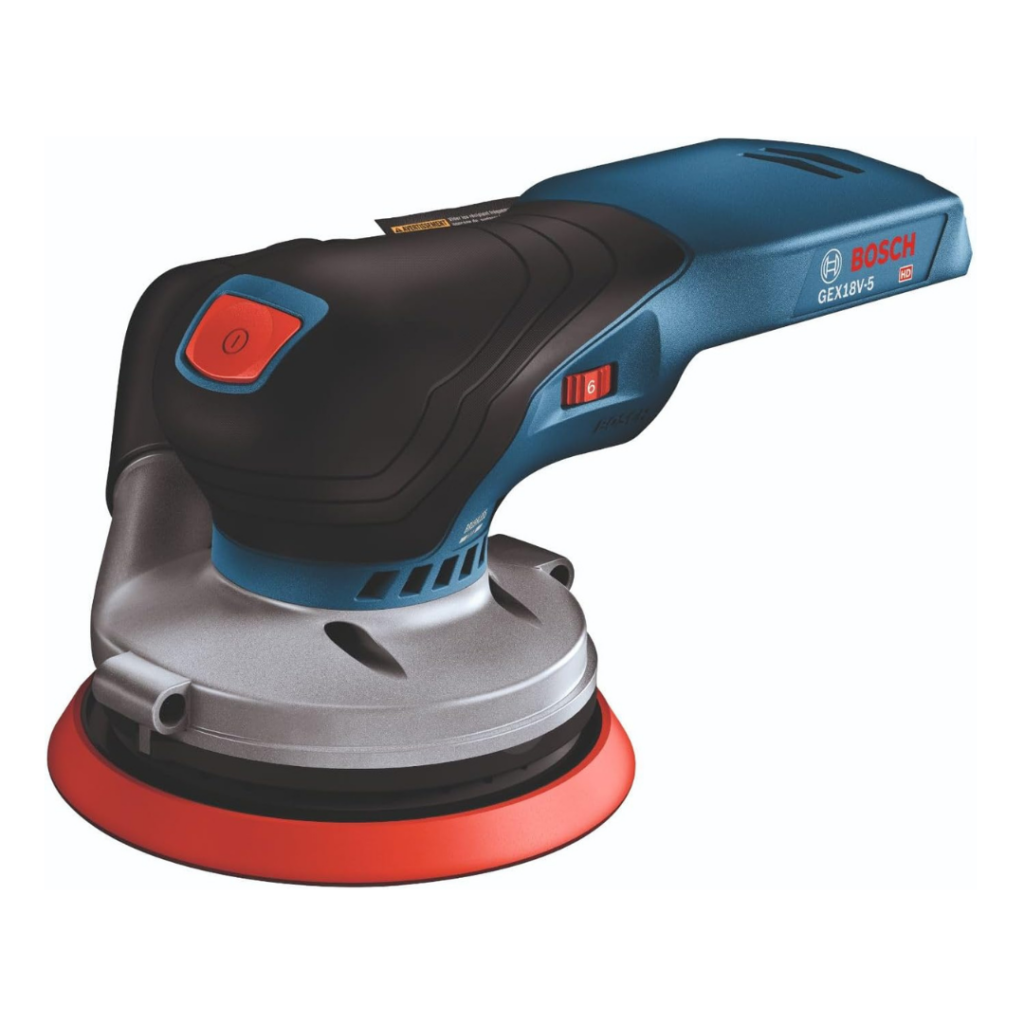
useful tools


Things That Pros Know
Which sheen of paint should be used in different rooms?
While there’s much to be said for personal preference, there are some things to consider when you’re choosing the type of paint for your project. The sheen of paint can completely change the look of a room, the intensity and depth of the color you choose, and how well it will hold up to wear and tear over time. The last thing you want is to finally find the perfect color, only to have the project turn out nothing like you imagined!
- Flat or Matte Finish:
- Best for: Ceilings, adult bedrooms, dining rooms, formal living rooms.
- Characteristics: Low sheen, hides imperfections and flaws in walls, provides a smooth and elegant finish.
- Why: The ultra matte finish diffuses light, minimizing glare and making it the best choice for spaces where you want a more subdued ambiance.
- Eggshell Finish:
- Best for: Bedrooms, hallways, living rooms, dining rooms.
- Characteristics: Slightly more shine than flat, easy to clean, moderate durability.
- Why: Easier maintenance and cleaning compared to flat finishes. Best for areas where you want a touch of elegance without the high gloss of satin or semi-gloss.
- Satin Finish:
- Best for: Family rooms, hallways, kids’ bedrooms, kitchens, bathrooms.
- Characteristics: Higher sheen, easy to clean, durable, resists stains and mildew.
- Why: Provides a subtle gloss that’s easy to clean, making it ideal for parts of your home that might experience moderate moisture and traffic.
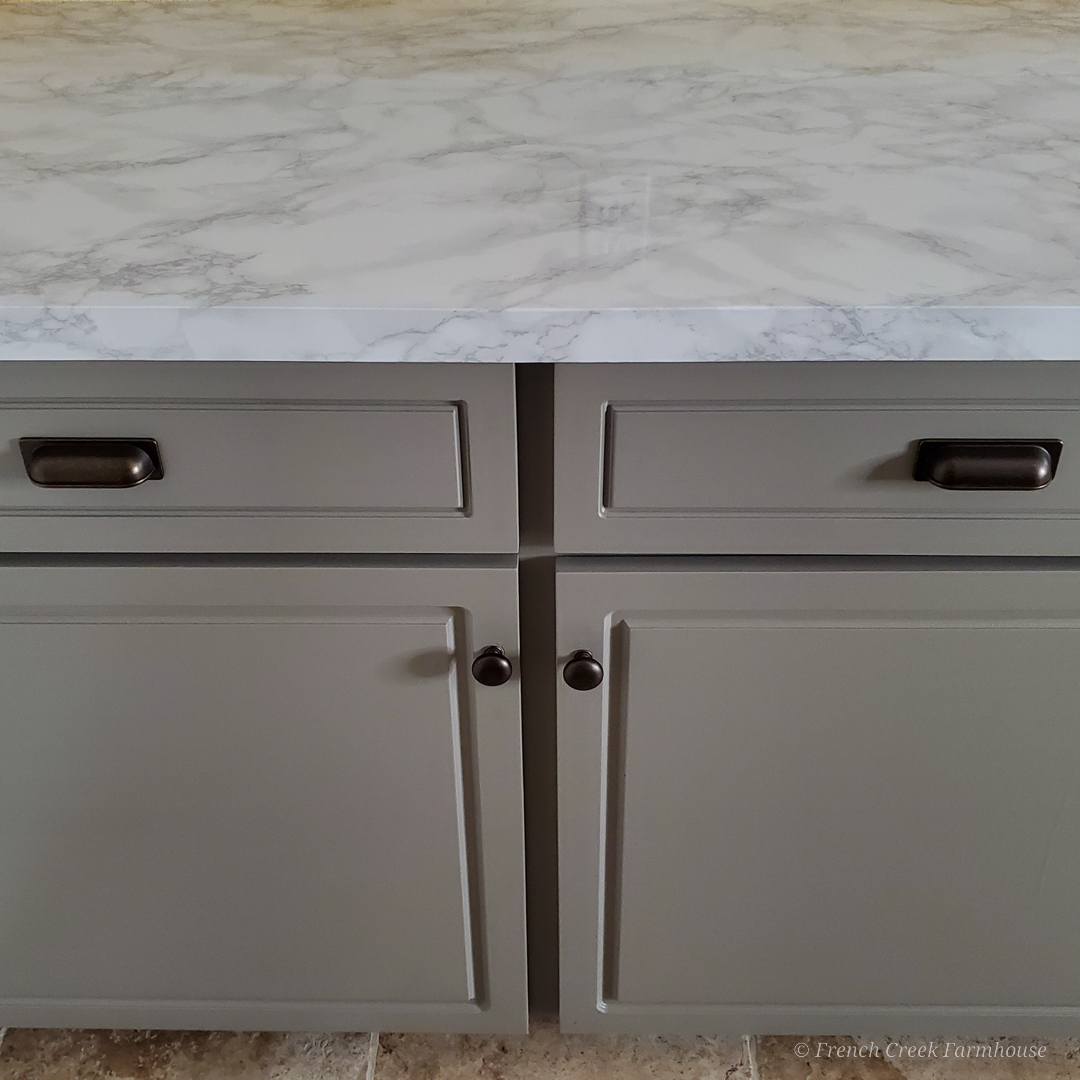
- Semi-Gloss Finish:
- Best for: Kitchens, bathrooms, trim, doors, cabinets.
- Characteristics: High sheen, very durable, highly washable, reflects light.
- Why: Highly durable and easily cleaned, making it the best choice for high-moisture areas and surfaces that are frequently touched or exposed to wear. Enhances the appearance of architectural details.
- Glossy Finish:
- Best for: Trim, doors, cabinets, furniture (if used indoors).
- Characteristics: Highest sheen, extremely durable, easy to clean.
- Why: Offers a sleek, polished look and is exceptionally resistant to stains. Ideal for surfaces that require frequent cleaning, and it can withstand high levels of wear and tear.

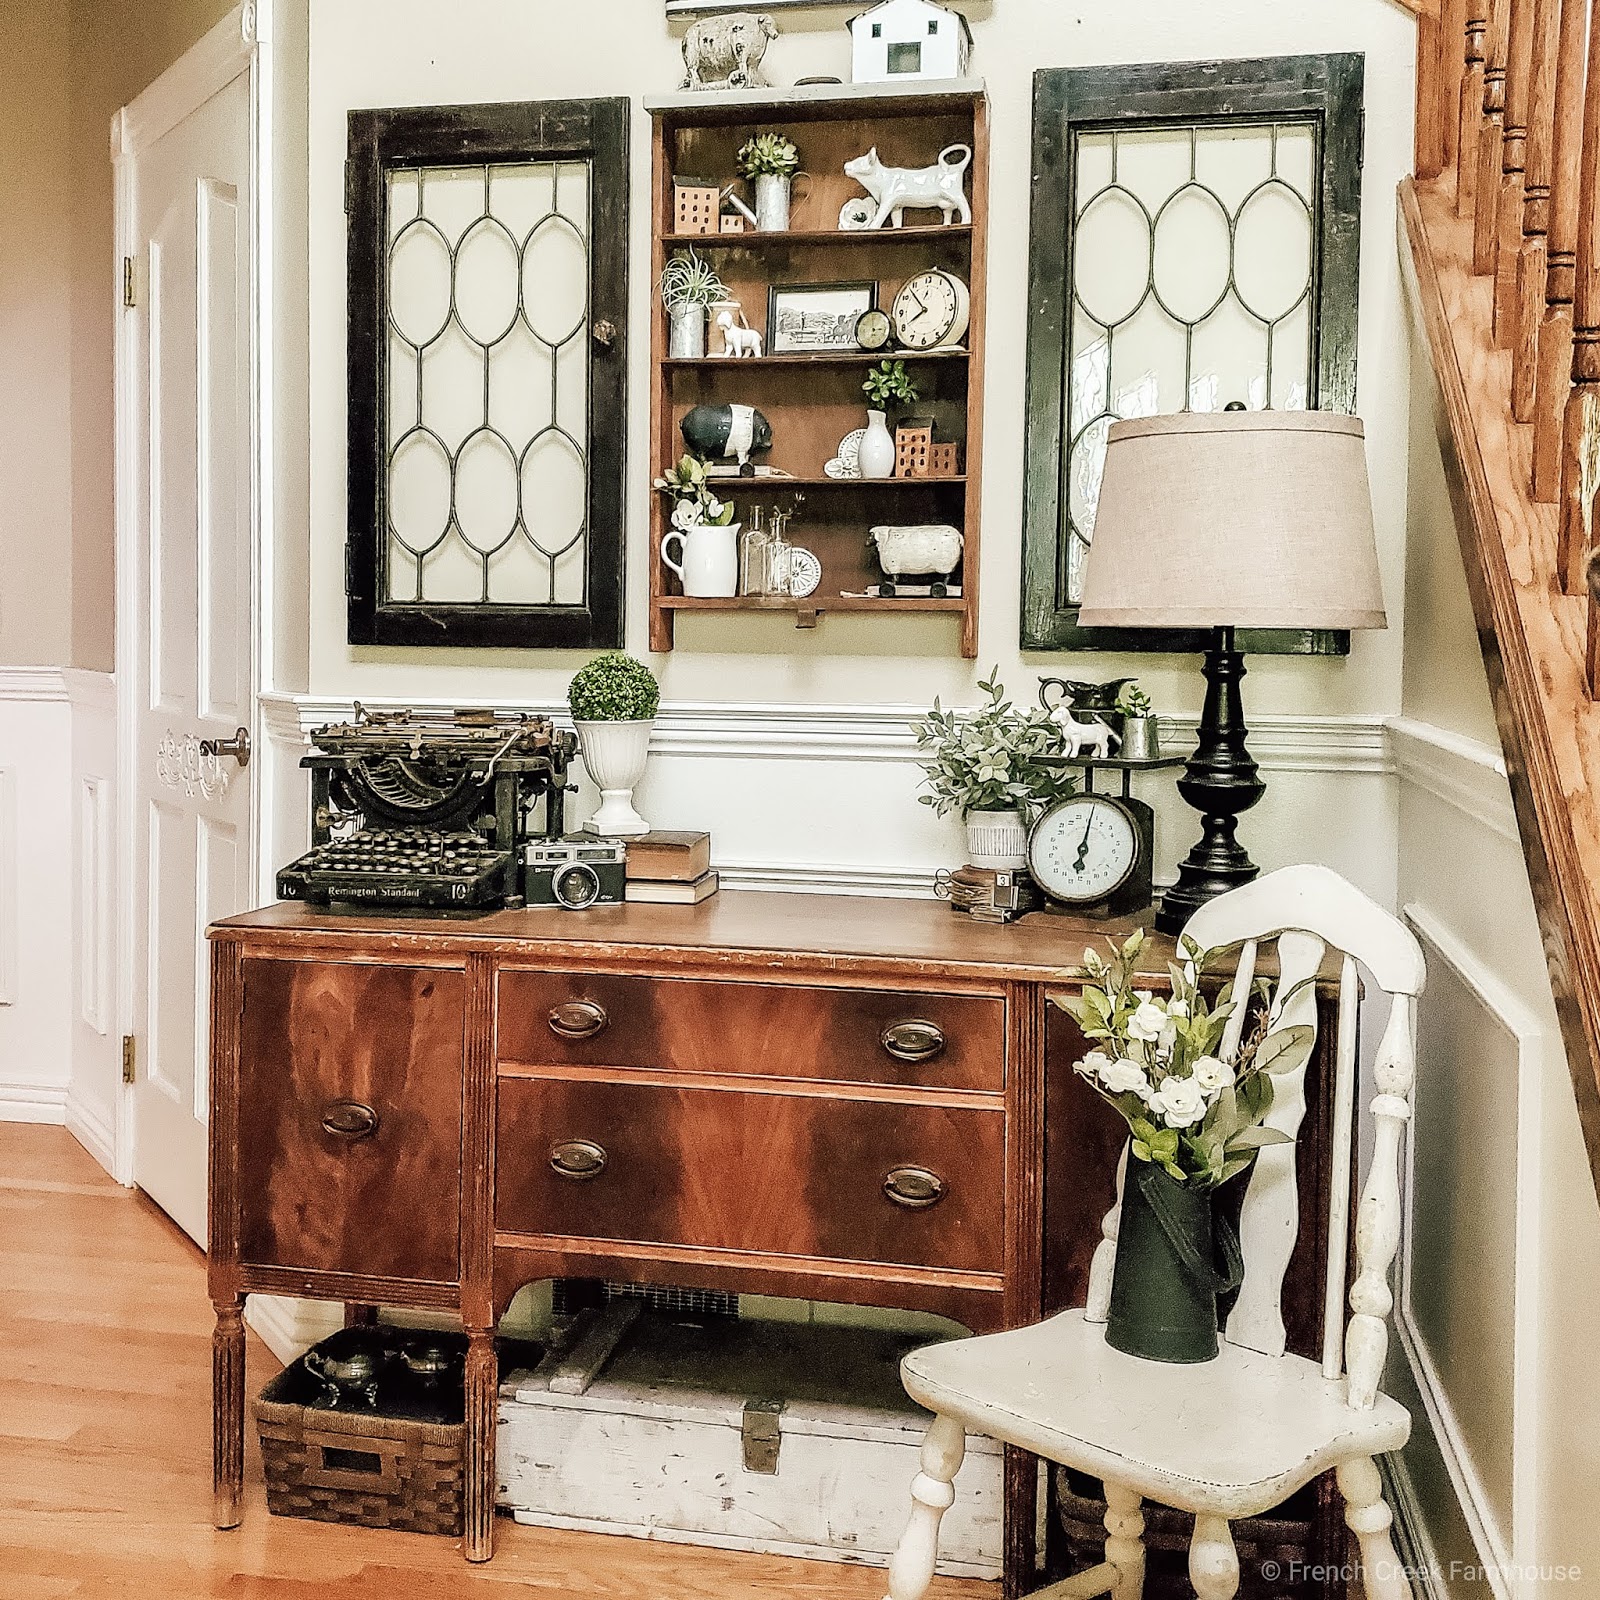
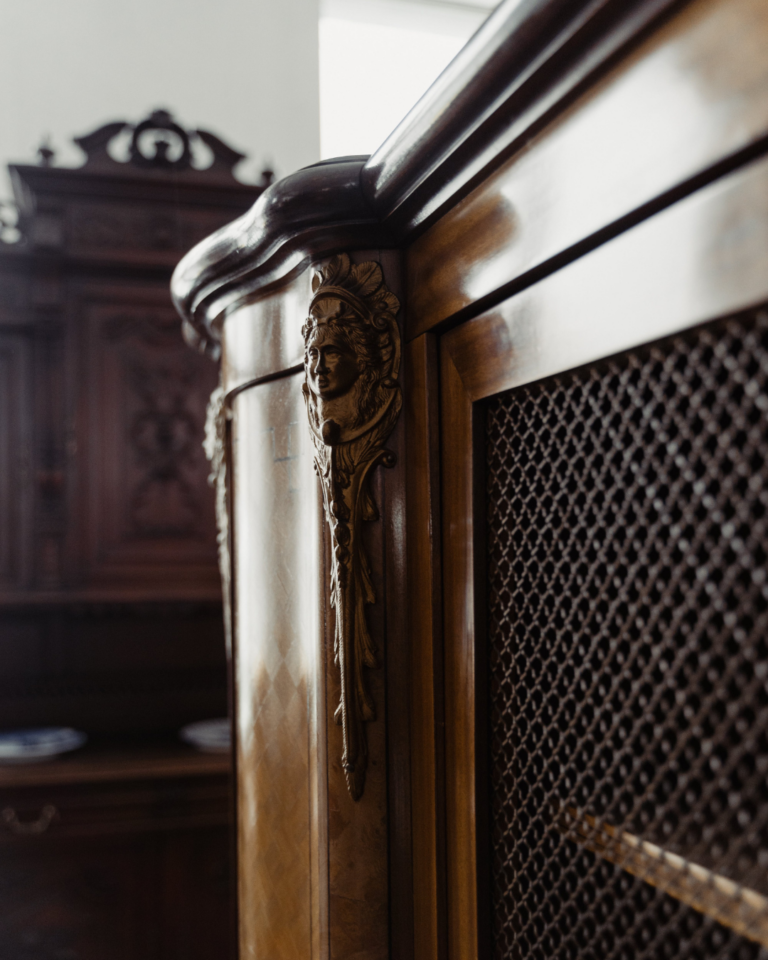
3. Carpentry & Woodworking
If you think you might want to build custom cabinets, add moldings, make structural changes to your fixer-upper home, or build a deck, then you’ll want to know a bit about carpentry. Having basic carpentry skills allows you to create, repair, or modify wooden structures and furniture.
These are definitely the skills that I’ve most enjoyed learning over my life, and it started from a young age. My dad is truly an expert at woodworking, and I spent countless hours watching him work on projects as a kid. He even made my sister and me small toolboxes for Christmas one year so we could each do our own projects. I still have mine!
Some of the essential carpentry skills to master include:
- Cutting and Shaping Wood: Know how to use saws, chisels, and sanders to cut, shape, and smooth wood.
- Joining Techniques: Understand basic joinery techniques such as adhesives, joints, and hardware to securely connect pieces of wood.
- Understanding Types of Wood: Learn about different types of wood and their properties to help you choose the right material for your project.
{ Related: Installing a Faux Shiplap Wall }
useful tools

Things That Pros Know
Measure Twice, Cut Once
There’s good reason why this old saying from the world of woodworking persists. “Measure twice, cut once” reminds us of the importance of careful planning before taking irreversible actions. And, boy, is it ever true! If you’ve ever made this mistake and kicked yourself, you already understand.
Here’s why it’s especially helpful in carpentry work:
- Avoid Costly Mistakes: Cutting materials incorrectly, especially expensive or hard-to-obtain ones, can be a big hit to your budget. By double-checking your measurements, you reduce the risk of mistakes that could set your project back or force you to purchase more materials.
- Efficiency and Time Management: While it may seem counter-intuitive to spend extra time measuring, it actually saves time in the long run. Double-checking measurements ensures that you only make the necessary cuts, avoiding the need for rework.
- Quality Workmanship: Taking the time to measure accurately and cut precisely demonstrates a commitment to quality work. It sets the foundation for a well-executed project that not only looks good but also functions as intended.
4. Basics in Plumbing
Knowing how to handle minor plumbing issues can be really helpful in preventing costly repairs and inconveniences. In our home, this is definitely where Rob excels. And, conversely, it’s where I have a lot of room to grow my DIY skills.
I do think that hiring a plumber is important when it comes to bigger projects. Minor repairs are one thing, but having properly permitted work for major projects is critical.
Some essential plumbing skills that anyone can learn include:
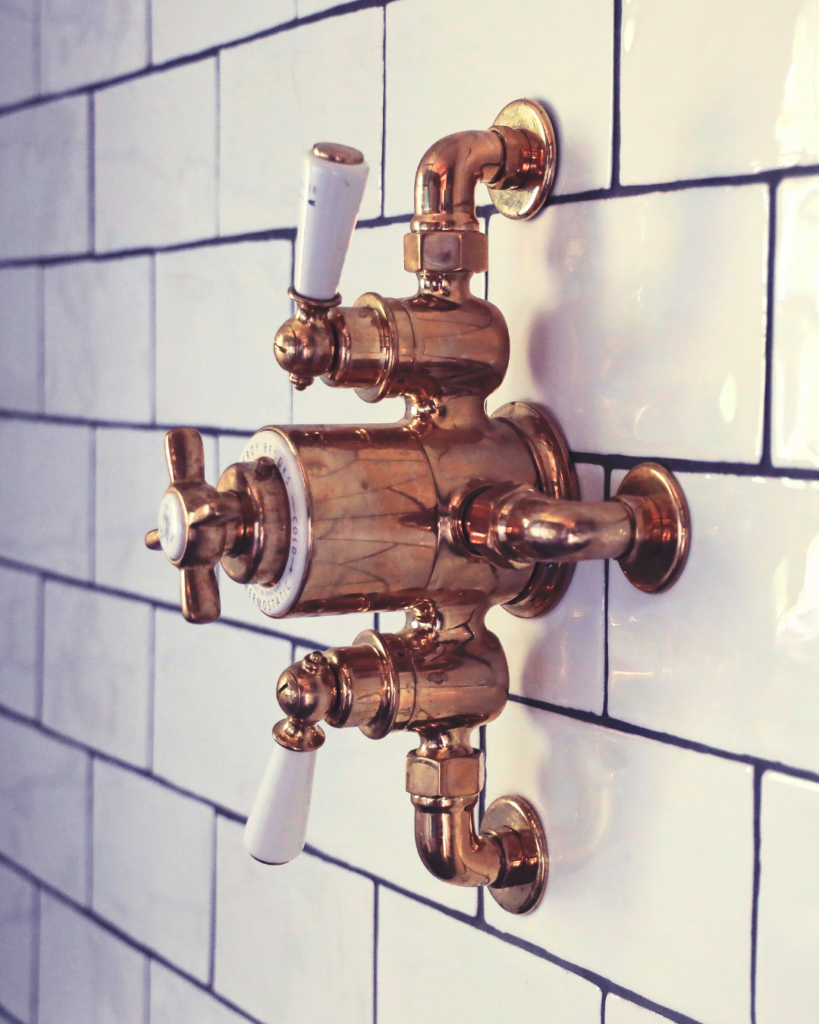
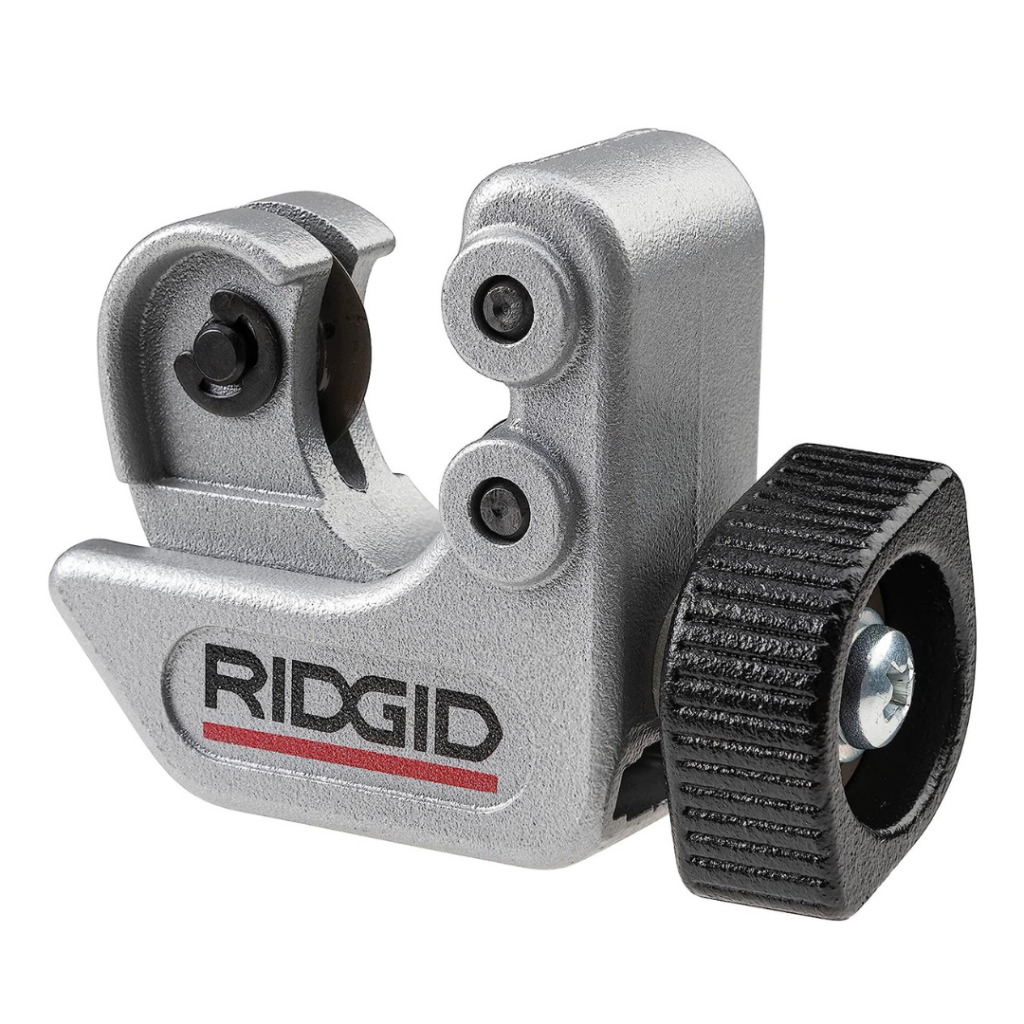
- Fixing Leaks: Learning how to fix a leaking faucet will come in handy more often than you think as a homeowner.
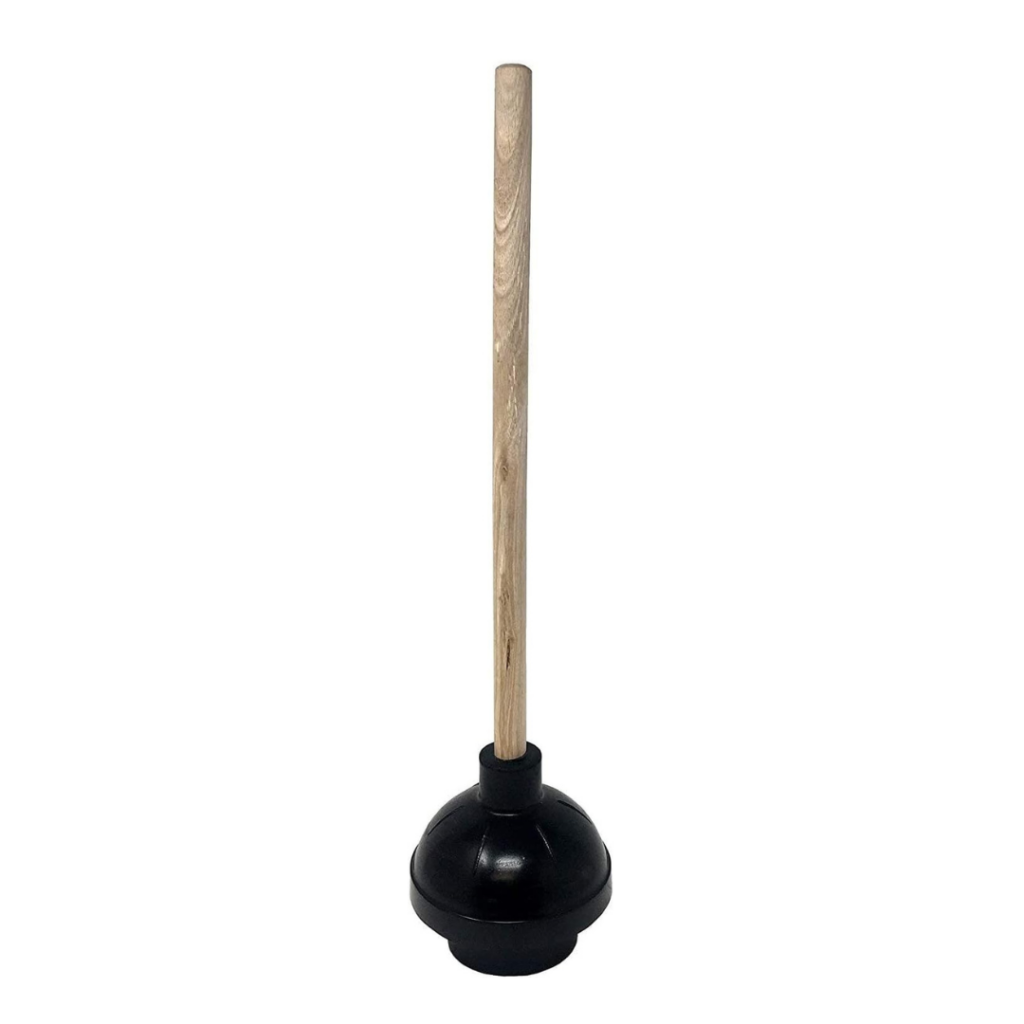
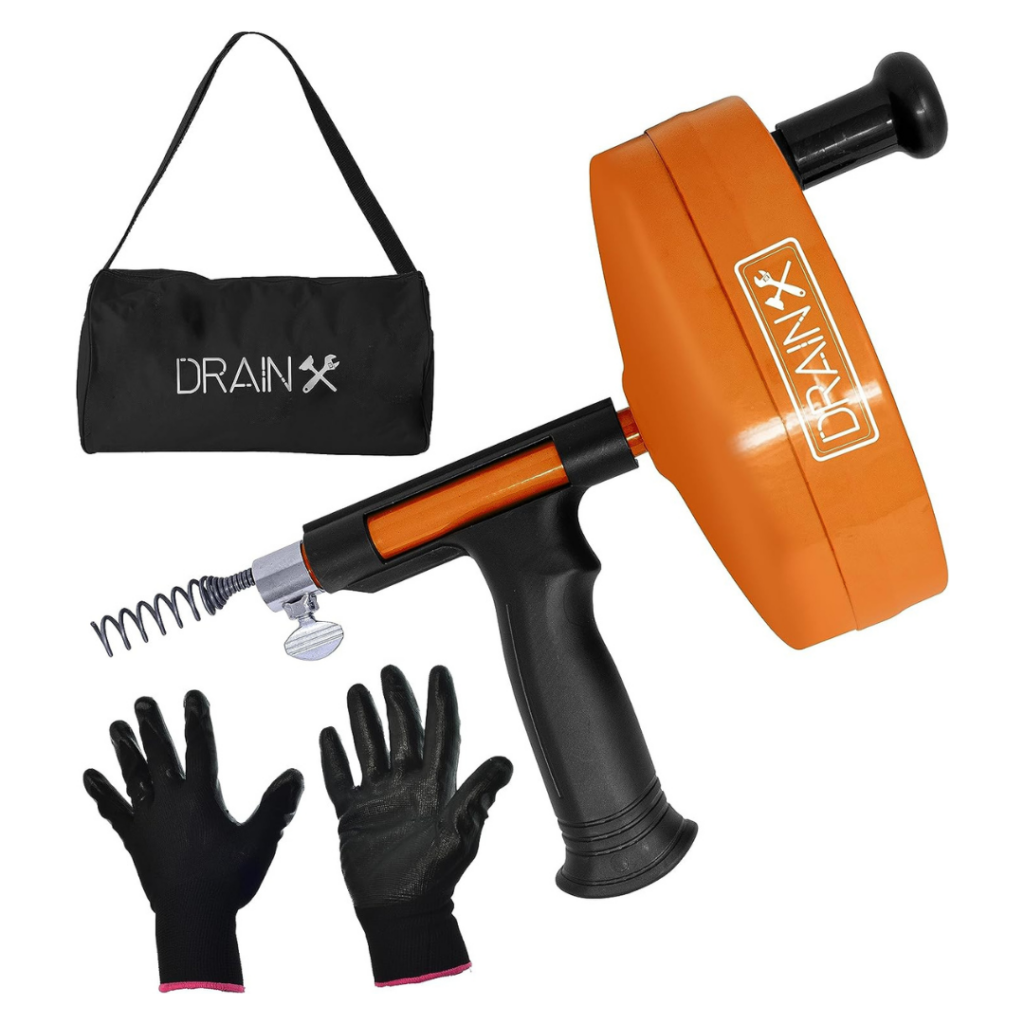
- Unclogging Drains: Using a plunger or snake to clear simple blockages from drains is an easy skill to learn.
- Replacing Fixtures: Knowing how to replace faucets, showerheads, and other plumbing fixtures is a great way to make updates.
{ Related: Transforming a Basic Utility Sink }
useful tools


Things That Pros Know
What are the 4 main parts of standard house plumbing?
In a standard house plumbing system, there are four main parts that work together to ensure the proper functioning of the plumbing system. These components help to supply clean water to the household and remove waste efficiently.
- Water Supply System: The water supply system is responsible for bringing clean and safe drinking water into the house. It includes:
- Water Main: The main water line that connects the house to the municipal water supply or a private well.
- Water Meter: Measures the amount of water consumed.
- Shut-off Valve: Allows you to control the water supply to the entire house or specific areas, essential for maintenance or emergencies.
- Pressure Regulator: Maintains a consistent and safe water pressure throughout the plumbing system.
- Distribution System: The distribution system involves a network of pipes that carry water throughout the house to the different fixtures and appliances. It includes:
- Pipes: Made of various materials, often copper, PEX, or PVC, and used to transport water from the main supply to fixtures.
- Fittings and Connectors: Components like elbows, couplings, tees, and valves that connect and direct the flow of water.
- Fixtures and Appliances: Fixtures and appliances are the points of use for water within the house. These include sinks, toilets, tubs, showers, as well as washing machines, dishwashers, and hot water heaters.
- Drainage and Ventilation System: The drainage and ventilation system is responsible for removing waste and wastewater from the house safely and preventing odors and gases from entering the living spaces. It includes:
- Drain Pipes: These carry wastewater from the fixtures to the main sewer line or septic system.
- Traps: Curved sections of drainpipes that hold a small amount of water, preventing sewer gases from entering the house.
- Vents: Pipes that allow air into the plumbing system, maintaining the proper pressure and preventing traps from being siphoned.
- Sewer Line or Septic System: Carries wastewater away from the house and into the public sewer system or an on-site septic tank and drain field.
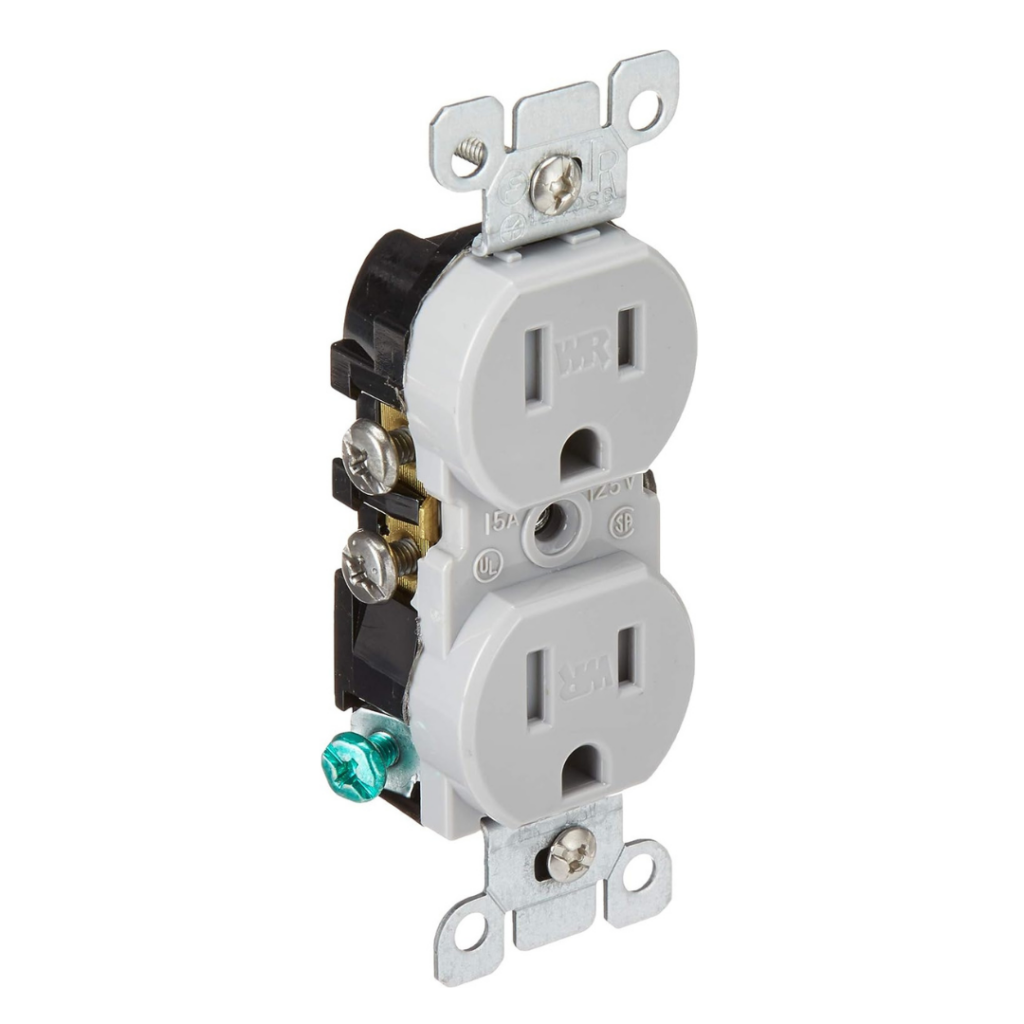
5. Electrical Work
I’ll just tell you right now, I do not enjoy messing with electrical around our home. The risk of making a mistake and burning your house down is just too great for me. This is one area where I’m more than happy to hire a skilled professional!
While some electrical work should be left to professionals (who are licensed and insured), there are basic electrical tasks that you can safely handle with the right knowledge and precautions. These are the things I feel comfortable doing:
- Changing Light Fixtures: It’s valuable to know how to safely replace or upgrade light fixtures. I would hire someone to do a brand new installation, though.
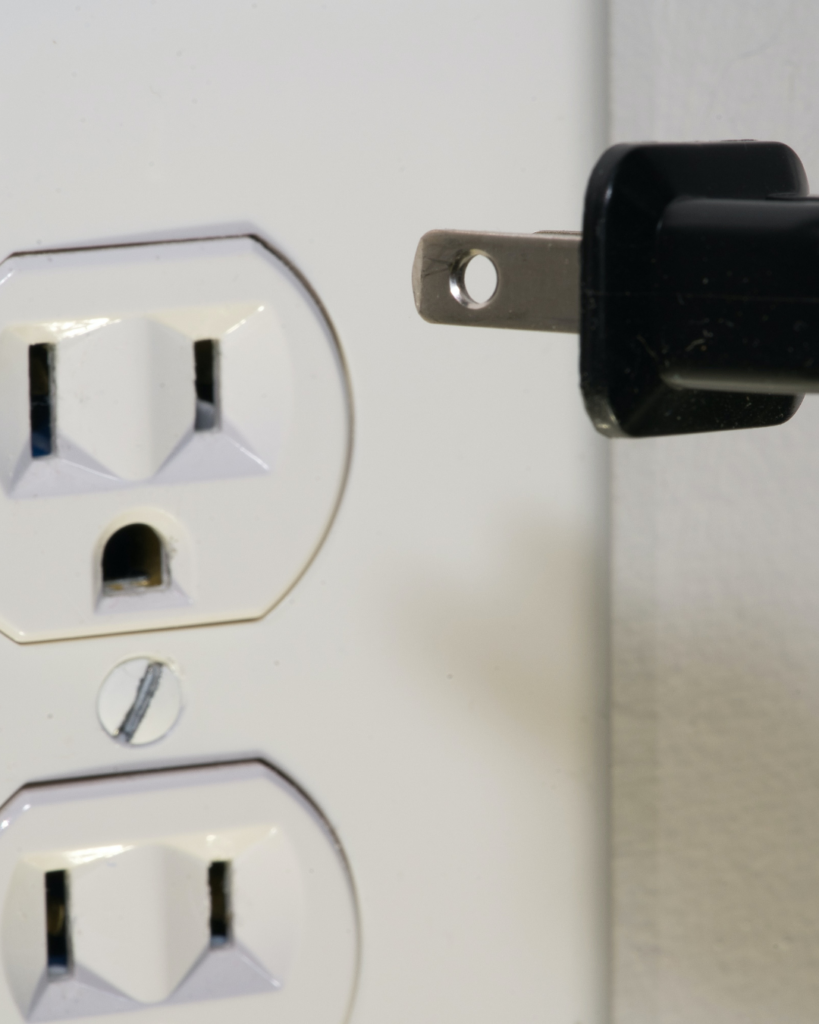
- Replacing Electrical Outlets and Switches: I am the queen of replacing old or malfunctioning outlets and switches with new ones. This is one of the DIY skills that I end up using a whole lot around here!
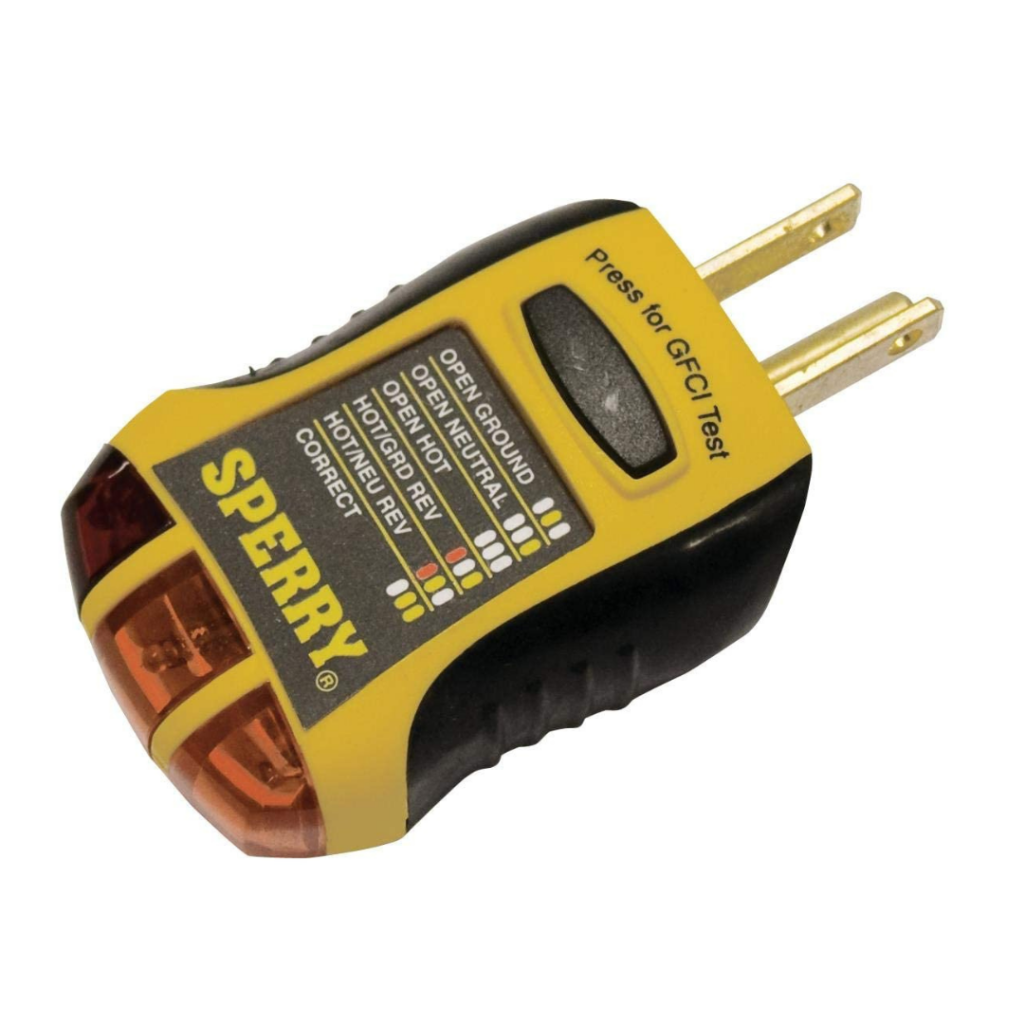
- IMPORTANT – Safety Measures: Always prioritize safety and follow proper procedures when dealing with electrical components. This is not a place where you want to make a mistake while you’re still learning.
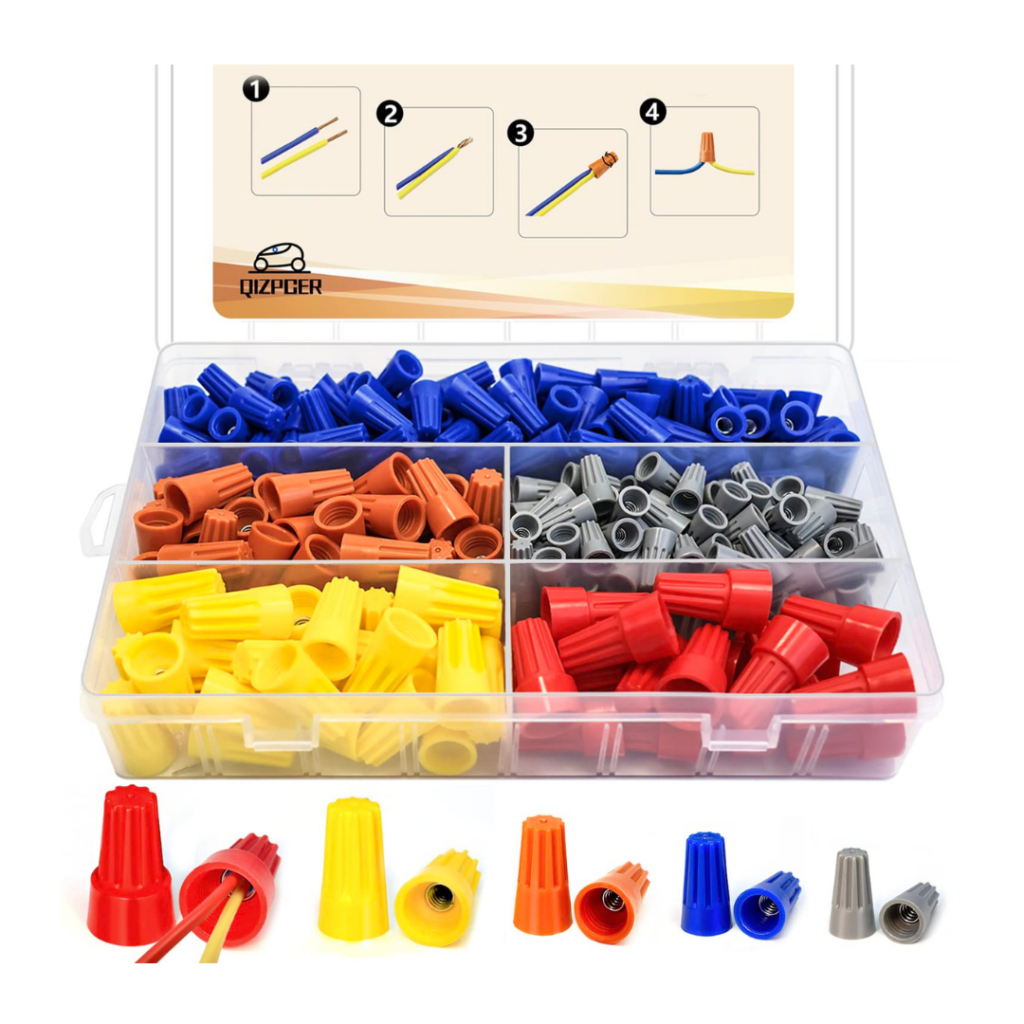
useful tools


Things That Pros Know
Do homeowners need a permit to do electrical work?
Yes, in many cases, homeowners will need a permit to perform electrical work within their homes. Some people balk at this, but the requirement for a permit isn’t there to aggravate you. It’s in place to ensure that electrical work is done safely, in compliance with local building codes, and by individuals with the necessary knowledge and skills.
Here are some key points to consider regarding permits for electrical work:
- Safety and Code Compliance: Electrical work carries inherent risks. Permits help to ensure that the work is done in a way that minimizes these risks and follows local codes. When you obtain a permit for electrical work, the local authorities typically conduct inspections at various stages of the project to ensure compliance with safety and code requirements. This provides an additional layer of assurance for safety and quality.
- Insurance and Liability: Some insurance policies may require that any electrical work carried out on the property is done with the appropriate permits. Performing unpermitted work could potentially invalidate your insurance coverage or make it difficult to file a claim related to electrical issues.
- Resale of the Property: When you decide to sell your home, potential buyers (and their home inspectors) may inquire about any renovations or modifications, including electrical work. Having proper permits and inspection records helps demonstrate the quality and safety of the work, which can positively impact the sale of the property.
- Types of Electrical Work Requiring Permits: Common electrical projects that often require a permit include installing new circuits, upgrading electrical panels, adding outlets or light fixtures, and significant electrical alterations or renovations.

Some Final Thoughts…
If you’re just starting out and acquiring new DIY skills, you can gain a lot of knowledge by reading books. And let’s not forget the importance of watching how-to videos on YouTube! At some point, however, the best teacher is going to be experience.
Will you make mistakes? Will you have to re-do projects and buy more materials because something went wrong? Yes, probably. But consider that a form of tuition in this learning process.
Too many people view the possibility of failure as a reason not to try something new. In fact, being given the opportunity to fail is a blessing. It means you’re going to learn something that other people are too afraid to experience for themselves. What a gift!!
{ Related: Taking Risks & Failing on our Farm }
When we decided to purchase our fixer-upper, a good amount of our network of friends and family took a giant step backward. I think they’d thought we’d lost our minds. But that’s okay with me.
If there’s one thing I’ve learned about cultivating a life well-lived, it’s that living in a way others don’t understand isn’t a bad thing. I’m not interested in pursuing the conventional and traditional path of spending the majority of my life working at something that makes me unhappy and takes me away from the people I love just so that I can pay bills.
I would much rather do things a bit differently and strive to fill my soul with meaning, purpose, and joy.
Learning some basic DIY skills is an investment that pays off in the form of freedom, self-sufficiency, and the ability to live life as you desire. So, equip yourself with the right tools, gain knowledge, and start experimenting with DIY projects to make your home truly yours. Happy DIYing!

Ready to dig in and grow something beautiful?
Get my Free Garden journal
Let’s be gardening buddies! Sign up to join our community, and get your free printable PDF Garden Journal. This is so good!